UPDATE: All new featured RV tours will be posted on my other website, Wanderful RV Interiors. Existing tours will slowly be moved to the new website, and anything already moved will automatically redirect.
Disclaimer: This post may contain affiliate links, meaning, if you click through and make a purchase we (or those featured in this post) may earn a commission at no additional cost to you. View our full-disclosure here.
Before Eric and I even began installing the new flooring in our RV, we started looking for options on how to recover the hump located in-between the captain’s chairs, otherwise known as “the doghouse” or RV engine cover.
This is where the engine is located in front-end diesel and gas RVs. It basically serves as a cover for the engine while still providing you access when necessary.
And….it’s a bit of an eyesore.

The size and style of the hump can vary from one RV to another, and ours isn’t even as bad as others I’ve seen. Even so, we knew we would need to make some changes in order to have it blend in with the rest of the flooring.
When doing research I discovered that most people were in the same boat as us, wanting to do something about the hideous hump, but not exactly sure how to tackle it.
We found that most people would update the flooring inside their RV, but leave the carpet upfront around the doghouse. A couple of solutions included re-upholstering the doghouse area with new carpet, marine-grade vinyl or some sort of bed liner paint or material. Another creative solution we found was to build a removable table that could be attached to the doghouse when the RV was parked.
However, none of these options were exactly what we were looking for. We really wanted to create something that we could attach the flooring to and create a more modern, streamlined look. Since we will be traveling with fur babies we wanted to remove as much carpet as possible.
We’re not professional woodworkers so not having an actual plan to go off of wasn’t the easiest task, but we figured it was worth a shot. This project isn’t perfect but neither are we. With that said, we are so excited about the outcome and hope that if you are looking for ways to “disguise” your RV engine cover a bit more, that this post will inspire you.
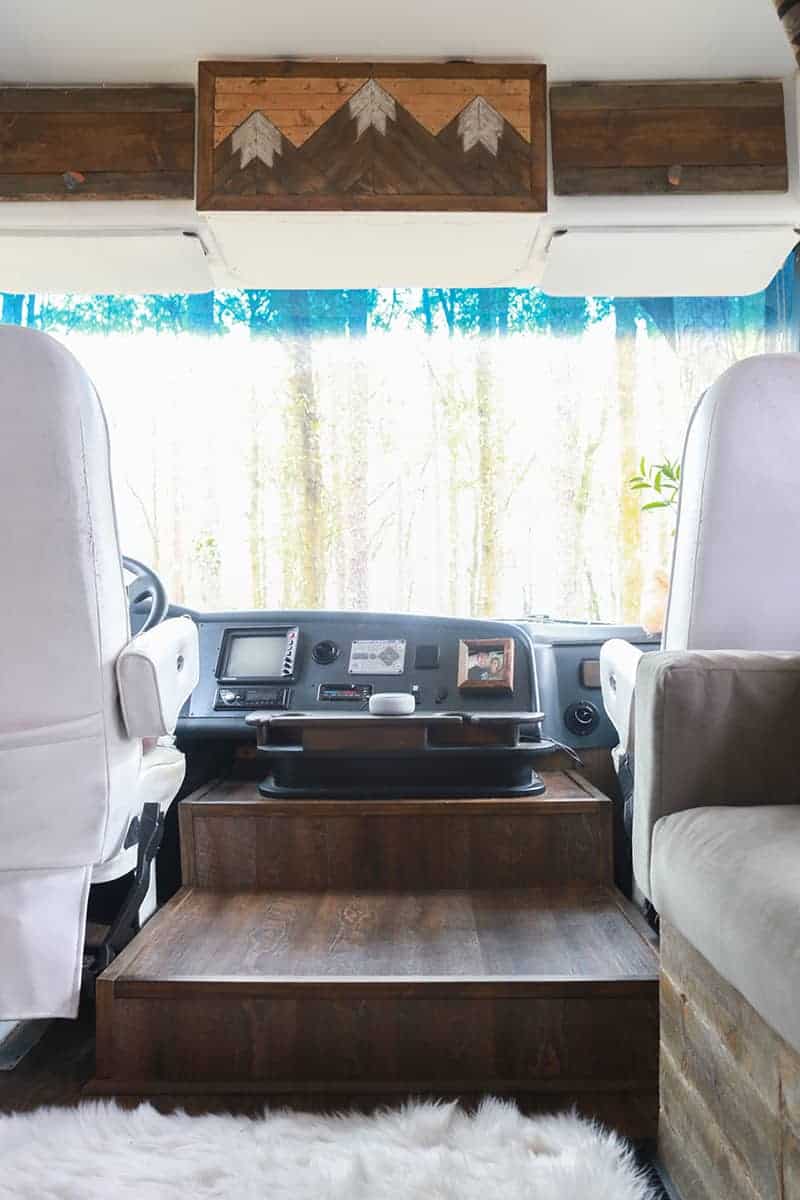
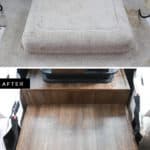
I’ll let Eric share the details on how we built our custom RV engine cover, but first, here’s a photo so you get an idea of where this post is headed.
How to Build a Custom RV Engine Cover
Today I will be sharing how we made a custom RV doghouse cover (or engine cover). Before we dive into everything I want to let you know that this project gave me a hard time, the entire time. Murphy’s law definitely came into play and it seemed every time things were looking up, something would happen that made us take a few steps backward. To say this was a learning experience would be an understatement.
With that said, I kept going and am pretty stoked with the result. Every RV and “doghouse” is different, but here is some information on how we built the cover, and what mistakes we made along the way.

Materials used to Build Our Custom RV Doghouse Cover
- 1 x 2 Pieces of Wood
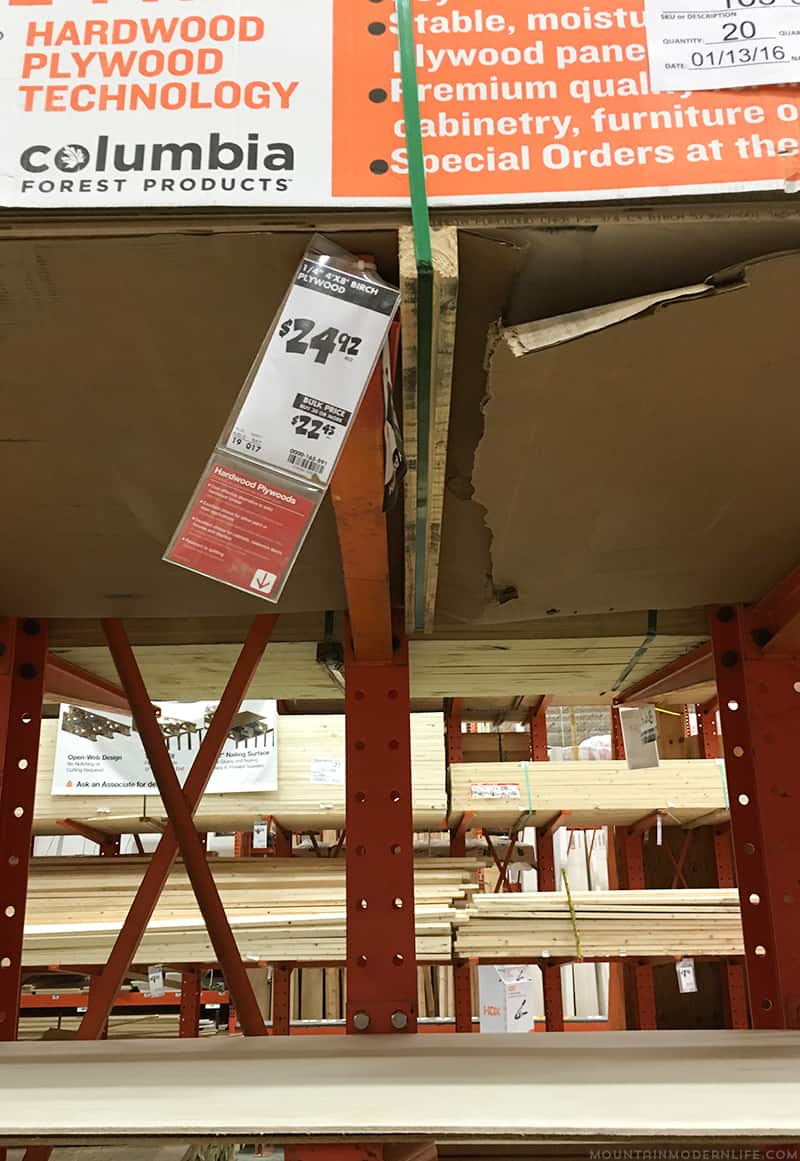
- 1/4 Hardwood Plywood – we used PureBond
- Outside Corner Moulding
- Stain
- Compound Miter Saw/Circular Saw
- Screws
- Flooring
- Drill
- Spray Adhesive
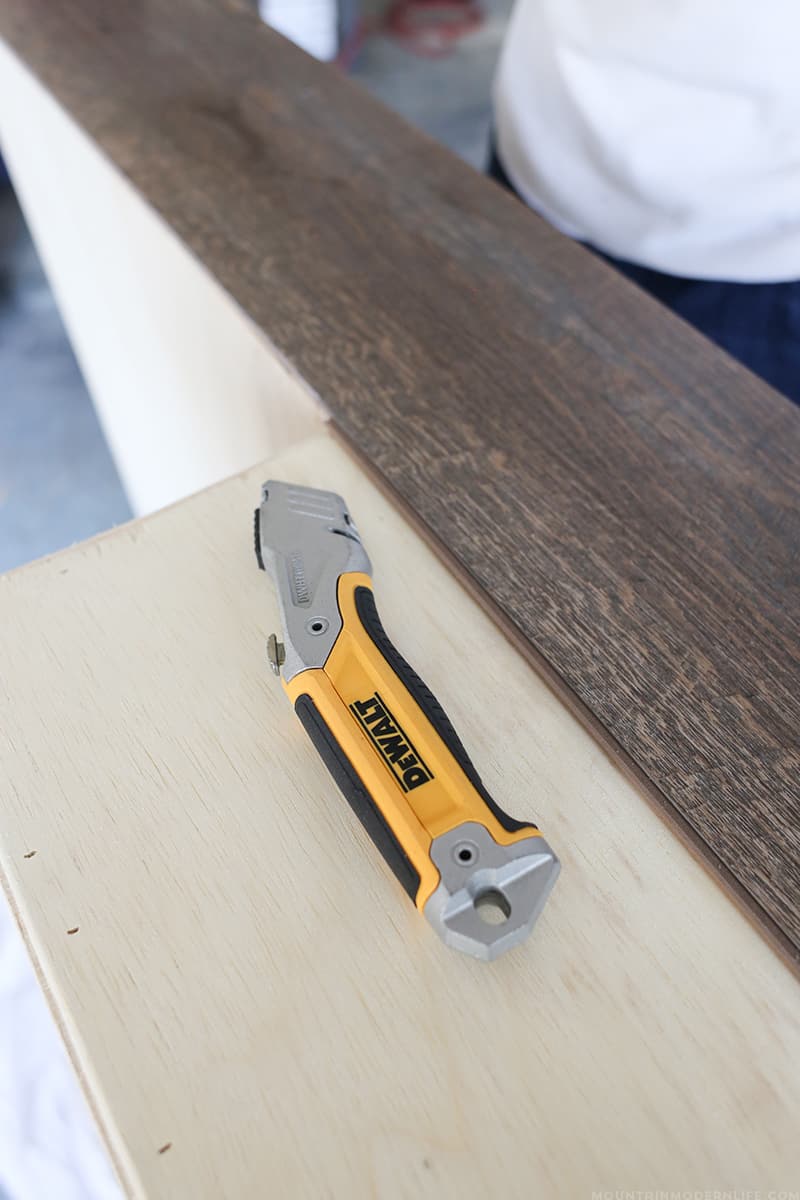
- Utility Knife
- Mallet
- Airstrike Nail Gun
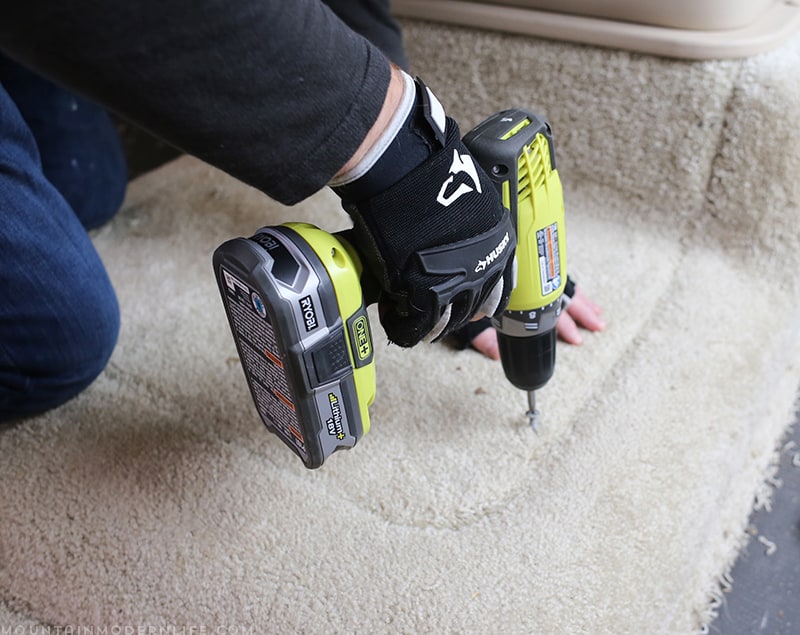
We started by ripping up the carpet in the front of our RV in order to re-insulate and replace the flooring. We then unscrewed the doghouse and removed the carpet that was glued or stapled down to it.
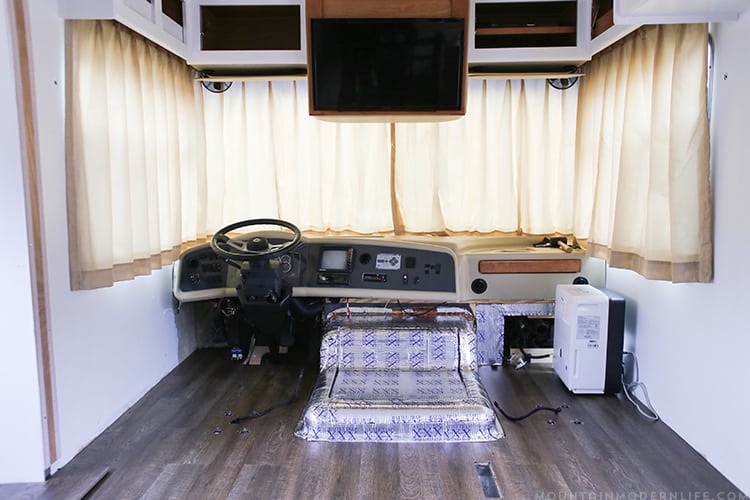
Once the carpet was removed and the fiberglass engine cover was all cleaned up, we went ahead and re-insulated the front of the RV, including the fiberglass engine cover with FatMat Rattle Trap Extreme.
You can watch the videos on how we removed the doghouse as well as how we installed the new installation below:

Here’s what the front of the RV looked like with the new flooring down and the installation on the “doghouse” engine cover.
You can watch a quick video that explains how the custom RV doghouse cover was built:
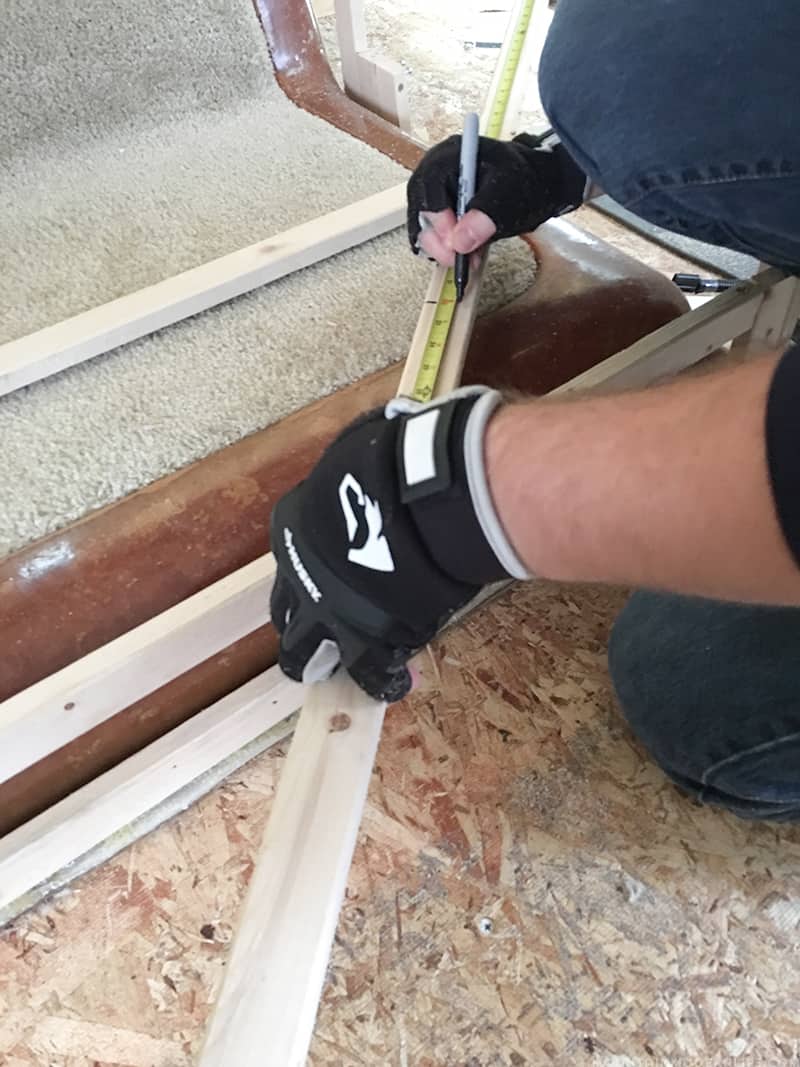
This is where I made my first mistake. I wanted to make sure the new cover I built was going to be snug against the fiberglass cover because it was going to be a tight fit on the driver side by the gas pedal. The last thing anyone wants in an RV is for the gas pedal to get stuck down.
I ended up flexing the longer 1×2’s in order to make sure they were as tight as possible against the fiberglass cover. That was the mistake, I would measure the size of your engine cover and build the new frame accordingly (make sure to have an idea of how wide it will be so that you know it will not create problems when you put it in place). As I finished building the frame I realized it was wider in one spot than everywhere else based on the snug fit to the fiberglass cover.
So, we corrected the mistake and finished the 1×2 frame, making sure to put 3 brace boards across the lower top flat section, as well as the higher top flat section. I put 3 brace boards because I wanted to make sure it could support us walking on it when necessary.
At this point, I cut the plywood to fit all of the different areas around the doghouse cover frame I had just finished. We used PureBond plywood because it’s formaldehyde-free and environmentally friendly. We figure there are enough off-gassing elements in the RV as-is so we plan to use greener products when we can.
Now that I had the plywood in place, I could really start to see it coming together. All that was left to do was add the flooring and the finishing touches.
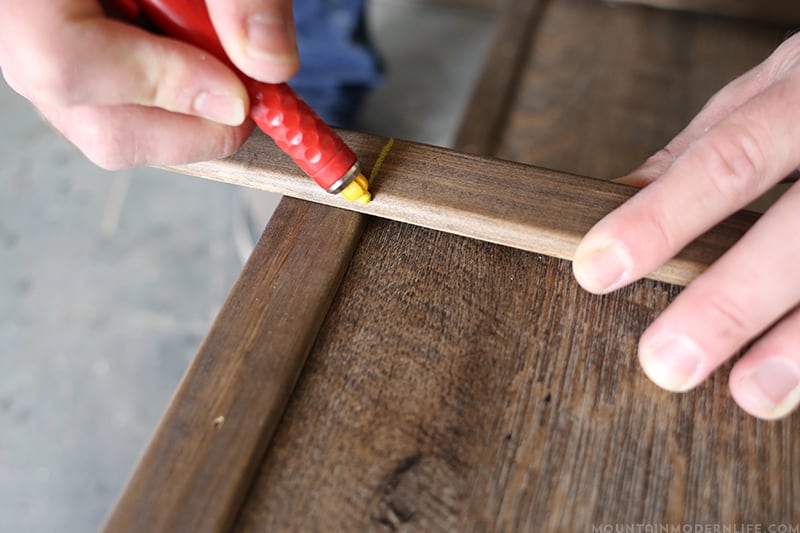
The picture below shows me marking the first piece once I began adding the flooring to the larger top and middle sections.
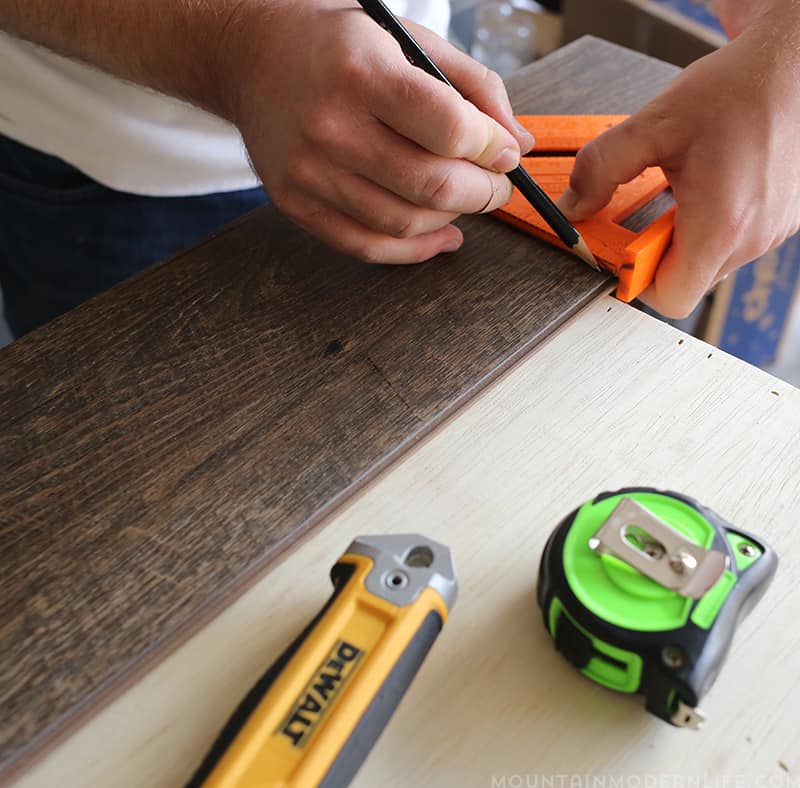
I measured out my flooring and started by covering the sides first, this includes both the front lip and the middle lip. In order to adhere the flooring to the plywood, I used a 90 strength spray adhesive.
Once the glue was tacky, I would place the flooring on the plywood the same as I would if I were installing it on the floor. Here’s the first side completed:
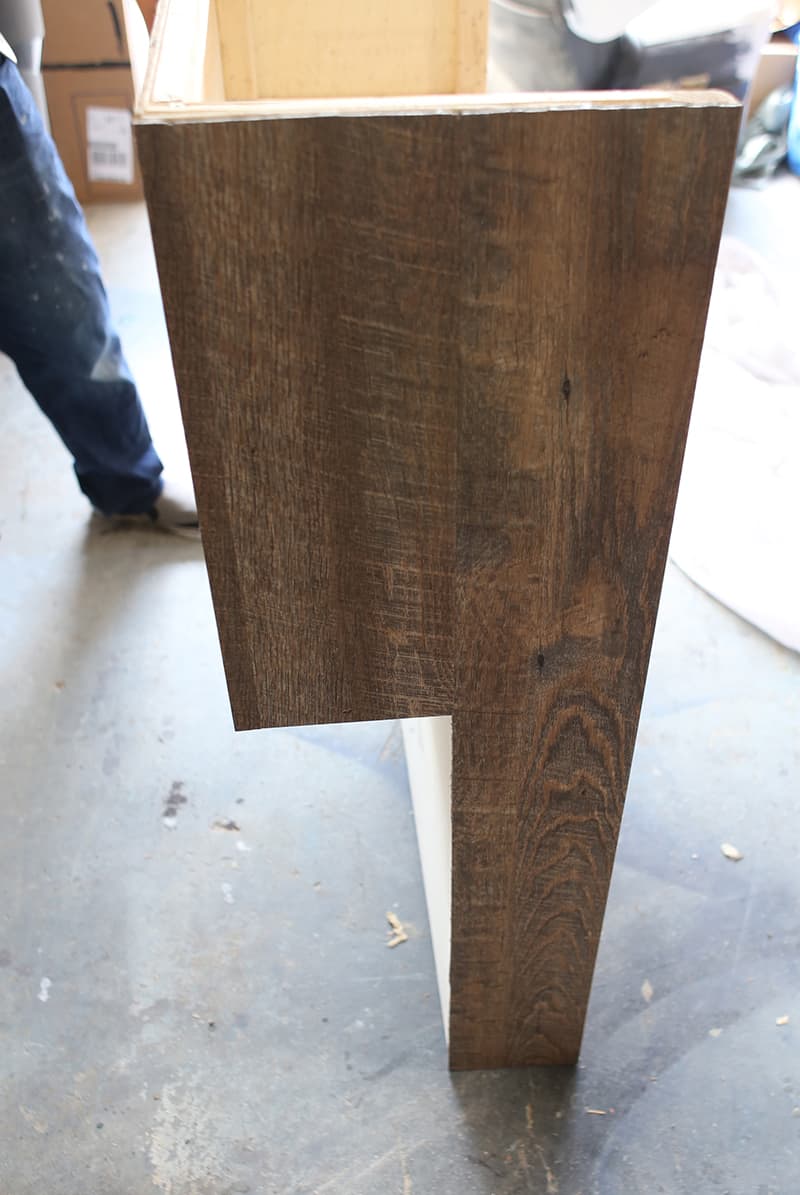
To my surprise, this was the easiest part so far in building the doghouse cover. I used full-length pieces to start when adding the flooring to the box, but once you get to the end you may need to rip down the pieces in order to create flush edges.
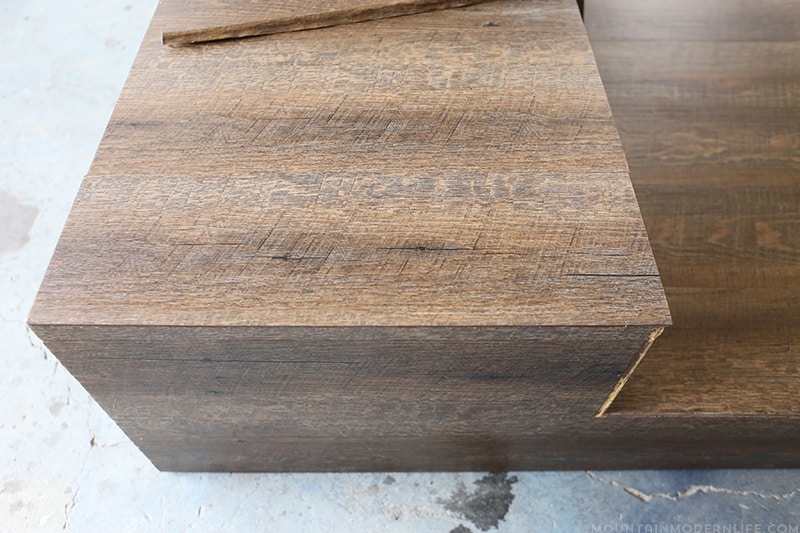
We had originally decided to use a wood or metal frame around the edge, so I didn’t worry much about giving it a finished look.
This ended up being my second mistake.
If I could go back I would have cut the edges of the flooring at 45-degree angles. If I would have taken this approach the box would have looked finished at this point, leaving us to only add the framing if we desired. I didn’t take this step, you may want to consider cutting the edges of the flooring if you are building your own RV doghouse cover.
In the end, we decided not to go with the metal framing and considered using some sort of edge banding. We were having trouble finding the perfect banding to match our flooring, but it just so happened we had matching quarter round lying around. As I was looking at a piece, I wondered, could we get the laminate off of the quarter round and place it on our unfinished edges?

Sure enough, we could. Katie used a blow dryer to loosen the adhesive holding the laminate on the wood and we were able to pull it off. After carefully ironing it out (with a towel in between the iron and the laminate), we now had a nice roll of edge banding that matched our flooring. Our only concern now was how to adhere it to the unfinished edges.
However, this was all for not. We tried various types of glue and adhesives to get it into place, and some worked out okay, but in the end, we decided there should be a better solution… an easier solution.
You may still want to consider using your own edge banding, especially one that already has adhesive attached to it as that would be easier than trying to make it yourself. The main reason we created our own was so that it would match the flooring perfectly.
Ultimately we decided to go with the old tried and true, Wood.
You may have seen the video on how we addressed the edge of our RV slide-out using outside corner moulding. At this point, we decided it would be best to go with our original plan of using the wood trim and have it match our slide out.
Here’s a photo showing how it would essentially be added to the edges:

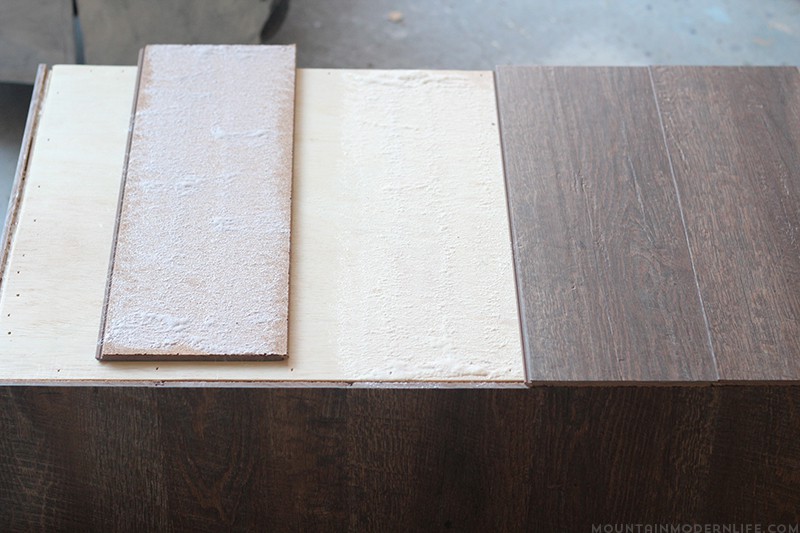
We added one coat stain (CeCe Caldwell’s Kukui) as that seemed to match up really well with the flooring.
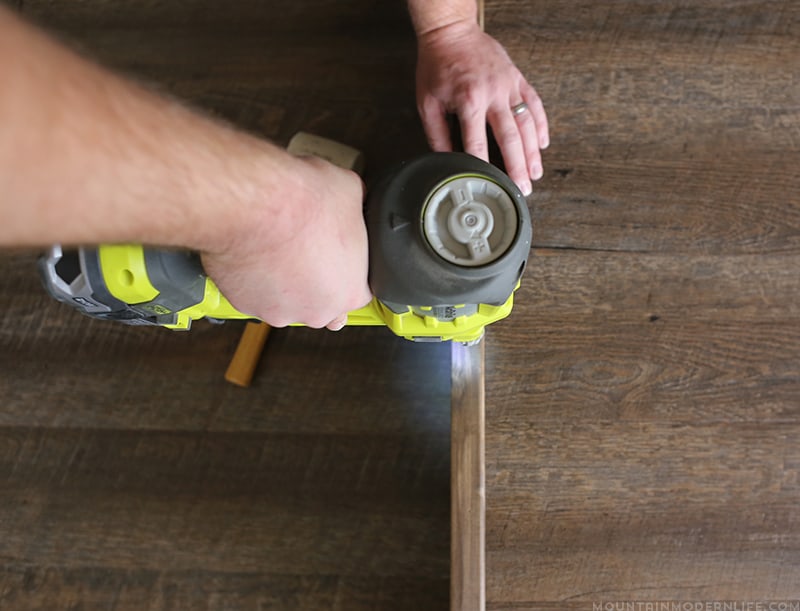
I went ahead and cut the trim 45-degree angle after 45-degree angle until I had all of the pieces I would need to cover the edges.
At this point, we went ahead and stained them and nailed them down into position.
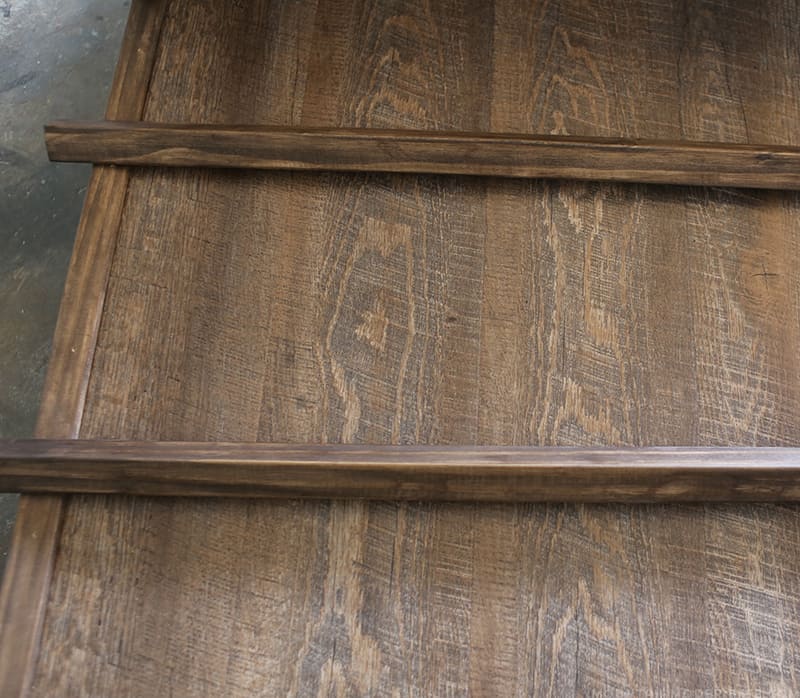
Side Note: We waited to cut down the two middle pieces until we had the other pieces already nailed into place. That way if you have a couple of angles that don’t line up perfectly you can adjust and still be able to fit the middle pieces where they need to go. These pieces of wood were essentially butted up against the outside trim.
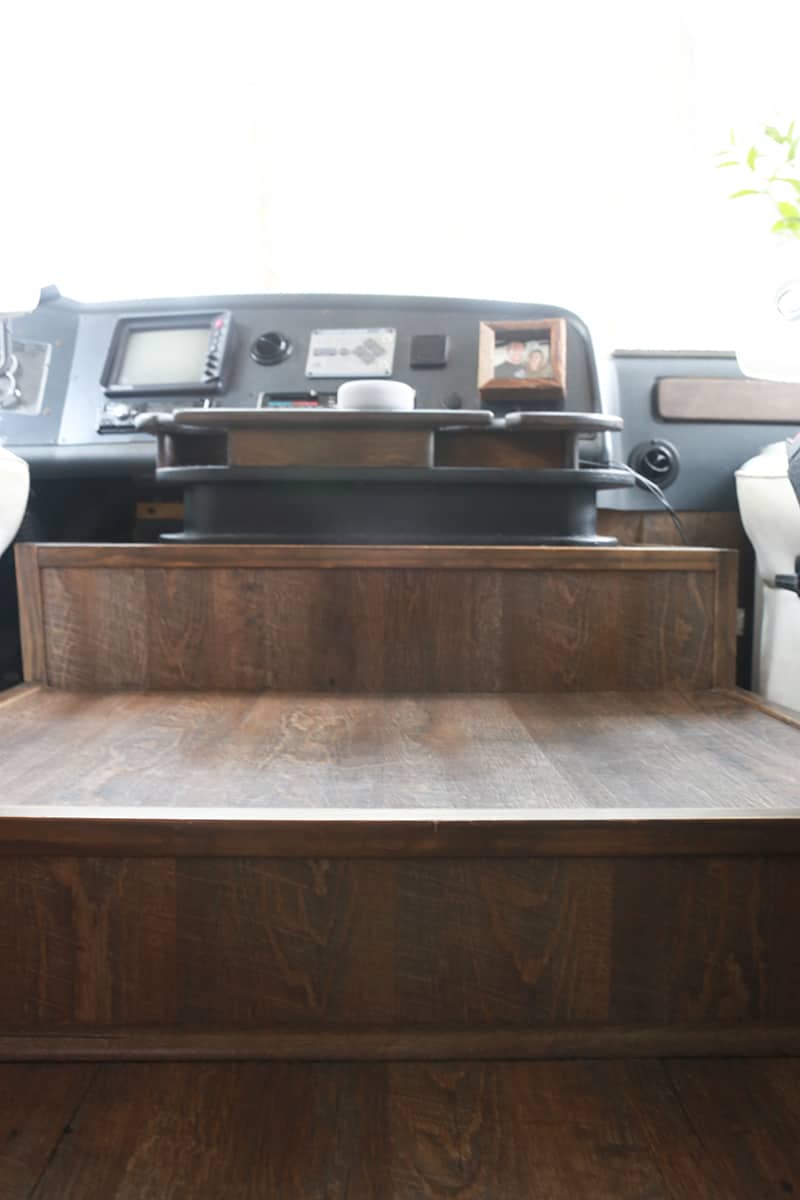
Here’s the new custom RV doghouse cover back inside the RV, placed on top of the fiberglass engine cover:
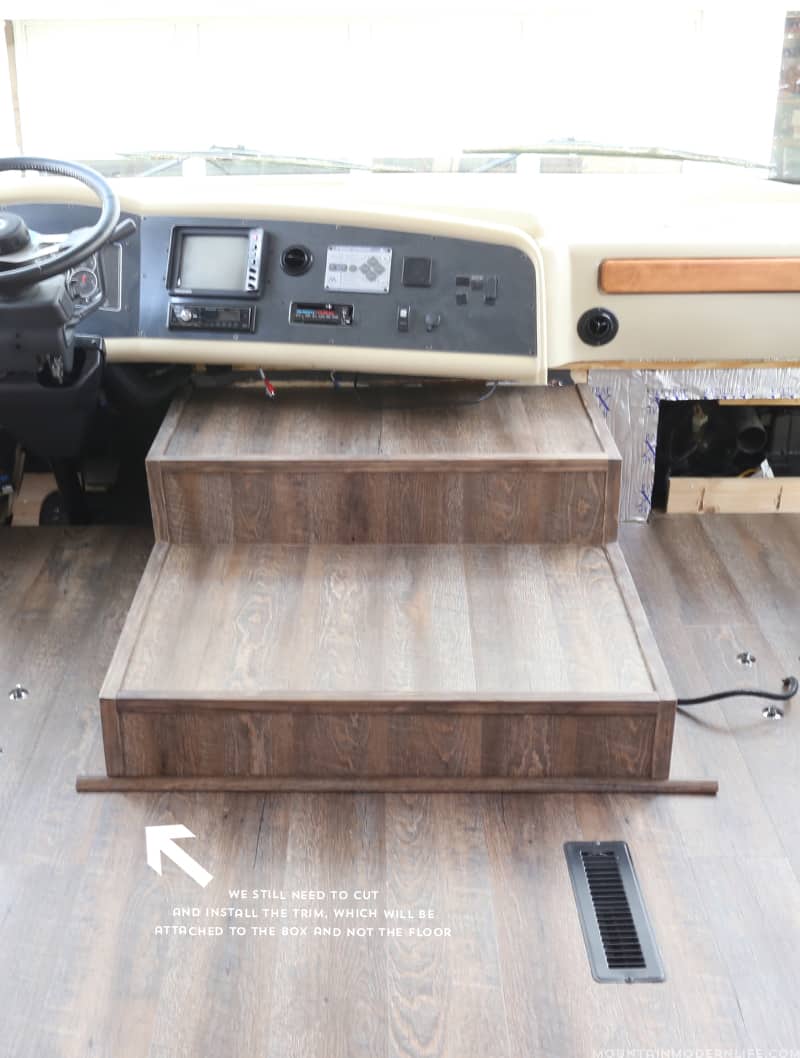
We still need to customize the cup holder before attaching the doghouse and putting the final trim along the bottom, but we will share updated photos once that’s finished.
The new doghouse cover does add some weight to the RV, which is something you will need to keep in mind when building your own.
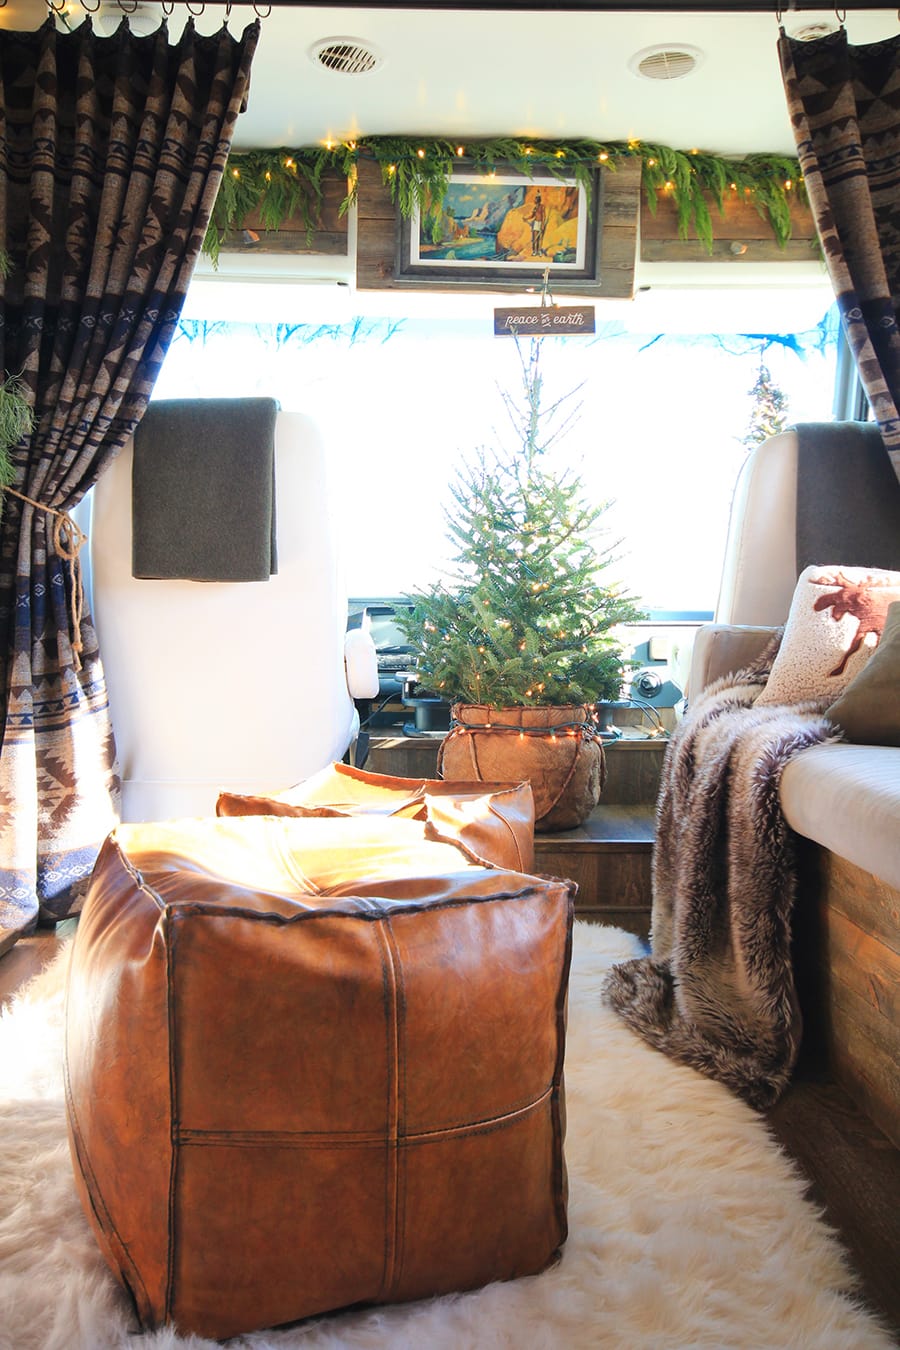
Updated Photos:
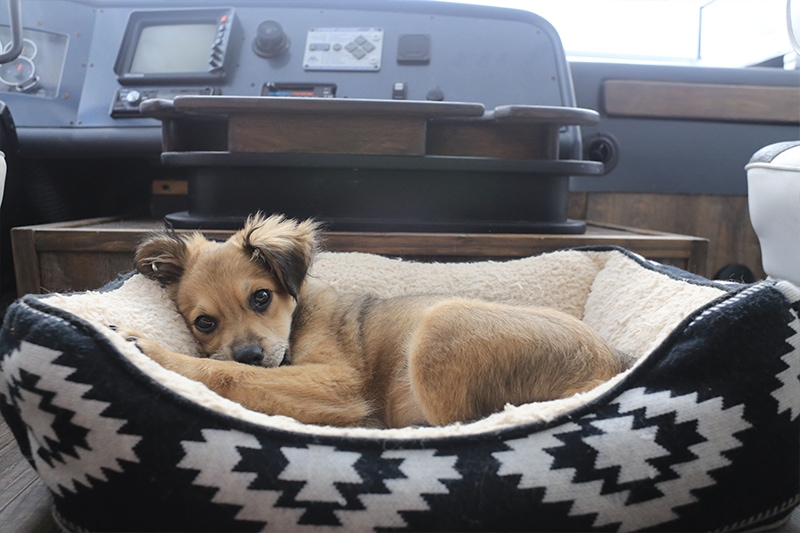
Here are some updated photos of our custom RV engine cover. We’ve used the area for keeping plants and at one point kept McNally’s dog bed on there. Unfortunately, we have a cat that likes to pee on pet beds so that didn’t last long.
It’s also turned out to be the perfect spot to display our Christmas tree during the holidays, haha.
We hope this post provided you with some insight or at least a bit of inspiration on how you can update the engine cover in your own motorhome!
Do you have any plans for your RV engine cover? If so we would love to hear about it in the comments below!

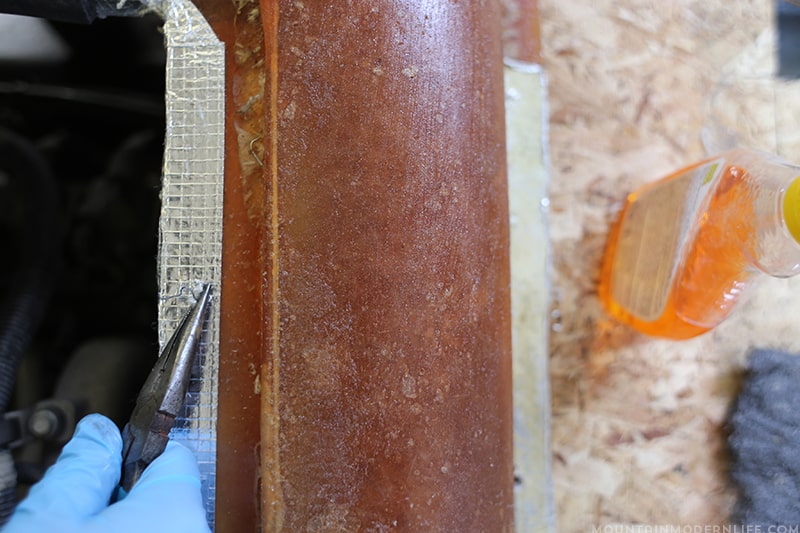
Hi can you tell us how you were able to get the carpet and tile out from under the slides?
Hey Debra, it was actually a very tricky task as the tile went under our slide-out about 2 inches even when fully out. I ended up using my utility knife, by pushing the blade closest to the back as possible (it was hard because of the tight space) I would then slowly cut on the same mark until I felt I had created enough of a cut. At that point I took my needle nose pliers and grabbed the tile as close to the cut as possible then twisted. Sometimes it would work really well and others not so much. It took a very long time and some tiny pieces I wasn’t able to get entirely out. I hope this helps! 🙂
How does it lift up??
Hey Janice, it works about the same as a standard doghouse cover. You have to remove 4 screws then it slides off of the old cover. There is one hiccup that I want to fix in the future and that’s the trim. We ended up nailing down the trim just as we did along the walls in the RV (the trim that matches the floor). So in order to remove it we would have to pull up the trim, which isn’t too difficult but to put it back down we’d need to re-attach the trim. I hope that makes sense.
We are looking to something similar but know access in and out of the seats could be more difficult than our current cover.
When you get in and out of the seats, do you walk on the lower step of your new cover?
Many thanks.
Want to buy a carpet cover foe my dog house 2017 georgetown
That sounds like a good idea Eddie! What is your doghouse currently covered with?
Wow, this looks amazing! Thanks for the inspiration 🙂
Thank you Jen, if you do your own version don’t forget to come back and let us know how it turns out :). Best Wishes, Eric
Eric, how hard was it to get the flooring under the slide rollers? Roger
Hey Roger, to be honest it wasn’t difficult. With the way our slide out functions it was really just a matter of making sure our new flooring wasn’t to thick, that way the rollers were able to roll right over the main floor the first time we tried. I think I understood your question correctly but if I didn’t let me know for sure. Best Wishes, Eric
Hi Eric!
Thanks for your detailed post. Would like to know where you purchased your storage tray/cupholder that is on top of the new dog house cover. Does it just sit on top? Is it attached somehow?
Thanks,
Jen H
Hi Jen! The cupholder is actually the same one that came with the RV and it’s screwed down, we just stained it darker. I would think you may have luck finding one at an RV parts store or even contacting the manufacturer of your rig. Hope that helps 🙂
I am getting ready to do the same thing on my 1987 Winnie. . How did you attach it to the original fiberglass doghouse in a removable way? I need to be able to get to the bolts to take up the original?
Hey Jim, so ours is actually attached to the frame of the dashboard in the back and basically hovers over the original fiberglass doghouse. So when we need to remove it we undo the screws toward the windshield and slide the new cover off. One thing to note is that when we added our trim pieces we did secure them with nails so in order to remove the engine cover we’d need to pry up the trim pieces first. Anyway, I hope this helps!
How did you lay the plank flooring over the sound proofing material? my email is all lower case. thanks
Hey Thomas, we actually laid the flooring right over the soundproofing material just as we did over the rest of the subfloor throughout the RV.
Awesome job. You’re inspiring me to renovate my 2000 Tiffin!
That’s awesome! Keep us posted on the reno!
hey guys, fantastic job on the renovation! one question i do have is how does one get into your seat. seems like a very tight fit next to the seats…im old so i have a hard time even without the large cover…thx njnomad
It’s actually not an issue at all and not much higher than the carpeted engine cover that was previously there – it’s about 6.5 inches from the floor.