UPDATE: All new featured RV tours will be posted on my other website, Wanderful RV Interiors. Existing tours will slowly be moved to the new website, and anything already moved will automatically redirect.
Disclaimer: This post may contain affiliate links, meaning, if you click through and make a purchase we (or those featured in this post) may earn a commission at no additional cost to you. View our full-disclosure here.
We’re into week 4 of the One Room Challenge, and we’ve been focusing on our custom RV media cabinet, which will hold our TV lift.
For those that are new here, the One Room Challenge is an interior design event that happens twice a year where bloggers have the opportunity to transform one room over a 6 week period. The plan is to transform our 2008 Tiffin Allegro Openroad 32LA into a Mountain Modern Motorhome. You can read more about it in Week 1, check out our inspiration and plans in week 2, and see the progress we made in week 3.
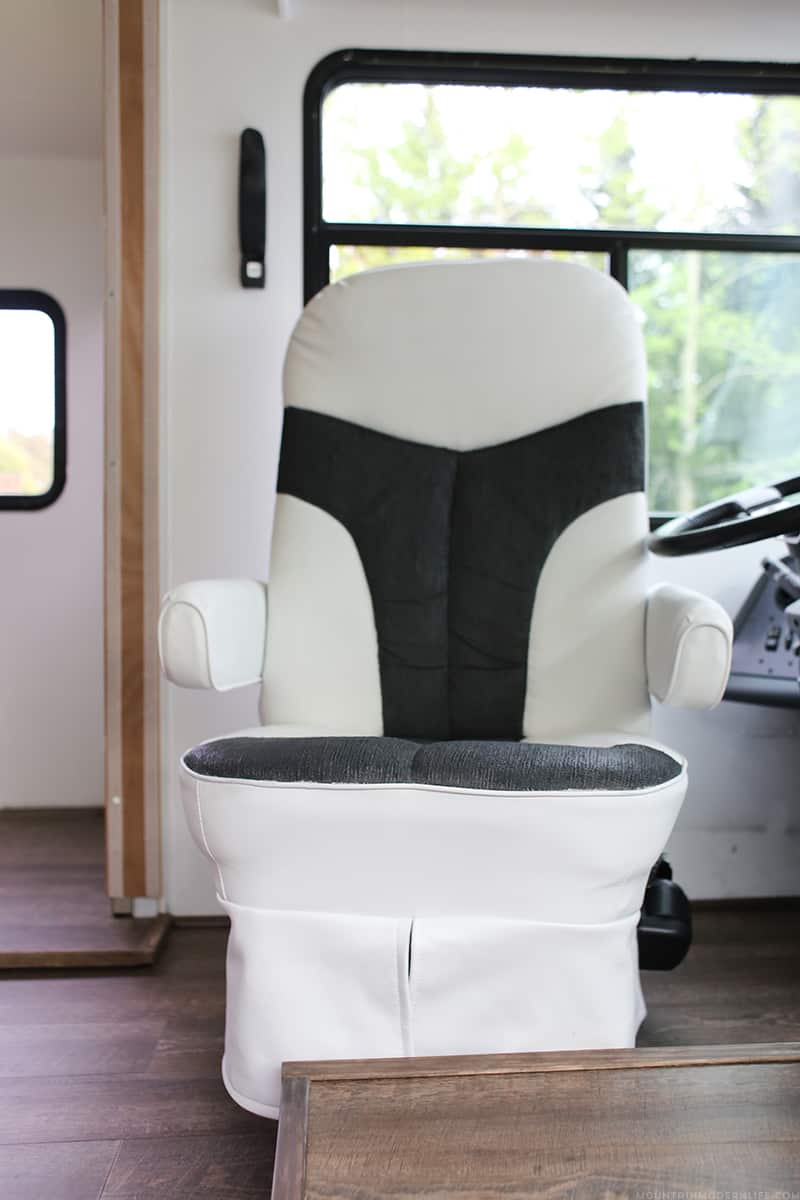
Last week I talked about how we painted our RV captain’s chairs and you can now see how those turned out and some tips we learned along the way.
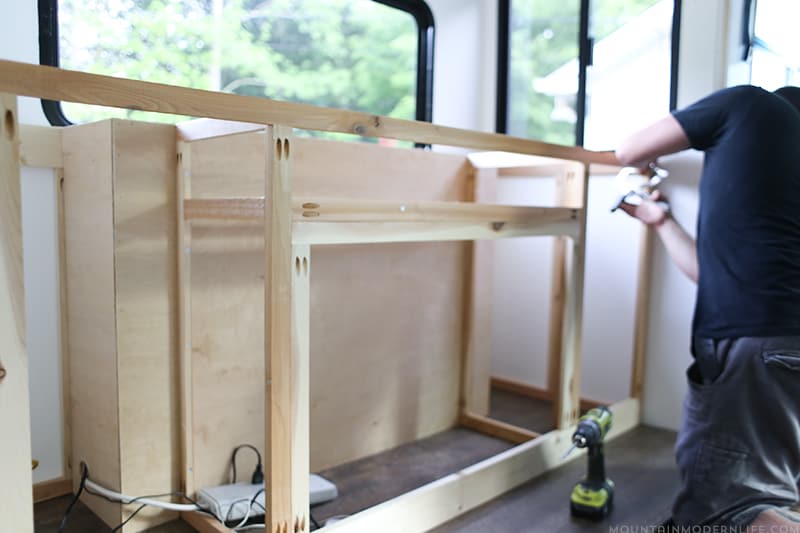
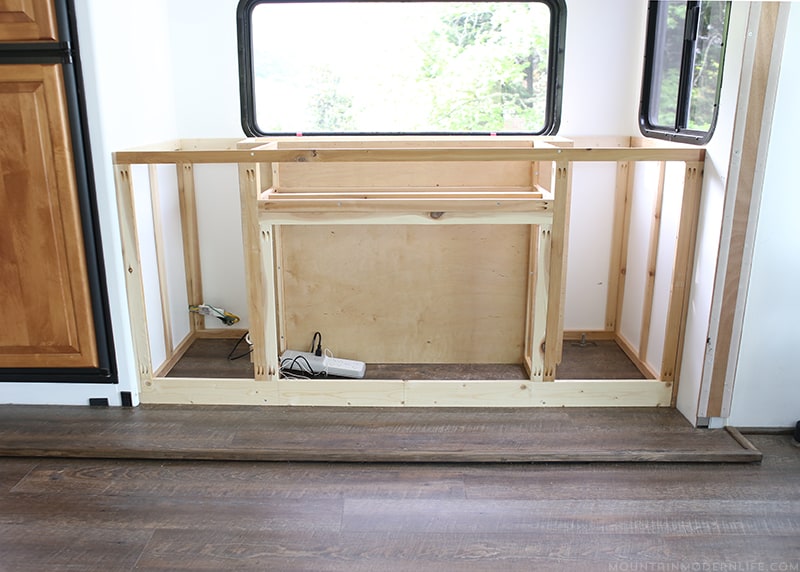
ORC Week 4: Custom RV Media Cabinet Progress
I would say we spent a good chunk of last week trying to figure out how to build the custom cabinet and making several trips to the lumber yard and hardware store. Although we have found some inspiration for building a cabinet to hold a TV lift, there’s no specific plan out there for us to use since we have to build it into the RV slide-out, and are also incorporating an electric fireplace and extending table. On top of that, we are also trying to keep the weight down with lighter materials, such as cedarwood.
Although we have built a few furniture pieces for our home, we are not experts by any means and are learning as we go. Eric’s definitely doing most all of the hard work and math so I’m definitely lucky to have him around 🙂
Here’s a video Eric made a few days ago showing the progress of the TV lift inside our RV (the front frame isn’t attached)
Another item we addressed this past week was caulking the trim around the cabinets. I can’t tell you how long the gap above the driver’s cabinet has been bugging me, and in other areas around the RV as well. I still need to add a final coat of paint to the front cab area but caulking around the cabinets and walls inside the RV was a small project that made a big difference.
I have also been honing in on what type of light fixtures to use in the RV. After weeks of contemplation I’ve finally decided to go with a horizontal, modern style light – most likely in matte black. I have found some awesome light fixtures at decent prices but we need a few of them and need them ASAP, so with time and budget in mind, I’m going to attempt to make them myself. I plan to order the parts I need today. Here are a couple of inspiration photos:
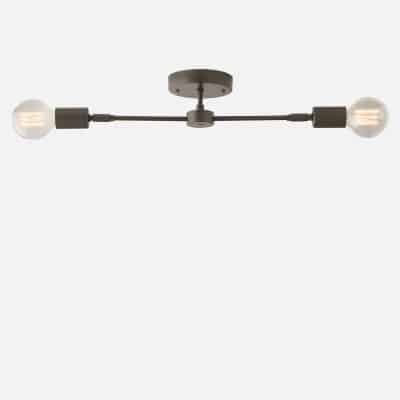
Odyssey 2 Light Fixture | School House Electric
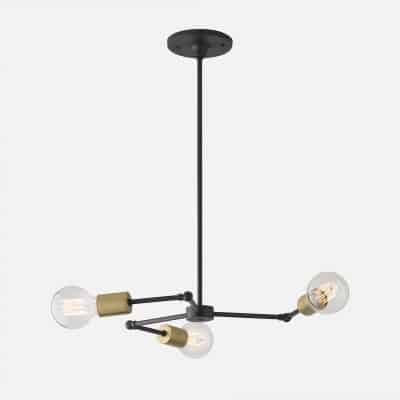
Vega 3 Chandelier | School House Electric
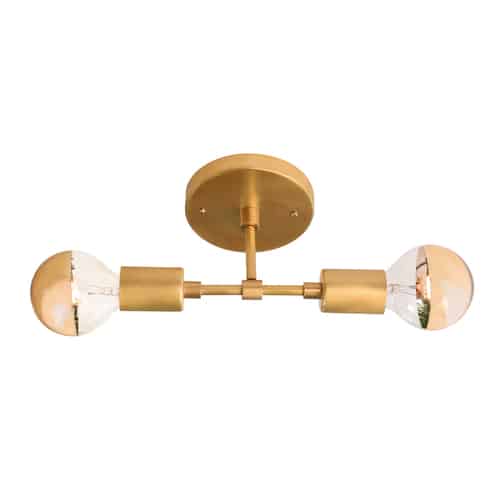
Vista 2 Modern Light Fixture | Cedar and Moss
Eric and I have been looking into new blinds for the windshield and will soon be able to cross that project off our list. We teamed up with Blinds.com who will be sending us some new roller shades for the front of our RV and should be receiving them soon. This means no more 70’s style curtains, woo-hoo!
That about wraps up the progress we’ve made this past week. Our RV is actually parked in a neighbor’s driveway since our driveway is super sloped, so we generally work in the RV for a few hours in the afternoon. However, seeing as we only have 2 weeks left of this challenge, we’re going to need to spend A LOT more time over there.
All in all, it’s so exciting to see our RV transform before our eyes and I just can’t wait to travel in it!
Don’t forget to check back next Thursday to see the progress we’ve made. You can also follow along with our progress on Instagram.
Check out the Other ORC participants
Get your daily design inspiration and those pinning fingers ready by checking out each blogger’s room transformations. You can find links to the invited design blogger’s rooms HERE and the guest participants HERE. You can also see what other participants are doing by searching the hashtag #oneroomchallenge or #ORC on social media channels.![]()
I am so impressed by all of your progress! I can’t wait to see everything come together – it’s going to be fabulous!
Geez, I am impressed by your DIY skills. It looks amazing.
I love that you’re making over an RV. I’m excited to see your reveal. Love what you’re doing so far!!
Love your blog and your ideas!
We are going to tackle some similar projects and am curious about how studs/etc. A2re attached to exterior walls? We are concerned with damaging exterior of the trailer but also about stability of the piece. Many thanks for any tips!
Hey Liz, it’s awesome to hear you guys are going to be taking on some projects, it really makes all the difference when you can make the RV yours.
So, this is kind of a difficult question to answer because all RVs are designed differently, but I’ll try to explain how we went about it and hopefully it’ll help. The main items holding our media cabinet in place are 3″ screws going into the base of the cabinet construction and into the floor of the slide-out. My studs were 3/4″ along with 1/4″ floor thickness. Underneath the floor was also a 3/4″ piece of underlayment and an 1 1/2″ piece of plywood below that. With that said I knew I had 3 1/4″ to 3 1/2″ inches of material, so I went just shy at with the floor screws at 3″.
In our slide-out we do not have any wood studs in the walls, though there is metal plating behind the wall (I figured this out by screwing into it, oops). If I were to do it again I would use anchors for the screws I used in the wall, live and learn I guess. Anyway, I used 1″ screws to go through the wall studs because I knew I had 3/4″ thick wood and only needed a little bit to get through the wood wall. This helped me eliminate the worry of going through the outside (cause that would be bad).
To sum up we built the media cabinet to fit exactly the size of our slide-out opening. The media cabinet being the exact same size, along with the 1″ wall screws, and 3″ floor screws all work together to secure the cabinet in place. We’ve had zero movement since we’ve been in the RV and have been extremely happy with it. I hope this helps and please feel free to ask any other questions if you have them. Also we have another post on the construction of the cabinet, not sure if you’ve seen it but the link is below:
https://mountainmodernlife.com/installing-tv-lift/
That one gives the most information about how we constructed the cabinet itself. Again I hope this helps. Best Wishes, Eric.