UPDATE: All new featured RV tours will be posted on my other website, Wanderful RV Interiors. Existing tours will slowly be moved to the new website, and anything already moved will automatically redirect.
Disclaimer: This post may contain affiliate links, meaning, if you click through and make a purchase we (or those featured in this post) may earn a commission at no additional cost to you. View our full-disclosure here.
I hope everyone had a great weekend! Mine was pretty good, especially since we had a little Birthday celebration at our house Saturday night for me, which ended in cake and gifts – woo-hoo! I can’t believe I just hit the big 3-0 but I know this is going to be an amazing year with all the fun projects, the wedding in October, and Eric and I really creating a life for ourselves. I’m just excited for all of it.
DIY Mid-Century Dresser Makeover
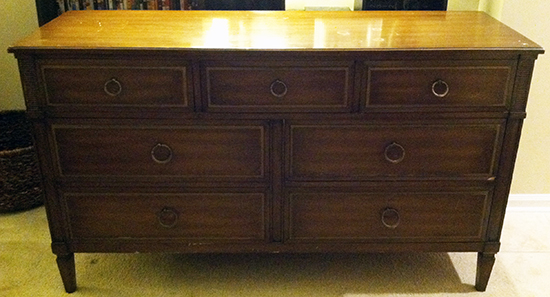
Well, today I am posting my most recent furniture makeover, a mid-century dresser that I picked up from a local thrift store a few weeks ago. These past few weeks have been ridiculously crazy and I’m so excited to have completed this makeover, especially since it’s the first piece in a while that I actually plan on selling. I wish we needed another dresser because I am loving the turn out of this one, but since we kept this dresser, we don’t really have space or need for this one. I was super inspired after looking at a bunch of different mid-century modern dressers, and you can check out my post with some photos here.
After stripping off the paint with Citri-Strip (which was my first time using this stuff and it’s AMAZING!) and sanding it down, I then painted it with Benjamin Moore’s”Barnwood” as the main color and “Cottage Linen” for the hand-painted accents. I then glazed the entire dresser and distressed it. The original knobs were kept but spray painted with Rubbed Oil Bronze. Here are the photos – enjoy 🙂
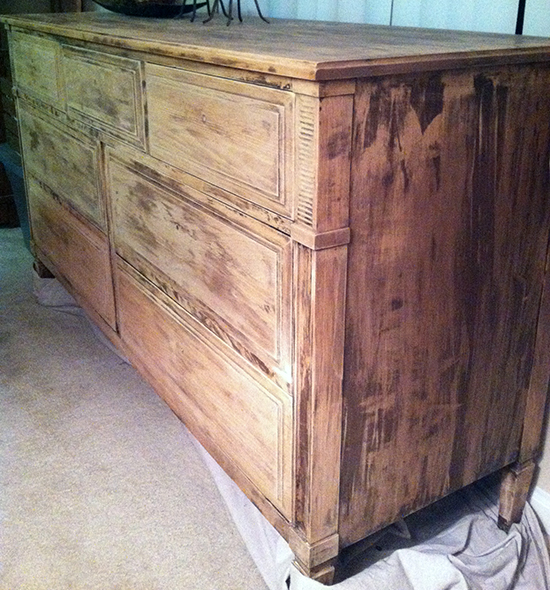
Dresser Before Photo:
Dresser During Photos:
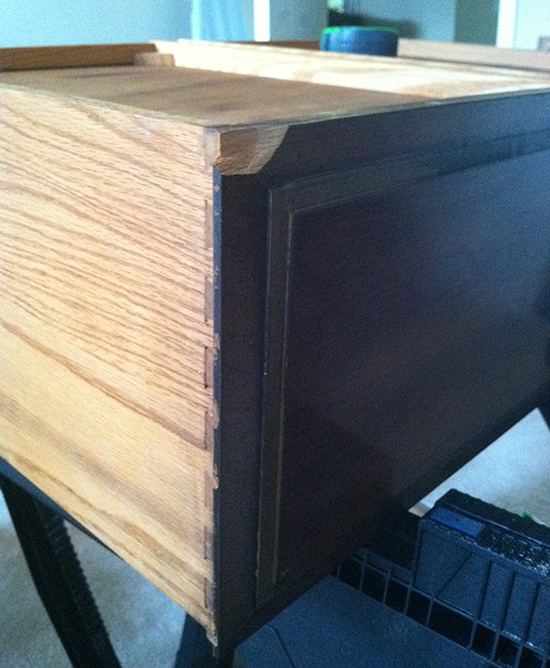
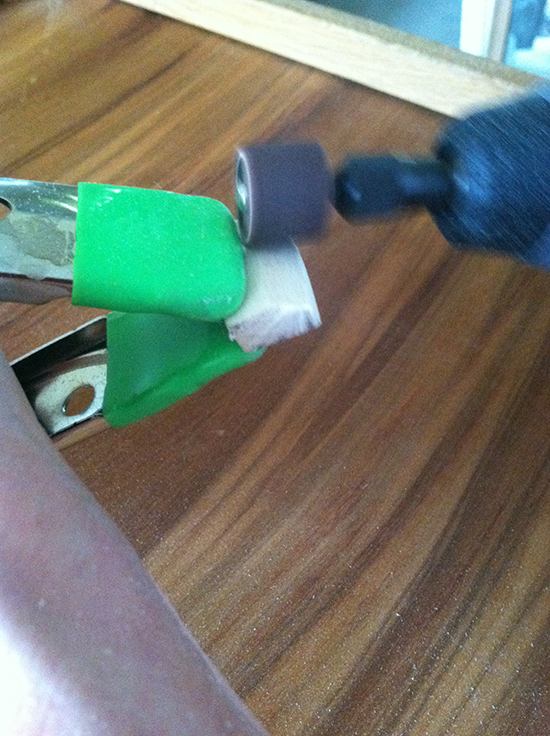
The dresser was actually in need of a few minor repairs but thanks to the help of some wood filler and my madre, we were able to patch her up. I basically just filled in some of the cracks with wood filler and then sanded those areas afterward to smooth it back out. One of the drawers had some damage to the corner so to repair that we cut a small piece of scrap wood, shaped it to fit using the Dremel (used a sanding attachment), glued it to the drawer and then clamped it down while it dried, and then with a little more sanding and wood filler it was as good as new.
Here is the drawer before it was repaired.
Here is a photo of the scrap wood being shaped so that it would fit the damaged area.
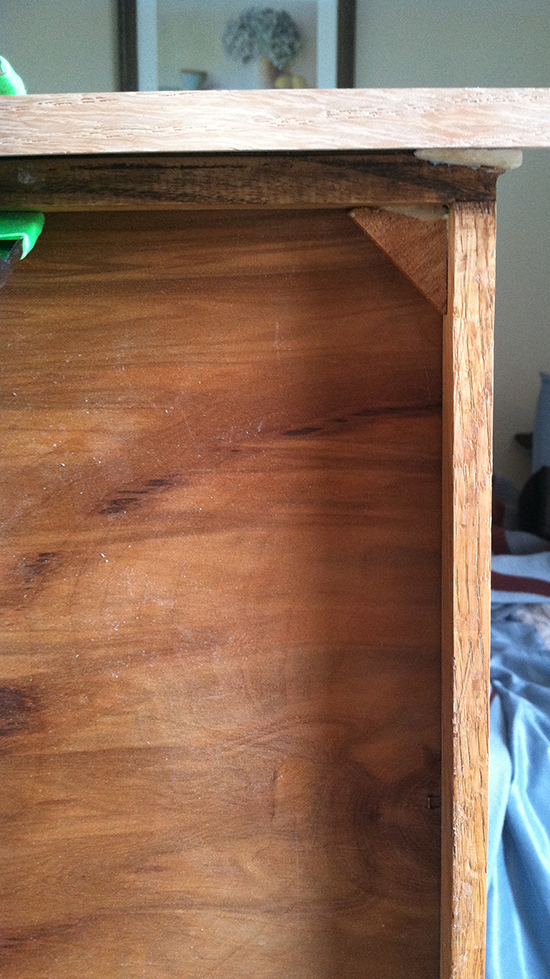
You can see the shaped wooden piece glued to the drawer in this photo – it was too small to clamp it (at least with the clamps I have), so we put a board on top of the drawer and clamped it on so that so it would stay in place while it dried.
The first thing I always do before working on a project is to clean it with mineral spirits. Here is the dresser after being stripped and then using steel wool to take off some more of the excess stain.
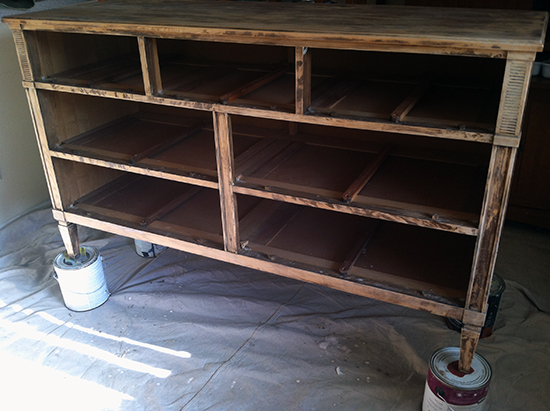
Here is another photo after the stripping and light sanding.
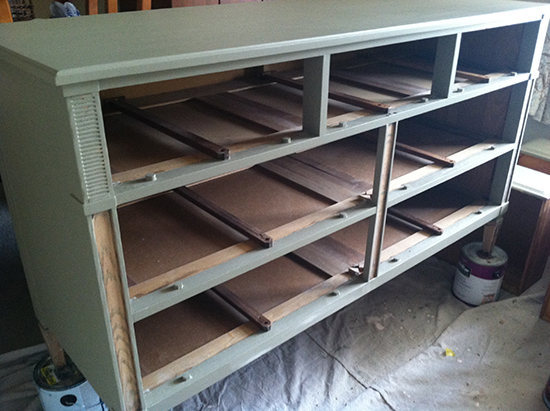
This photo is after 2 coats of paint, and I sanded it in between coats.
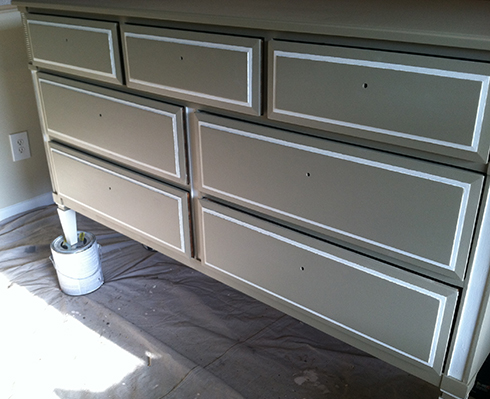
Here is a photo showing the hand painted white details.
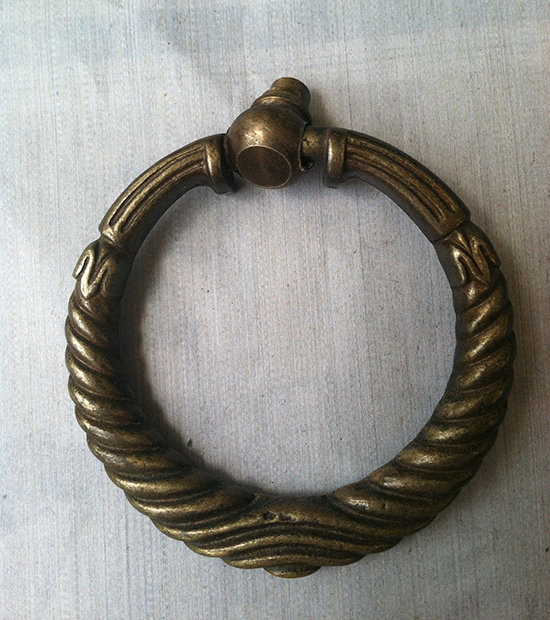
This is what the original knobs looked like – I think they are really neat and just needed some sprucing up which is where the Rubbed Oil Bronze came into play.
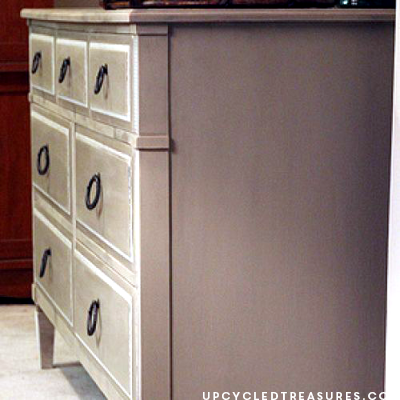
Here is the finished dresser after being glazed, distressed and waxed – all that hard work finally paid off, yay!

Now it’s time for me to watch last night’s episode of Game of Thrones – yay! Anyone else obsessed with that show!? Feel free to leave any questions or comments or share links to your mid-century dresser makeovers!
Great job! It looks brand new and very elegant 🙂
Thank you Taunnie!
Wow, this is gorgeous. You did a great job 😉
Jamie @ somuchbetterwithage.com
Thanks Jamie!
Don’t know what I’m more obsessed about … your wonderful dresser make over or Game of Thrones. Robin
Lol, I would say I’m on the fence too. Speaking of, I can’t wait to catch up on last night’s episode! Thanks for stopping by!
~Katie
Awesome makeover! Love the white detail! Jenna @ Rain on a Tin Roof
Thank you so much Jenna! I still need a better lens for my camera so I can take a photo of something without being sooooo far away, lol. I love your blog and all of the fun projects you create 🙂
~Katie
Coming over from Taryn’s this morning. Your dresser turned out beautiful love the detail!
Beautiful