UPDATE: All new featured RV tours will be posted on my other website, Wanderful RV Interiors. Existing tours will slowly be moved to the new website, and anything already moved will automatically redirect.
Disclaimer: This post may contain affiliate links, meaning, if you click through and make a purchase we (or those featured in this post) may earn a commission at no additional cost to you. View our full-disclosure here.
This weekend I decided to finally tackle my first headboard project. I have never upholstered a headboard before but have watched videos on how to customize your own and heard it wouldn’t be too difficult. I purchased this headboard from Goodwill a couple of months ago and decided to use some curtains I had gotten on clearance for $12 at Home Goods a while back. They were too short for our windows but perfect for this project! I knew I wanted something clean and simple that would compliment the nailhead trim that would be added to the edges and these curtains definitely did the trick.
DIY Upholstered Headboard Using a Curtain

- Headboard
- One curtain panel (for fabric)
- Spray adhesive
- Batting
- Nailhead trim kit
- Hammer
- Staple gun
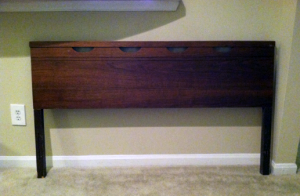
Here is the headboard before – I apologize for the grainy photo but I took it with my phone:
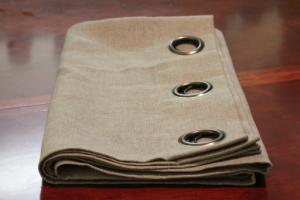
Here are the curtains I used – they are a light greenish/blue color but look more greyish in the photo. I only needed one panel:
The first thing I did was cut off the rivets and then iron out the fabric. I then came up with the brilliant idea of ironing on the kitchen table, rather than the ironing board since the panel was so long and I thought it would be easier. Turns out that was a terrible idea! I made sure not to stay on any one spot too long while ironing, but that didn’t matter and my table ended up with iron marks on it (booooooooo). Luckily, this is a table I bought off craigslist just a couple weeks ago and I was planning on refinishing it anyway. I would hate for anyone else to mess up their dining table and although I’m embarrassed to admit my mess up, I figure it is worth sharing.
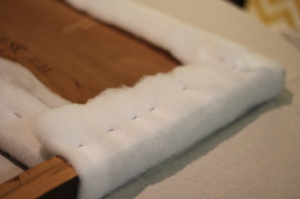
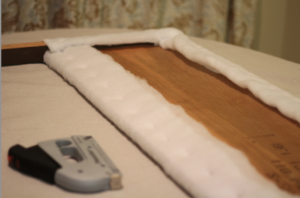
Next I covered the table with a drop cloth and laid the headboard on top of it. I sprayed some spray adhesive to the front of the headboard and placed the padding on top of it. Then I flipped the headboard over so it was face down on the table so that I could begin stapling the batting to the it. I made sure there was about 3″ of batting on each side and cut off any excess. I bought the batting at JoAnne’s Fabric store and used a 50% off coupon making it about $8.
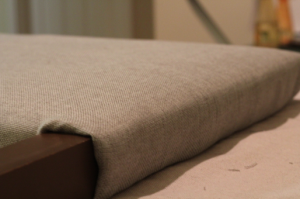
I then began to staple the fabric to the back of the headboard starting with the top, then the bottom and then the sides.
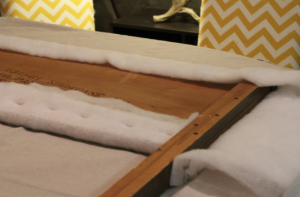
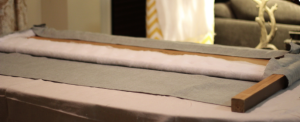
After stapling the batting on all sides it was time to start stapling the fabric. I moved the headboard so that I could place the fabric on the center of the table and then put the headboard on the fabric, face down. I then went around the headboard stapling the fabric down about an inch down the board.
I wanted to fill in the oval cutouts on the headboard (which you can see in the original photo of the headboard) so I filled each one in with extra batting and stapled the fabric over it as well.
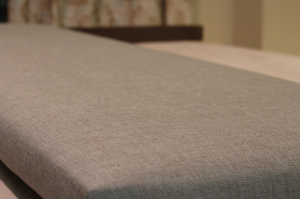
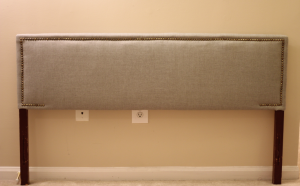
After the fabric was stapled down it was time to add the nail head trim, which I also picked up from JoAnnes with a 50% off coupon (did this on a separate trip from when I had picked up the batting). Here is the headboard with the fabric completed:
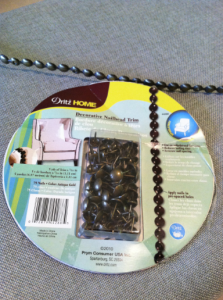
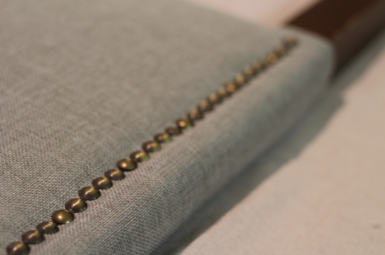
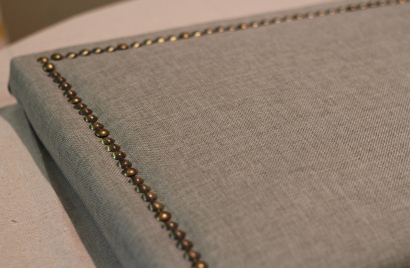
And this is the nail head trim I picked up for less than $13. You can get the nail heads by themselves for about $3/box but I had never done this before and decided to take an easier way out. This kit came with rows of nail heads and you only have to hammer down an actual nail head every 5 spots or which made it easier to keep the lines straight and also took much less time than doing one at a time. I would definitely recommend using this product.
I measured out an inch from the edge and started adding the nail heads, this was surprisingly easy and I LOVE the end result.
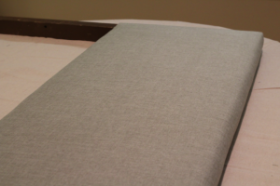
Here is the finished upholstered headboard with nailhead trim! I had a lot of fun working on this headboard, love the way it looks. What interesting projects have you used window curtains for?
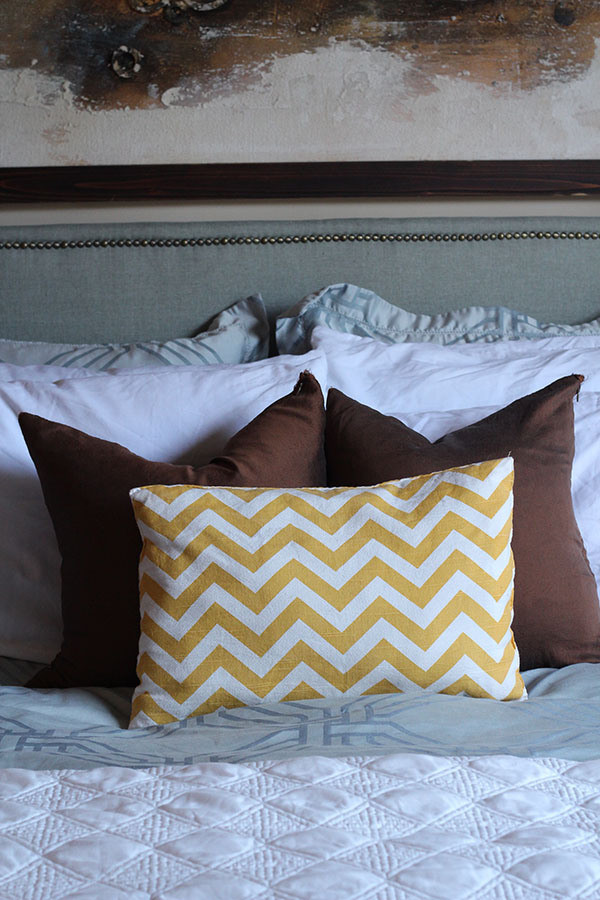
Update: This headboard was too short in our existing bed frame so we actually ended up sawing off the legs and attached a french cleat to hang it on the wall.
I looks great!! I really like the grey with the nail trim. I recently did my own headboard and love the way it turned out.
Thanks Angela, this was my first time using the nail head trim and I was really happy with the way it turned out. The color is a grey/blue/green but I definitely need to work on taking better photos and utilizing natural sunlight. Do you have a link to your headboard – I’d love to see it.