UPDATE: All new featured RV tours will be posted on my other website, Wanderful RV Interiors. Existing tours will slowly be moved to the new website, and anything already moved will automatically redirect.
Disclaimer: This post may contain affiliate links, meaning, if you click through and make a purchase we (or those featured in this post) may earn a commission at no additional cost to you. View our full-disclosure here.
Are you looking for some inexpensive ways to fill those empty walls? Today I am sharing an easy way you can create some DIY wall decor using your printer and the chalk transfer technique.
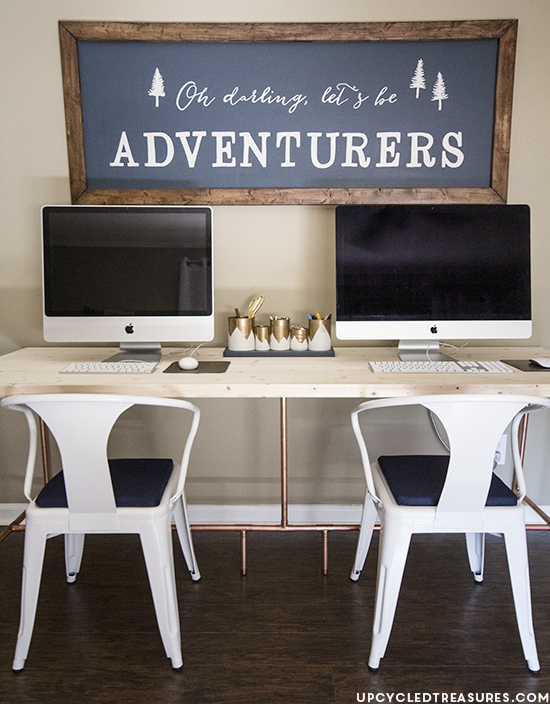
I made this framed wall art that says Oh darling, let’s be adventurers back in the fall, and it’s already been moved several times in our home. The truth is, I love it so much that I think it looks good in every room. As of now, it’s hanging up in our foyer, but you may recall first seeing it hung up in our bedroom before the copper pipe desk was moved into my office. Yes, shifting things around is the norm around here.
DIY Wall Art: Oh Darling Let’s Be Adventurers
It’s no secret that Eric and I love the great outdoors, plan to move to the mountains in the near future, enjoy taking road trips and creating our own adventures. If you’re like us and have an aching for wanderlust, this DIY sign may be just what you need.

- Inkjet Printer and Copy Paper
- Plywood
- Paint
- Paint Roller/Craft Detail Brushes
- Chalk
- Ruler/Yardstick
- Hanging Hardware
- For the Frame:
- 1 x 3 Boards
- Stain/Rag
- Ryobi Airstrike Nail Gun
- Clamps
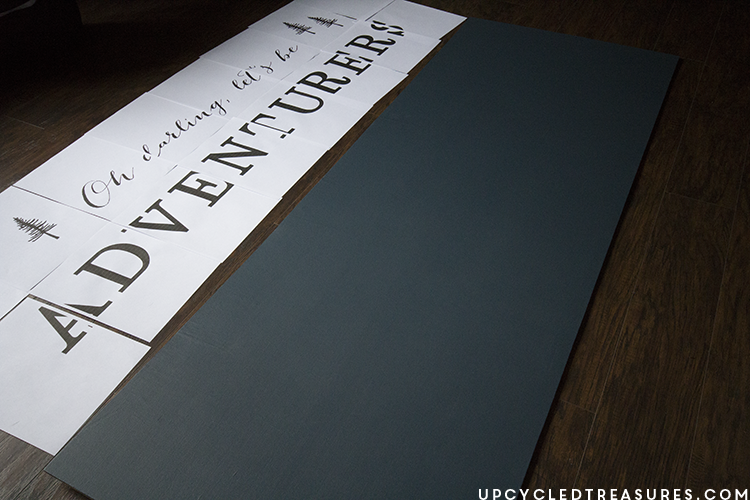
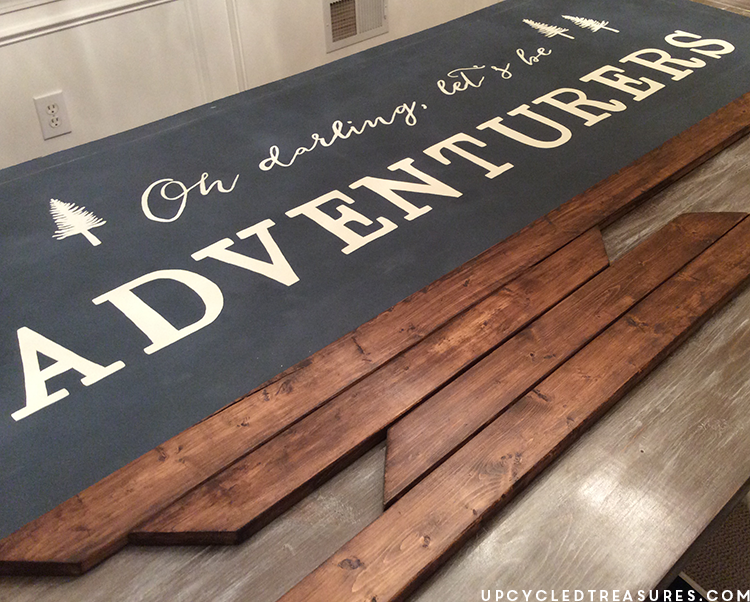
We had some random pieces of plywood leftover from several other projects so I decided to use that for this wall art. It was 60 x 20 and I decided to create a design based on that size.
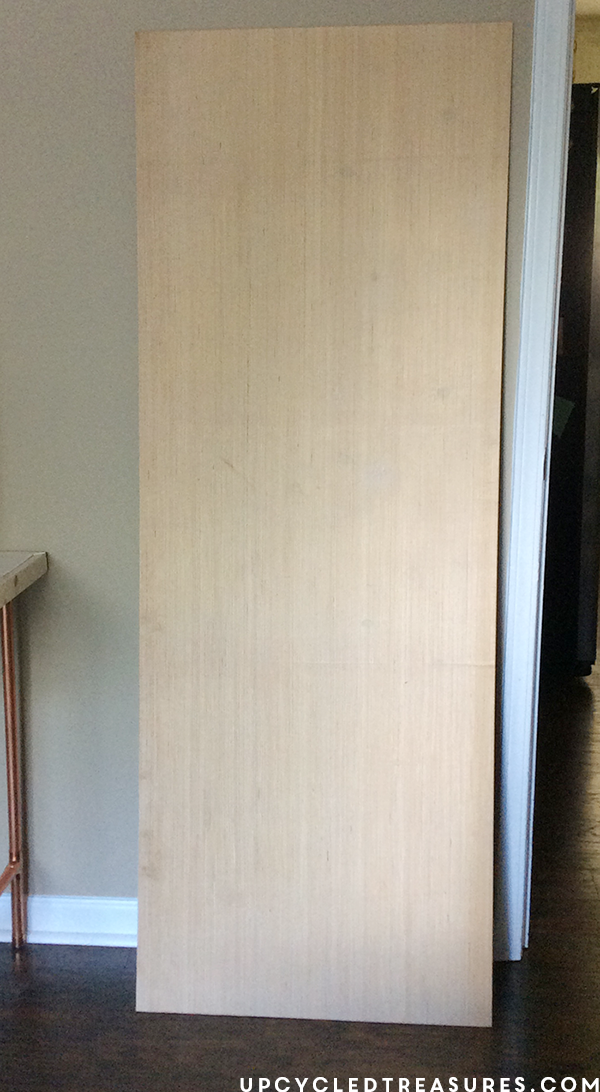
The first thing I did was paint the entire piece of plywood navy, using some custom mixed paint.
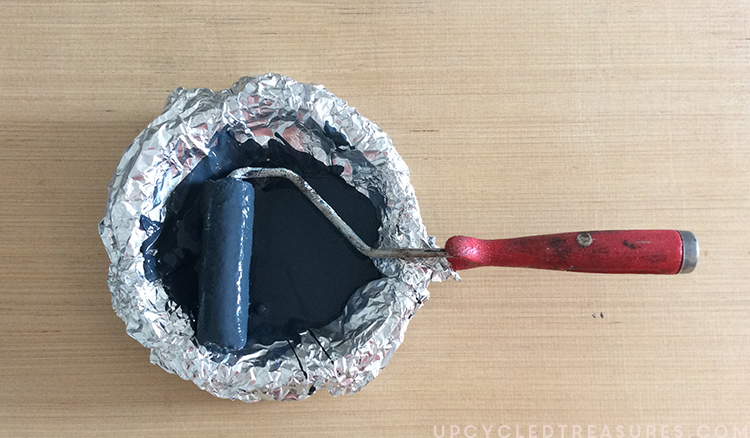
I painted on 2 coats and while that dried I played around with some fonts to create the design (for the oh darling, let’s be adventurers wall art) I wanted in Adobe Illustrator. Of course, you could use Microsoft Word, Paint, Photoshop, or even PicMonkey.com to create the design you want or even find a design you like online.
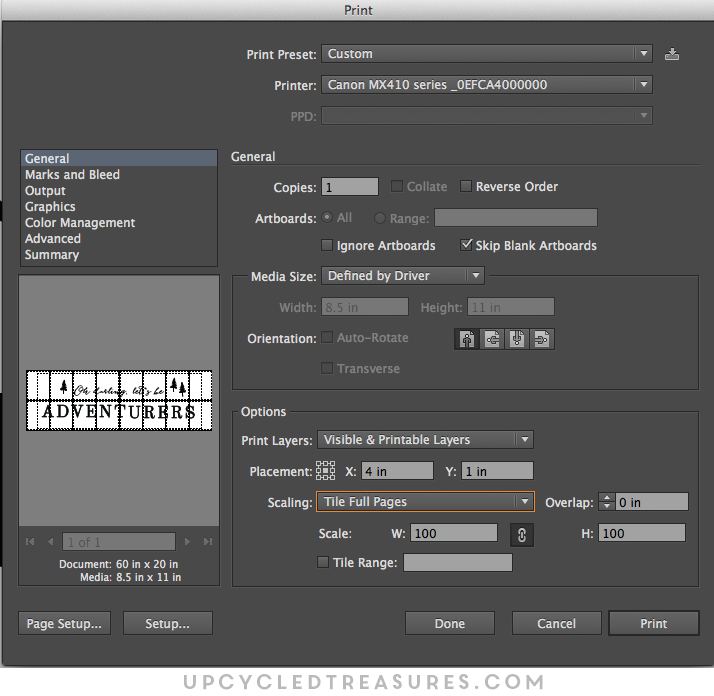
Here is the simple design I created using the fonts Bombshell Pro {paid} and Old Standart tt {free}. Ignore my awful looking trees, haha.

Afterward, I set the file up to print as Tile Full Pages. Of course, this is only necessary if you are creating a really large piece of art.
 This is what it looked like all printed out:
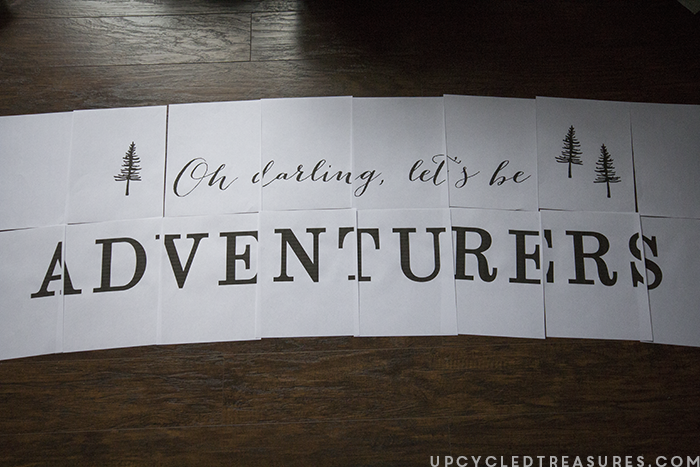
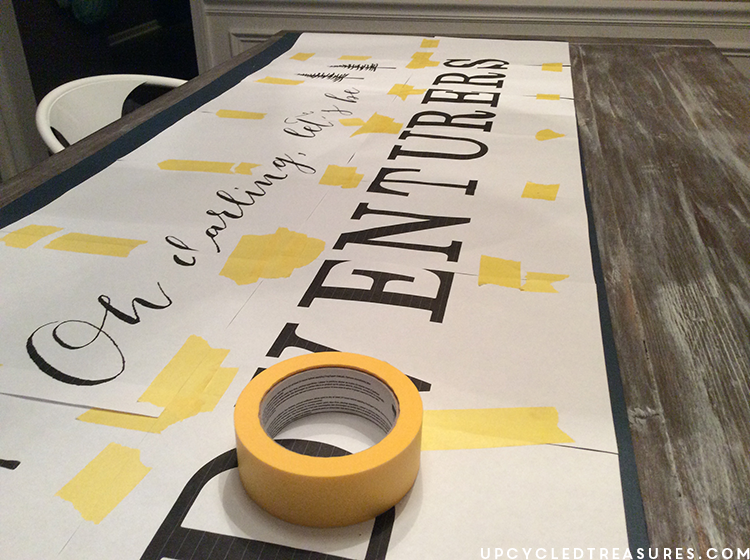
I then taped the pages together, making sure not to cover any of the ink. You will notice that there are small areas of the text that was missing where the letters overlapped, but you will see that’s not such a big deal and you can easily fill those areas in.
I had messed with my computer settings a bit to try and figure out how to fix this but wound up just using the default settings.
If you have any tips, please feel free to share them in the comments 🙂
Just make sure you line your pages next to one another and don’t overlap them.
Once my pages were taped together I flipped the paper over and went over the entire thing with some chalk. You basically want to rub chalk all over the back of the page, on the opposite side of the ink. This is the same technique I did in this post about how to easily transfer designs onto chalkboards.
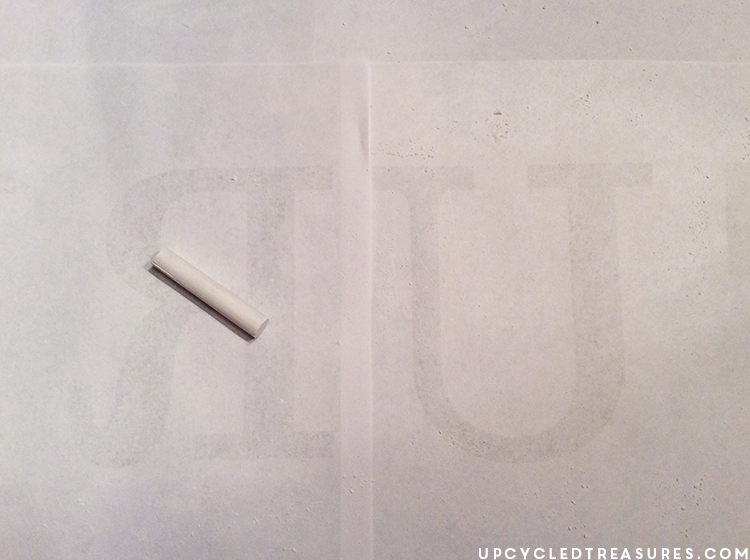
After you have rubbed chalk over the back of the letters/design, you will want to flip the papers back over and place them where you want them on your painted board.
I had already measured and marked off where I wanted my frame to go, so I just placed my design inside those parameters.
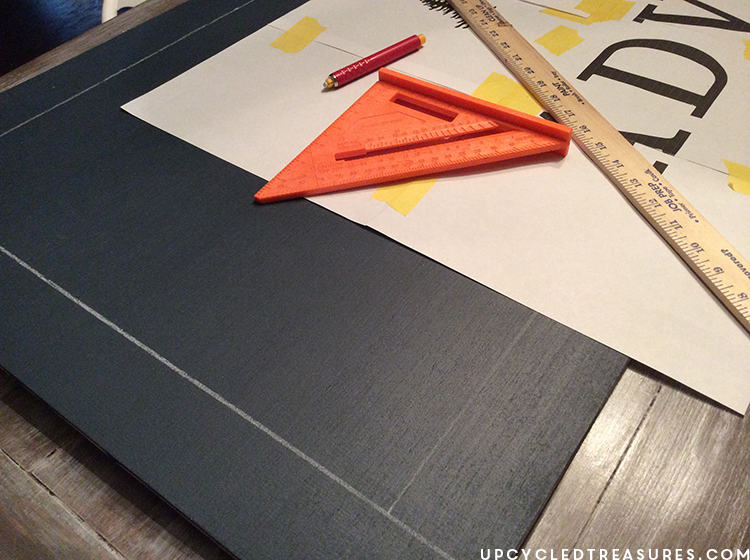
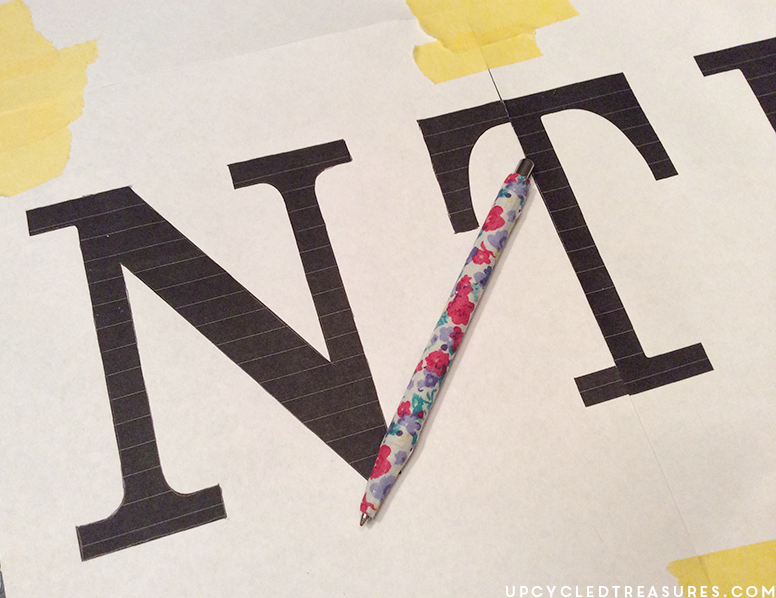
Once I had my design in place with the ink side facing up, I went over each letter with a pen. I only went over the edges of the letters because this will basically create an outline on your plywood that you can later paint in.
This is what it looks like when you remove the page:
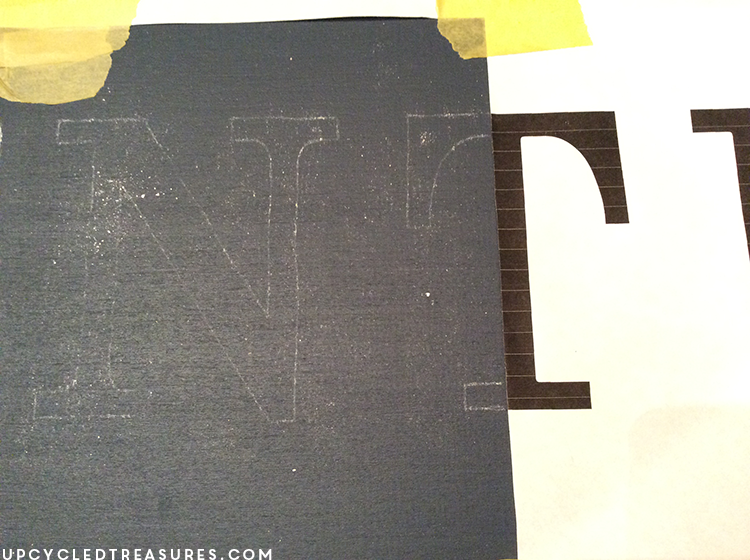
You will want to be careful not to accidentally erase the chalk outline so that you can see it later. For this reason, I recommend tracing over a page at a time, then removing the page and painting in the design that was transferred over from that page.
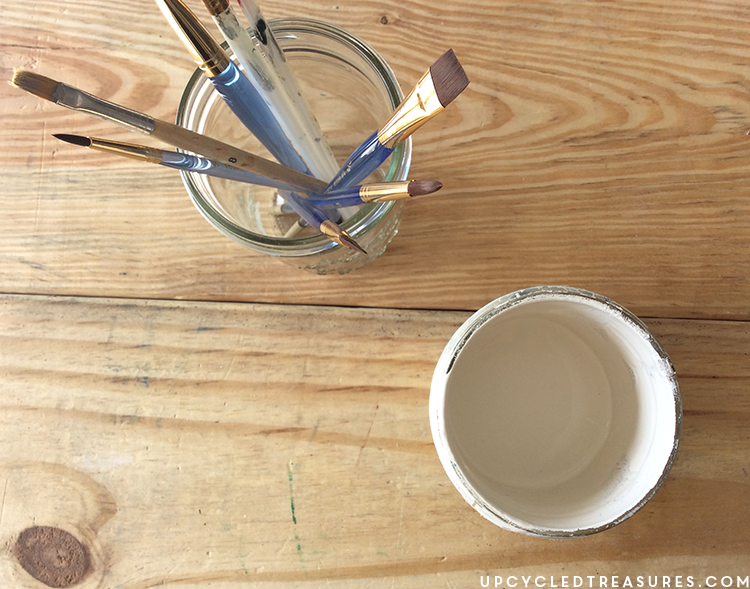
Afterward, you can move onto the next page, and so on and so forth. I just used some small detail craft brushes and some thinned-out white acrylic paint that I mixed with a little water to make it flow a little easier.
I did this project in the wee hours of the night and apparently never took any photos of me actually filling the letters in with paint. Go figure. I wound up going over each letter a second time once the paint was dry.
While the paint was drying I got to work on the frame which was just some cut up 1 x 3 boards that were stained using a combination of different stains. I think I used American Walnut and Provincial but I’m not 100% sure.
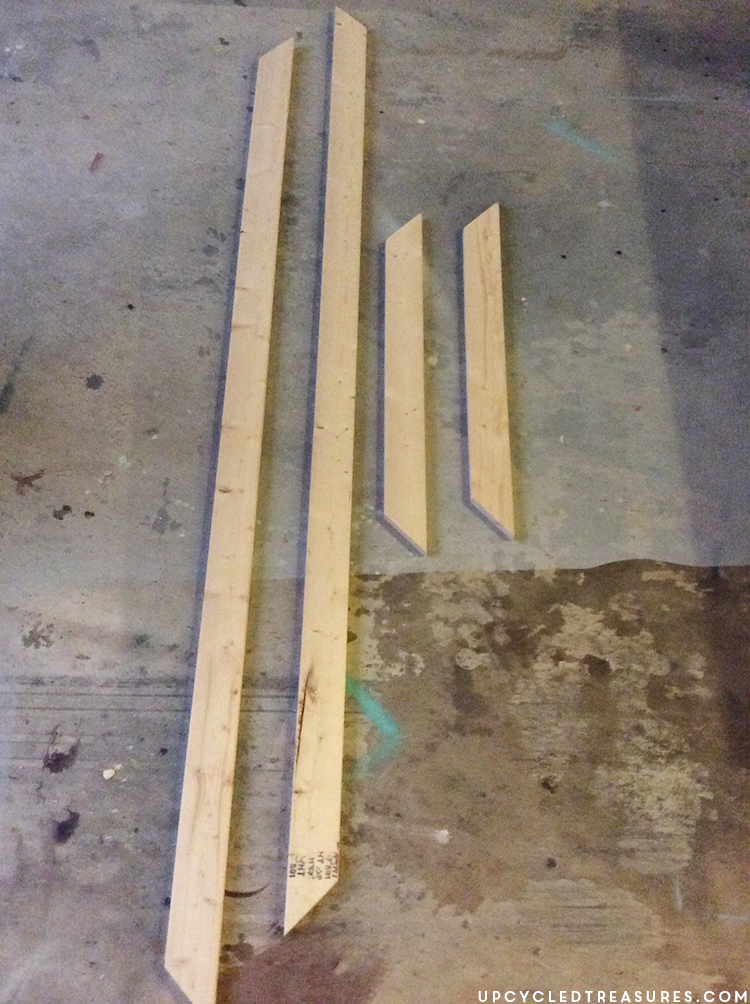
Here are the stained board next to the painted plywood:
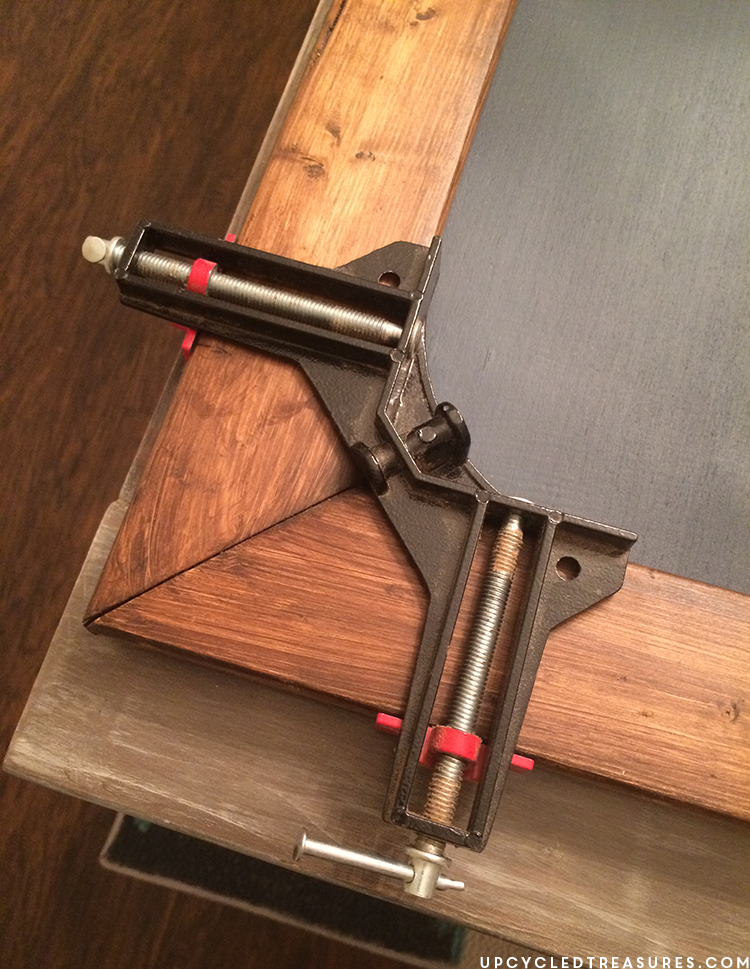
I normally would use the Kreg jig to make the frame, but this time I just placed the wood on top of the plywood and nailed it into place with our Ryobi Nail gun.
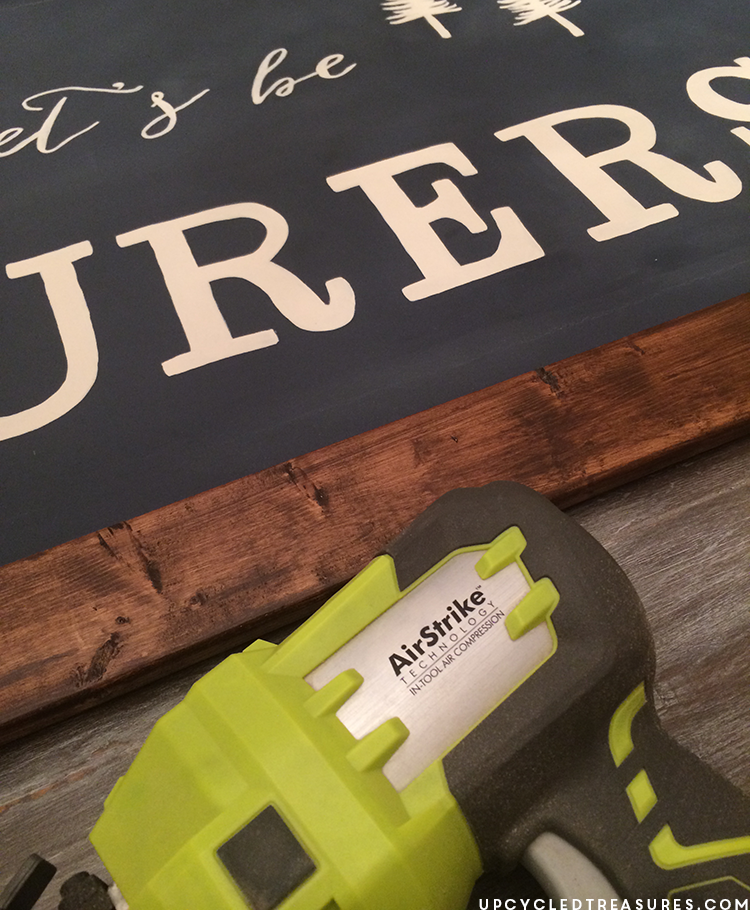
We used a right angle clamp to hold the corners nice and tight while we nailed the boards in place. We then added some hanging hardware to the back and it was good to go.
Here it is all finished! What do you think of our Let’s be Adventurers wall art?
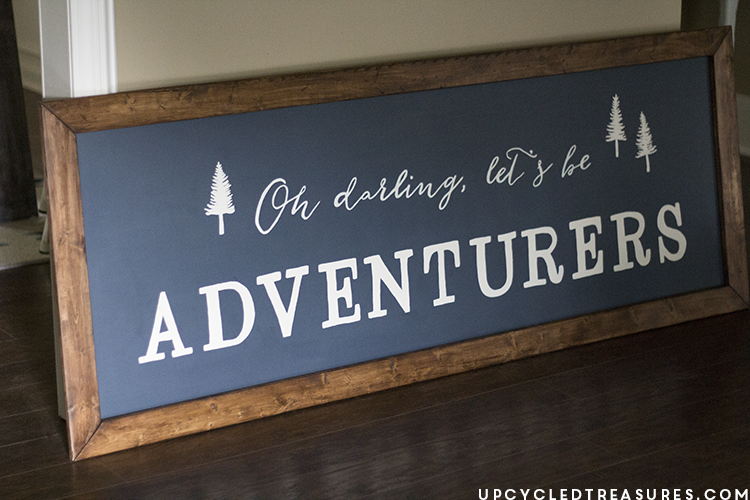
Here it is in our foyer:

I’ll be the first to admit that I have super shaky hands and that my paint job is far from perfect.
Hand painting also makes my hand cramp up so I have to take a lot more breaks than I’d like. If I had my Silhouette machine back when I made this I would have used that instead. However, if you don’t have the silhouette, or even if you prefer the hand-lettered look, then this is a fun, easy, and affordable way to create your own wall decor! We’re really happy with the way our Let’s be Adventurers wall art turned out.
I love how your project turned out! Pinned it for later.
Oh, it is SO cute! I love the saying, and I love the whole look of it. Good idea for covering the back with chalk and then tracing over it. Thanks for sharing at On Display Thursday. Pinned!
Hi there–I’m curious as to what size nails you use to nail the frame into the plywood. Do they come through the back of the plywood?
WOW!!! Can I just say that you are AMAZING!!! This is awesome! You are sooo creative! This must have taken so much time! Way to go! I’m so inspired!