UPDATE: All new featured RV tours will be posted on my other website, Wanderful RV Interiors. Existing tours will slowly be moved to the new website, and anything already moved will automatically redirect.
Disclaimer: This post may contain affiliate links, meaning, if you click through and make a purchase we (or those featured in this post) may earn a commission at no additional cost to you. View our full-disclosure here.
Wanna get crafty this Christmas and make your own signs? While there are numerous methods for making signs, today I’m going to share a super easy option that doesn’t require a fancy vinyl cutting machine. Instead, you can make these holiday signs from printables and a blank canvas.
How to Make Holiday Signs from Printables
This is one of those projects I think would be fun to make at a holiday party or get together. You can make signs to use in your home, or to give away as gifts.
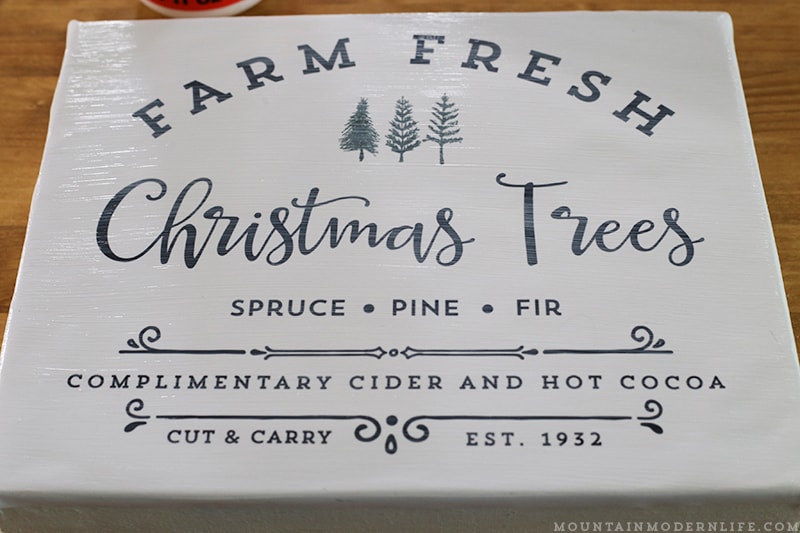
The first thing you’ll want to do is gather your supplies. For this example, I used the Farm Fresh Christmas Trees Printable from my shop, and also show a sample using our Farm Fresh Pumpkins design, but you can use any printable or photo.
I suggest using a print slightly larger than your canvas and printing from a print shop unless you have a laser printer. Otherwise, the ink may bleed if you use an inkjet printer.
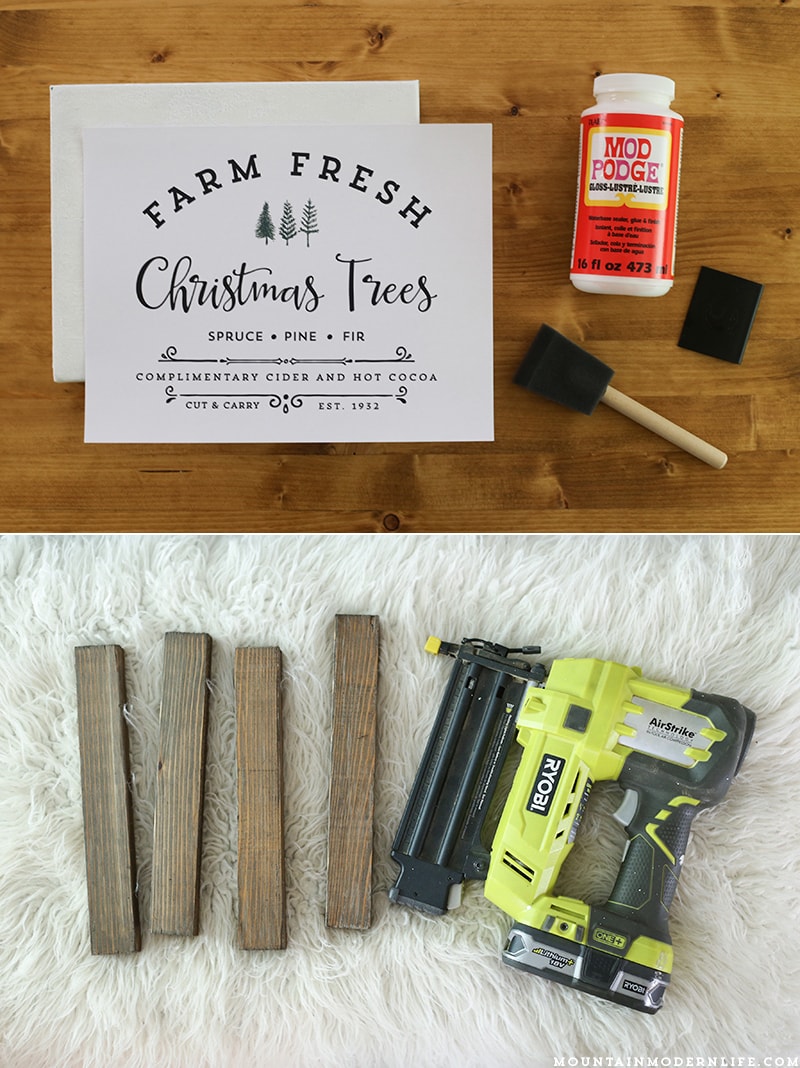
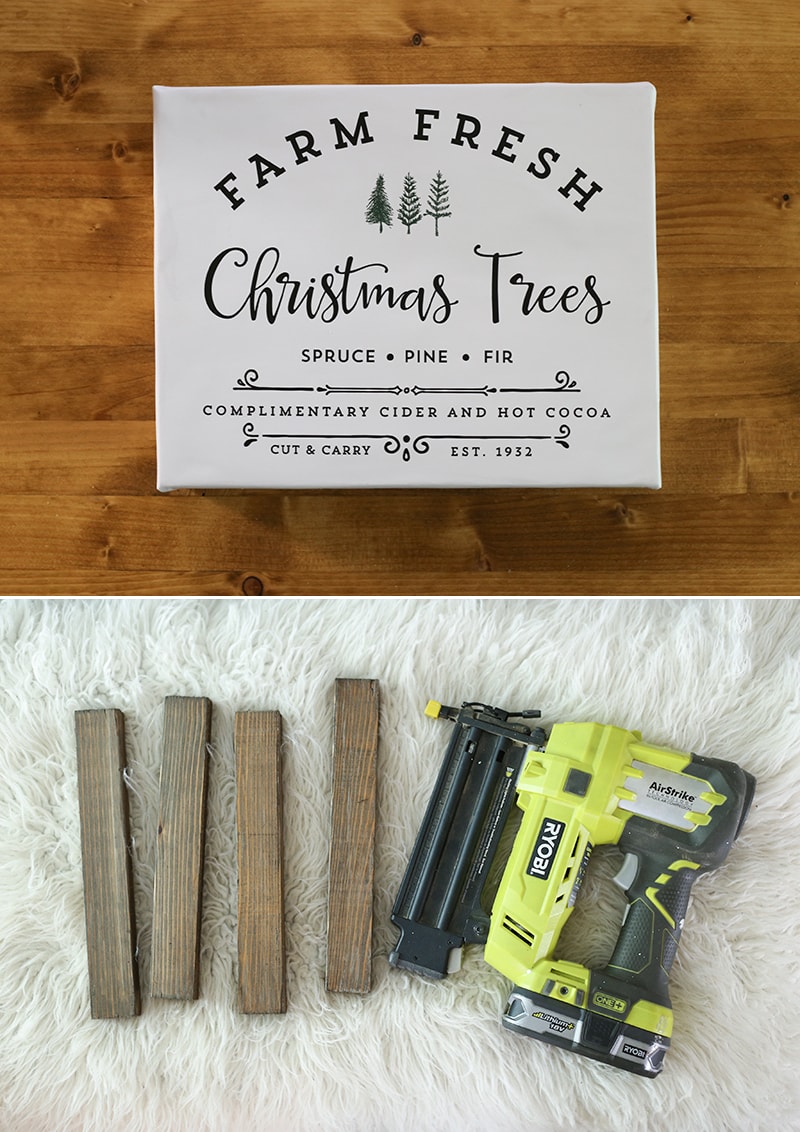
Gather your supplies:
- Printable – Farm Fresh Christmas Trees Print
- Canvas
- Mod Podge
- Foam Brush
- Mod Podge Roller/Brayer/Credit Card – I used a Silhouette scraper
- Wood for frame – I used a 1 x 2 cedar board cut to size
- Stain/Paint – optional
- Nail Gun
For this project I used an 11 x 8.5 print on 110lb cardstock and a 10 x 8 Canvas.
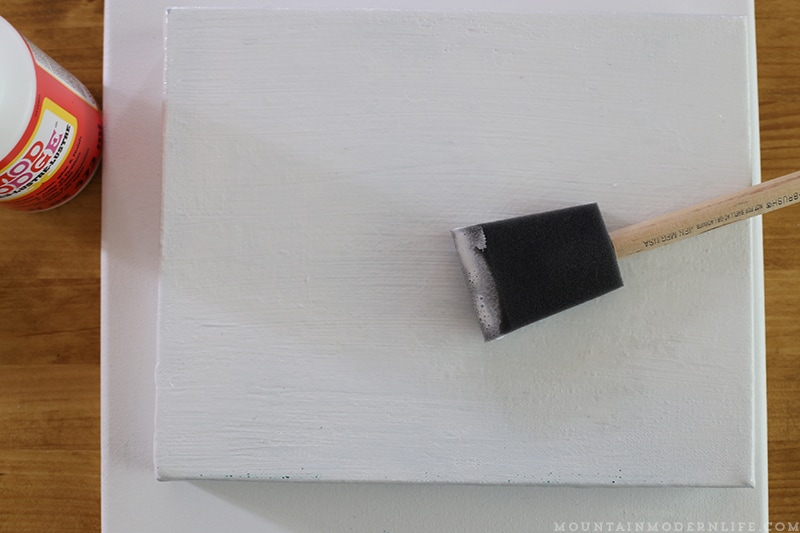
Step 1: Brush a layer of Mod Podge onto your Canvas.
I would do a decently thick coat because you want to make sure your print will stick to the canvas. Not too much where it gets sloppy and drips, but you want good coverage.
Don’t have Mod Podge? You can also attach a print to the canvas using Spray Adhesive as I did for this canvas project.
Tip: I recommend using a new canvas if possible. I used a not-so-new canvas I had on hand because it’s been chilling under our RV sofa just waiting to be brought back to life. It was previously painted a bright color so I painted it white before starting this project to make sure the color didn’t bleed through. The canvas also wasn’t super tight. It was decent, but not like new. This wasn’t a huge deal, but I think the final project will likely turn out better if you’re using a new canvas.
Step 2: Place Print onto Canvas
You’ll want to get your print centered onto the canvas. I just eyeballed it and felt the edges to make sure they were even. You’ll have a little wiggle room after you place your print down, but you’ll want to get it in place as quickly as possible before it’s stuck down. Once you have it in place, press firmly in the center and around the corners – just not too firmly where you indent the canvas.
I had this design printed from Staples on 110lb cardstock and purchased a couple prints just in case I screwed up. I’d rather spend a couple dollars and know I have what I need when I start my project, vs. having to go back out if I mess it up the first time around. And it’s a good thing I did…
True Confession: I had prints in both 67 lb cardstock and 110lb cardstock so I could test them both out. The 67lb ended up with more wrinkles on my canvas that were much harder to get out because the paper was thin. This mixed with my canvas being a little worn resulted in a not so pretty look. Rather than tear the paper off and risk paper stuck to my canvas I’d have to remove, I just glued it down all the way and then added a 110lb print on top of it.
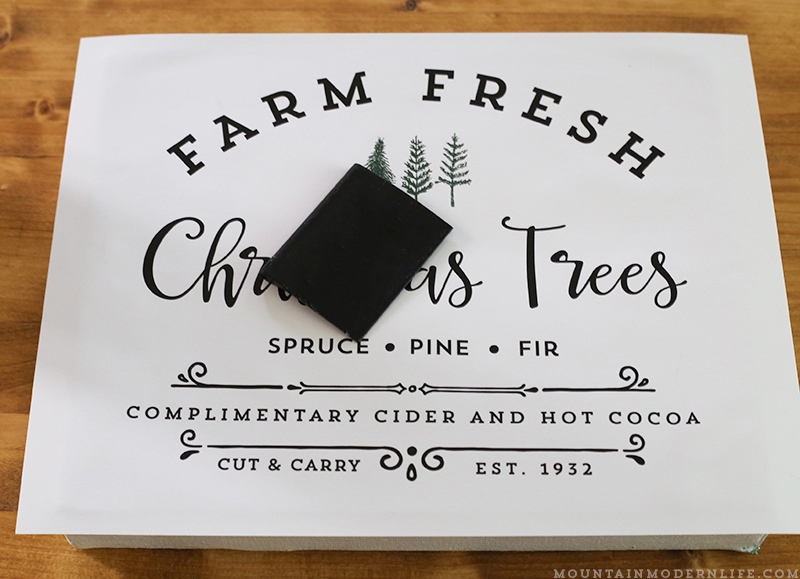
Step 3: Smooth Paper out to Remove Wrinkles
Next, you’ll want to use a brayer/squeegee or credit card to gently smooth out any bubbles or wrinkles in the image. I used my Silhouette scraper. I also used my hands – mostly my palm – but don’t recommend this because you could create smudge marks on your canvas. I guess I like to live dangerously because I do it anyway, haha. I just make sure to wash my hands so there’s no Mod Podge residue on them.
Step 4: Fold edges of the paper over
Once your print is in place and smoothed out, you’ll want to fold one edge of the paper over. You could always cut your paper to be the exact size of your canvas, but I prefer to use a print slightly larger, and then fold the edges over.
I probably could have done a better job with my corners so they weren’t so bulky. Woops.
I’ll generally add a bit of Mod Podge to the underside of the paper edge, along with on the edge of the canvas. I’ll then fold one side – smooth the paper out, fold another side, smooth the paper out, etc. I fold the corners like a present – but I’ve gotta work on my present wrapping skills. Don’t worry if some of the Mod Podge gets on top of the paper.

Step 5: Let it dry. Seriously.
This may be the most difficult step for me because it involves patience. Before moving forward you’ll want to let your canvas dry for 15-20 minutes. Make some more coffee, start on another canvas, or take a walk. Do whatever you gotta do and then move onto the next step.
Step 6: Brush a layer of Mod Podge on Top
Now you can brush a layer of Mod Podge on top of your print. This is what gives the printed paper a canvas texture, which still amazes me every time I do this.
You’ll want to do a decent layer, but not too thick and make sure to use long, even strokes all going the same direction.
I’ll generally pour a little Mod Podge in the center of my canvas and the brush it from there because it’s easier and more fun.
Tip: If you notice any lint or dust getting onto the canvas avoid touching it with your finger. Instead, I would take a damp paper towel and dab at the canvas. This will generally pick it up and then I would lightly dab a bit more Mod Podge in that area, and then brush a new stroke over it. Sometimes just letting it dry and then doing this will work even better so don’t stress if you discover a flying piece of pet fur landed on your canvas.
Step 7: Let it dry.
Let the first layer of Mod Podge dry on your canvas, and after about 20 minutes brush on a second coat. I’ll generally do this in the opposite direction as the first.
You can even wait and do a third coat if you want, but it’s not necessary.
Step 8: Add your Frame (optional)
Once dry you can add a simple wood frame to your canvas using a nail gun. We had an extra 1 x 2 cedar board lying around so that’s what I used. We just cut it down to size and I stained it with a random concoction of stains I had available. This canvas was extra thick which made it even easier for me to nail the wood frame pieces down, but looking back I think a 1 x 3 board would have been nice because I could have had it come off the front a bit more. It’s all about preference so use what you prefer – or have on hand.
If you don’t have a nail gun you could always attach the wood using L brackets or even go with paint sticks and a staple gun. (You can see my canvas wall art with paint stick frame here).
Or you could always skip the frame, cut your print to be the exact size as your canvas and then paint the edges of the canvas black.
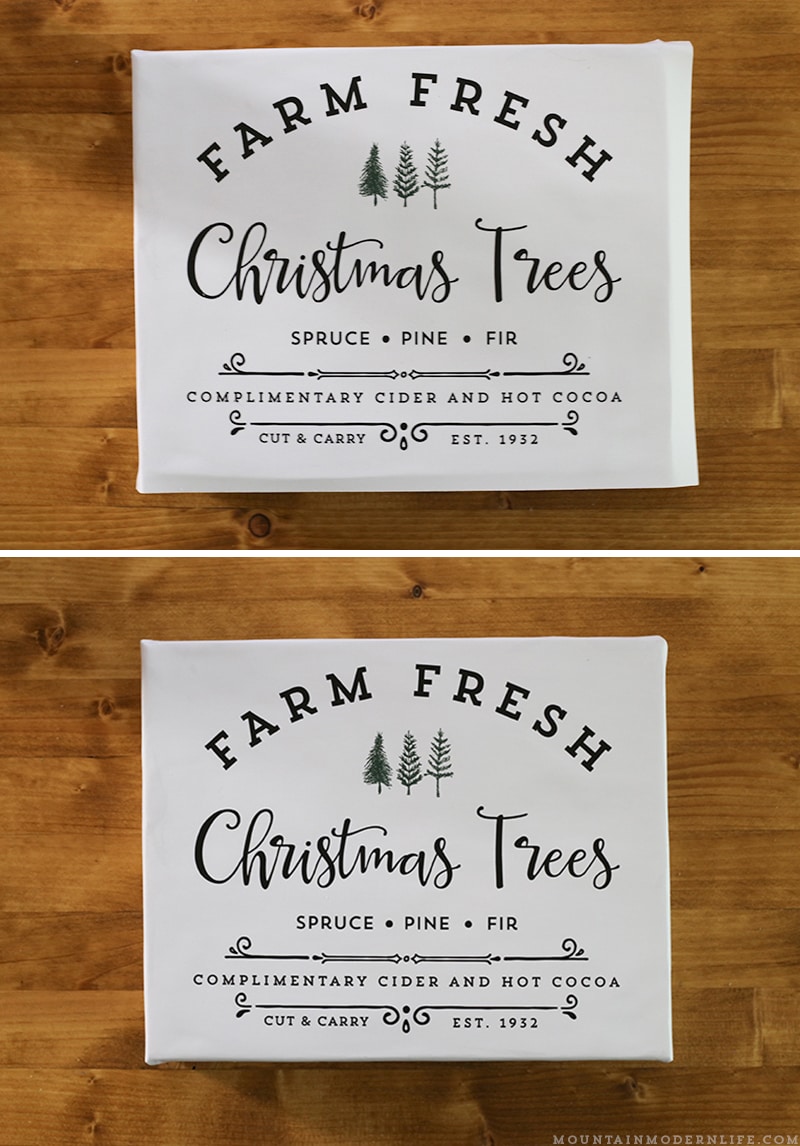
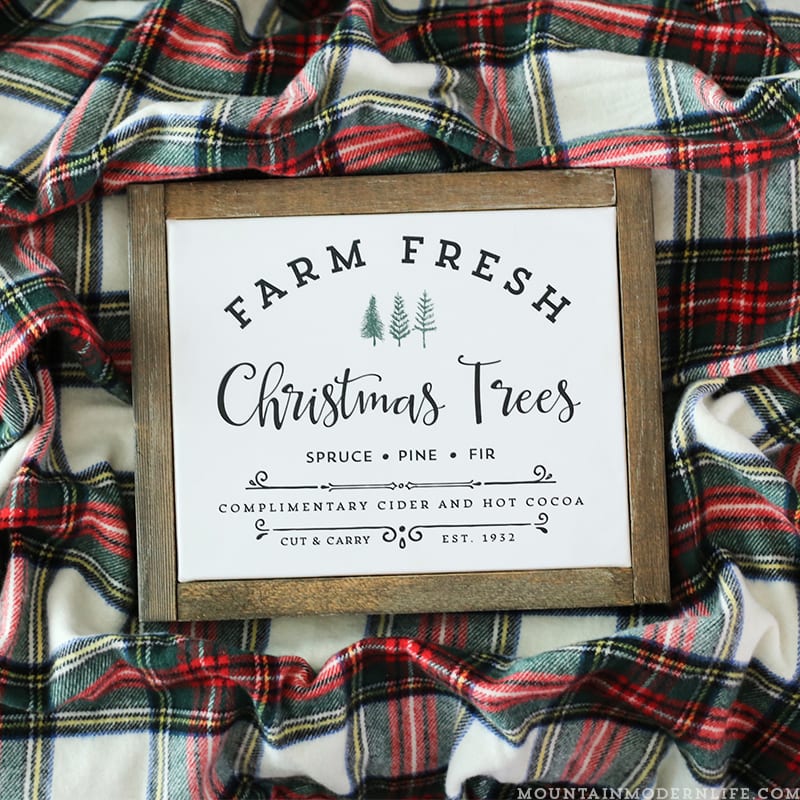
Step 9: Give it away or hang it up!
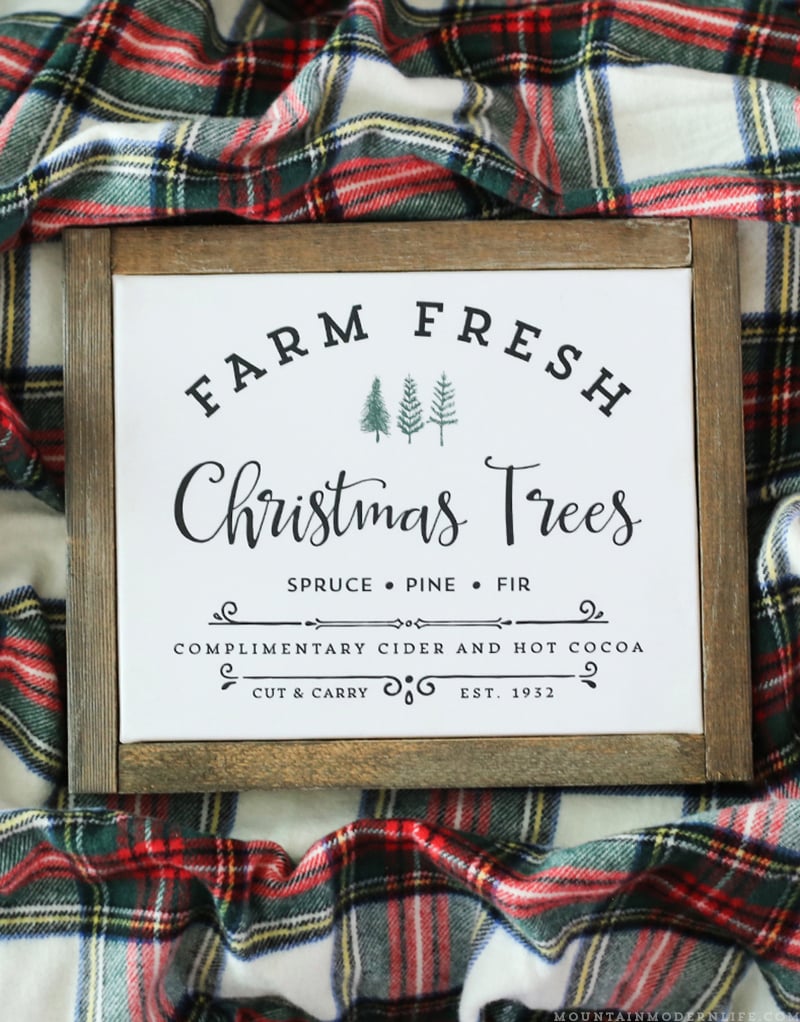
Here’s my new sign all finished up, and while it has imperfections, I love how it turned out. No matter how many of these I make, I’m still impressed with it being just a print attached to canvas.
So what do you think?
It’s hard to tell from the photo, but the texture is my favorite part. Once I let go of my OCD tendencies, this project was super fun, especially with my holiday jams playing in the background. I felt like a kid in art class.
Additional Options
If you want to use a larger print for a sign, you can always have an engineering print made from Staples or Office Max and create a wall hanging similar to this or this one.
Or if you have a vinyl cutting machine like the Cameo, Silhouette, or Cricut you can make a sign using my Farm Fresh Christmas Trees SVG file.
Snag our Farm Fresh Christmas Trees Design!
Visit our shop to snag your own copy of this Farm Fresh Christmas Trees Printable to SVG file! We even offer an Extended License option if you want to make and sell products with this design.


Rather Buy than DIY?
Here are some awesome shops we’ve collaborated with to sell versions of this printable:
Etsy: Black Butterfly Signs – Handmade Signs and Home Decor
Etsy: WallCutz – Vinyl Decal Designs/Vinyl Stencils and Wall Decor
Etsy: Brush and Bloom Market – Handcrafted Wood Signs and decor
Harper Grayce – Rustic Vintage Signs with Reclaimed Wood
Let me know your favorite image transfer technique in the comments below!
Looks so good, I love that the paper takes on the canvas texture! And what a fun idea to do this project at a party!
Amazing holiday sign. I wanna made holiday with my kids, I think it would be fun for them. Thanks for idea
I agree! Doing this made me wanna have a craft party 🙂