UPDATE: All new featured RV tours will be posted on my other website, Wanderful RV Interiors. Existing tours will slowly be moved to the new website, and anything already moved will automatically redirect.
Disclaimer: This post may contain affiliate links, meaning, if you click through and make a purchase we (or those featured in this post) may earn a commission at no additional cost to you. View our full-disclosure here.
Every week we will post a video update for our RV renovation progress on our YouTube channel, and will also write a corresponding post here on the blog. Whether you’re planning an RV reno or simply want to follow along with our progress, here’s an update from Eric on what we’ve accomplished in our coach this past week.
RV Renovation Progress Week 4
If you’ve been following along with our weekly RV renovation series you probably noticed the last two weeks there weren’t any updates. Well, that’s because Katie and I have been working tirelessly in front of the computers meshing our two websites into one. The main objective of combining the two websites was to simplify everything a bit more before we hit the open road.
I feel almost as if I have been hibernating in a cave-like a bear for winter, haha.
But in all seriousness, today was the first day we were able to get back working on the RV. With our departure date of July 1st sneaking upon us we are going to be spending a lot more time working on the renovation and sharing much more. For instance this Friday we are finally going to be sharing how we installed the flooring throughout the RV as well as how we installed it on the slide and the doghouse.
Update: Check out How to Replace RV Flooring.
Watch a quick video of this week’s progress below:
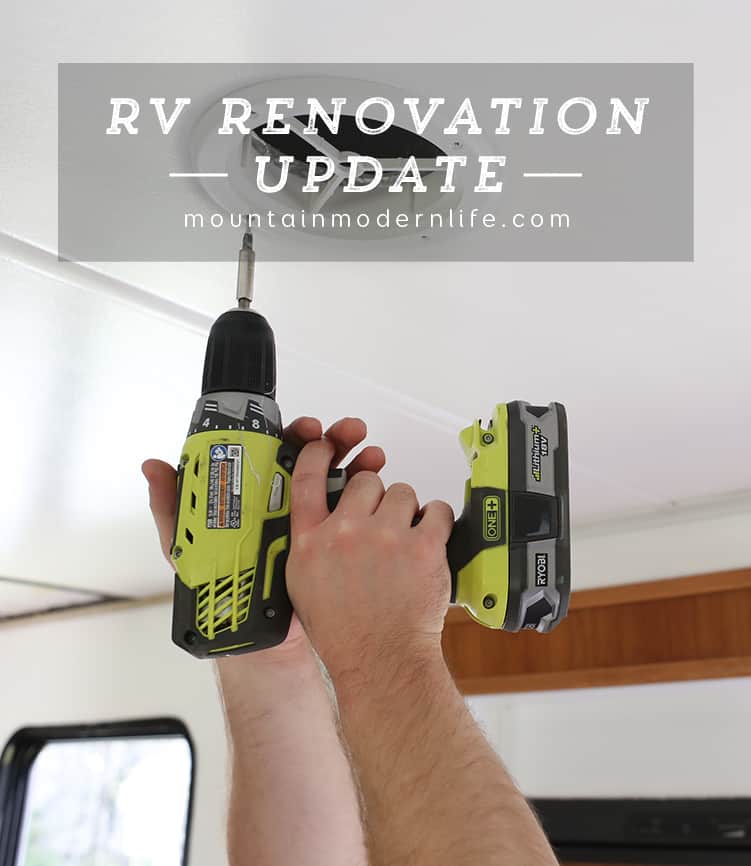
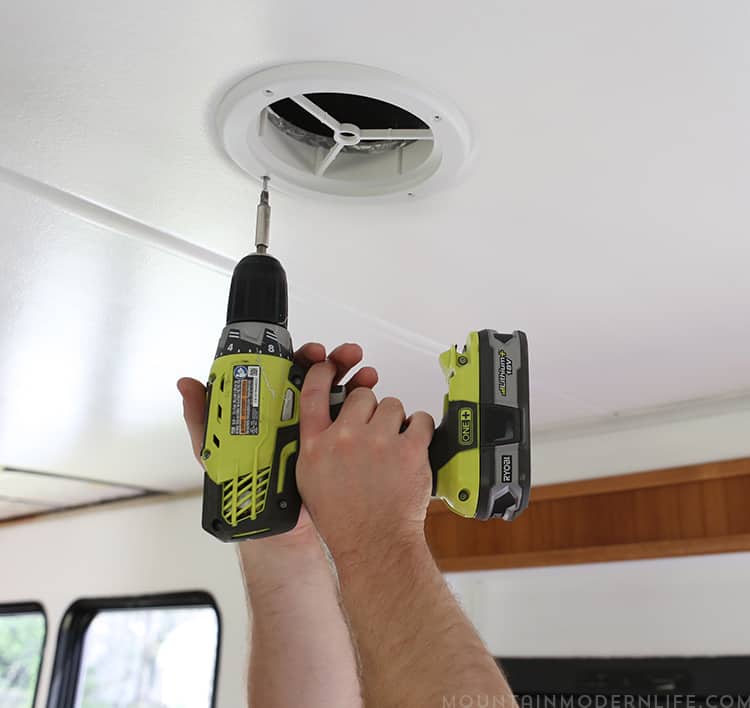
Painting and Installing the Intake and Outtake Vents in the Ceiling
Our intake and outtake vents for our AC system have been cleaned for a while now and we’re just waiting for that fresh coat of paint to make them look brand new. Well, today we gave them that coat and put them back in the ceiling (at least the ones where the ceiling panels are installed). Take a look at the photo below:
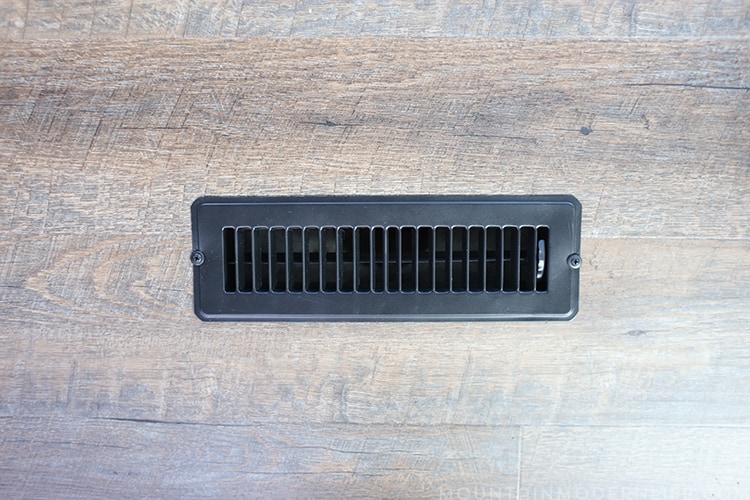
Painting and Installing Floor Vents for Heating
The story was much the same for the heating vents that are located on the floor. The beige just wasn’t working for us so we added a fresh coat of black paint. We painted the vents then sprayed on a clear sealer and put them right back where they belong. Take a look at the photo below:
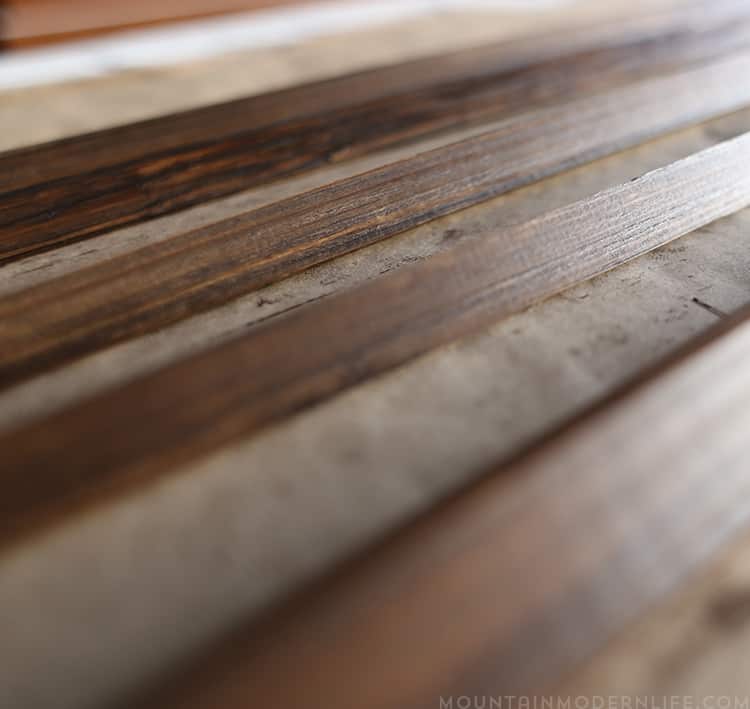
Staining the Trim for the Flooring
Today we were also able to take some time and finish staining the trim we have picked out for our flooring. I was a bit disappointed at the splits in the pieces of trim we had, however, a quick sanding fixed that right up. I’m also pretty excited about the low VOC stain we used. Check out the photo below:
That is about it for RV Renovation Progress Week 4. As always please feel free to leave any questions or comments below and thank you much for stopping by!
Update: You can now read about our new RV flooring installation here, or by clicking on the image below: