UPDATE: All new featured RV tours will be posted on my other website, Wanderful RV Interiors. Existing tours will slowly be moved to the new website, and anything already moved will automatically redirect.
Disclaimer: This post may contain affiliate links, meaning, if you click through and make a purchase we (or those featured in this post) may earn a commission at no additional cost to you. View our full-disclosure here.
Whether you’re planning an RV renovation or simply want to follow along with our progress, here’s an update from Eric on what we’ve accomplished in our coach this past week.
In case you are new here, you can read more about our rustic modern motorhome renovation and future travel plans here.
RV Renovation Week 2
This week we had great plans on what we were to finish in the RV, however, Mother Nature played her part in slowing us down.
This week was rather cold here in Atlanta, and we even got some snow. However, some of the tasks we had planned required the temperature to be at an ideal level (between 50-80 degrees Fahrenheit), so that did change things up a bit.
On the plus side, I was able to spend some time working on the book I’m writing and figured it was a fitting time to do so since the weather wasn’t cooperating.
With all that said we were still able to accomplish some items and the renovation is slowly but surely coming along.
Here’s a quick video on RV Renovation Week 2:
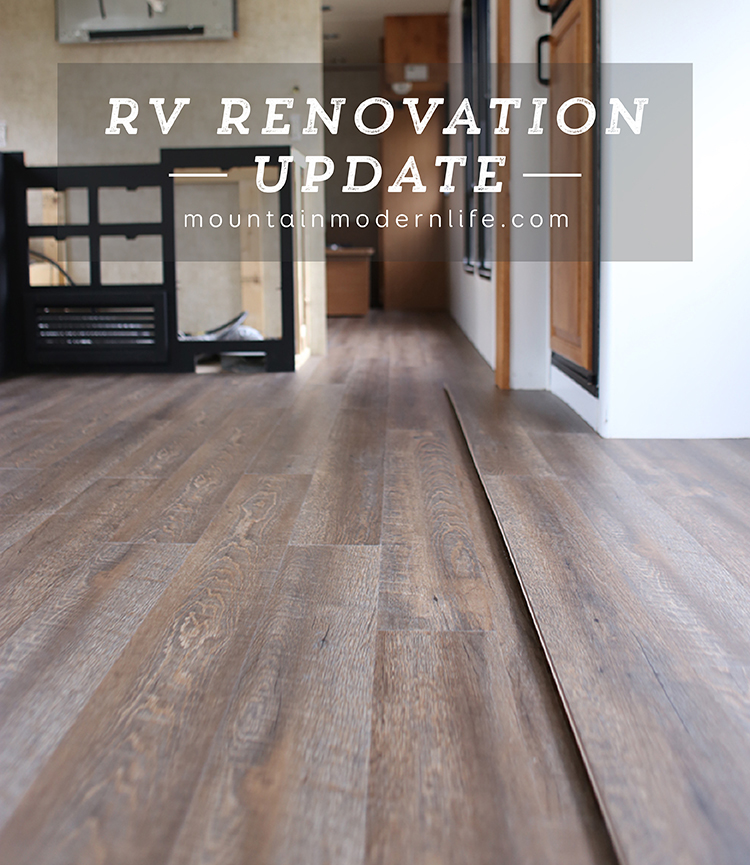
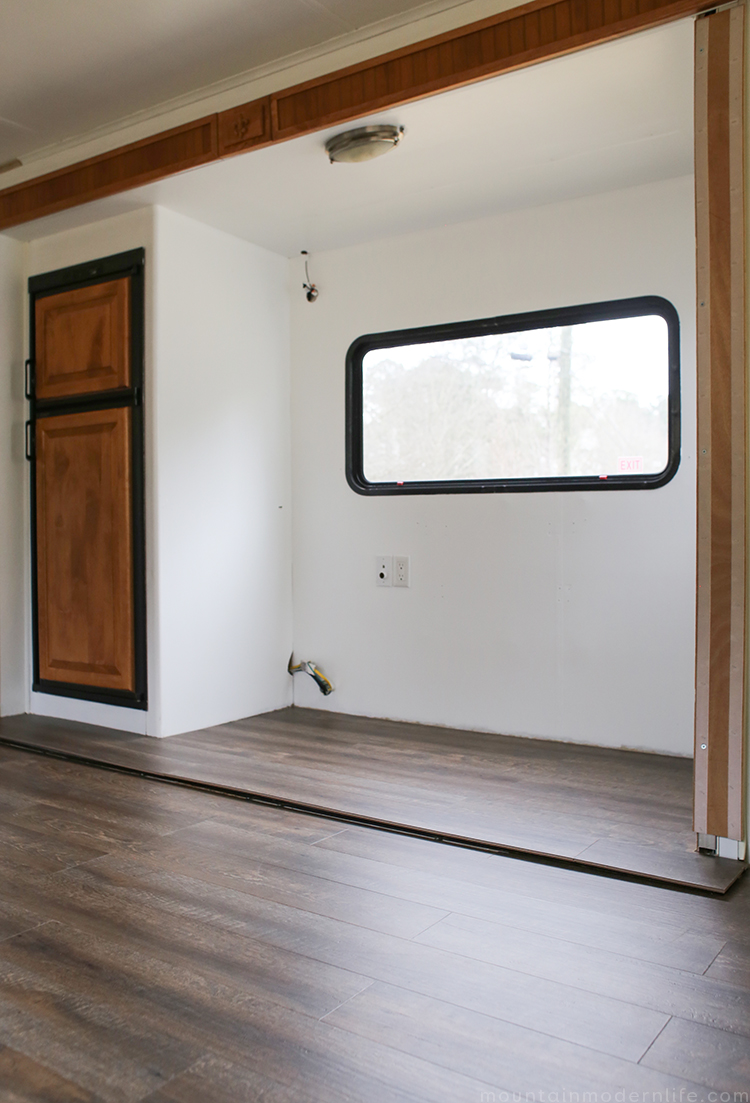
We were able to get all of the flooring laid in the RV and it’s amazing to see the flooring down without any subfloor still peeking through. We still have to stain and install the trim along the walls and over the edge of the slide-out, but once that’s finished we will share it with you.
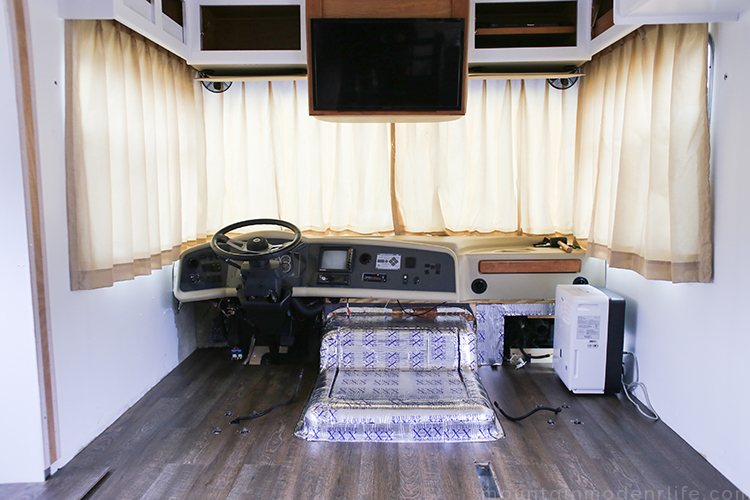
We were also able to finish up the new doghouse (engine) cover. We still have to install the flooring on the outside of the box, but overall we are extremely happy with how it has come together.
Not only do we think it will look good but it should also help restrain some of the heat and sound that may come up from our engine. You can watch a video about the heat and sound insulation we installed here.
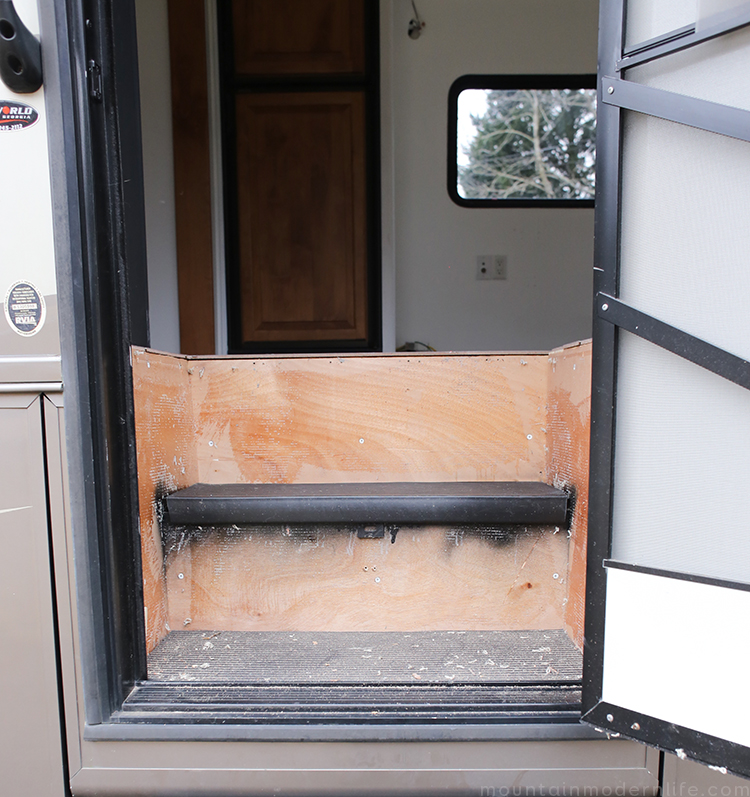
Lastly, we removed the carpet from the stairwell.
And that just about sums up the progress we made in the RV this week. Feel free to leave any questions or comments below.


Hey guys! So I’m working on a similar RV reno and LOVING your blog as a source of information and inspiration (although we’re going at a faster pace than you, which is a bummer because I really wanted to see what you have in mind for the barn door and what you’re doing for the pets in the stairwell!!!). Anyway, I noticed you guys painted, but I haven’t found any posts that talk about your painting process (for the walls). We sprayed ours, but I’m going back through and doing touch ups and I’m having a tough time figuring out how to effectively cover some of the glue seams (like where the cabinets are attached to the walls). The paint just slides right off! The only method I can figure is to apply about 12 coats of paint! Did you encounter this? Got any tips? Thanks in advance, and thanks for the great blog!
Hi Tayloe,
Haha, trust me we wish we were further along too! We started off pretty good and then the ceiling leak created a big mess and we sort of let other priorities get in the way. We actually have done a lot of little things that we just haven’t had time to post about yet. We are focusing on the front of our RV over the next month though so the posts should follow.
Hmmm, I don’t recall any issues with the seams but we did use 1 or 2 coats of primer first. We had also cleaned everything with TSP first so I don’t know if that made a difference. The primer did help A LOT in general, otherwise I was having to slap on way more coats of paint then necessary.
If you find a different solution I’d love to hear about it and I look forward to seeing your renovation!
Katie