UPDATE: All new featured RV tours will be posted on my other website, Wanderful RV Interiors. Existing tours will slowly be moved to the new website, and anything already moved will automatically redirect.
Disclaimer: This post may contain affiliate links, meaning, if you click through and make a purchase we (or those featured in this post) may earn a commission at no additional cost to you. View our full-disclosure here.
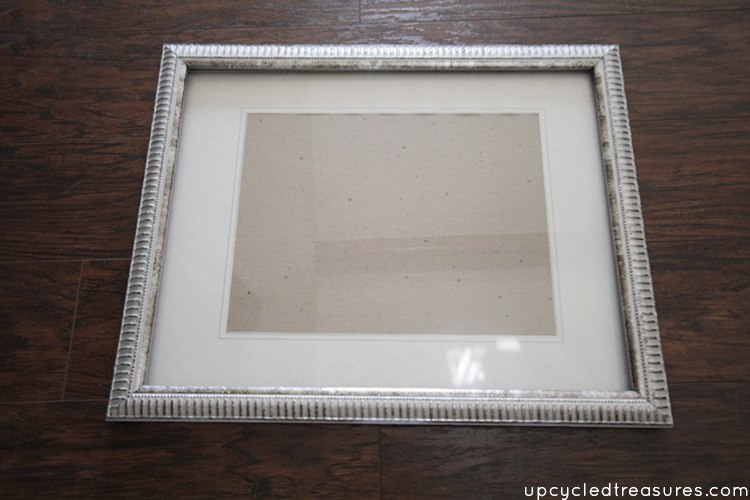
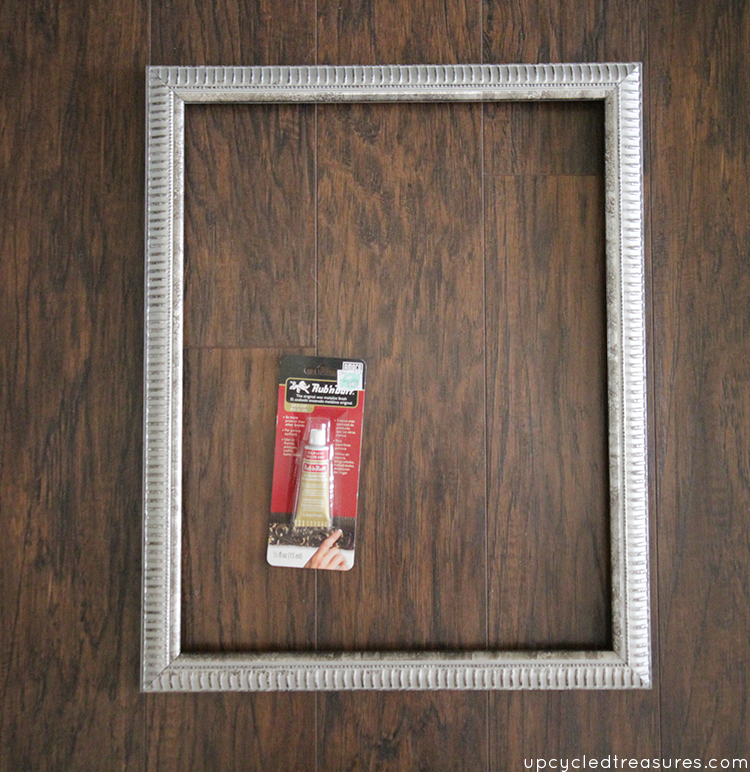
If you are looking to update some old or thrifted frames, why not use Rub’n Buff? I found an old silver frame (that still had a high school glamour shot photo inside, yikes!) and decided it was the perfect size to use on my office gallery wall. The photo inside and the silver color of the frame wasn’t exactly what I was looking for so I decided to try my first attempt at using Rub’n Buff.
I’ve seen several posts on this stuff talking about how easy it is to use, and that’s no lie. This stuff is amazing!
Update an Old Frame Using Gold Rub’n Buff
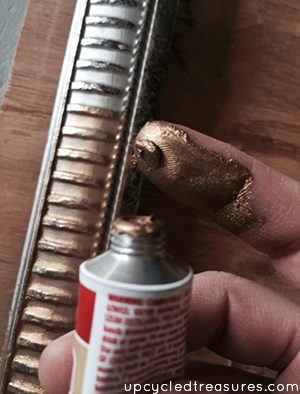
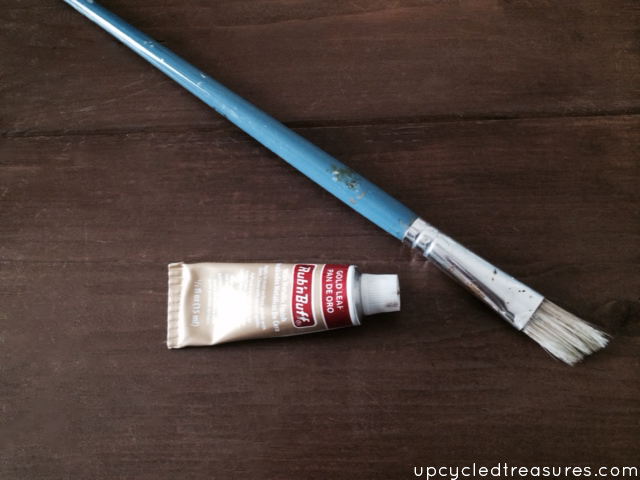
Since I am incorporating the gold frames from our floating moss letters reception decor, I knew I wanted to make this frame gold to match. I had picked up some gold rub’n buff from the craft store with a 50% off coupon a while back knowing I would find a good use for it, though I had no clue it would be to update an old frame. It was around $4 after the coupon.The first thing I did was remove the photo and glass from the frame and then put some rub’n buff on my finger and started “painting” it on the frame.
Please ignore my dry, 5-year old looking hands.
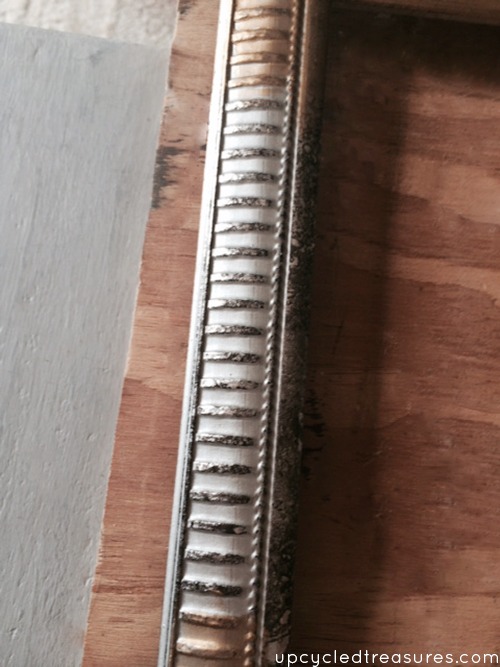
Here is a photo showing the progress…
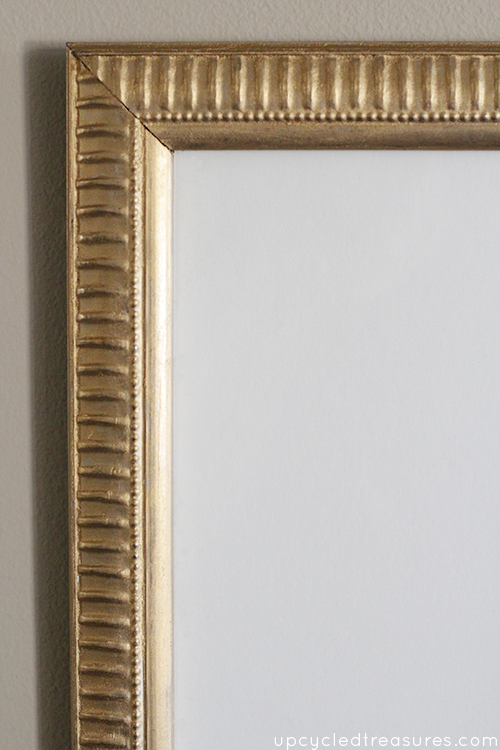
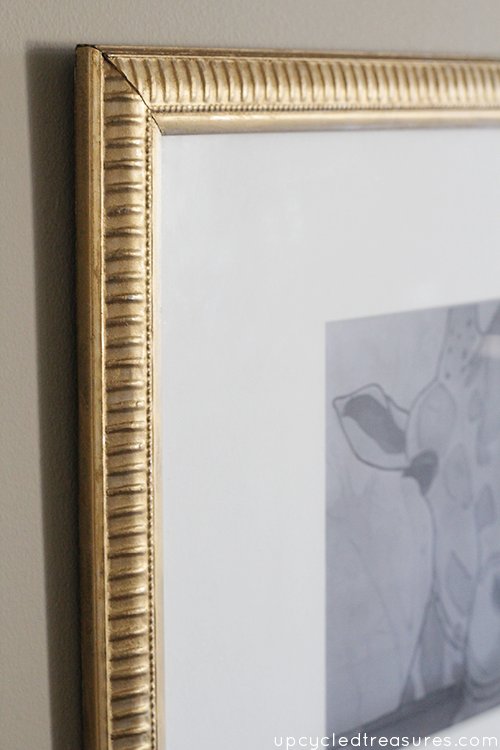
Of course, the frame I was updating had a lot of grooves so I later decided to use a small paintbrush and that worked really well as far as getting in the crevices.
This seriously was the easiest project ever, didn’t take long at all, and I LOVE the outcome! It’s such a small change yet it makes a big impact. There is also tons of rub’n buff leftover.
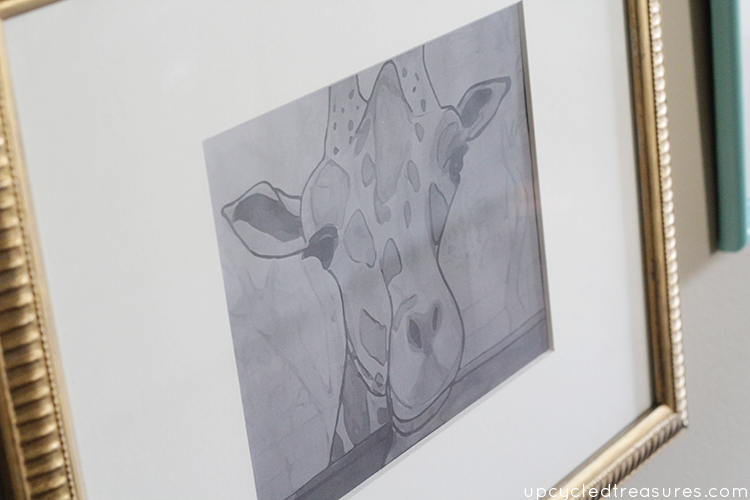
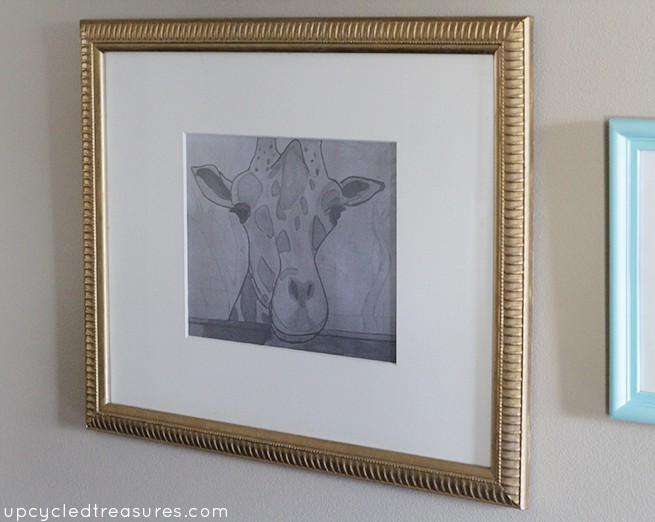
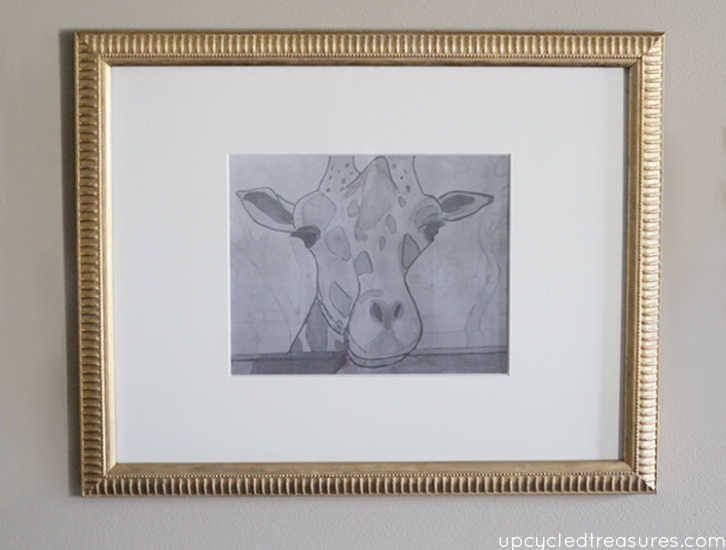
You may recall me talking about a giraffe drawing I made 6 years ago and recently turned into a greyscale image. I had it printed out at Staples and then popped it into the frame, along with a new photo mat since the old one was thin and crappy. I love this little giraffe, especially in my new gold frame. What do you think?
I really want to test out the copper Rub’n Buff now. Have you used Rub’n Buff on projects before? I am definitely a fan and will be using this stuff on future projects. In fact, I recently bought some new frames on clearance at Home Goods that are not the color I want, but I loved the shape and style so I bought them anyway. Looks like some of them may have to have a date with Mr. Rub’n Buff in the near future.

I too was recently new to rub’n buff. It was very easy to work with as I had been hearing. I love it and did a lamp with it. Turned out wonderful. I am thinking about using it again on an old file cabinet I recently purchased. Maybe the copper would look great on the label area. Love your frame it really looks great! Your picture is so cute too!
So fun, love how it turned out! I guess my question is what is the difference between this and just using spray paint?
Thanks Amy! I honestly wasn’t sure how different would be, but thought it may look more like gold leaf. It has a really neat texture but that may just be because of the frame. I think spray paint could have worked just as well but felt like working on something inside the house since it was so cold and rainy when I worked on this. I think the main difference it you have more control and it doesn’t look as flat? That’s my take anyway. I’ have another frame to paint so I’ll spray paint half and rub n’ buff the other, and then let you know if I really see a difference 🙂
~Katie
Turned out awesome!! I remember my Mom using that when I was younger – sometimes its hard to believe that gold is so in style again from those memories!!
Thanks Krista! Yeah, it’s funny because I am pretty sure a couple years ago I would have rolled my eyes if someone told me I’d soon be painting everything in sight gold, haha.
love this!!!
Thanks Christine!
Looks great! I’ve been meaning to try Rub ‘n Buff and I’m glad to see it’s so easy to use!
I love it! So simple and turned out great!
We would love for you to come and link up with us at Your Designs This Time, Mondays 8:00amEST.
http://elizabethjoandesigns.com/2014/04/desings-time-no-5
I love Rub ‘n Buff! It is SO fast and you are right, you hardly use any, even on a good sized frame. Thanks for sharing this makeover on Thursday STYLE.