UPDATE: All new featured RV tours will be posted on my other website, Wanderful RV Interiors. Existing tours will slowly be moved to the new website, and anything already moved will automatically redirect.
Disclaimer: This post may contain affiliate links, meaning, if you click through and make a purchase we (or those featured in this post) may earn a commission at no additional cost to you. View our full-disclosure here.

Filling the walls of your home or apartment can often be a daunting task, especially when you have a budget to stick to. This is one reason why I love creating DIY wall art and decor.
I recently shared how I created large scale wall art for our master bedroom, but I also wanted to show how you can create easy canvas art from a printed photo on a smaller scale. Plus I’m even including a FREE Printable at the bottom of this post.
Easy Canvas Art from a Printed Photo
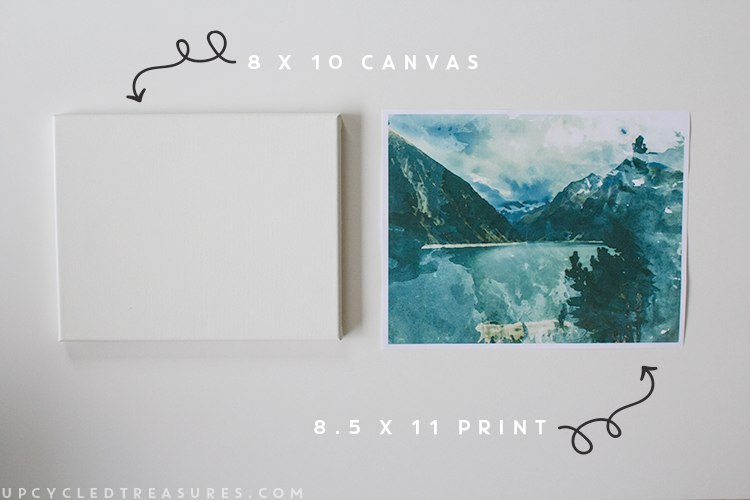
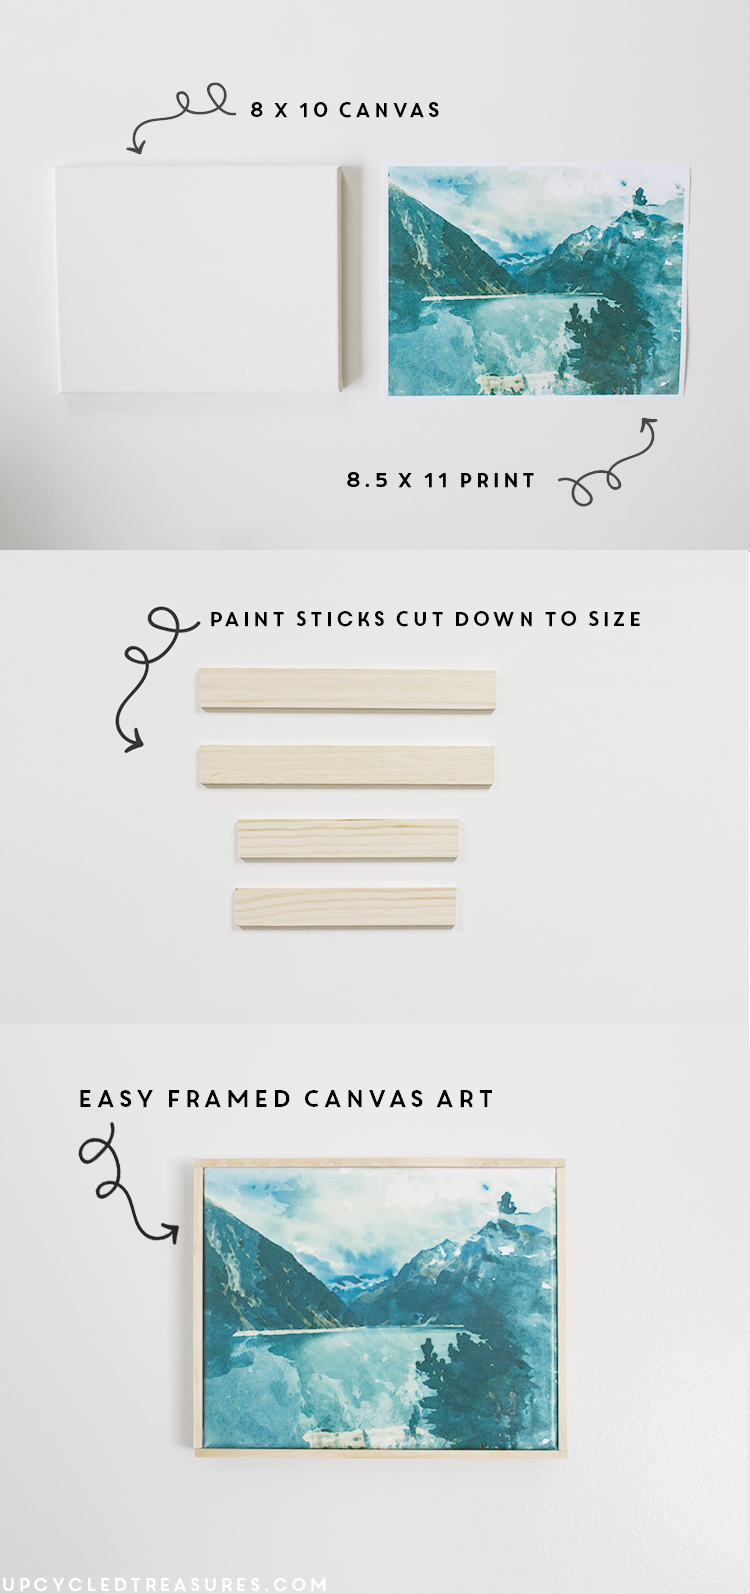
You can easily add a printed photo to a canvas to create custom and affordable wall art. For this project, I will be showing you how you can create a custom 8 x 10 canvas art.
1. Print your Photo
Although you can certainly print from home, I decided to have my photo printed professionally due to the amount of ink needed. So the first thing I did was have my watercolor mountains photo printed out on 11 x 8.5 copy paper over at Office Max. You may notice it printed out a little darker than the engineering print from Staples in this post because they were from different printers.
The image I used came in a nature photo pack available here. I then tweaked the colors and added a watercolor effect with a photoshop file available here.
I set up the print to be 11 x 8.5 because I knew that it would likely get printed with a slight border and wanted to make sure it covered the front of the 8 x 10 canvas with no border showing.
Tip: You may want to get an extra print just in case you accidentally screw up the first one or don’t center it correctly on the canvas. It should be less than $2 for 2 prints.
2. Grab an 8 x 10 Canvas
I had picked up a 2 pack of 8 x 10 canvases from Hobby Lobby for $4 and used one for this project. They pretty much always have a 40% off coupon you can use too 🙂
3. Add Spray Adhesive to the Canvas
Although you can use Mod Podge to adhere the image to the canvas, I decided to use spray adhesive by spraying the canvas and then placing the image on top.
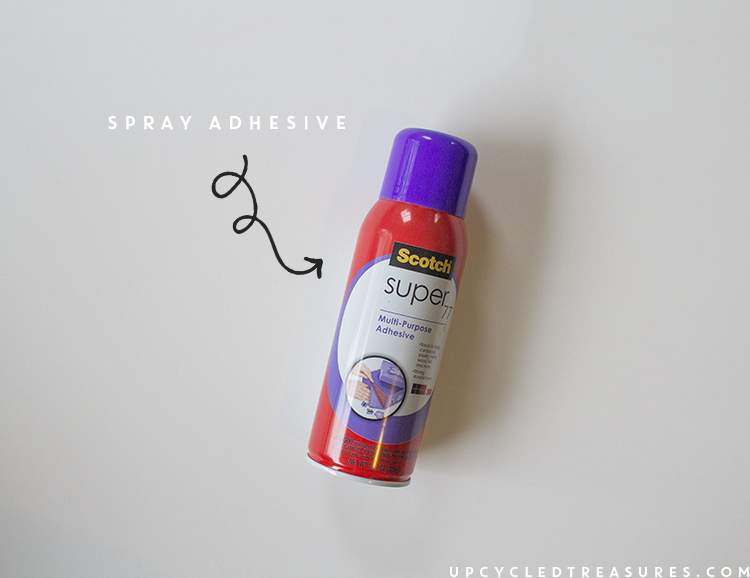
I sorta eyeballed where to place the print onto the canvas so that none of the white borders showed from the front. However, you could always add a thin piece of painter’s tape to one of the white edges to help keep it centered, and then remove it afterward. You may be able to remove and replace the photo 1 or 2 times but after that, the photo will likely get wrinkled or damaged.
4. Seal the Photo with Mod Podge
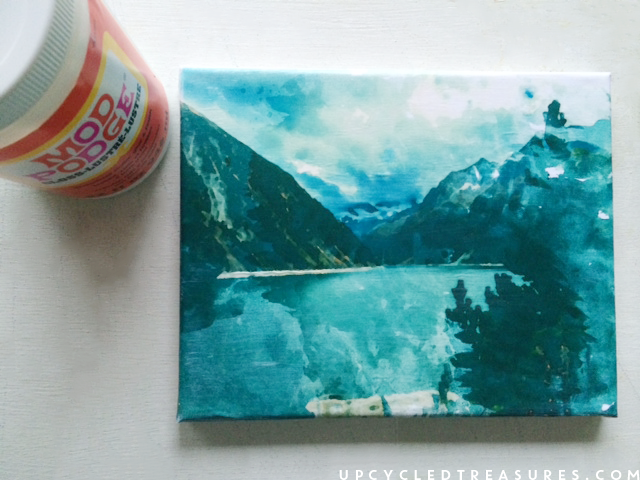
Once your print is centered onto the canvas you will want to smooth it out using your hands or something like a credit card. You can then use a foam brush to paint Mod Podge on top to seal it even more. I like to use the Gloss Mod Podge because it adds a nice finished appearance to the photo.
Once the Mod Podge is dry {I did 2 coats letting it dry in-between} you can begin to frame out your canvas.
How to Frame the Canvas
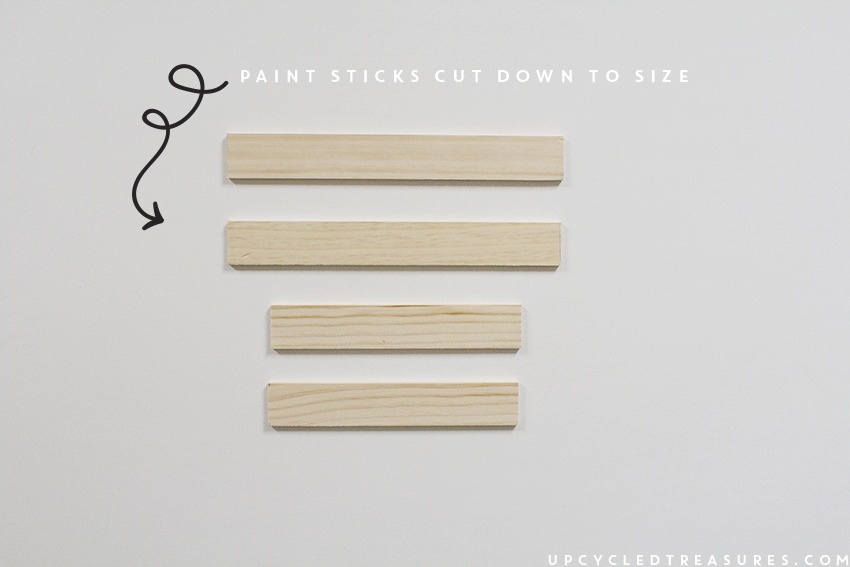
I had a few extra-large paint-sticks and thought they would be perfect for a simple, clean and modern frame. I was able to create the entire frame with just 2 paint-sticks cut down to size, which I lightly sanded afterward.
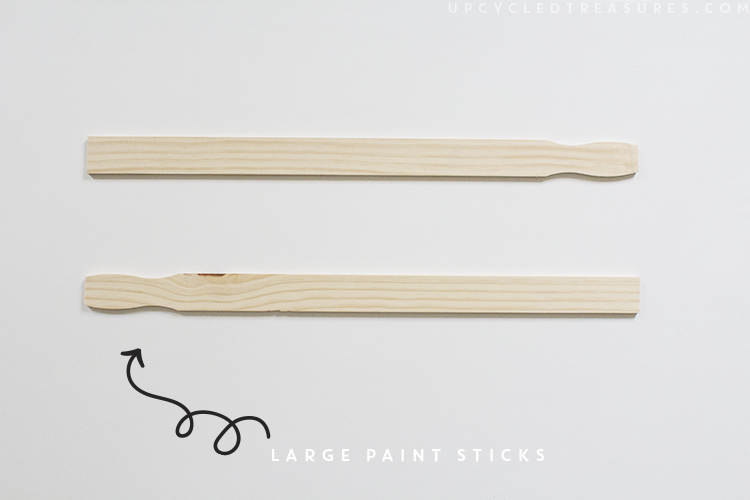
I love how the raw wood looks against the picture so I used new paint sticks. However, you can always sand down old paint sticks to use or stain, use them as-is for a funky effect, or even paint on top of them.
After laying the paint sticks next to my canvas, I measured and marked where they would need to be cut. I opted to skip the 45-degree angles to make this frame even easier.
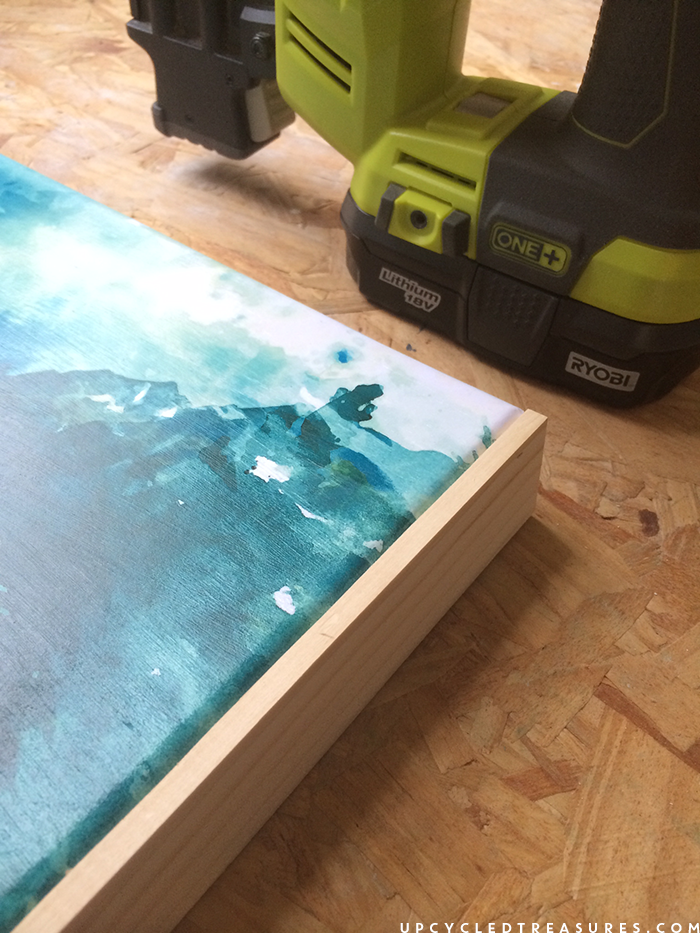
Then I used our Ryobi Airstrike to nail each side to the canvas, one stick at a time, making sure they were lined up with the edge of the canvas. You can always have a buddy hold the canvas up while you nail or staple the wood into place. Eric was my buddy.
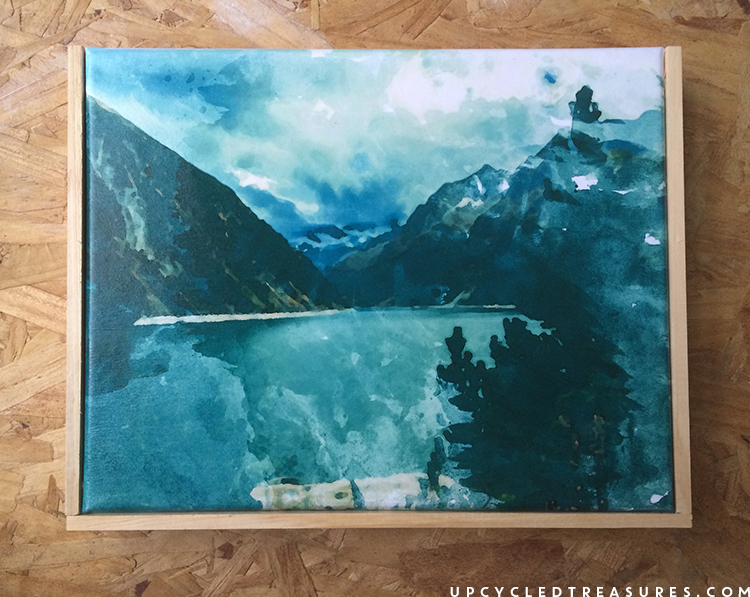
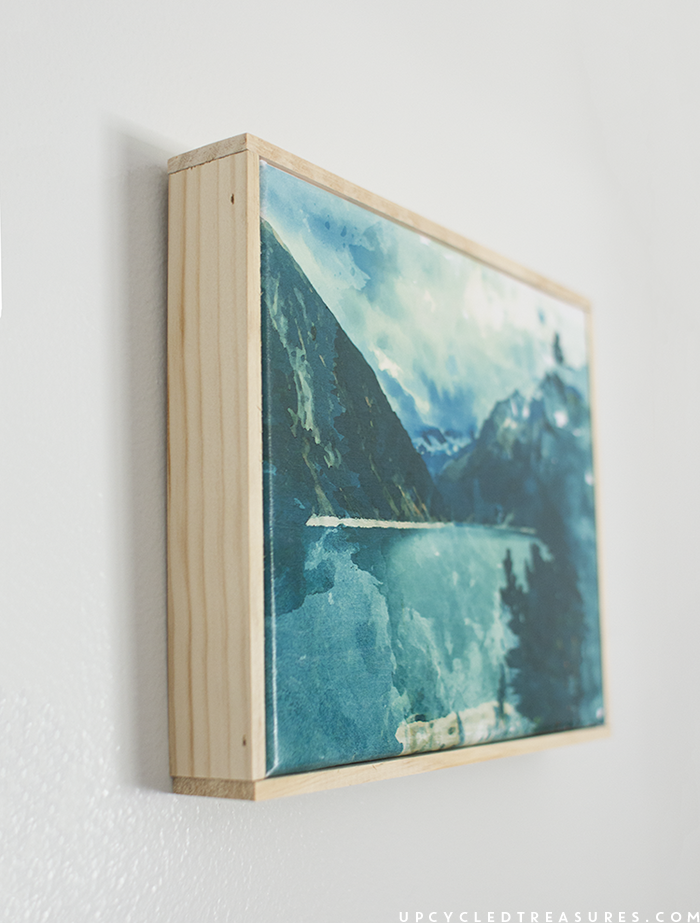
Here is what the back looked like when I was finished. It may not be perfect but it’s not too shabby for a simple project that took a matter of minutes to frame out.

And here is the finished easy canvas art from a printed photo:
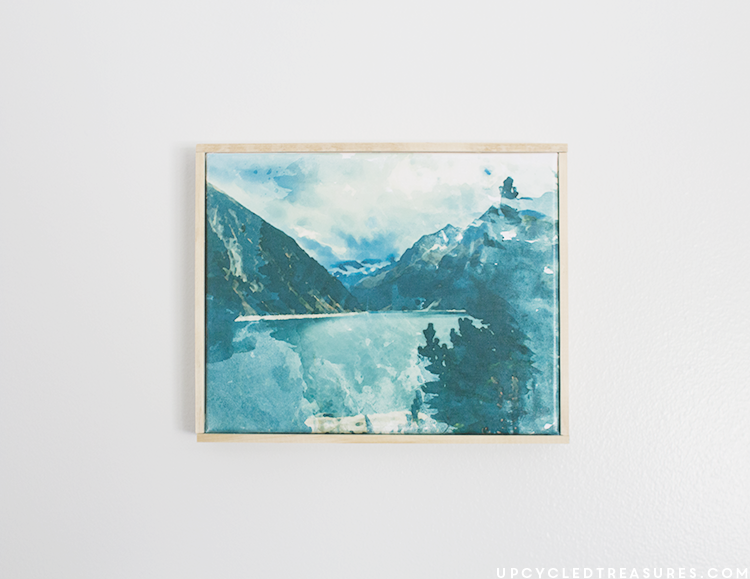
This is such an easy and creative way to display your family, wedding or travel photos, don’t you think?
Download FREE Printable


And if you are looking to create some massive DIY wall art, don’t forget to check out this tutorial.
This is such an amazing project! Thanks so much for sharing how you made it.
~Bonnie
Thanks Bonnie! It’s such an easy and affordable way to spruce up those blank walls 🙂
Tha you so much for this idea.
No worries at all Susie I hope it was helpful 🙂