UPDATE: All new featured RV tours will be posted on my other website, Wanderful RV Interiors. Existing tours will slowly be moved to the new website, and anything already moved will automatically redirect.
Disclaimer: This post may contain affiliate links, meaning, if you click through and make a purchase we (or those featured in this post) may earn a commission at no additional cost to you. View our full-disclosure here.
What’s that smell? That’s one of the last questions you want to hear yourself asking when you’re in your RV. Well, a couple of days after we made it to the RV shop for our RV to start getting fixed we noticed a smell in our bathroom.
It smelled like our grey tank and was most certainly coming from under the bathroom sink. Gross!!
Update: This post was written before we switched to using Happy Campers RV Tank Treatment (which is awesome by the way), so if you’re experiencing funky smells we recommend you first start with switching up your tank treatment and seeing if that fixes the solution. If not, read on and we hope this post will help guide you in the right direction.
Gotta Funky Smell Under the RV Bathroom Sink?
When we noticed the smell we immediately hit the internet trying to find out what the problem was. The first solution we came across was the “Air Admittance Valve” or the “Mechanical Plumbing Vent“.
This piece allows air into the pipes when water is draining, in turn creating better flow for the water. However, when the water is not draining it creates an airtight seal in order to keep tank smells from coming into the RV. Over time these pieces can stop creating an airtight seal therefore allowing for a funky smell under the RV bathroom sink.
It can also happen under your kitchen sink as both sinks generally have these mechanical plumbing vents.
How to Fix the smell under the RV bathroom sink in less than 5 Minutes
Check out our video below to see how we replaced our Mechanical Plumbing Vent, it was much easier than we thought!
Step 1 – Find Where The Vent is Located
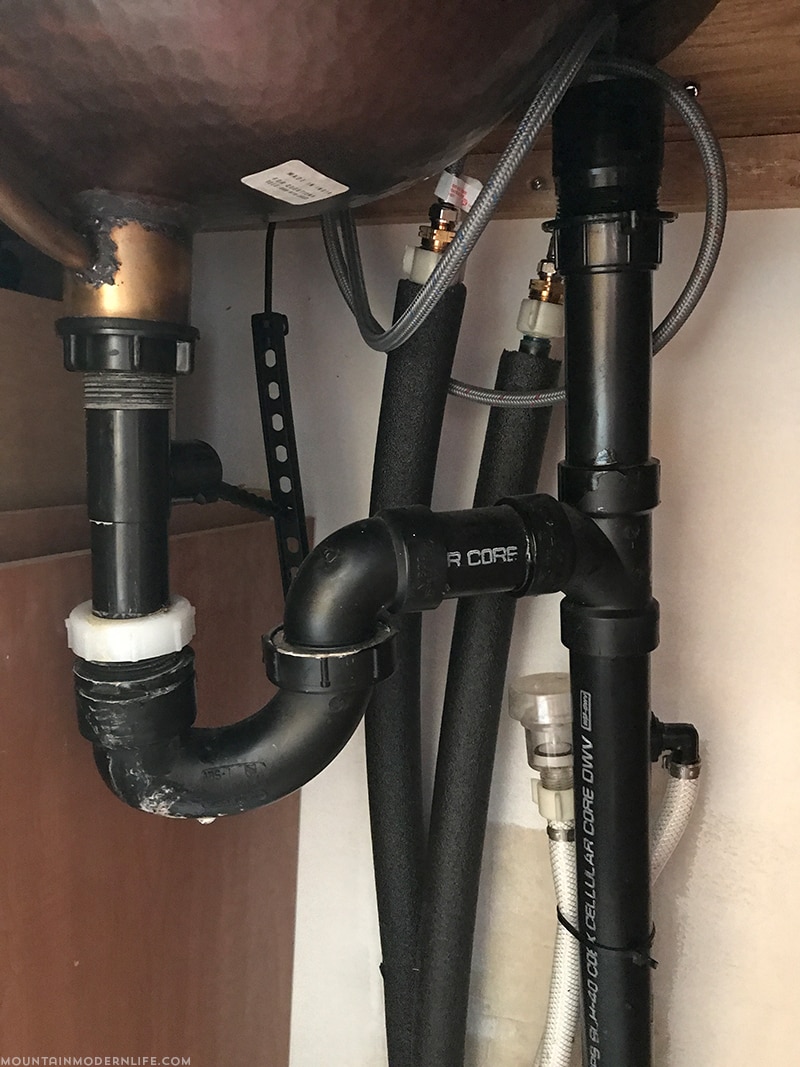
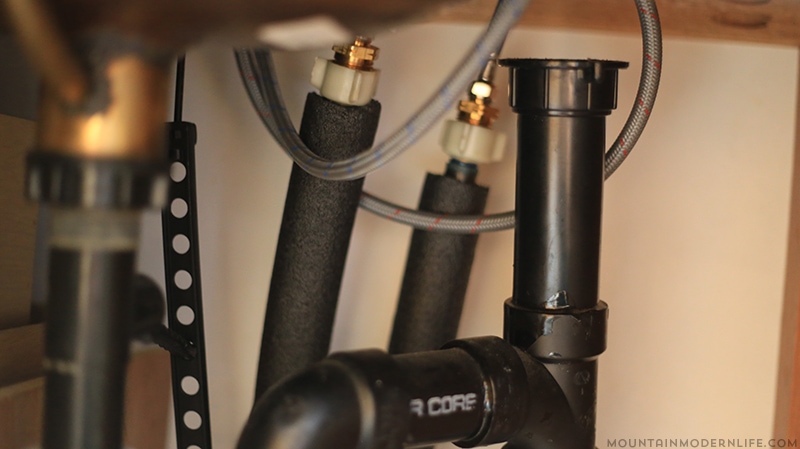
Looking at the picture above you’ll see a black PVC pipe to the right that goes straight up and down. At the very top of that pipe you can see a black piece that looks like a “cap” screwed into the top of the pipe, that is your mechanical plumbing vent.
Now that we know where it’s located it’s time to move onto the next step.
Step 2 – Removing the Old Vent
This is an easy process as the vents are to be installed by hand tightening, meaning you should be able to unscrew it only using your hands. That’s how it worked for us.
Here is a picture with our old vent removed.
Step 3 – Get a New Vent
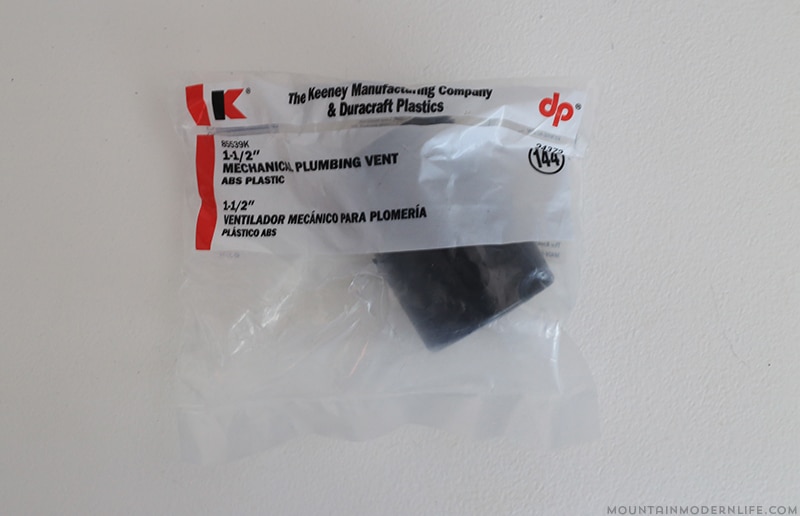
We ended up going to Lowe’s as it was the closest place available. If you watched the video you may have noticed the price listed was over $16, WHAT? They had the price listed wrong in the isle, it was actually only $5.98, whew!
Side note: One thing I noticed right off the bat was our new vent didn’t have a metal spring in it like our old one. This had me a little worried at first, but don’t fret because it still works the same.
Step 4 – Installing the New Vent
Installing the new vent is as easy as removing the old. Line your threads up and screw it into place, remembering to only tighten by hand.
That’s it! Your new vent is installed and the funky smell under the RV bathroom sink should be gone.
An important note is that smells can be created by other problems within the rig. Such as a crack in your tank vent or various other reasons. This was the most logical place for us to start as it was the easiest and most affordable fix we could find.
It turned out great because we haven’t noticed any funky smells coming from under our bathroom sink since. But if you do find this doesn’t fix your problem you may need to consult a professional or dig a little deeper.
Anyway we hope this helps you get rid of any funky smell under your RV bathroom sink. If you have any questions please feel free to ask. If you’ve had a problem similar to this but the vent didn’t work we’d love to hear what the problem was and how you went about fixing it.


