UPDATE: All new featured RV tours will be posted on my other website, Wanderful RV Interiors. Existing tours will slowly be moved to the new website, and anything already moved will automatically redirect.
Disclaimer: This post may contain affiliate links, meaning, if you click through and make a purchase we (or those featured in this post) may earn a commission at no additional cost to you. View our full-disclosure here.
If you follow me on Instagram you may have seen the sneak peek photo of the DIY rustic modern plant stand I’m going to share with you today.
DIY Rustic Modern Plant Stand
This small plant stand is actually very similar to the small rustic “stool” I shared earlier this week, only it’s a lot easier to make and cost even less money.
- Large Wood Slice
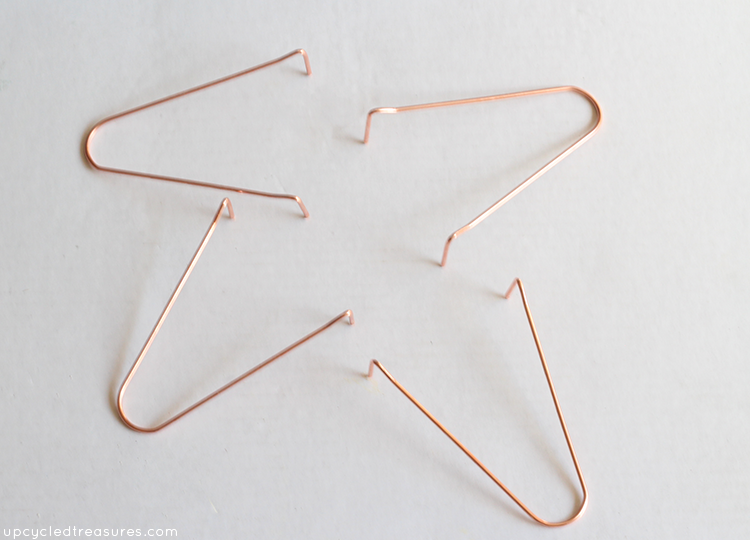
- 4 Pipe Hooks
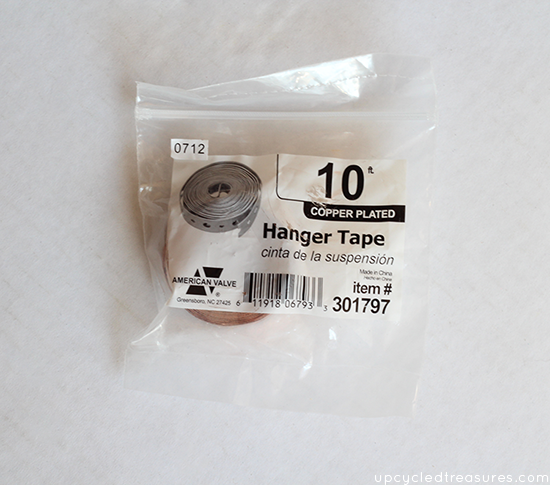
- Hanger Tape
- Screws
- Screwdriver or drill
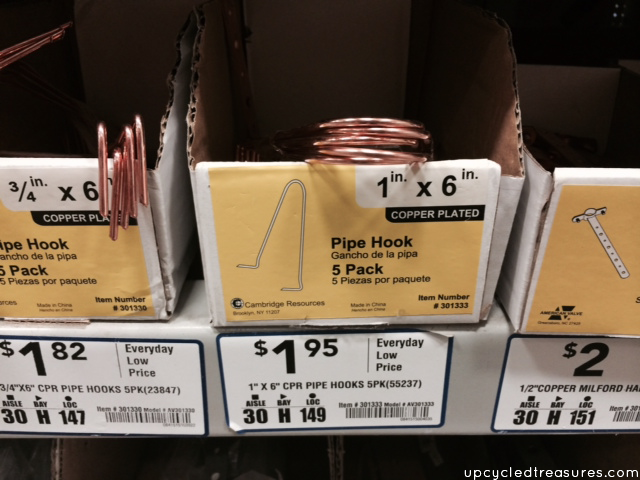
If you saw my rustic stool then you know that I made my own hairpin legs for that project, but for this guy, I found the most perfect little copper pipe plate hooks at the hardware store. Best of all it was less than $2 for a pack of 5, and they are so cute because they look like miniature hairpin legs.
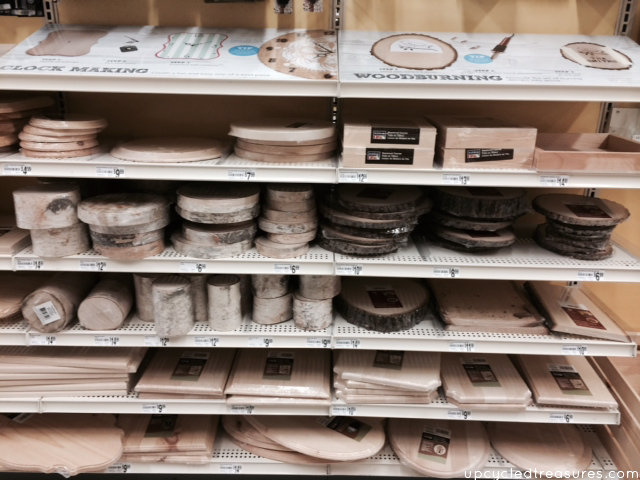
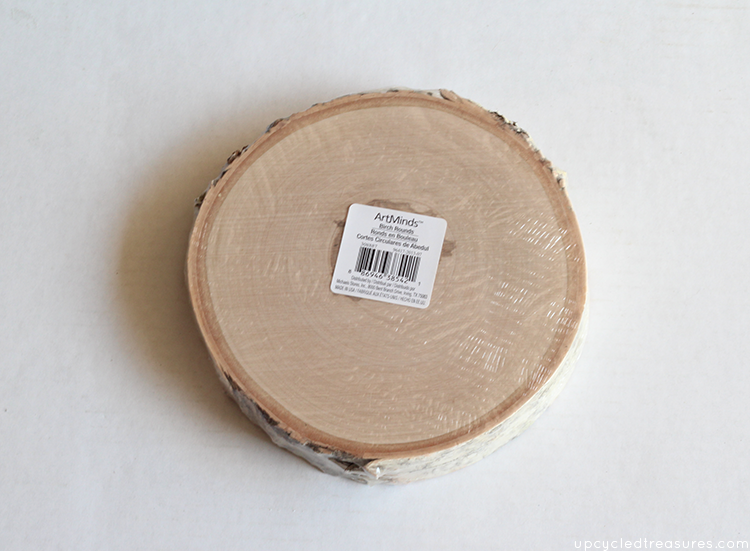
You could definitely cut a slice of wood from a fallen branch or tree, but if you don’t have anything lying around (or a saw to slice one) then you can pick one up from your local craft store. Michael’s carries a wide variety of rustic tree slices. I purchased a medium birch wood slice that cost $6.99 but used a 40% off coupon so it was less than 5. You can easily pull up Michael’s mobile coupons on your phone and they take competitor coupons from JoAnn’s too.
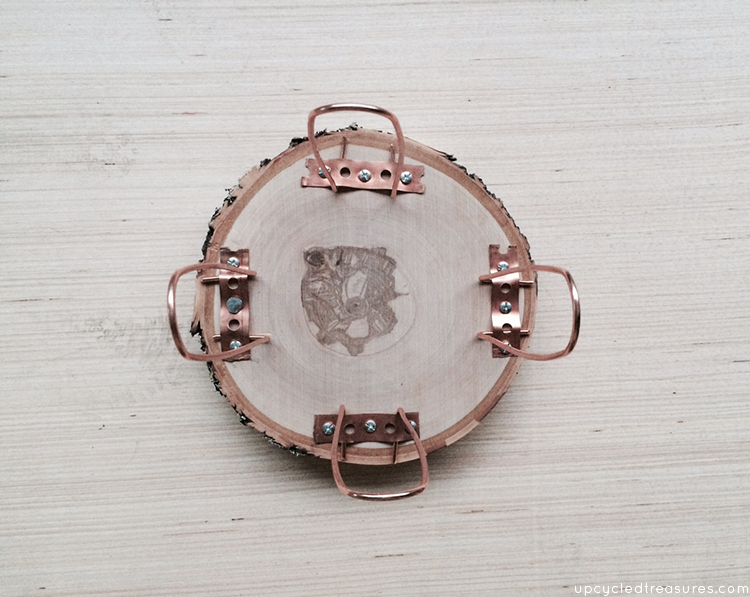
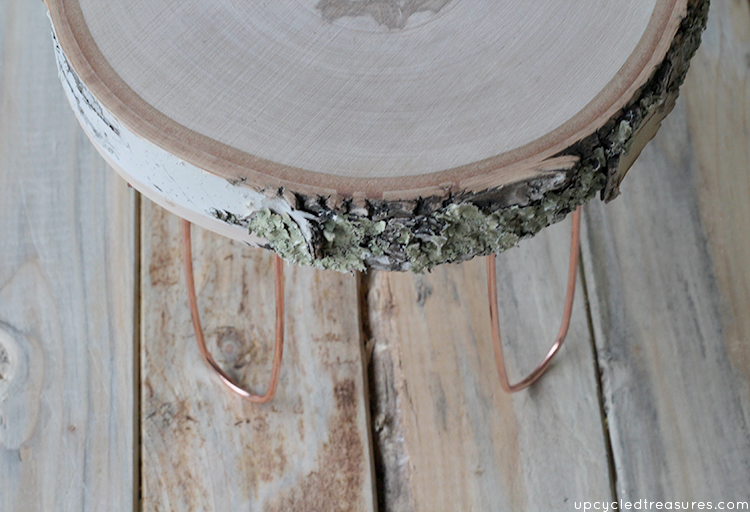
We then added the pipe hooks to the bottom of the wood slice using copper-plated hanger tape. We cut off some strips of the hanger tape and then added screws into the smaller holes. It’s actually better to use two small pieces of hanger tape for each side of the legs {like we did on the rustic stool} but we actually did this project before that one. I also had to squeeze each “leg” together to make them closer together while Eric screwed them into the wood slice. I recommend pre-drilling your holes first to make things easier.
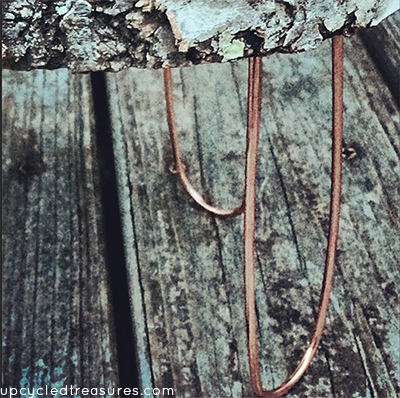
This is what the bottom looks like:
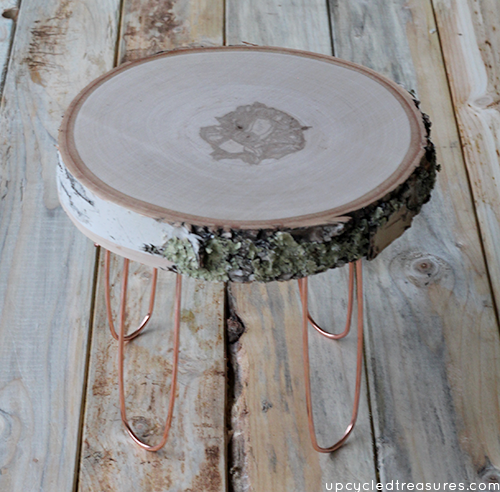
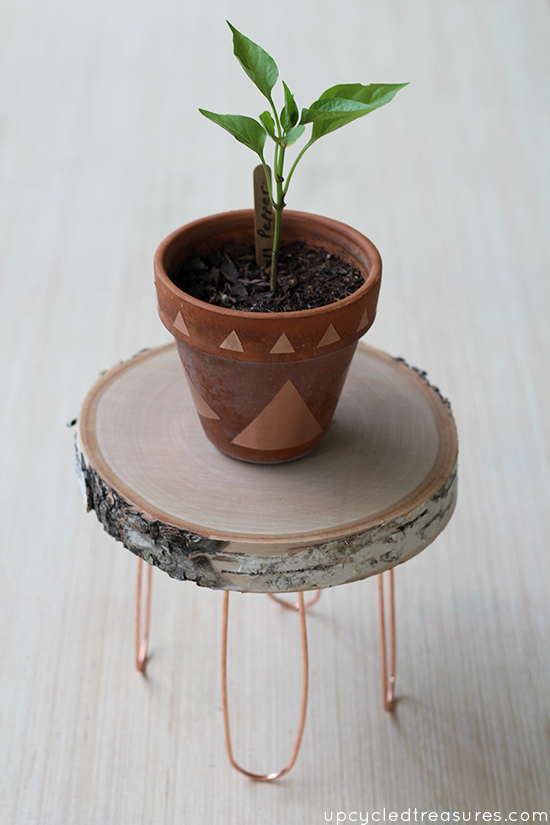
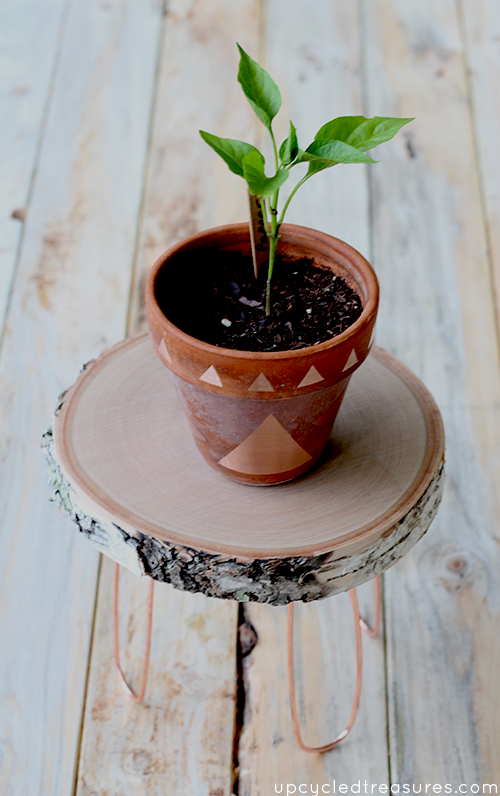
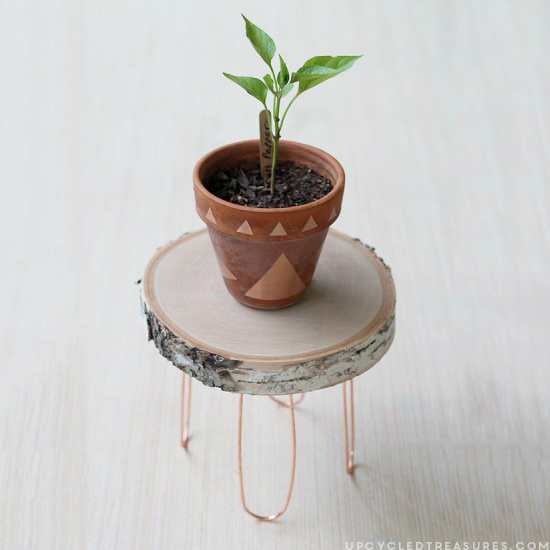
And here it is all finished:
I think it turned out so adorable and although it’s small it’s the perfect little stand for displaying plants. Of course, the possibilities are endless as far as what you can display on it.
Have you made your own mini plant stand? Let us know in the comments below!


This is adorable! Didn’t know the craft stores carried those tree stumps! Awesome DIY, sharing for sure!
This seems like such a fun, yet relatively simple, DIY project! I think I know the perfect person to gift my DIY table to as well!
This is so cute! We would love for you to come link up with us at Your Designs This Time! http://elizabethjoandesigns.com/2014/06/designs-time-no-14/
I LOVE this little plant stand. I just pinned it to like 4 boards!!
I love this idea! Your planter stand is gorgeous! Pinned!!!
This is adorable! Love the modern vibe – and those little copper legs 🙂 thanks for the tutorial!
super cute! i had no idea that they sold wood slices.
Oh, me. I think its beautiful. Such a clever idea…I’ll see if I find pipe hooks here. Very, very innovative
Seriously love this! Thanks for sharing sources… I had no idea that Michaels carried the wood slices!
Hi Katie – I just love this! Would like to make some for my porch – visiting from i heart nap time. Thanks for sharing and pinning. Hope you have a happy and wonderful weekend!
This is SUCH a cool idea! I love it so much, you’re being featured on The DIY’ers today! http://homecomingmn.blogspot.com/2014/06/the-diyers-6.html
I lovethis little plant stand. The idea is great. This is adorable! 🙂
Katie you always amaze me! Love this project, thank you for sharing!
[…] DIY Rustic Modern Plant Stand from Mountain Modern Life […]