UPDATE: All new featured RV tours will be posted on my other website, Wanderful RV Interiors. Existing tours will slowly be moved to the new website, and anything already moved will automatically redirect.
Disclaimer: This post may contain affiliate links, meaning, if you click through and make a purchase we (or those featured in this post) may earn a commission at no additional cost to you. View our full-disclosure here.
DIY Twig Tree Christmas Ornament
Is it just me, or are people decorating for the holidays a little earlier than usual? If you follow me on Instagram you may have seen this photo:
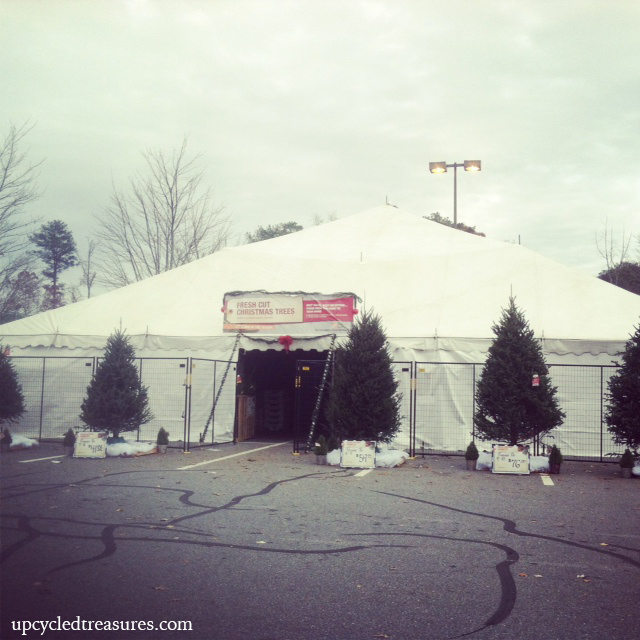
Yup, we got a Christmas tree over the weekend! This is the first year that we bought our Christmas tree BEFORE Thanksgiving. In our defense, Thanksgiving just so happens to fall 6 days LATER then last year, so it’s no wonder we were hit by the Christmas bug early.
That’s the excuse I gave the hubs anyway when he looked at me funny for wanting to get a tree prior to the Thanksgiving holiday. However, it didn’t take much convincing and not only did we get to avoid the crowds, but the first tree we found was perfect!
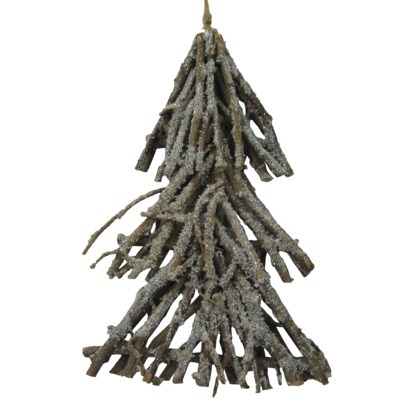
I love the rustic and nature-inspired design so when I found these tree ornaments at Target for $8 a pop I figured I could make my very own version for FREE!
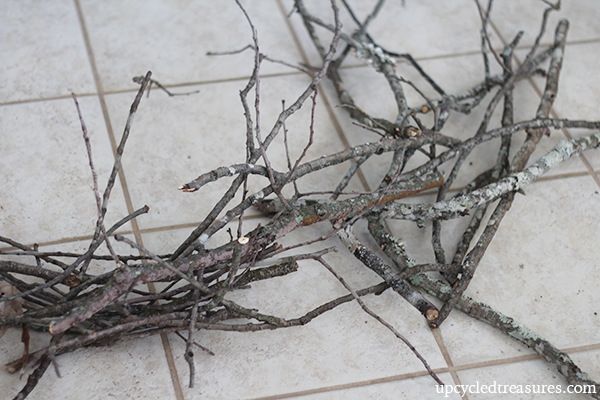
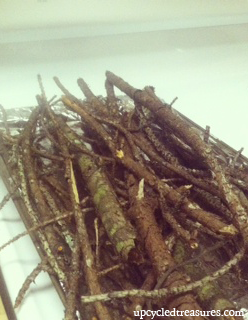
I had already started collecting twigs and branches because I knew I wanted to make some rustic ornaments this year. I’m sure our neighbors think we are crazy for hauling in branches every time we come inside, haha. Don’t worry, these were branches that had already fallen off of trees.
And then those that follow me on Facebook probably think I’m crazy for the things I cook in my oven… I like to place the branches in the oven on low (or 250 degrees) for about 45 minutes because it makes sure the branches and twigs are all nice and dry. Plus it kills off any nasty bugs that may be on them. Yeah gross I know, but a girl’s gotta do, what a girl’s gotta do.
This is a little embarrassing to admit, but this is actually my very first handmade ornament. Well, except for those I made in elementary school.
So if you are looking for super easy and FREE Christmas tree ornaments to make this year, then this project is for you. Best of all, you and your family can pop on a Christmas movie and drink hot chocolate while you make these bad boys.
Here is what you will need:
- Tree branches/twigs
- Glue Gun/Glue Sticks
- Ribbon {you could also use twine, wire, yarn, etc.}
- Garden Shears {optional}
- Artificial Snow Spray
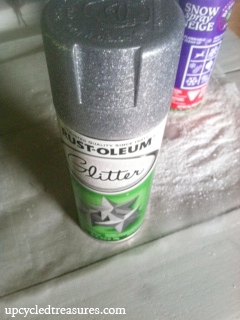
- Glitter Spray
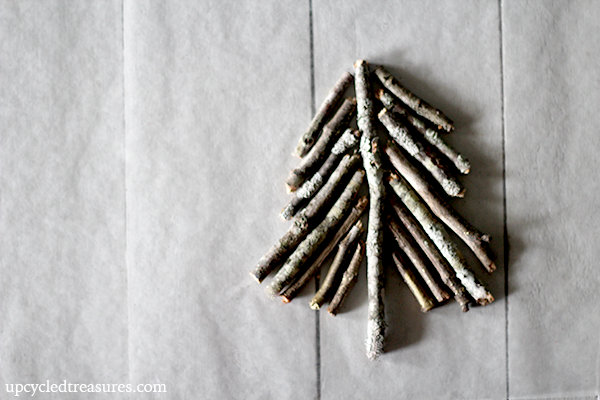
The first thing I did was break some twigs and branches and then lay them out in the order I liked. My Tree base/stem about 5″ long, but you can make yours as long or short as you want. You could also use gardening shears to do this if you like, but the twigs I used were fairly small and broke pretty easily.
I used a longer twig for the tree base and then 2 sets of 8 smaller pieces for the tree branches. I tried to make each set similar in size as you can see in the photo below. You may notice a couple of the smaller twigs are golden – that’s because I had tested out some gold paint on them a few nights earlier.
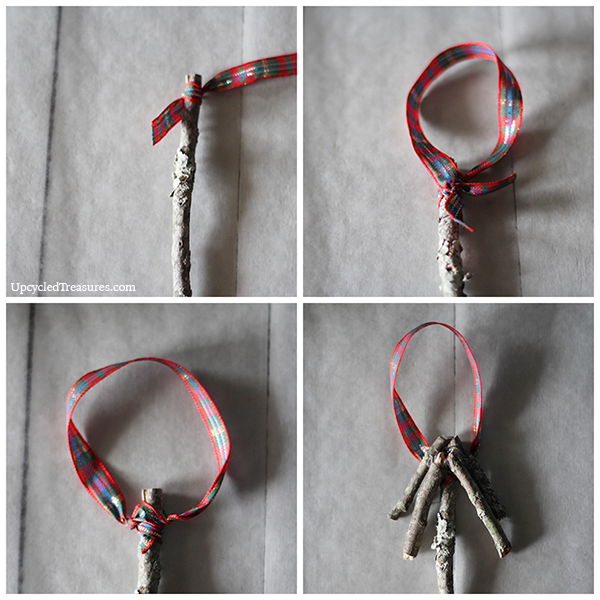
After I knew the placement of the branches I decided to cut a piece of ribbon and tie it around the top of the tree base. This way I could easily hang it from the tree, and the branches would cover up where the ribbon was attached. After I tied the loop and double knotted it, I cut off the excess ribbon as you can see in the photos below. I then began glueing the branches on with the glue gun.
I then simply continued to glue the branches down one at a time, from top to bottom.
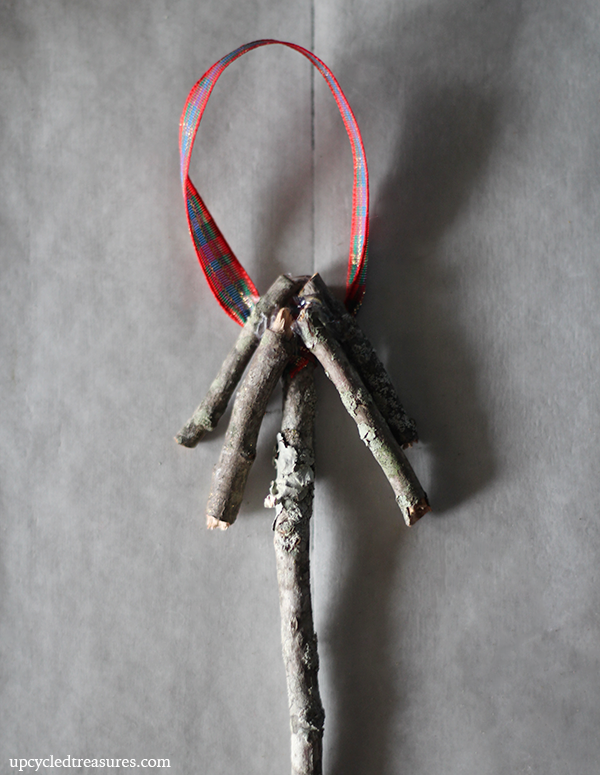
Pretty easy, right? So after my tree was finished I realized the back seemed a little wonky and I wanted to cover the ribbon on that side as well.
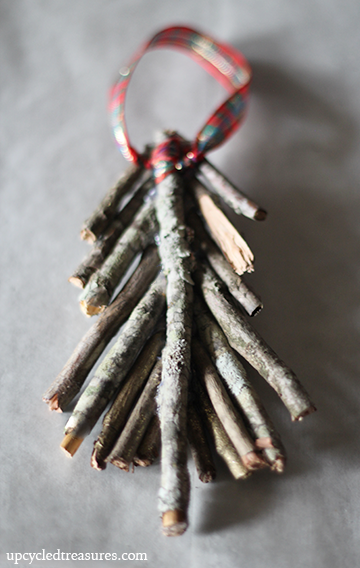
So I started gluing twigs down the back of the tree as well and this is what it looked like when I was done:
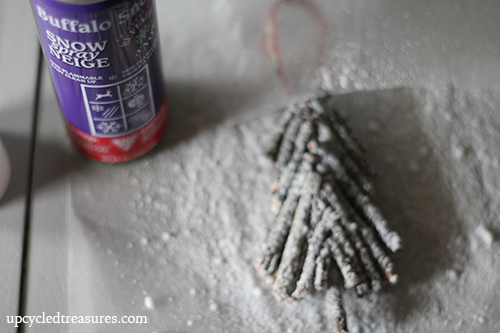
I decided I wanted my tree to be sparkly and snowy so I sprayed on a coat of Rustoleum Silver Spray Paint and once that was dry I sprayed some fake snow on top of it. I already had both of these items on hand from previous projects, but you could always make your own with mod podge, glitter and Epsom salt.
I tried to cover the ribbon with wax paper so it wouldn’t get “snow” on it, but some snow still lingered. It wipes off easily though so it’s no biggy.
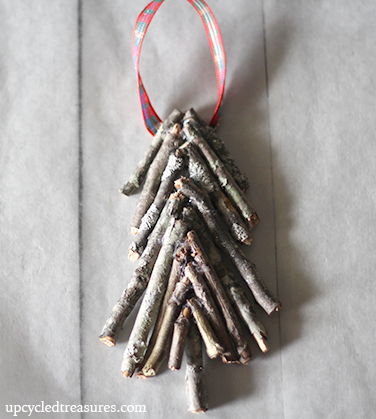
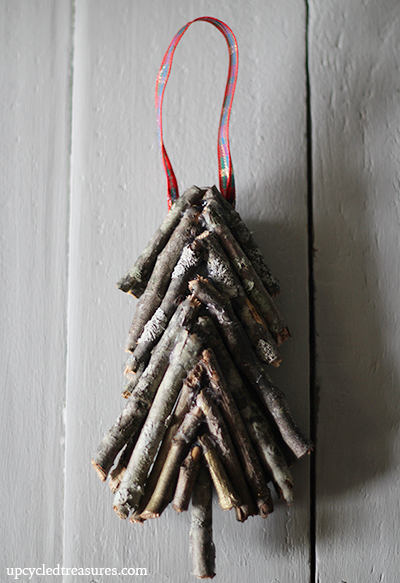
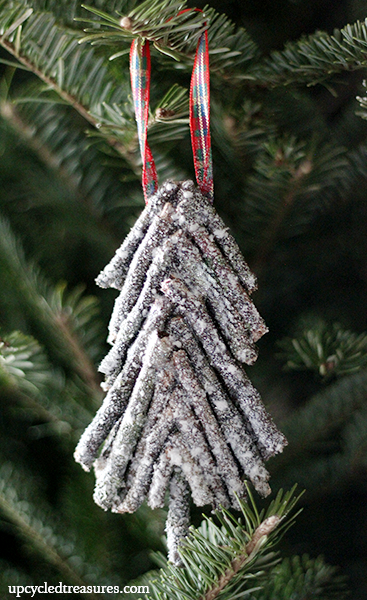
Here is my finished DIY Twig Tree Christmas Ornament:
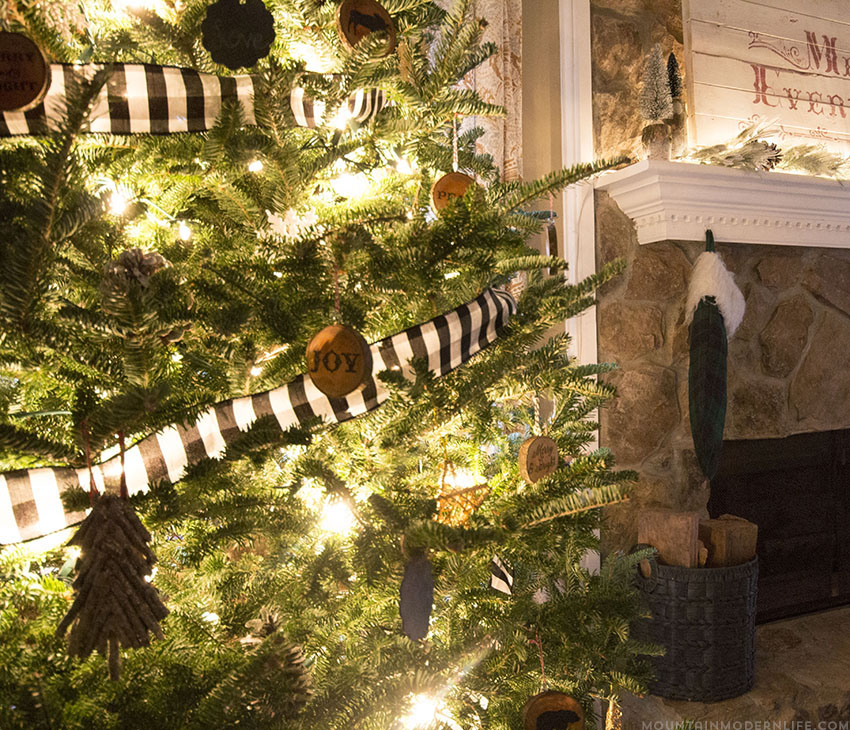
Here is an updated photo of the ornament on our tree, one year later:
Not bad for free, eh?
I love the way it turned out and you can easily personalize it with different colors or add additional ribbon, twine or buttons if you want. I will definitely be making more of these to hang on our tree this year, along with some other handcrafted ornaments that I plan to share with you.
Will you be making any DIY Christmas ornaments this year?


I saw those at target! Great knock-off!
Thanks 🙂 Last year I probably would have bought them, but it was fun to make my own this year 🙂
what a neat idea!
I really like this! I love “natural” ornaments, and I certainly have FREE twigs in my yard. Great idea and thanks for sharing.
As always…AMAZING! : ) HUGS…