UPDATE: All new featured RV tours will be posted on my other website, Wanderful RV Interiors. Existing tours will slowly be moved to the new website, and anything already moved will automatically redirect.
Disclaimer: This post may contain affiliate links, meaning, if you click through and make a purchase we (or those featured in this post) may earn a commission at no additional cost to you. View our full-disclosure here.
You know how some kids get really excited and start talking a mile a minute because they want to make sure they tell you everything they’re thinking before you have a chance to interrupt them? Well, I was that kid… and in some ways I still am. I was also known for my run-on sentences since I would write like I talk. #somethingsneverchange
In fact, growing up my friends and family would call me “Six” because I talked so fast. If you grew up in the ’90s like me then you’ll recognize the Blossom reference. When we had to read books aloud in class, my classmates would pick me because they knew we would get finished quicker, and I didn’t mind. Ha.
I like to think I’ve slowed down since then, but I’ve come to notice that those tendencies have somehow carried over into my blogging.
There are several blog posts that contain multiple projects and probably more information than you care to read in one post. So I’ve made it a mission to break those posts up to make them a little easier to digest.
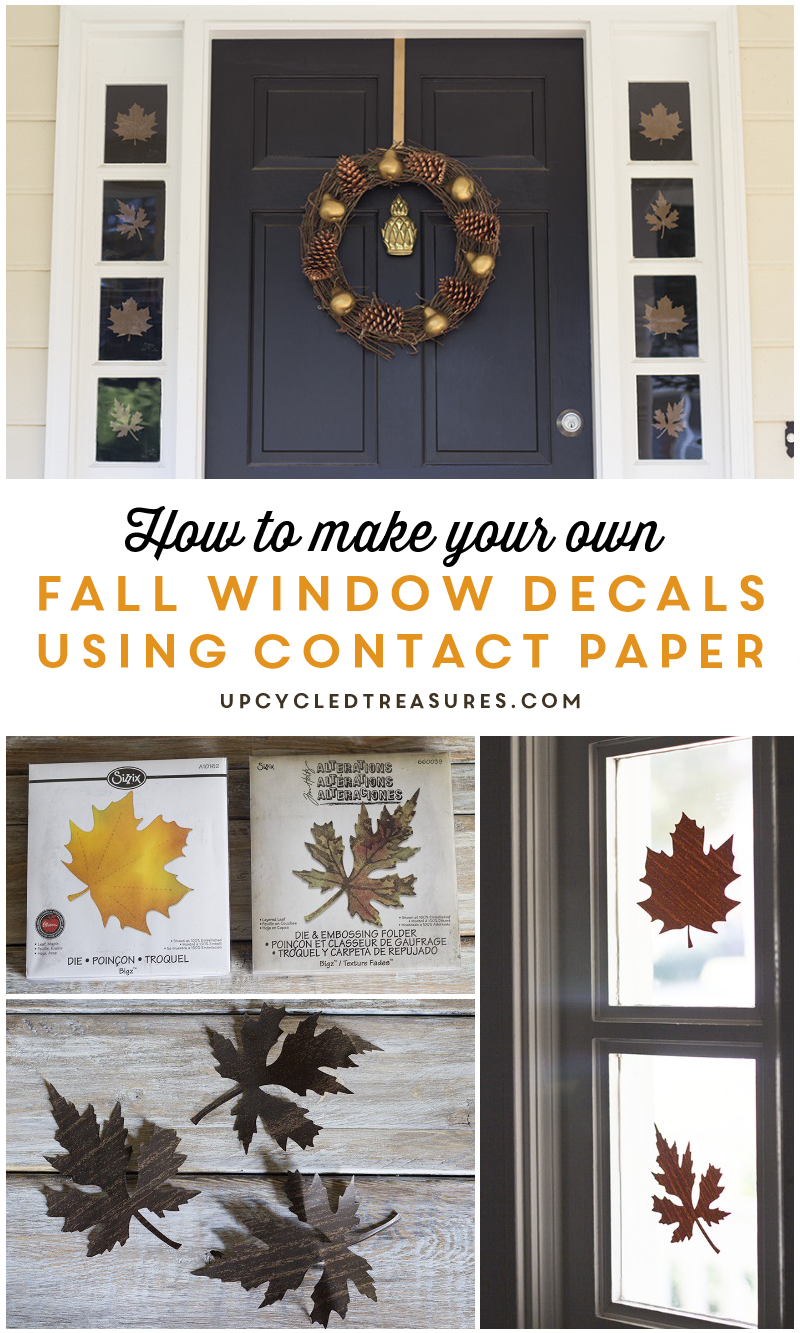
Here is my tutorial on how to make your own fall window decals with contact paper, which was originally shared in this post on how you can easily update a lampshade.
Make Your Own Fall Window Decals with Contact Paper
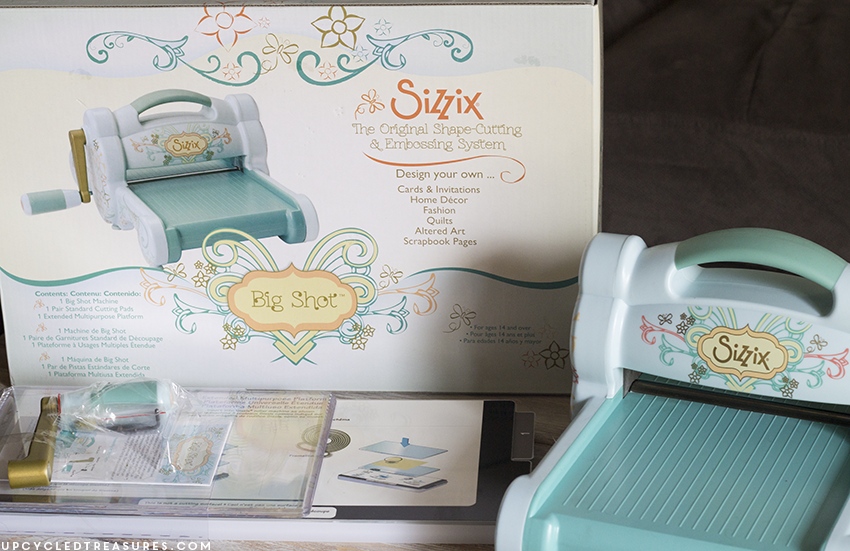
Are you familiar with the Sizzix Big Shot? If you’re a crafter or scrapbooker then chances are you have either heard of it or may even own one. It’s a shape cutting and embossing system that I first learned about during the Haven blogging conference, and I was blown away with how easy it was to use! Combine that with my obsession with contact paper and this easy peasy DIY was born.
Side note: Although the Sizzix machine makes cutting out shapes ridiculously quick and easy, you don’t need one to create your own wall decals. You can create your own shape templates on cardstock paper or cardboard, trace them onto contact paper, and then cut, peel and stick 🙂
I have tried to cut out shapes using shape type punchers in the past, but most of them would get stuck on the paper and jam up {oops}, which is why I was so excited when I saw how easy it was to cut out shapes using this machine. Seriously soooooooooo easy!
By the way, most of the dies they offer can be used with paper, fabric, chipboard, foam, magnets, leather, metallic foil, etc. So you can see why I was so excited to play with my new “toy” 🙂
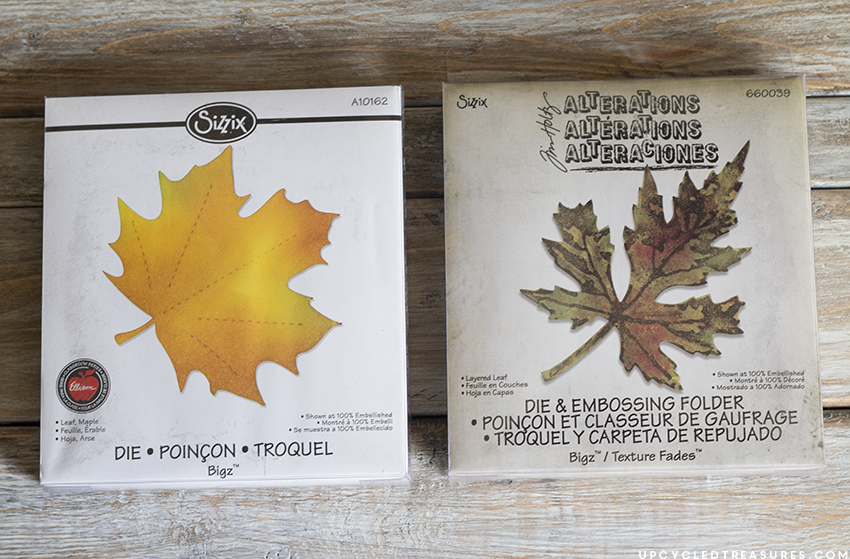
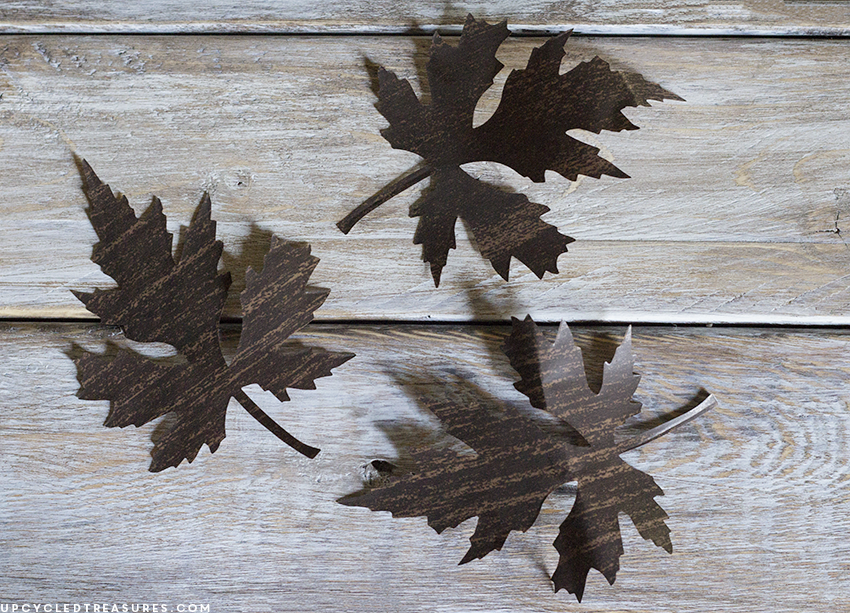
Here are the 2 leaf dies I used, which I thought would be perfect for fall.
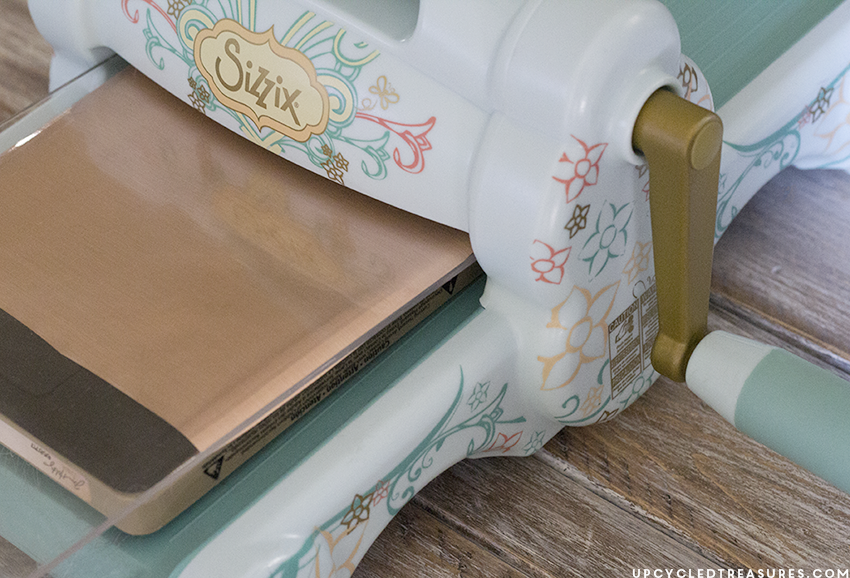
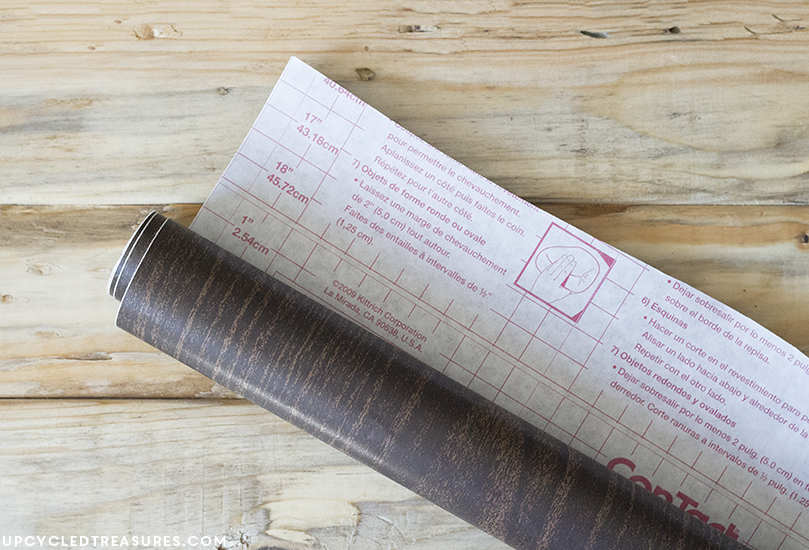
To create my decals I took the Leaf Die {foam side up}, placed my contact paper on top, and sandwiched it between the cutting pads. I then placed it on the machine and cranked the handle until it went all the way through. Although I wound up using the wood grain contact paper, here’s a photo of me testing it out with some copper contact paper first.
I should also mention that for both leaf templates, I did flip the contact paper over a few times to get the designs to be reflected.
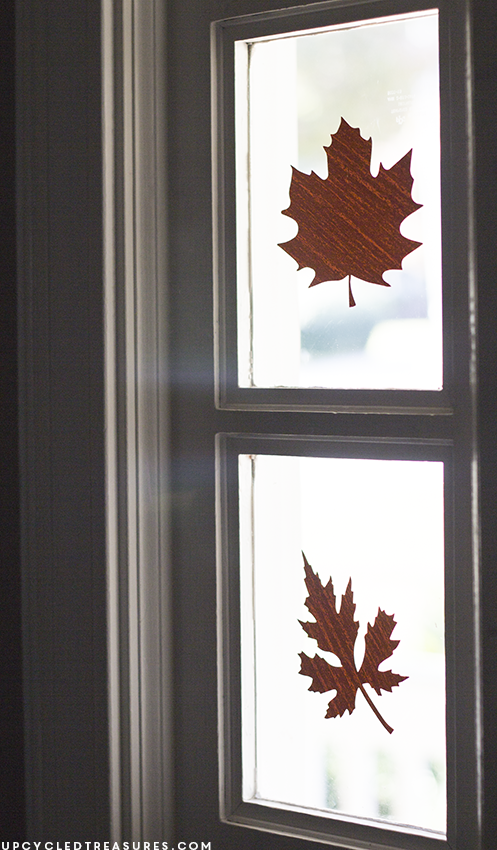
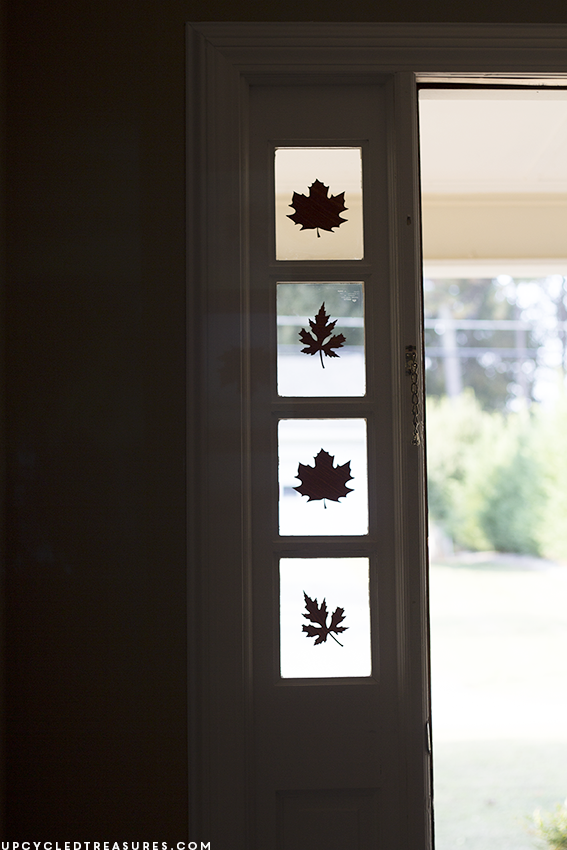
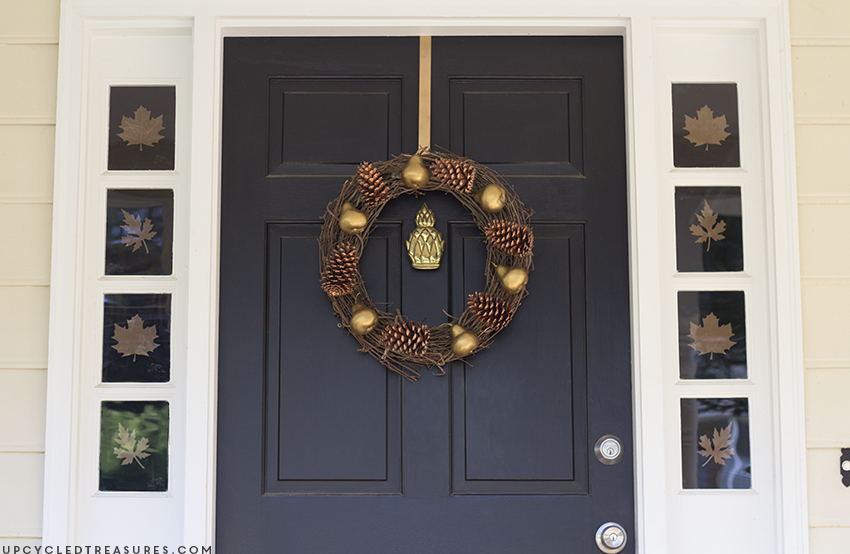
I then peeled off the backing of the contact paper and placed them on the windows by our front door. I love how they add a touch of fall to the entryway and front porch. I did struggle a bit with taking photos of the area because of the reflection, but here are a few pictures of the fall window decals:
And here is a photo from the front porch. I also could have added the decals from the front rather than the inside so the wood grain would show up on the outside.
You could use this same method for creating decals to place on an accent wall, for seasonal framed art, cards, gift wrap, etc. You can also search Pinterest for “Sizzix” to discover even more ways to use it.
Update: The only disadvantage of this machine is that you can’t create your own designs {at least not that I know of}, so you have to use pre-made templates. I think most people will appreciate this, and the best part is that this is a great crafting tool for all ages. However, if you are looking for more flexibility then you may want to look into the Silhouette machine instead. That’s my 2 cents anyway 🙂
So what do you think of the fall window decals? Have you used this machine before, or are you thinking about buying one? If so I’d love to hear about it in the comments!


Your front entrance is stunning! Thanks for sharing.
These are so adorable!