UPDATE: All new featured RV tours will be posted on my other website, Wanderful RV Interiors. Existing tours will slowly be moved to the new website, and anything already moved will automatically redirect.
Disclaimer: This post may contain affiliate links, meaning, if you click through and make a purchase we (or those featured in this post) may earn a commission at no additional cost to you. View our full-disclosure here.
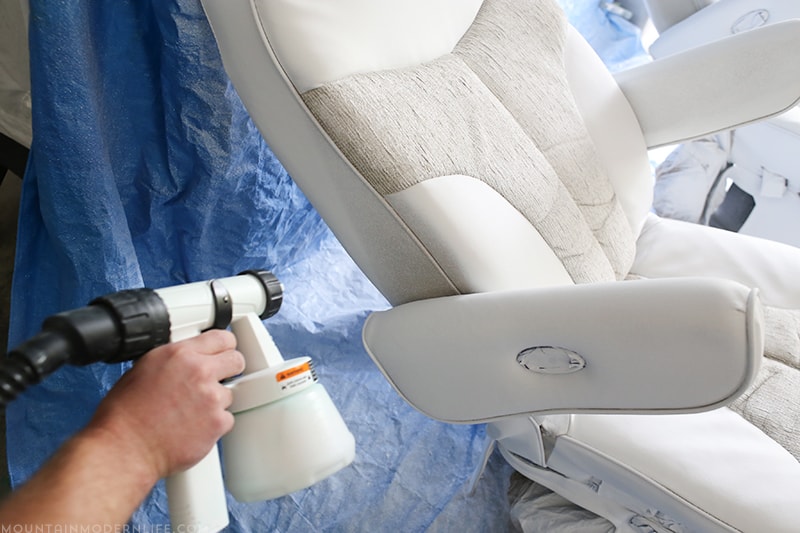
Paint has always been my go-to DIY weapon of choice, but if there’s one thing I’ve learned over the years, it’s that the right tool can make ALL the difference. I have since become a huge fan of paint sprayers, which is why I jumped on the opportunity to test out the new Home Decor Sprayer from Wagner.
I recently shared a wicker laptop table I refreshed for Spring, but I decided to really test this sprayer out on a project I’ve been wanting to try for a while now, painting fabric furniture.
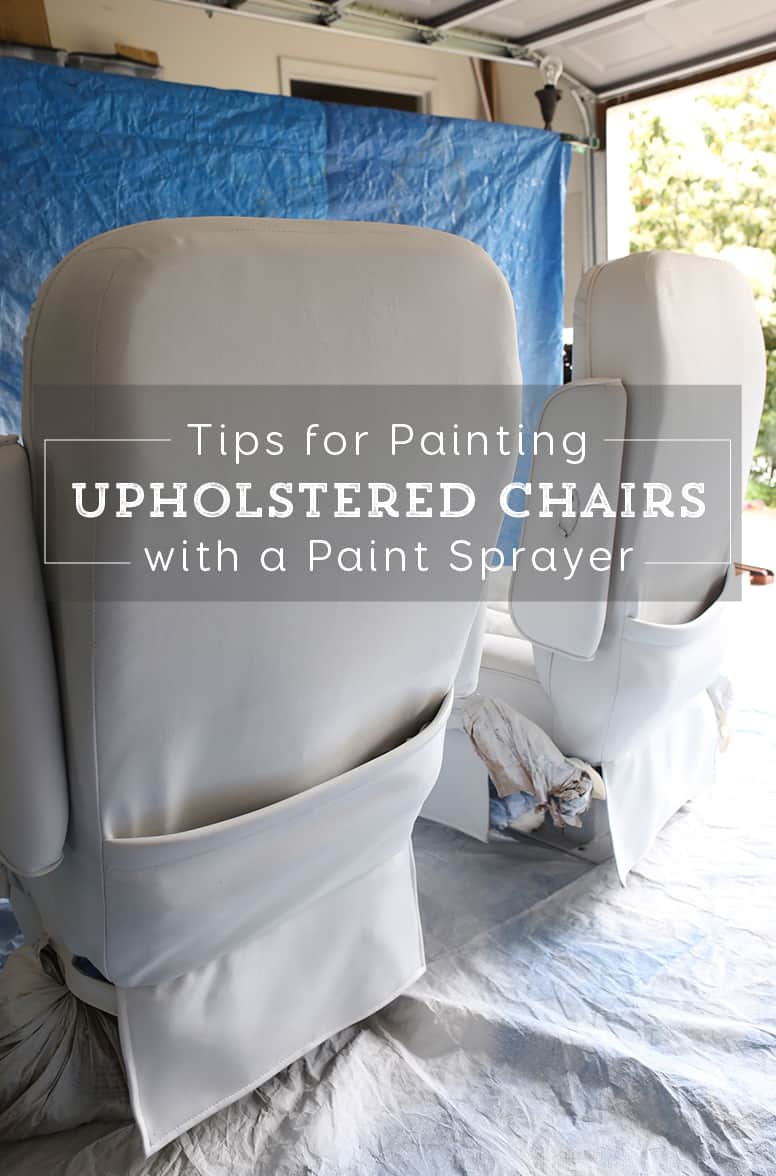
I’ve watched videos on painting upholstered chairs and have seen plenty of pretty photos floating around Pinterest, but always wondered how it really looked in person, ya know?
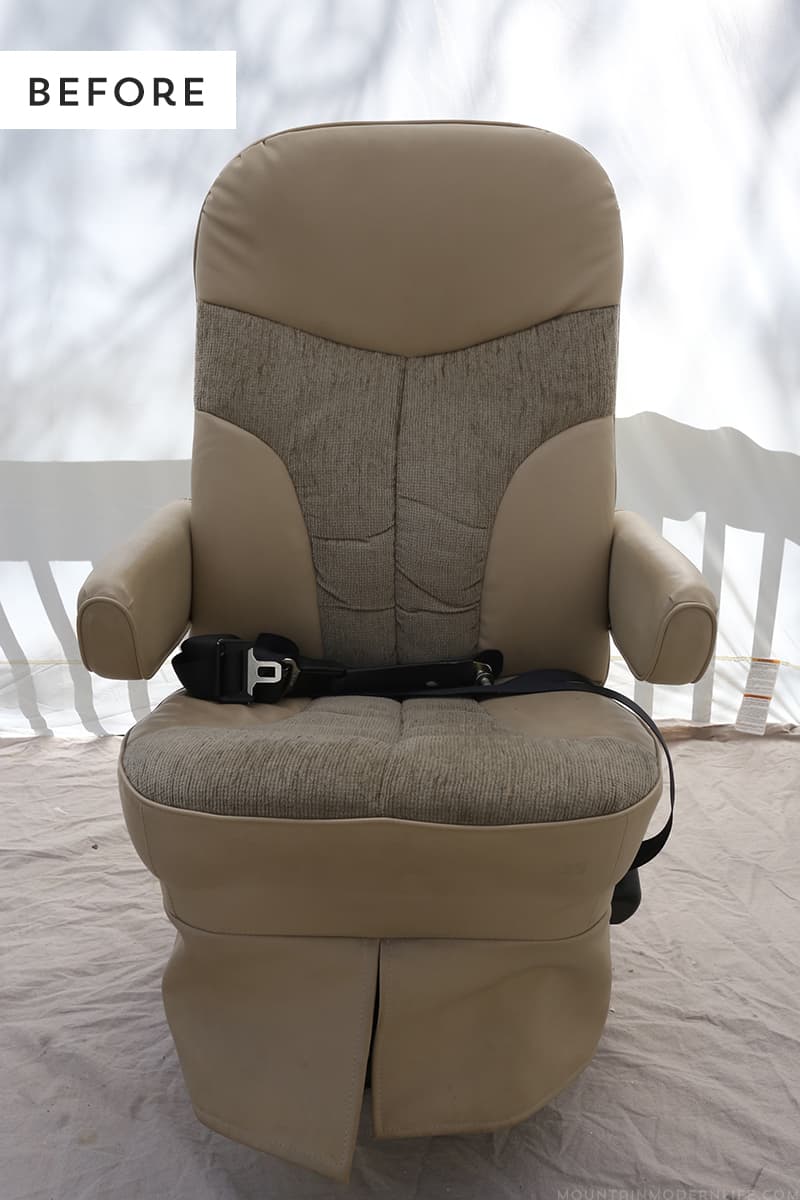
The captain’s chairs in our RV are beige and started to look old and dingy in our freshly painted coach. I considered re-upholstering them but I’m not so good with the sewing machine, and buying new or even used ones was out of the question as they run $600-1500 each. Yikes!
That’s when the idea of painting them came into play. I’ve seen painted fabric chairs and sofas before, but when I tried finding photos of someone else’s painted captain’s chairs I came up empty.
So naturally, I decided it was time for me to be the guinea pig and see what this painting fabric furniture thing was all about. The fact that we will be sitting in these chairs while driving down the road was certainly a concern because we want to be comfortable, but once Eric gave me the green light I knew there was no turning back.
Tips for Painting an Upholstered Chair with a Paint Sprayer
Okay so here’s the deal… We screwed up.
We were so excited about painting our chairs and how they seemed to turn into a soft and buttery white that we made a few mistakes and actually had to do this project TWICE. The good news is that we learned what worked and what didn’t work and now we get to share that with you.
A little backstory:
Let me also say that I originally painted one of the chairs by hand and it SUCKED. My hand and wrist gets tired easily when I hand paint or wax furniture so I have to take a lot of breaks. After one coat I really freaked out and wondered if I made an awful mistake.
By the second coat, I could see that it was going to look really good and made a mental note to tell anyone planning to paint simulated leather or vinyl by hand that the first coat may scare you, but hang in there because it will come together. Anyway, 2 coats later I was exhausted and the chair sat in our garage for a couple of months until recently when we decided to paint both of the chairs with a sprayer.
Let me say that now that I’ve hand-painted the chair AND painted it with the sprayer, the sprayer is hands down the way to go, especially if you have a large piece, awkward angles or don’t want to see brush strokes.
After one coat of hand painting the chair I wasn’t sure if I would like it, but after one coat of painting with the sprayer, I was excited. So I don’t know if that helps you at all but that was my experience anyway 🙂
After a bit of trial and error, here are some tips we learned on how to get the best results when painting vinyl or simulated leather. Keep in mind that we used chalk paint and The Home Décor Sprayer.
Tip#1: Clean your Chair thoroughly
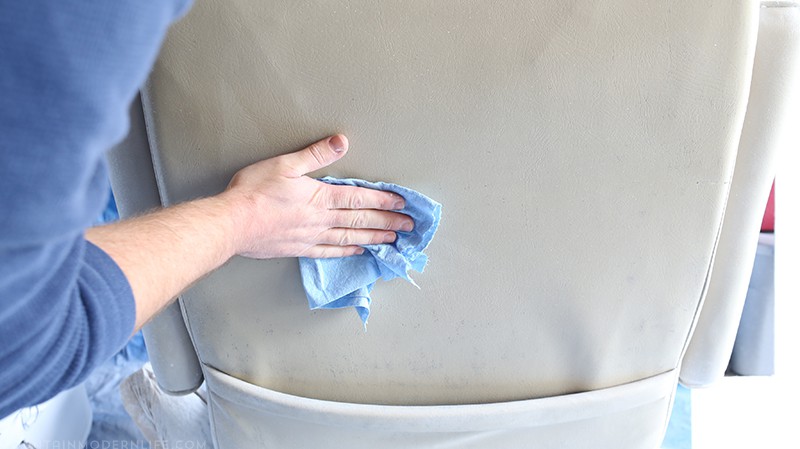
Be sure to give your chair a good cleaning first. Wipe it down and vacuum it if necessary. You also want to make sure your work area is clean of any dust so that it doesn’t blow onto the chair when you are using the sprayer.
In fact, in between sprays we made sure the chair was clean of any dust or random pet fur that decided to fly by.
Tip #2: Tape off any areas you don’t want painted.
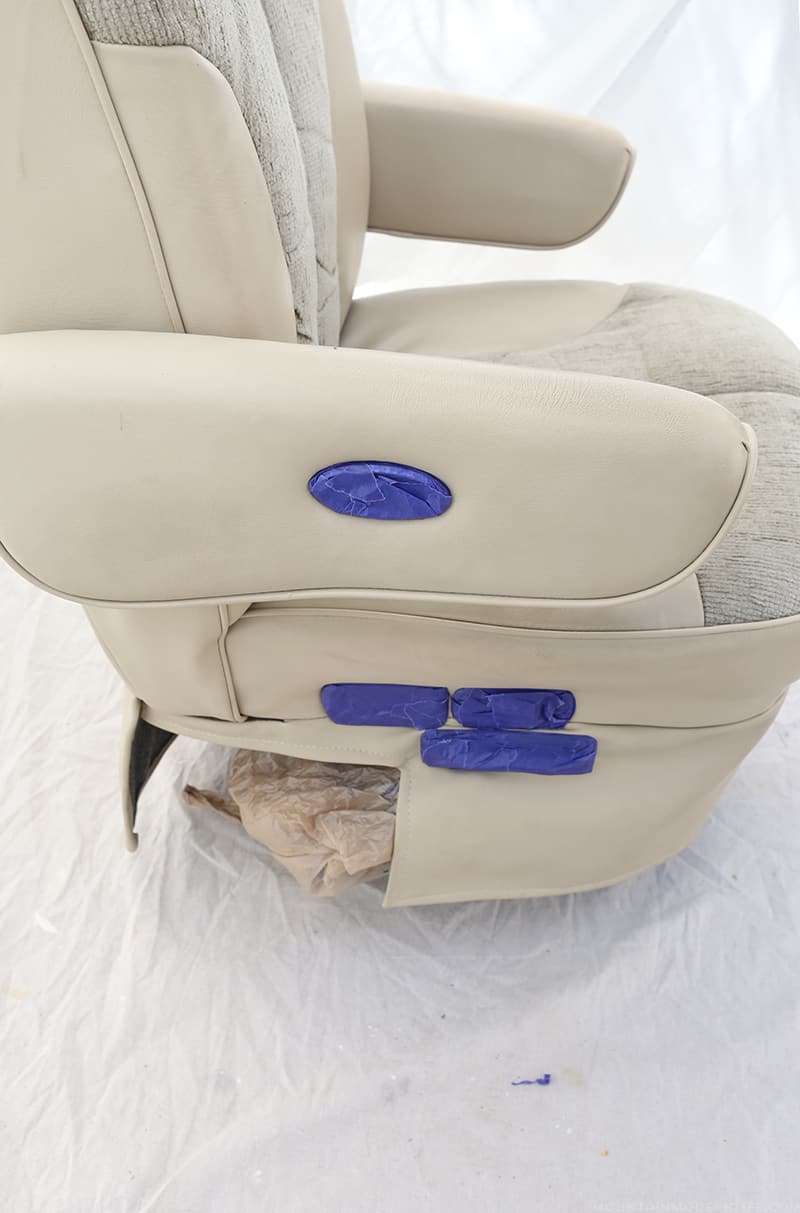
Make sure you tape off any areas you don’t want painted and press the tape down to ensure it’s secure. We taped off the electrical components and also used a couple of plastic bags to secure the seat belts.
Tip #3: Make sure to add enough water.
When you get your sprayer it comes with directions on how much water you will need to add to your paint. However, keep in mind that when painting fabric furniture you generally need to use more water so that it gets absorbed into the fabric. I recommend adding a little more water than required and also taking a slightly damp rag and wiping the furniture piece down before spraying. You don’t want the rag to be soaking wet, just barely damp. Basically, if you squeeze it and water comes out it’s too wet.
Wipe the chair down and then give it a minute or two to dry before painting. I actually did this in between coats as well, just make sure the paint is completely dry. 30 minutes to an hour should be plenty of time.
Tip #4: Be Consistent with your Chalk Paint
We started out with some Annie Sloan Chalk Paint because I had some leftover but we ran out and I was too lazy to drive 30 minutes to get a new can so instead I went down the street and picked up a different brand that is more of a clay style chalk paint. I needed pure white and kind of just hoped they would match. They did, but the clay style chalk paint was a lot thicker and didn’t seem to work as well in the sprayer or go on as smoothly as the ASCP. This could certainly be due to user error as I’ve done the research and found other people that used this type of paint on furniture, but they generally brushed it on and didn’t use a sprayer. Soooo…. I would stick to thinner chalk paint and to the same brand/color per project.
Tip #5: Use the lowest Spray Setting For More Control
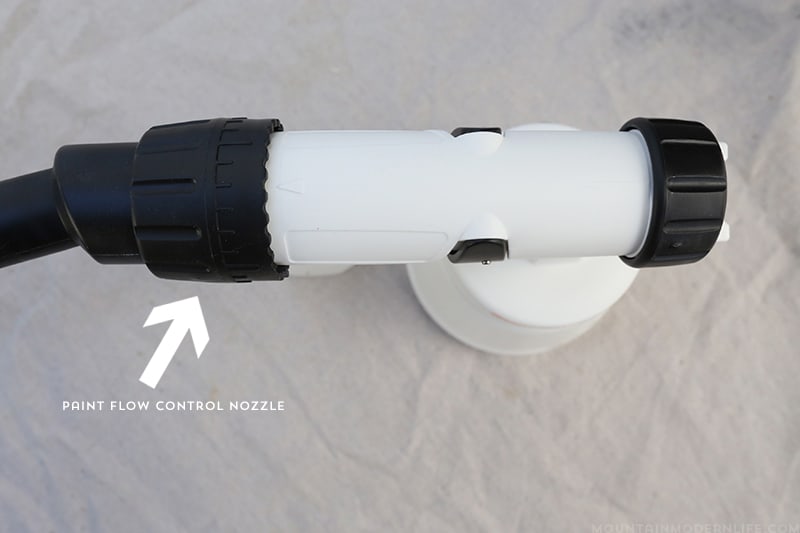
You can easily control the flow of paint that comes from the sprayer by turning the nozzle. For painting upholstered furniture I recommend using the lowest setting (1) so that the paint doesn’t come out too fast or too thick. Otherwise, you could run out of paint a lot quicker and end up with thicker layers of paint then necessary.
Tip #6: Paint in thin layers & Allow Time to Dry
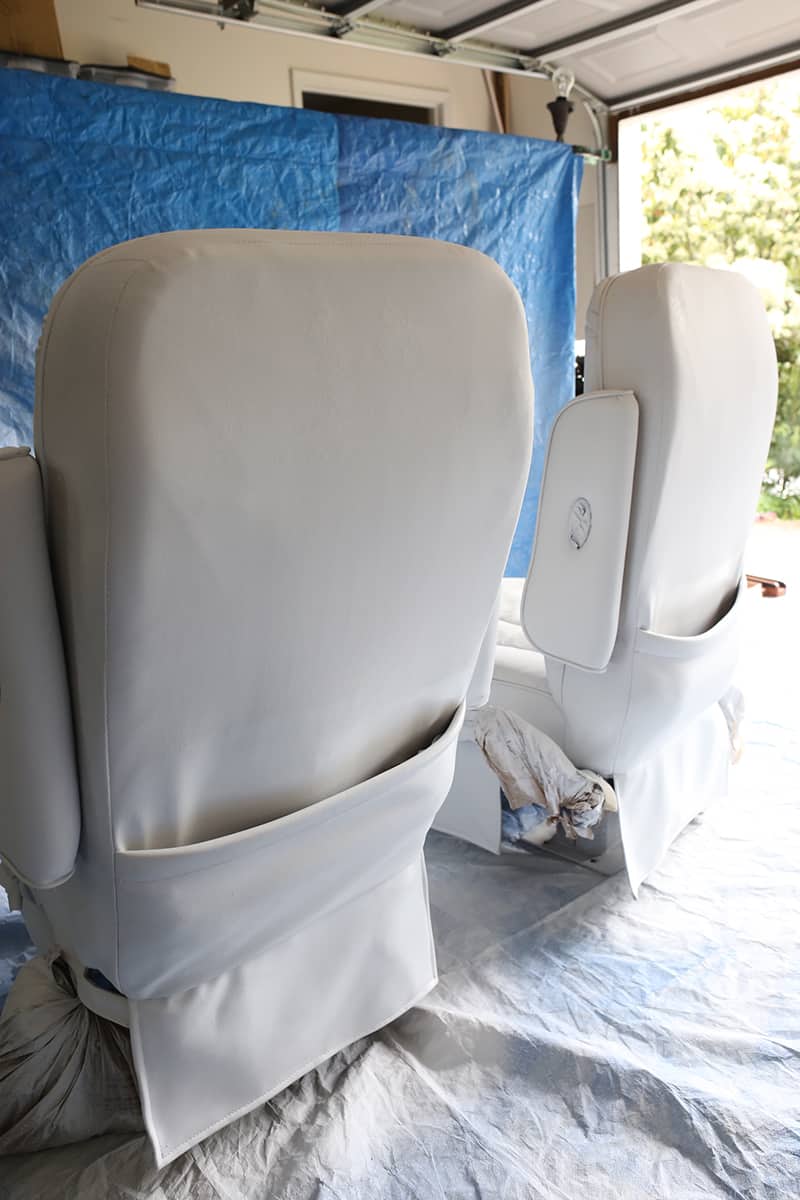
It’s easy to get caught up in how quickly your piece is being transformed (it’s seriously like magic!) and when areas aren’t completely covered by paint you may feel the urge to go back over it. DON’T! It’s best to use super-thin layers and not cover the entire piece on the first coat. You will cover those areas the next coat and you won’t have to worry about peeling or cracking paint due to the layers being too thick. Also, make sure each layer is completely dry before adding a new coat.
Here’s a short video showing the second coat going on the back of one of the chairs. If you view the video in full screen you can see the light 1st coat being covered up by the light second coat.

Is painting the RV Captain’s Chairs a Good Idea?
So was painting our RV Captain’s chairs a good idea? We love how ours turned out and would do it again in a heartbeat. We couldn’t afford new chairs so with paint, the home decor sprayer, and a bit of patience we now have the next best thing!
Wanna see how our RV captain’s chairs turned out?
Click HERE or on the image below to check out the reveal of our RV captain’s chairs:
Have you ever painted upholstered chairs and have any tips to share? If so be sure to share them in the comments section below!
1 Year Update: Was it Worth It?
We’ve been planning to do an update video, but since we haven’t yet I wanted to at least update this post for anyone considering painting their RV captain’s chairs.
It’s been about a year since we painted the chairs and I will say this, they still look pretty good from the back and you really can’t tell they are painted, with the exception of the lower skirt area.
However, the front is a different story…
Eric thinks the front is okay, but I think they look like crap, haha.
The sealer I had previously put on there I had to paint over because it was getting sticky in the humidity of the RV. They haven’t gotten sticky since then but we’ve noticed that lint or flying cat fur (from our fur babies) sticks to certain areas.
We don’t spend much time upfront because we do most of our “living” behind the driver’s area, but even so, the paint is cracking and they definitely look a bit rough.
The area that probably has the most scratches is where the arms go up and down, but a different sealer may have prevented this. We have considered poly or wax but will have to test a small area first to see if that gets sticky as well. If we were in a sticks and bricks home I don’t think it would be an issue, but the humidity in the RV makes it a bit more challenging. I had never painted upholstered furniture prior to this, and don’t know if it was really worth it, especially since the beige chairs probably would have looked fine in our RV – even though the white definitely brightens it up quite a bit.
The verdict? I think painting your captain’s chairs should be a last resort if you can’t afford new ones. Would I do it again? Maybe, especially since I think it would go a lot smoother knowing what I know now but I also think it would have been smarter to wait until we finished up the majority of our reno to see if it was really necessary.
Prior to painting our captain’s chairs, we couldn’t find any information about anyone else doing this so we were happy to be the guinea pigs and see how they turned out. We hope this helps you decide if it’s the right option for you 🙂
For more information on this awesome paint sprayer visit the Wagner website or visit their social media pages below. If you live in the Atlanta, GA or Boston, MA area you can find the Home Décor Sprayer at your local Home Depot.
Facebook | Twitter | Pinterest | YouTube
This is a sponsored conversation written by me on behalf of Wagner SprayTech. The opinions and text are all mine.

