UPDATE: All new featured RV tours will be posted on my other website, Wanderful RV Interiors. Existing tours will slowly be moved to the new website, and anything already moved will automatically redirect.
Disclaimer: This post may contain affiliate links, meaning, if you click through and make a purchase we (or those featured in this post) may earn a commission at no additional cost to you. View our full-disclosure here.
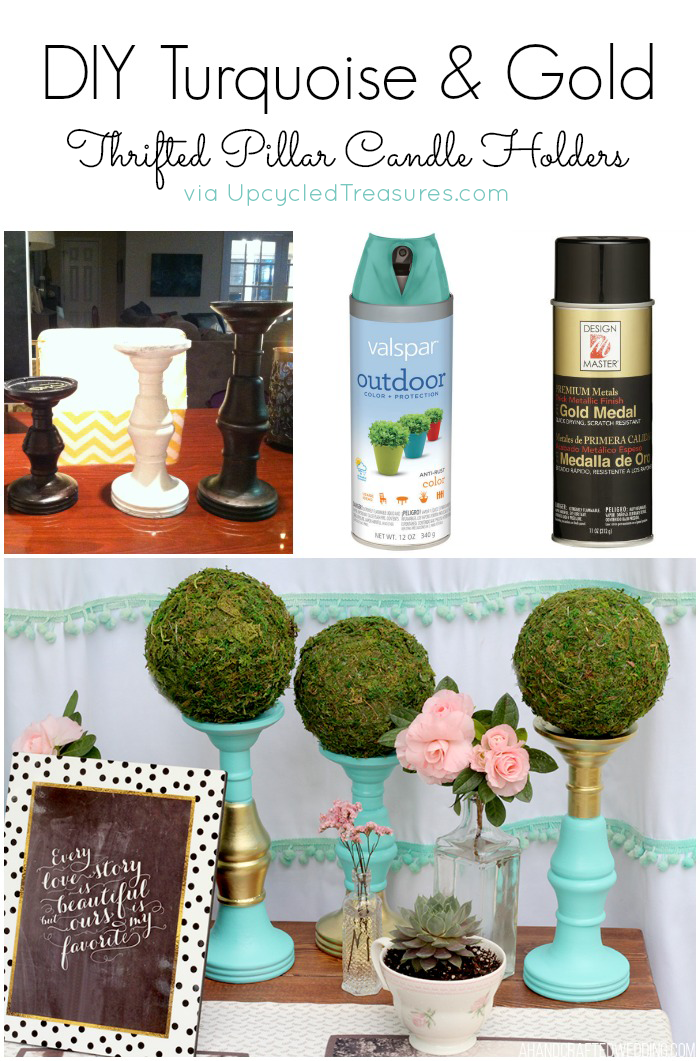
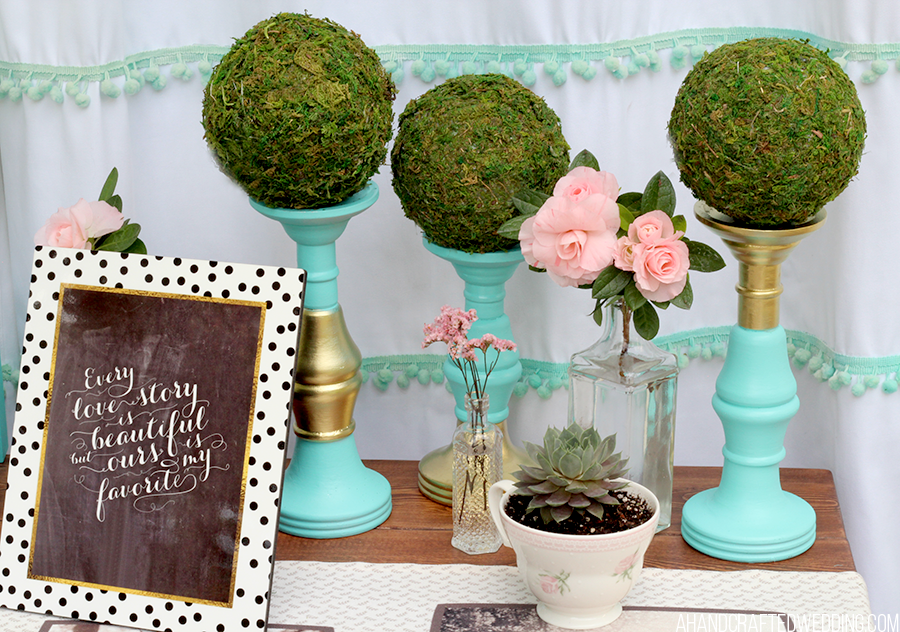
Turquoise and Gold Pillar Candle Holders
One of my favorite things to buy at thrift and antique shops is candle holders, especially because they are so easy to update to match your style and decor.
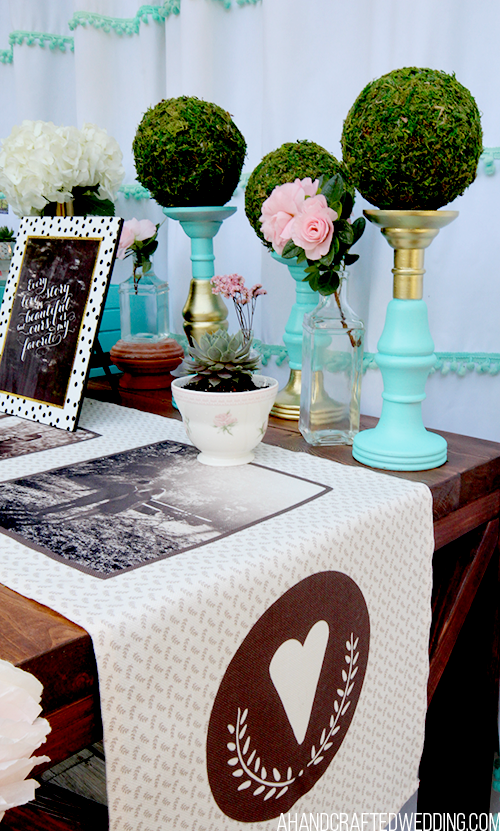
If you saw my post on guestbook ideas a couple of weeks ago you may have spotted these turquoise and gold pillar candle holders. Of course, I didn’t actually put candles on them. Instead, I mossed up some styrofoam balls to place on top for a more whimsical look.
This project is super easy. In fact, all you need are some candle holders, some painters tape and some spray paint (Gold).
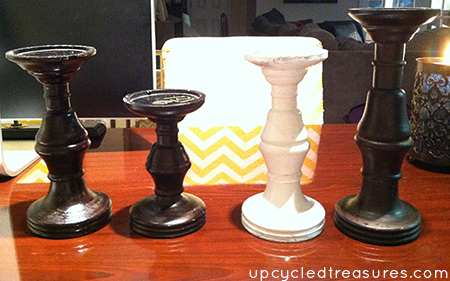
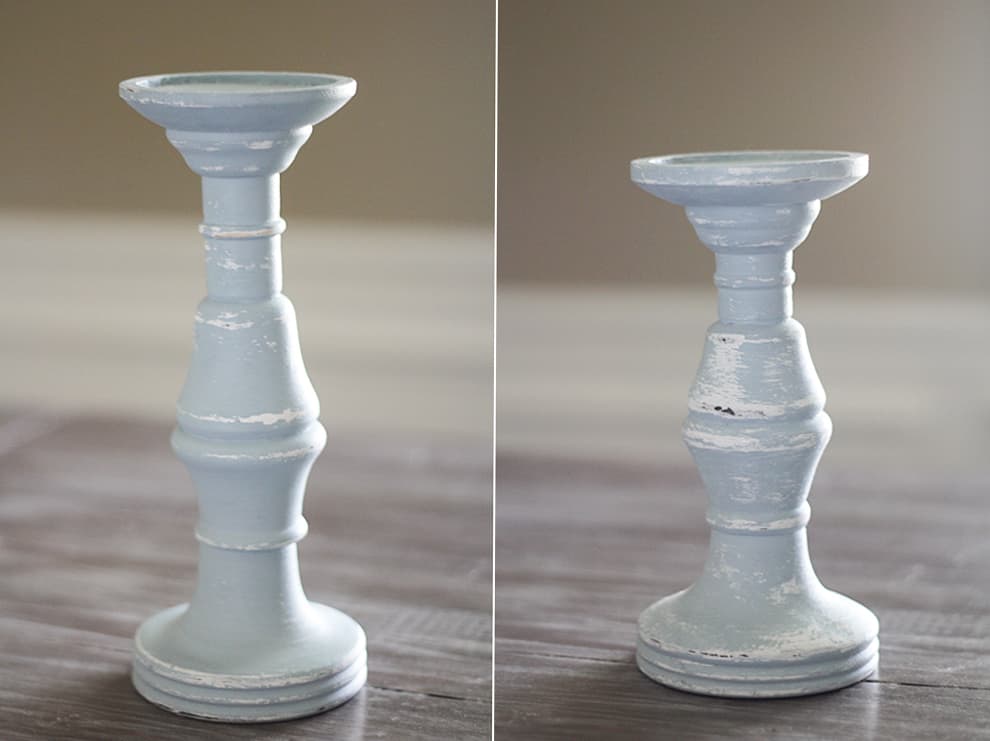
I originally bought these candles for about $1 each at the local Goodwill 3 years ago. I was even able to scrounge up this super old {and bad} phone photo. I had purchased 6 of these bad boys but only 4 are shown in the photo below.
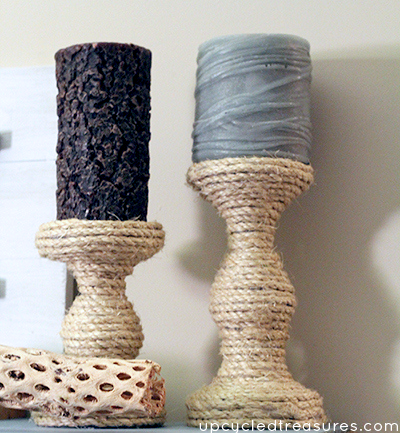
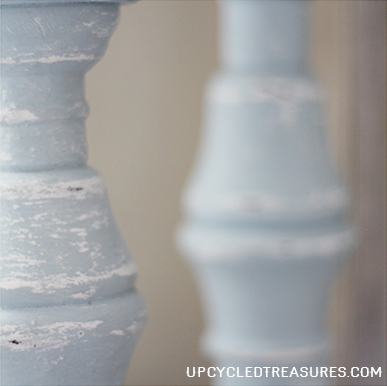
I originally painted all of them a dark shade of blue, but eventually made a couple of rope candle holders {seen here}, followed by some distressed coastal candle holders {seen here}.
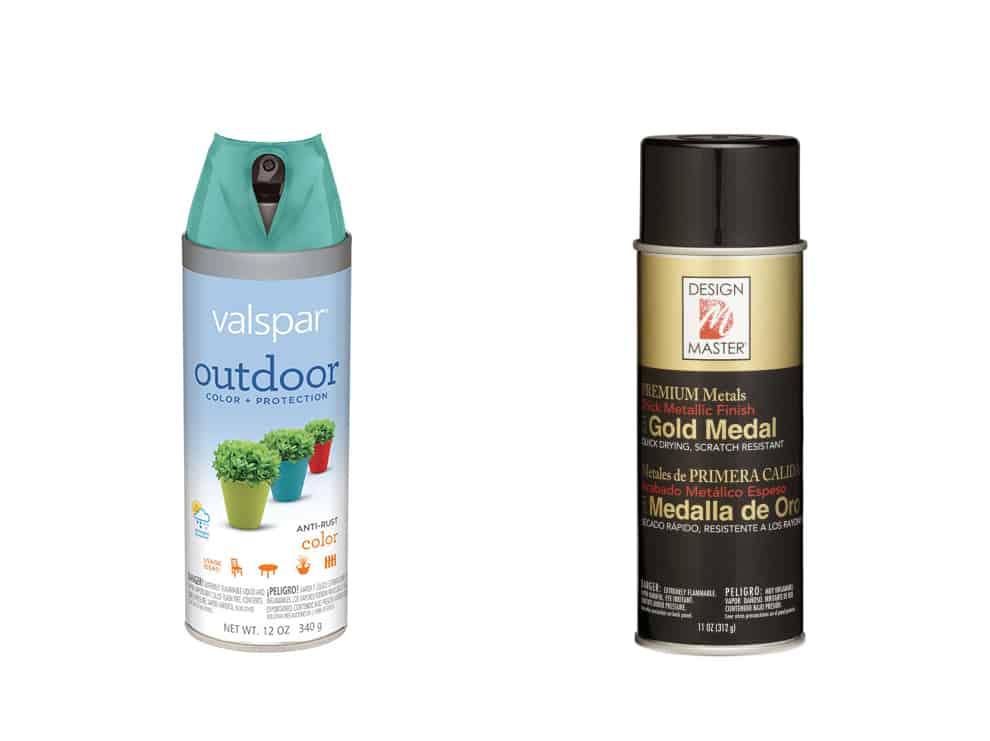
Although I love how beachy the ones above looked, I decided it was time for a change. Here are the two spray paints I used to update these candle holders once again:
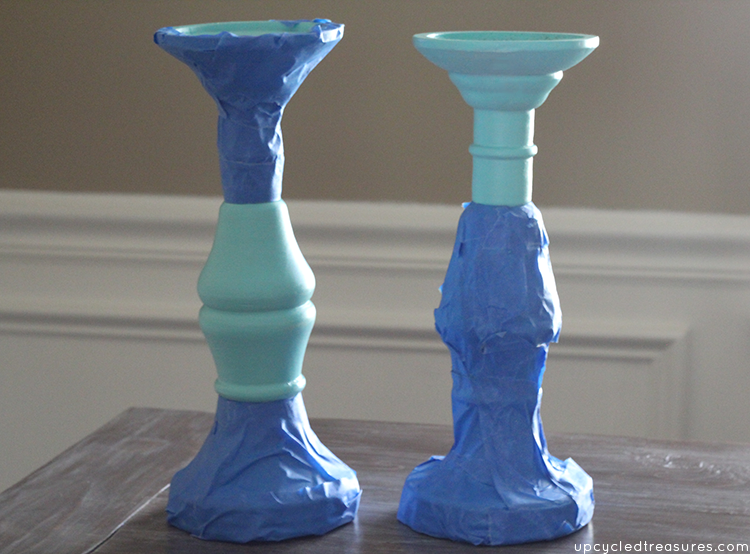
I am practically obsessed with the Valspar Koi Pond Spray Paint. Seriously. So I first covered all 3 candle holders with that color. After I sprayed on a couple of coats {and once dry} I then taped off different sections of each candle holder, so that I could then spray the non-taped sections with gold spray paint.
I actually ran out of painters tape so I did 2 and then re-used some of the tape for the third one, which is why you only see two of them below. I’m not gonna lie, taping round objects sucks. The result was well worth it though! I don’t know how anyone gets their taped projects to look so pretty, ha.
After I painted the uncovered sections I let them dry and followed up with a coat of clear spray paint. Here they are all finished, I just love how they turned out! What do you think?
Don’t forget to shop your home for accessories to use in other rooms or for parties, and don’t be afraid to change them up with a little bit of time, and some paint. If you don’t like how something turns out, you can always change it 🙂

I love the turquoise and gold!!! It is so pretty. I don’t normally tend to like the gold and go for silver but this color combo is striking. Super job and keep up the great ideas!!!
I love all your candlestick ideas but, the turquoise and gold are definitely the best… pinning it…
These turned out so well! Love the colors you chose.
Marie @ In Our Happy Place
Oh woow. I never would have guessed those were multiple candlestick holders! So beautiful, and a couple of my fav colors too 😉 Taping round objects MAJORLY sucks, which is why I don’t aim anywhere near perfection. I just tell myself I was going for the “organic” look.
I love these. I am going to pin them for ideas when I can find some candle holders. I have struck out the last couple of thrifting trips but its probably because thats what I am looking for! lol
Stacy
stopping by from Work it Wednesday 🙂
Love the turquoise and gold color combo! These turned out so well.
I absolutely love this, Katie! Colors are gorgeous!♥Featuring you tomorrow at WIW!
I love the turquoise and gold combination. They came out beautifully!! Noticed that you used tape on the entire bottom of one of the candlesticks. Have you tried taping a plastic bag or paper to the edge of where your painting? The tape would define the edge and the plastic/paper would protect the candlestick and save on tape.