UPDATE: All new featured RV tours will be posted on my other website, Wanderful RV Interiors. Existing tours will slowly be moved to the new website, and anything already moved will automatically redirect.
Disclaimer: This post may contain affiliate links, meaning, if you click through and make a purchase we (or those featured in this post) may earn a commission at no additional cost to you. View our full-disclosure here.

Wow, doesn’t it feel like forever since I shared a furniture transformation? I guess the cold weather has kept me from working on large projects outside and in the garage lately. It’s okay though because the transformation that I’m going to share with you today was well worth the wait!
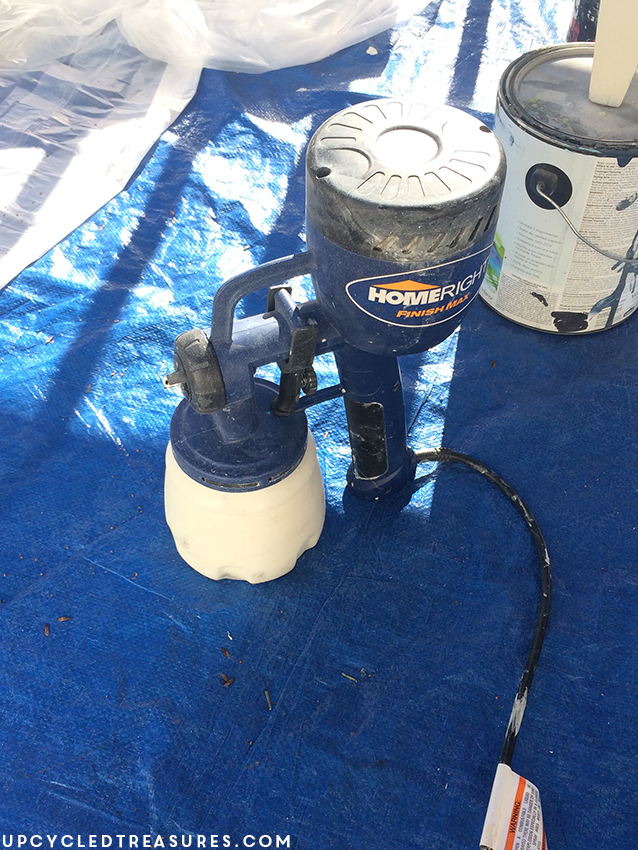
First off, I have mentioned the HomeRight Finish Max Sprayer before because I used it on several projects that you may have seen on my Fall or Christmas home tour. It also made it onto my top tools for DIYers! I <3 it because it has made painting a breeze! I had heard so many good things about it from fellow bloggers so I was stoked when HomeRight offered to send me one {heck yeah!}.
If you have read my About page then you may know I have CRPS and as a result, my right-hand gets extra tired at times and doing repetitive tasks {like painting} can be a pain, which means I have to take more breaks. Did I mention I’m impatient?
This sprayer is a game-changer for me because I’m finished before my hand has time to get tired. It gets the job done quicker AND more efficiently. You use less paint AND it leaves a beautiful finish. It was love at first spray. Ha.
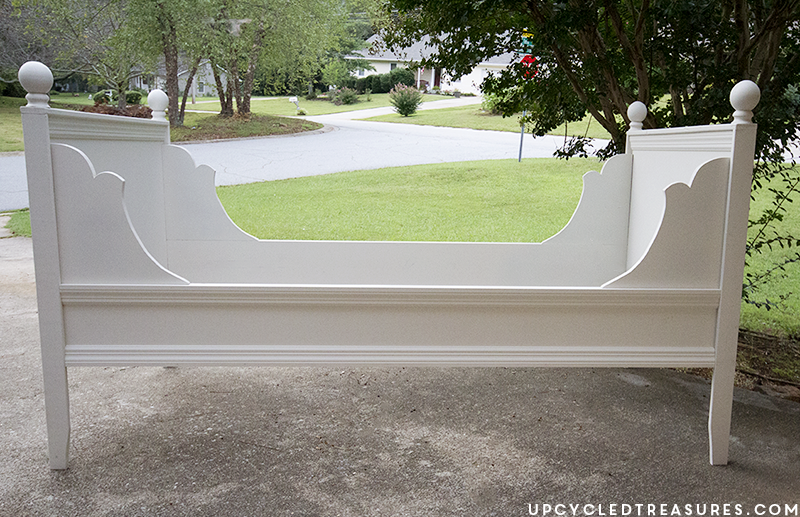
If you have some projects you want to paint, stain, or seal then you definitely need to check this baby out. It’s Ah-Mazing! Seriously. The first thing I ever painted with it was my niece’s bed, {I can’t believe I still haven’t posted this beauty!}:
Anyway, enough gushing about my BFF and onto today’s makeover transformation, an upcycled mid century armoire.
Upcycled Mid Century Armoire
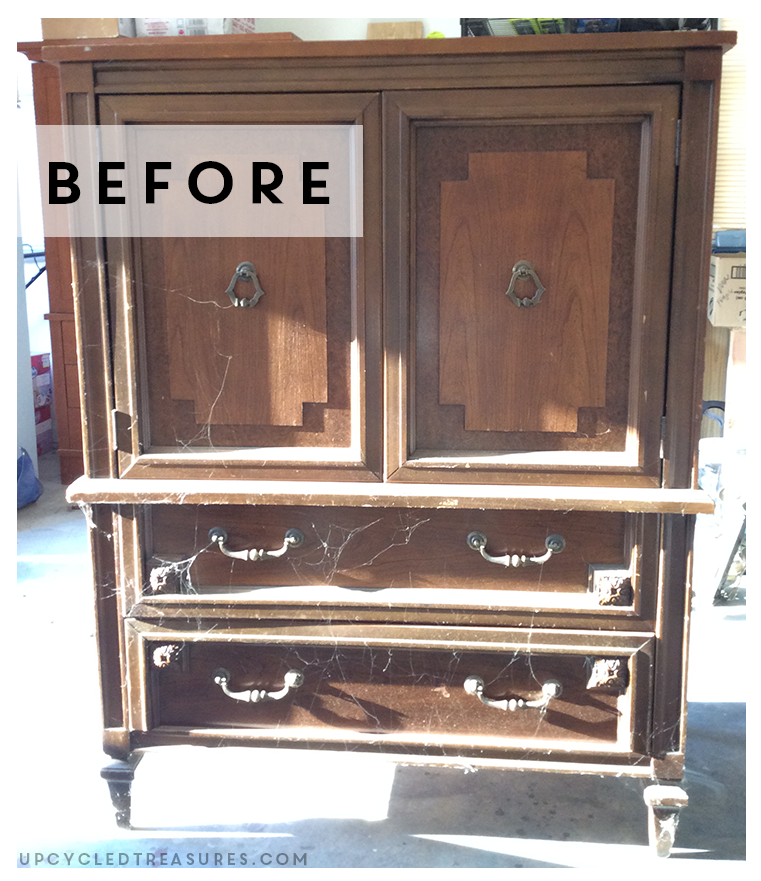
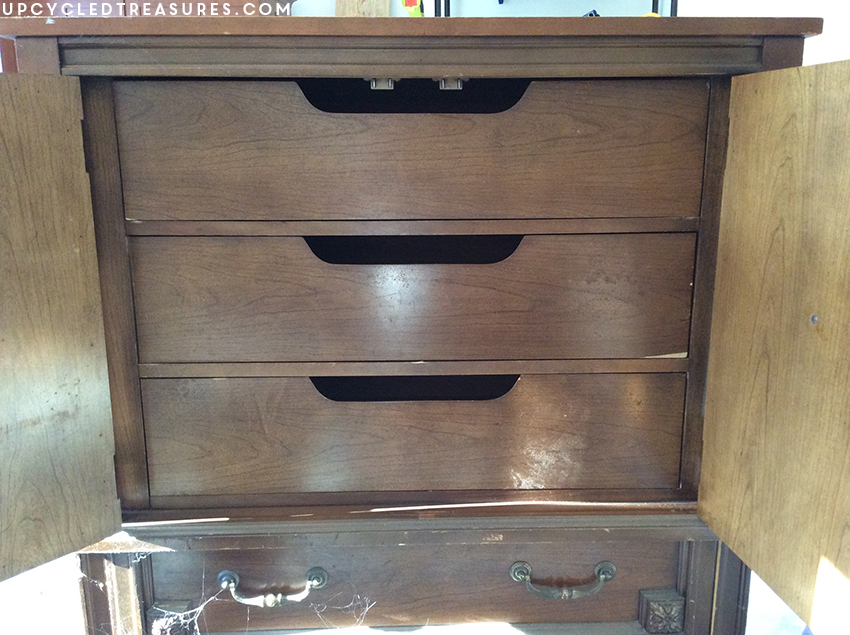
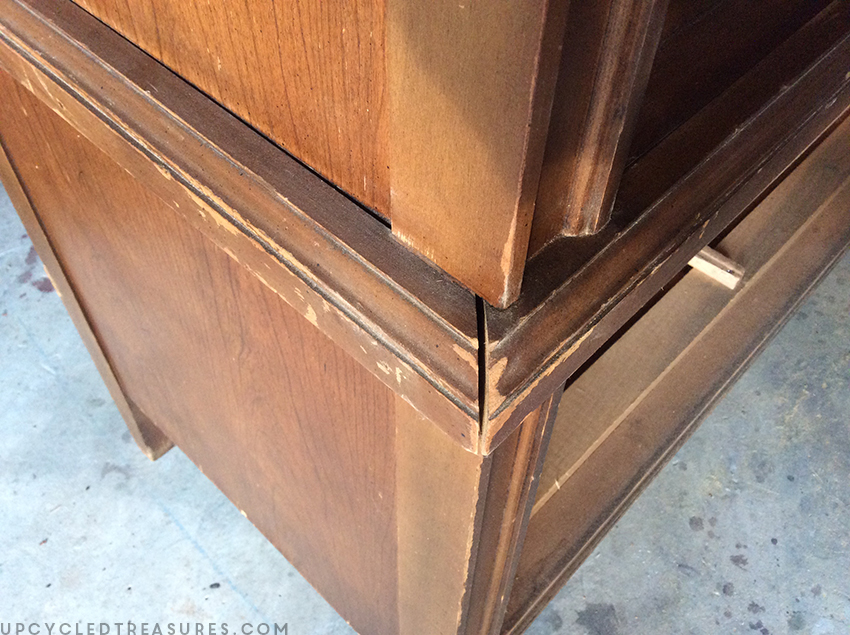
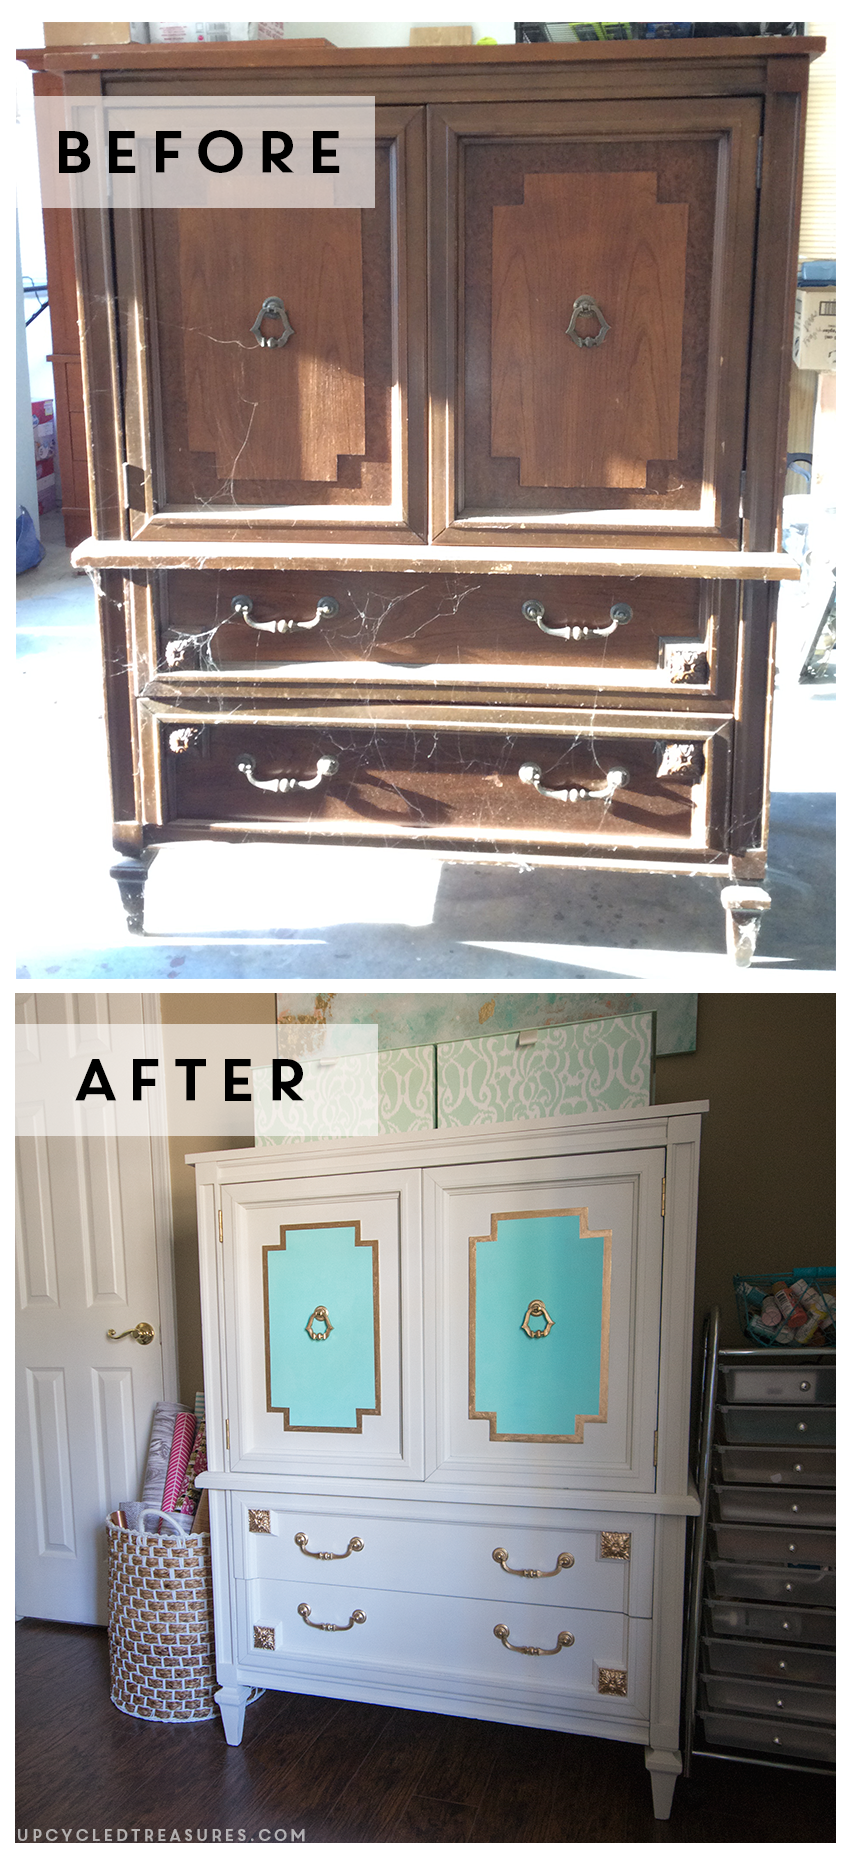
I purchased this Mid-Century {ish?} Armoire/Dresser about 6 months ago at Goodwill for just $30 and it’s been collecting dust {and spiderwebs} in the corner of our garage ever since. I should mention that finding a piece this cheap at Goodwill is like finding a long lost treasure. I’m pretty sure the damage is what drove the price down. Fine with me!
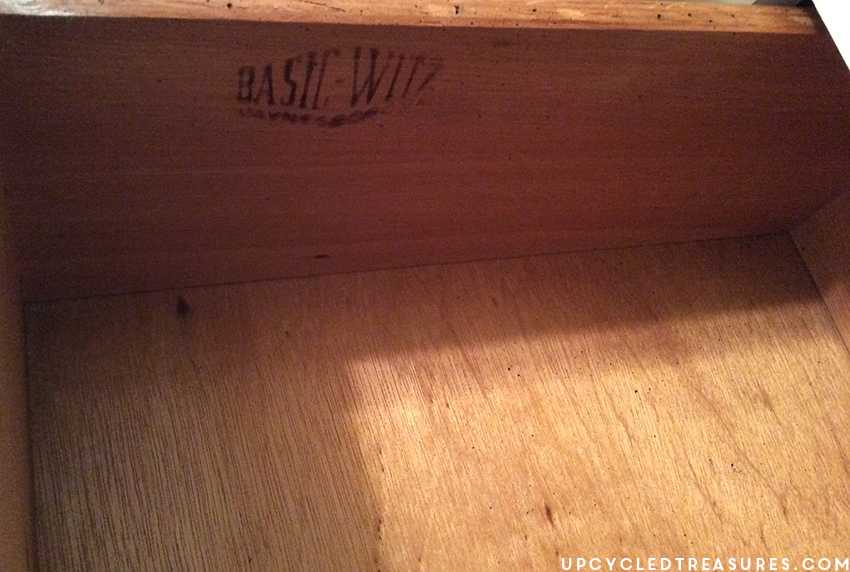
Despite it needing some work, I was in love with the character and knew it would be a great storage solution for my creative office/craft room. It was produced by Basic-Witz Furniture company, which was created in 1889 in Waynesboro, VA and was bought out by Stanley Furniture in the 1970s.
For those of you that don’t know, we are renting and I didn’t feel like painting the super beige walls which don’t help brighten the room much. For that reason, I knew I wanted to paint the armoire white to brighten the space up a bit.
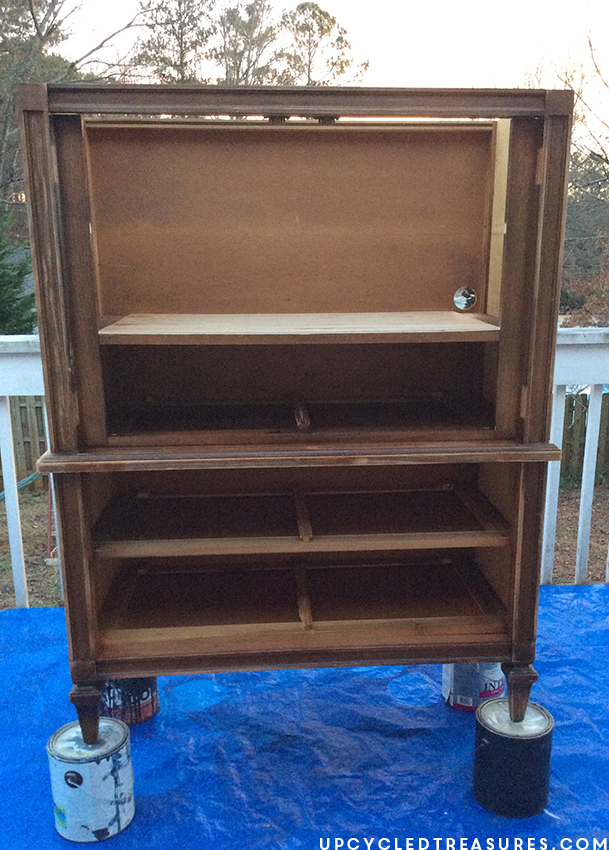
The first thing I did was clean and vacuum the entire piece, because as you can see it was GROSS.
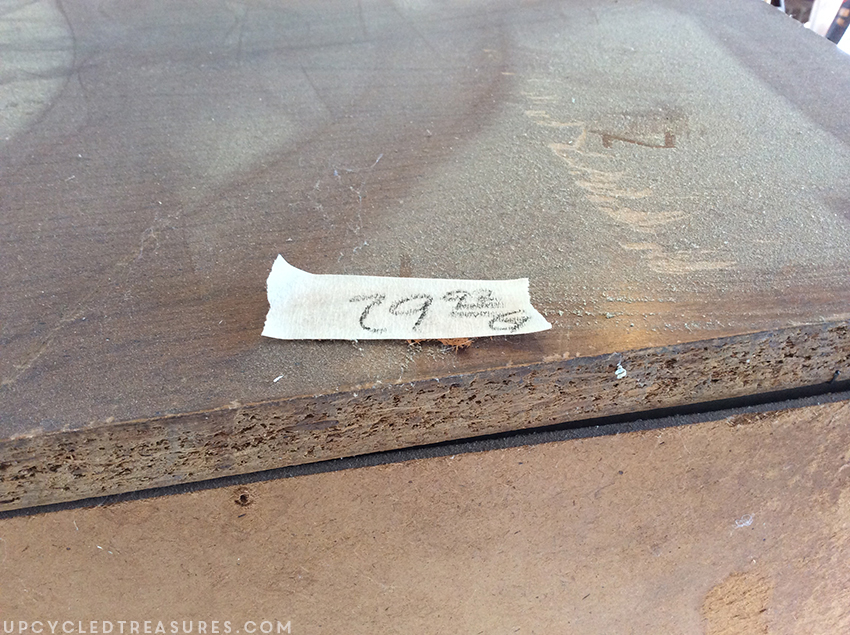
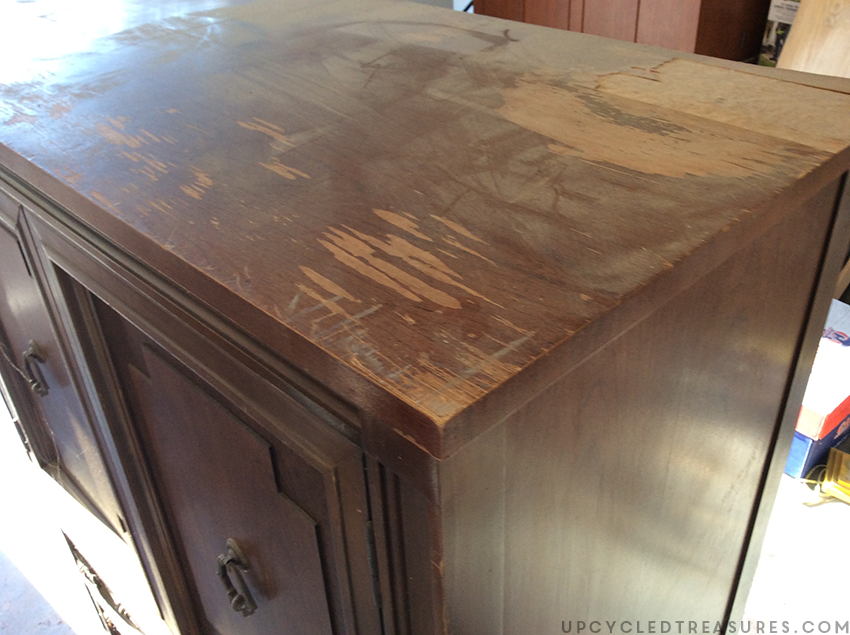
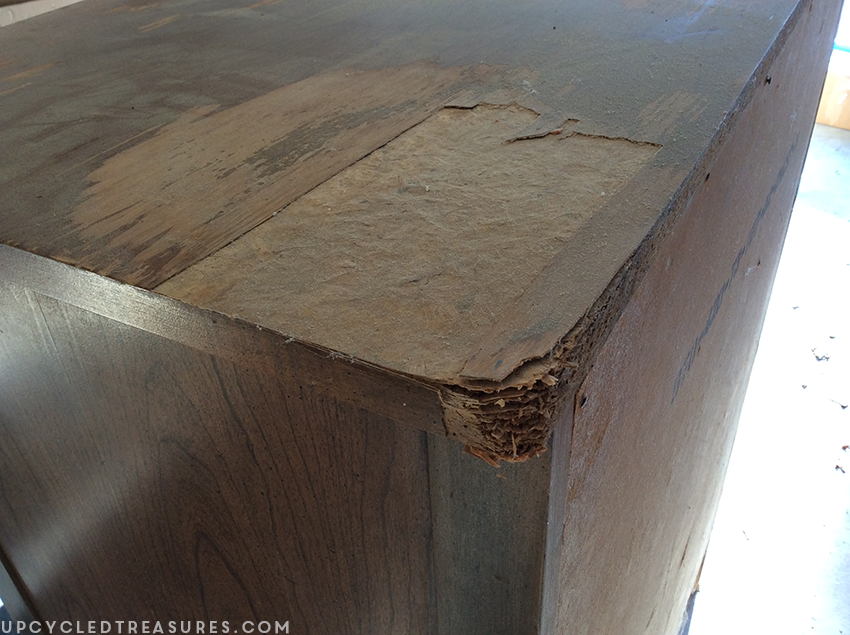
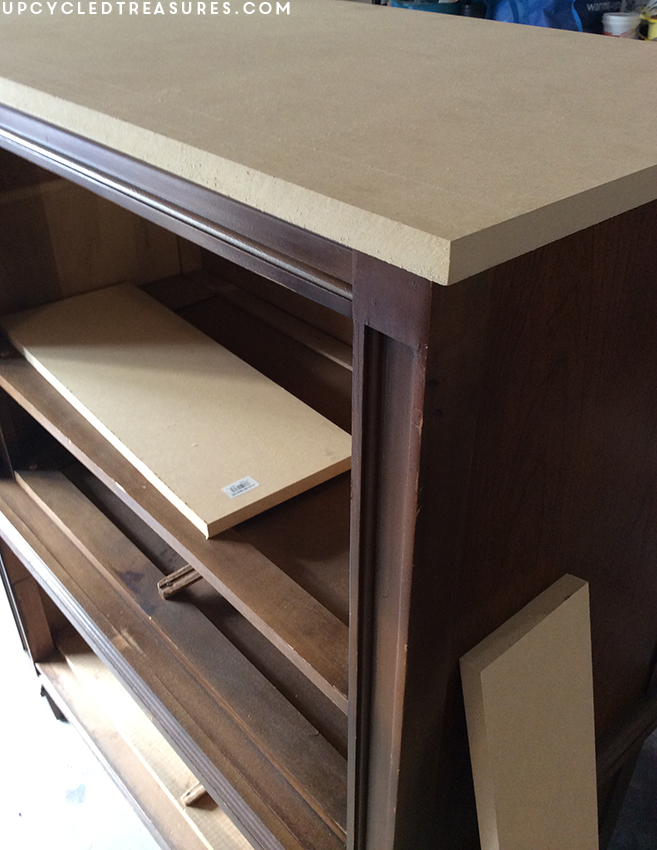
The top of the armoire was pretty damaged but I figured it was nothing a fresh piece of MDF couldn’t fix.
There were screws inside that were holding it in place, so we just unscrewed those and removed the top.
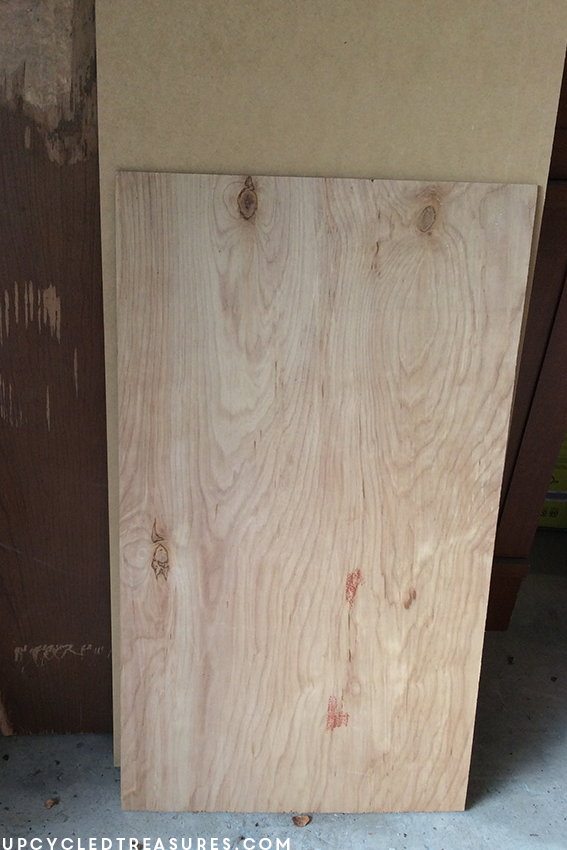
I picked up a piece of MDF at Home Depot for less than $12. Not too shabby.
Eric then cut it down to size using the Kreg Jig Ripcut.
Yay, it fit perfectly on top!
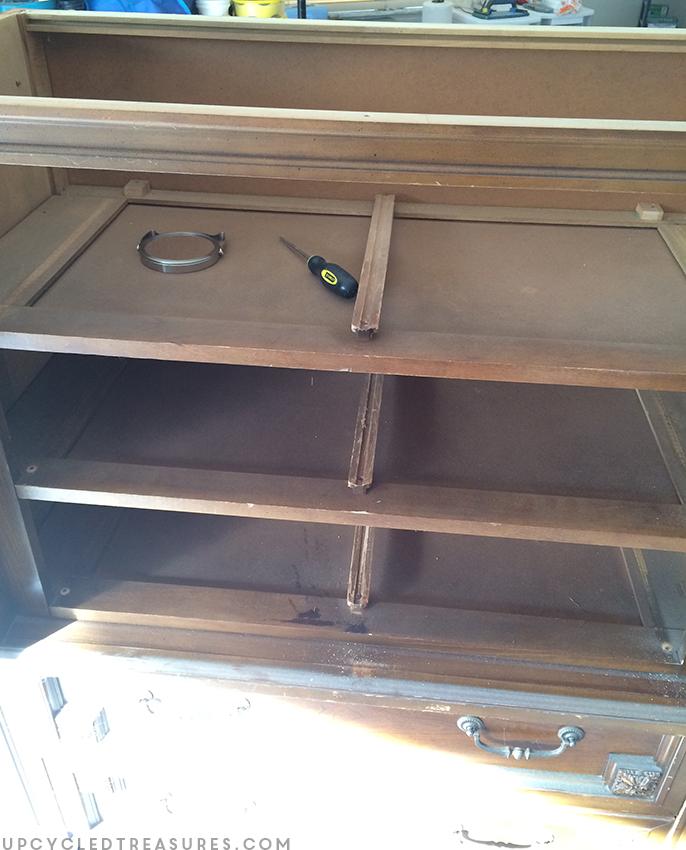
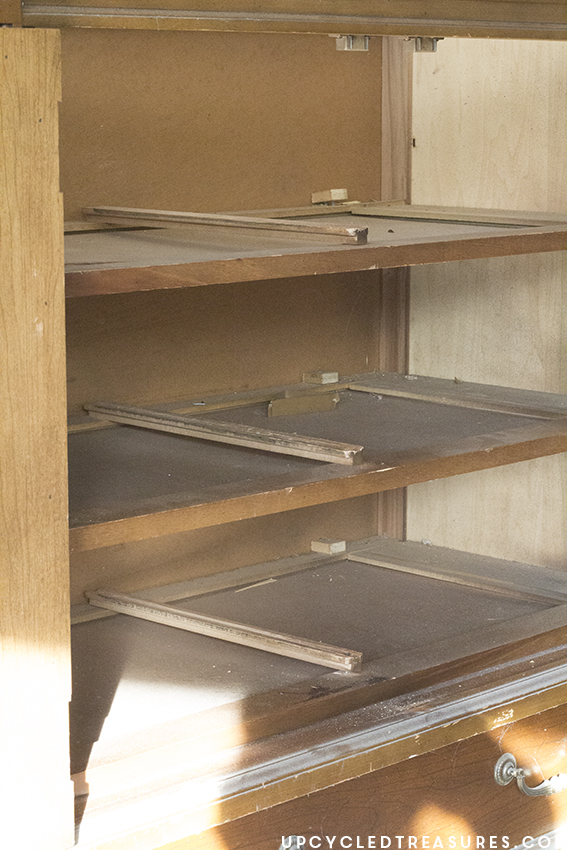
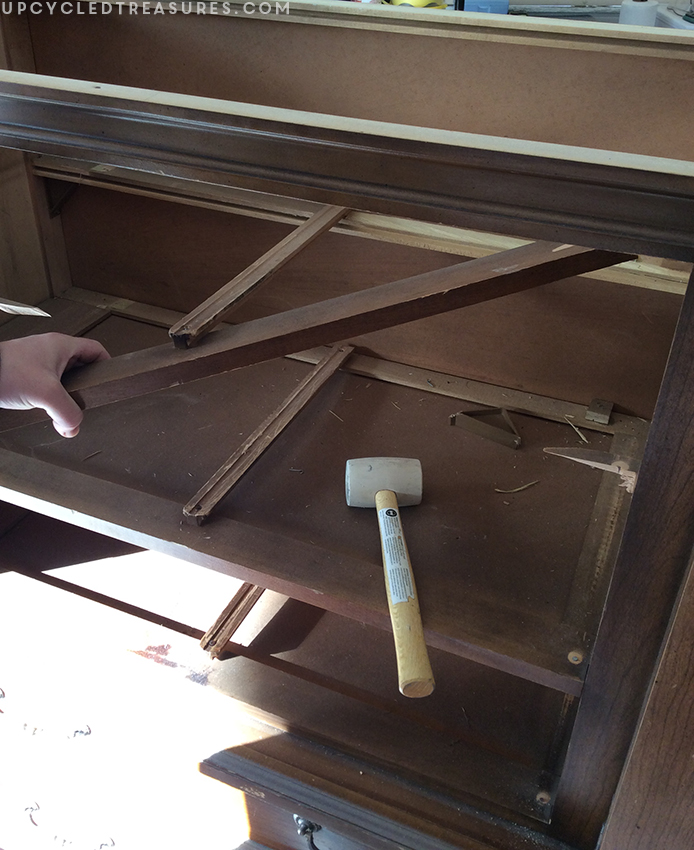
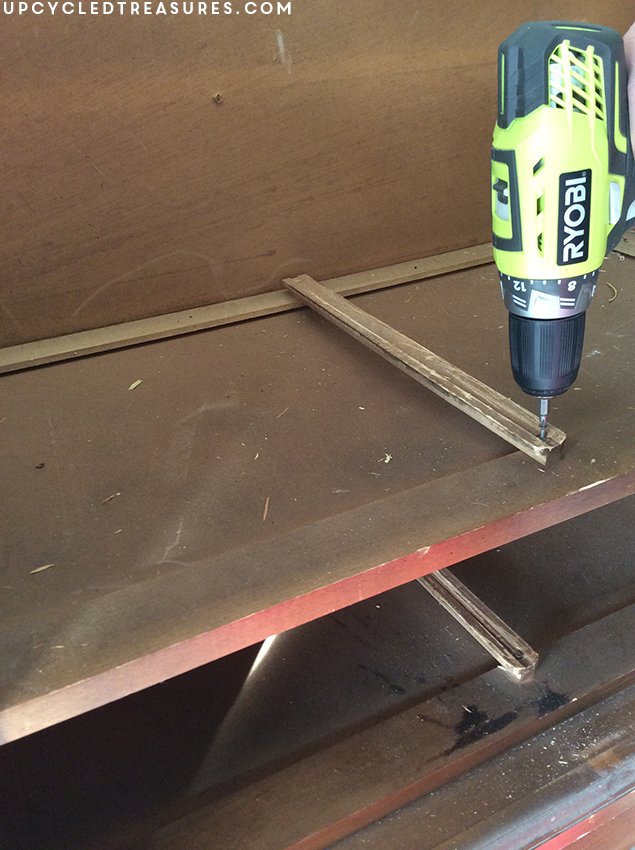
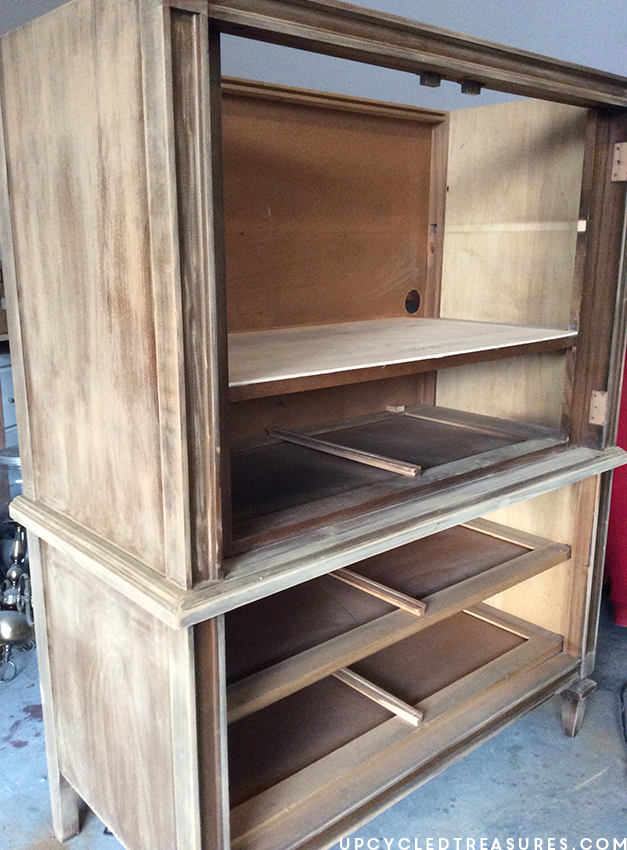
Despite the top drawers inside the cabinet being in decent shape, I decided to take 2 of the drawer sliders out in order to create a larger storage space for things like my printer.
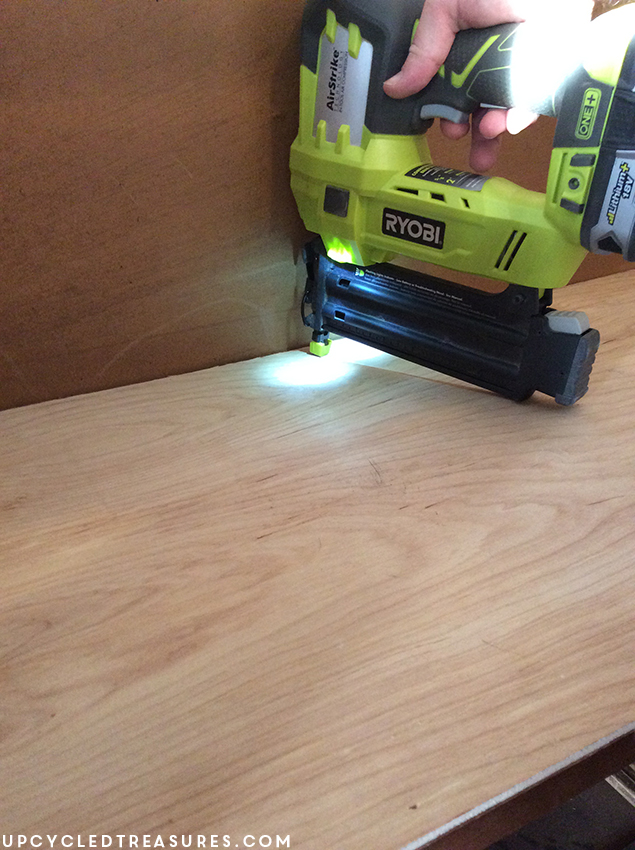
Eric then cut a piece of scrap plywood we had lying around to lay flat inside, which was then nailed down with our brad nailer.
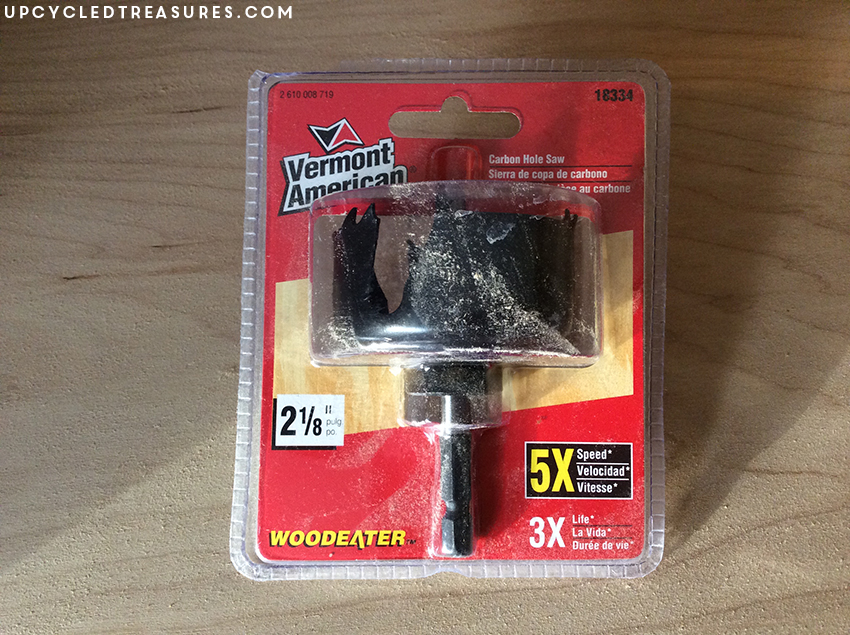
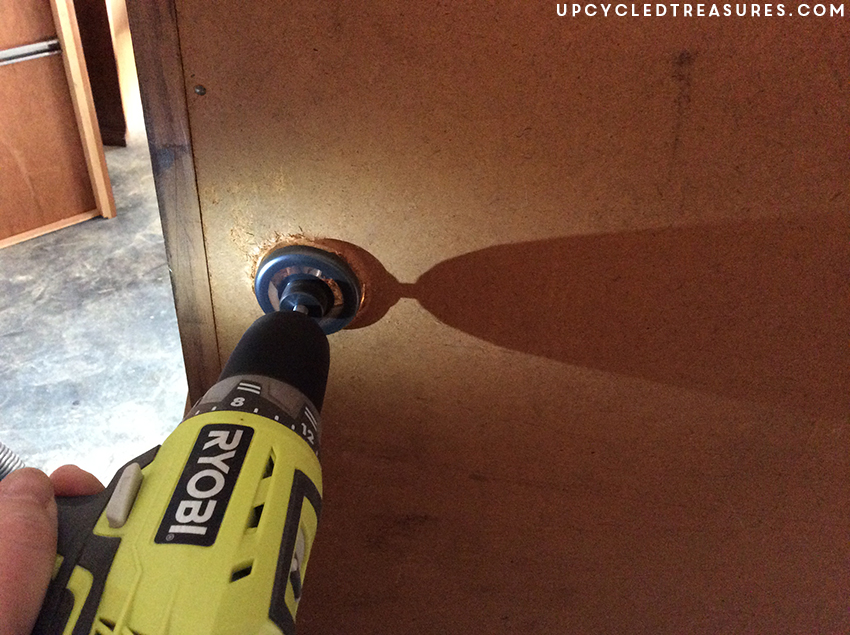
We then used a hole saw drill bit to create a hole for my electrical wires.
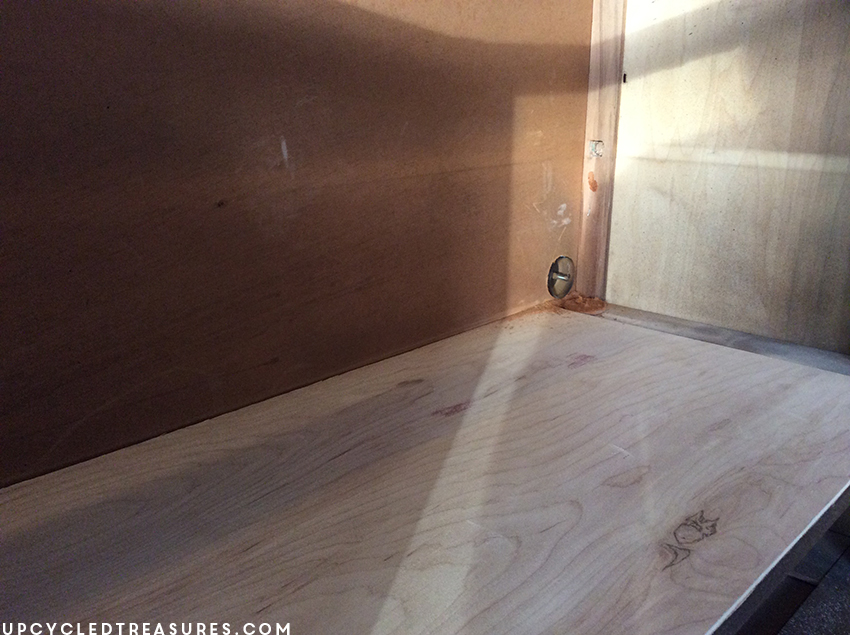
I used some wood filler to fill in a gap in the corner – forgot to take a photo of that.
After a quick sanding {no more than 5 minutes}, I wiped the armoire and drawers down and vacuumed it out. I then decided to test out a tip I recently read over at the Purple Painted lady…
Wanna know the secret to getting rid of that musty, old smell in furniture? Shellac!
I had purchased some spray Shellac a few months ago when I planned on making some planters from cans {which um never happened, ha}. So I sprayed the entire piece and all of the drawers with the Shellac and waited for it to dry.
Afterward, we brought it out on the deck so I could have good lighting while painting it with my BFF, the HomeRight Finish Max Sprayer.
I had mixed up a batch of white DIY chalk paint and made sure to thin it out and use a designated strainer before putting it inside the sprayer. I have skipped this step in the past, but then it just creates more work so if you are going to use chalk paint {or really any paint} I highly recommend using a strainer first. Seriously. Okay, don’t say I didn’t tell you so 🙂
We put a tarp down and also ended up putting some other tarps behind it to cover the deck railing. I decided to leave the top off of the upcycled mid-century armoire and paint it separately, along with the cabinet doors and drawers.
I then sanded everything down with 320 grit sandpaper just to make it all velvety smooth.
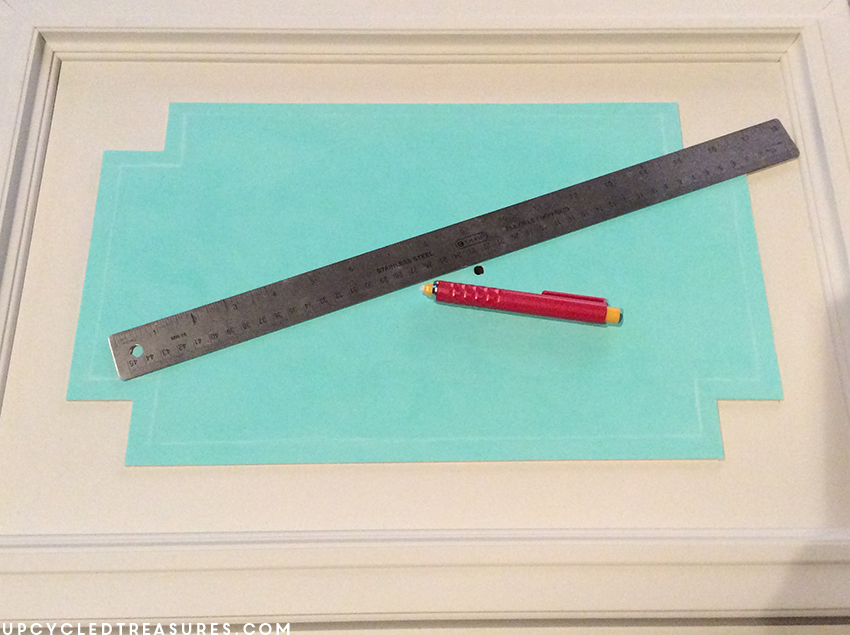
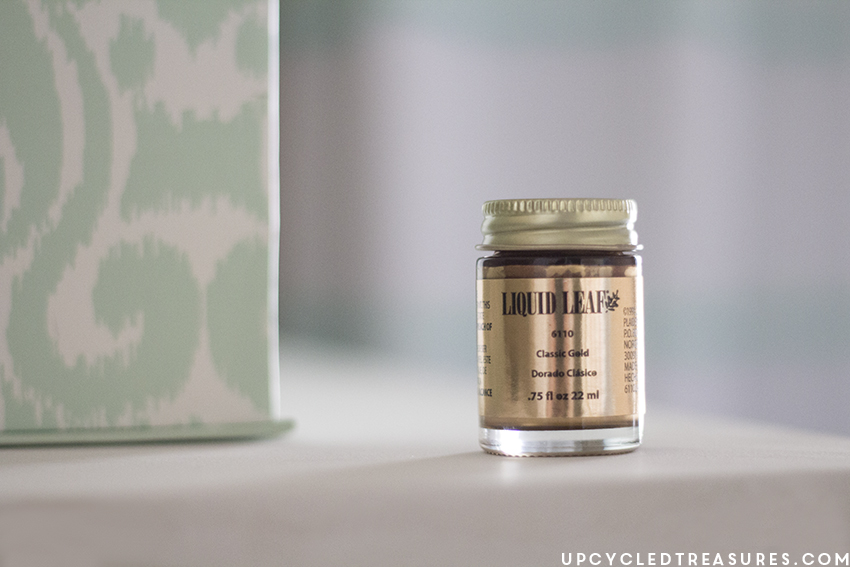
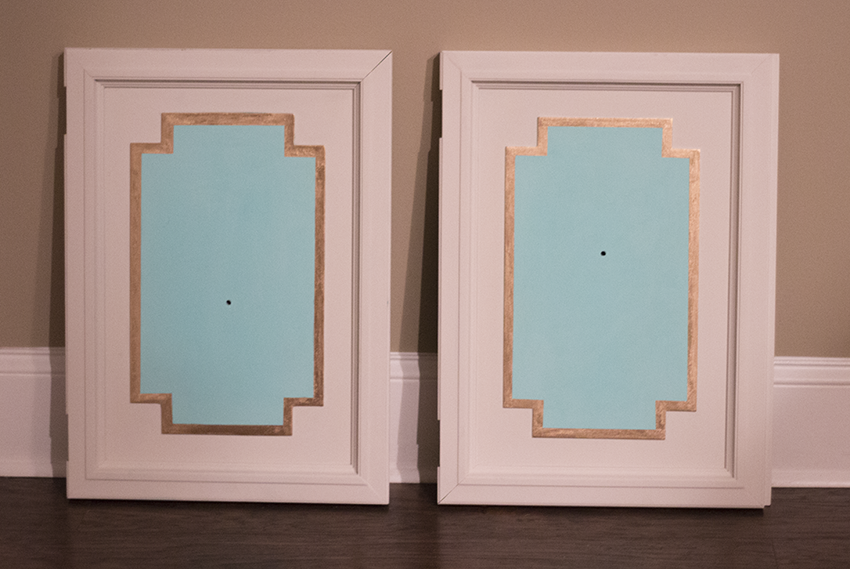
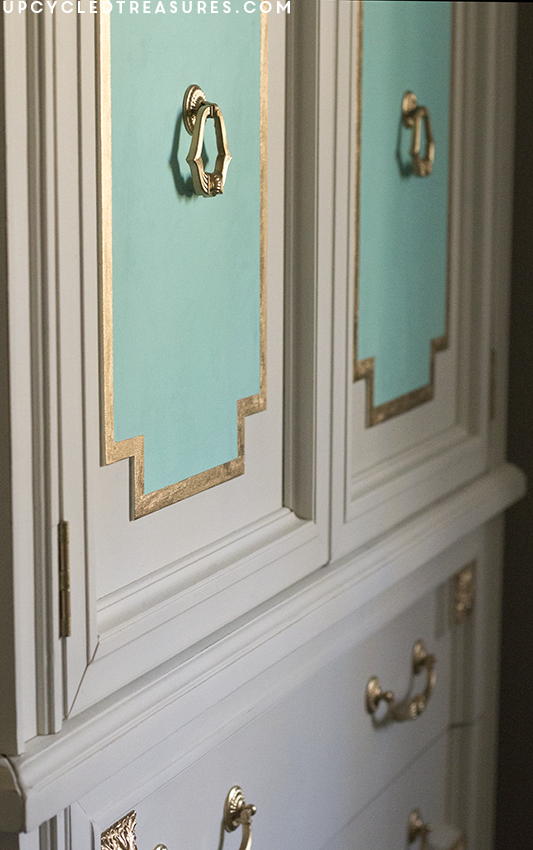
The inside of the cabinets were hand-painted with some turquoise paint. I then created a 1/2 inch edge outline with a chalk pencil that would be filled in with liquid leaf in classic gold, which was purchased at Michael’s with a 50% off coupon. By the way, that stuff is oh-so-pretty!
Some of these photos were taken late at night with my phone, so I apologize for the crappy quality.
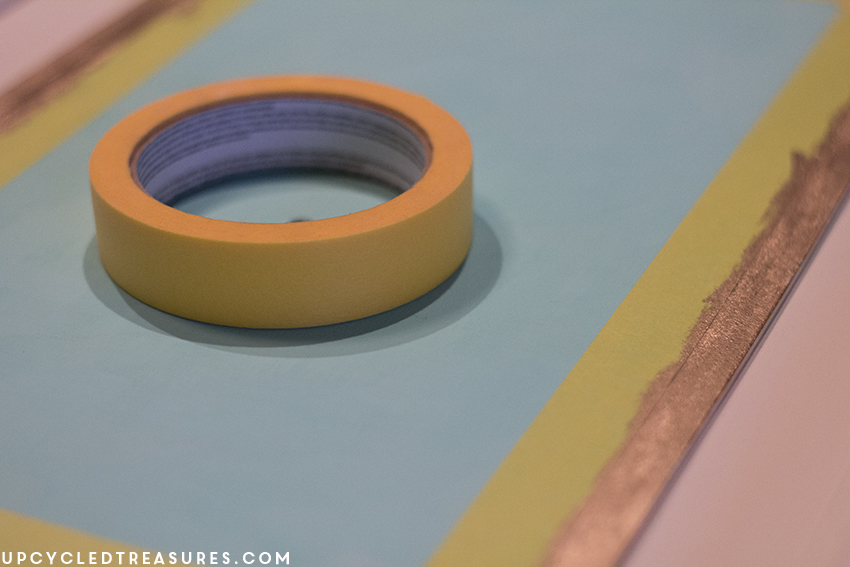
I taped the edges off and then used a small foam brush to paint the liquid gold on using a pouncing type of motion.
This is what they looked like afterward:
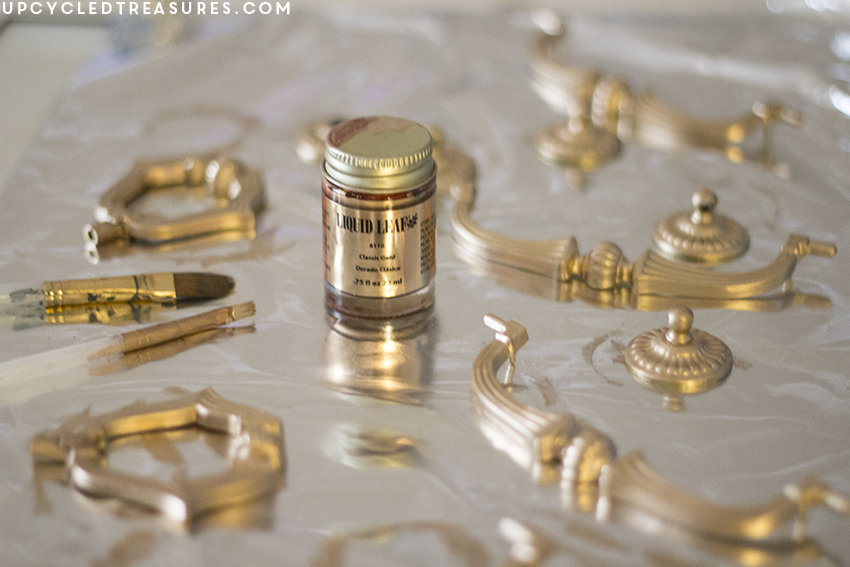
The hardware also got a makeover. I did a quick sanding and then painted them with liquid leaf.
I should mention that I first attempted to spray paint them gold because let’s face it, I was feeling lazy. However, the color wasn’t nearly as vibrant and pretty as the liquid gold leaf so I then used a small brush and painted over all of them.
Much better.
I also painted some of the detail on the drawers with the liquid leaf using a small detail paintbrush.
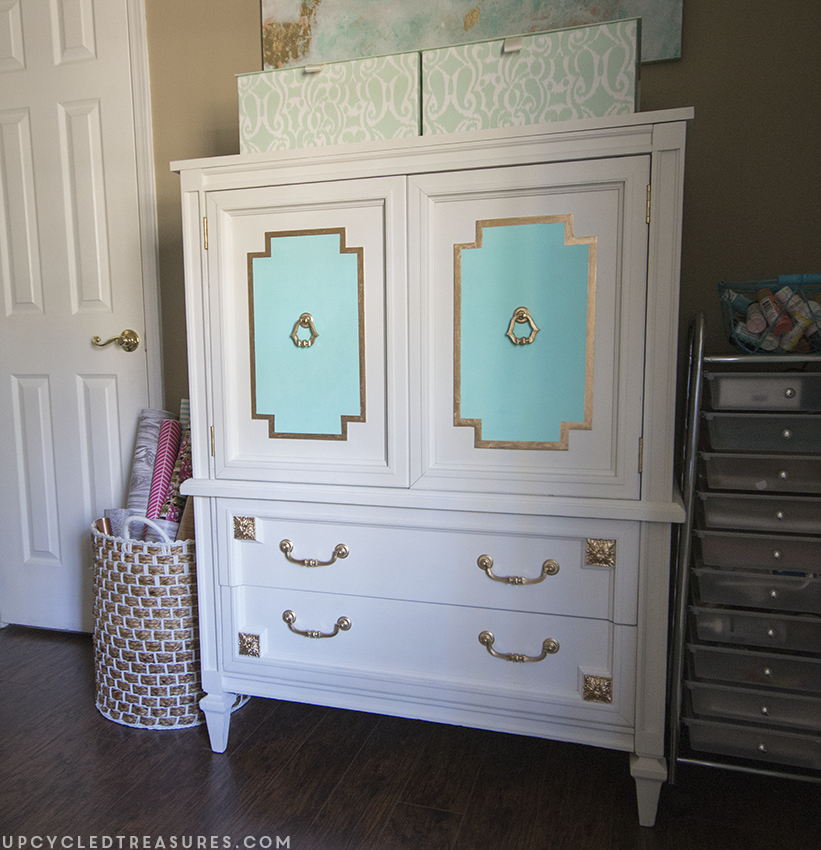
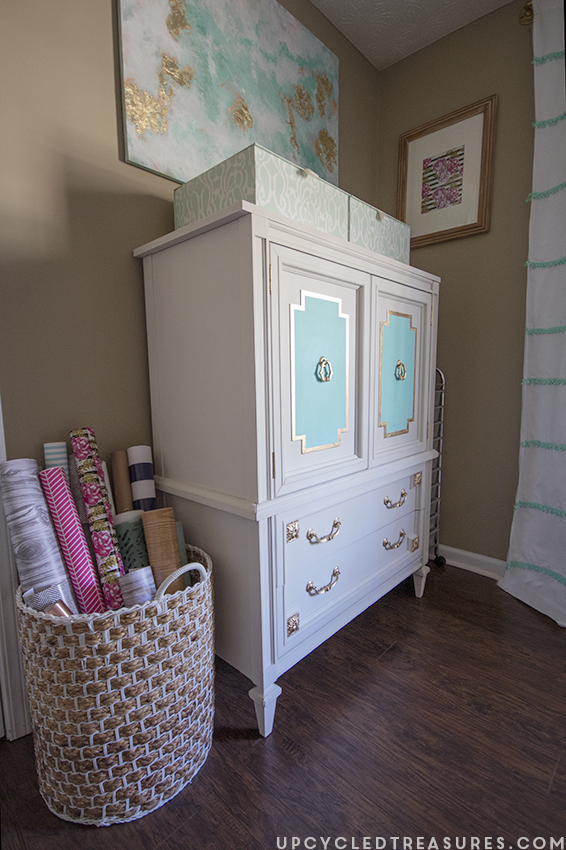
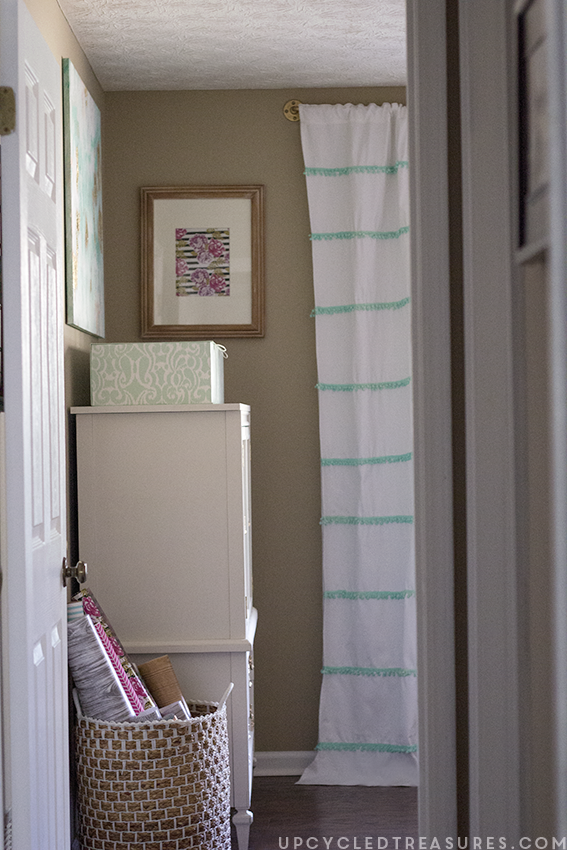
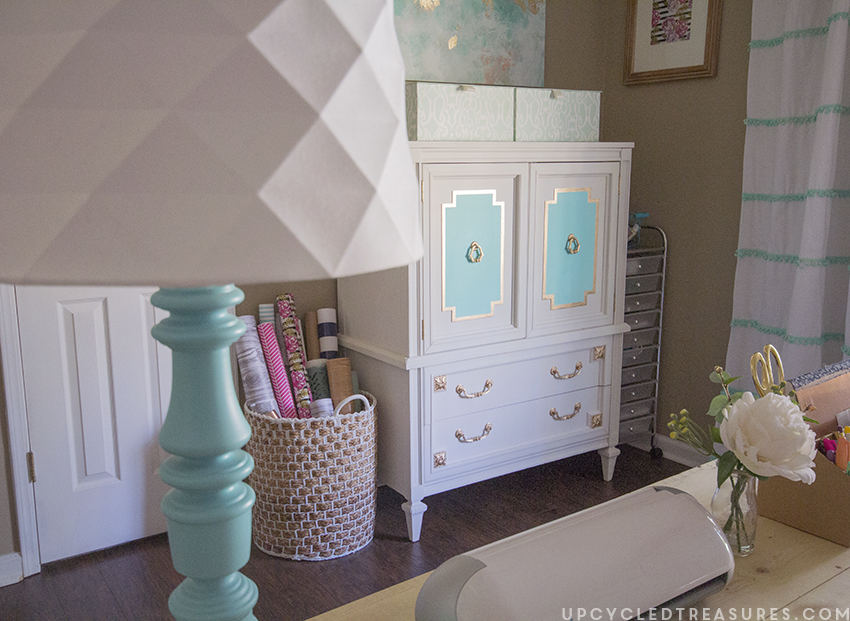
Then once everything was put together this was the result for our upcycled mid-century armoire:
I am smitten. Plus it looks so pretty in my office and has so much storage, which is exactly what I need. I keep most of our home neutral so I was excited to make a girly-ish {is that a word?} piece that I can stare at and admire. It makes me happy. And kinda reminds me of Princess Jasmine, lol.
I’ll have to take interior photos soon to show you but my printer and Sizzix machine now fit perfectly inside, yay! Oh, and I need to move my desk so I can get a better straight-on photo of our upcycled mid century armoire. #imlazy
So what do you think of our Upcycled Mid Century Armoire?
My craft room/office is finally coming together and now it feels like a space that reflects my personality and inspires me to make something. I’ll be sharing more photos of that room within the next week because I love it so much! Wanna come over and make something? 🙂
If you have or are thinking of getting the Finish Max sprayer you may find these links helpful:
Maintaining your Finish Max | Staining & Cleanup Tips – Addicted 2 DIY | A Sprayer even Non-DIYers Can Use – Makely Home
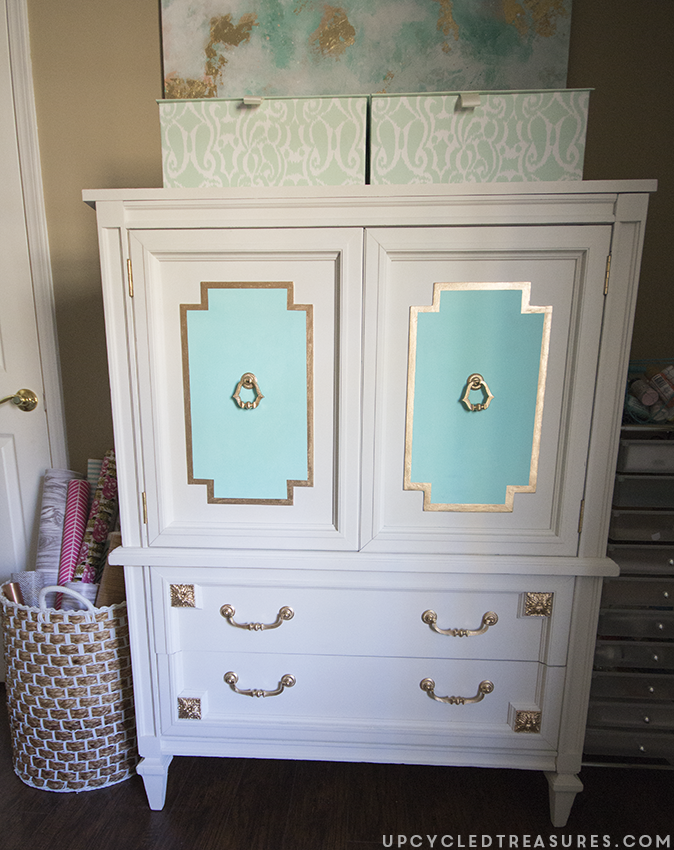
Here is the Before and After of our Upcycled Mid Century Armoire:
You may also want to check out my home office tour here.
Have any tips you’d love to share? I’d love to hear about them in the comments!









This was an incredible transformation, I love your choice of colours it gives it a much more contemporary look. beautiful!
Thanks Gilly, I love how the color really brightens up my office 🙂
It looks great! I love what you did with the color and the gold leafing!
Thanks Jennifer! I have tried so many different gold leaf products, but this was my first time using the liquid gold and I am definitely obsessed with it now!
Oh my goodness Katie!!! It’s absolutely STUNNING!!! Cannot wait to see the finished space!!!
Thanks Krisi! It’s funny because we had built a completely different storage piece about 6 months ago but my husband then stole it for our bedroom. Now I’m happy he did because it forced me to come up with a different solution and it makes the space feel so much more complete.
This is stunning, Katie!! And for $29?! What a steal! And it totally does remind me of Princess Jasmine too 🙂 Love it.
Thanks Breanna! It definitely wasn’t intended, but it’s funny that’s what I thought of as soon as it was put back together.
Wow that is gorgeous! You took a piece that looked old and so worn and updated and changed it so much. It’s absolutely beautiful! I love what you have done! I’m scared of redoing my son’s dresser too. This is inspiring and encouraging!
Thanks Cindy! I know what you mean and there are times I can’t decide what to do with a piece, so it just sits around until I finally decide to just go for it. I just tell myself that I can always paint or change it later if I want to, haha. I can’t wait to see what your son’s dresser looks like!
That is seriously such an amazing transformation. I’m amazed that you can see so much potential in things. I want to develop that skill.
It’s amazing! Nicely done.
It’s funny because this is what I originally wanted to do with the armoire, but then I kept thinking that I should change out the center panels or something. I was basically overcomplicating it, but when it came down to it I just went with my gut and am glad I did 🙂
My son has the same chest. It used to be my grandfathers. I need to pin this and show him. His wife would love it if he redid it.
That’s so awesome that it’s been passed down, I love that! Keep me posted if you end up re-doing it, I’d love to see how it turns out 🙂
wow Katie! This looks amazing. You have been one busy lady! Love it 🙂 (And I’m sorta jealous that your room is all cleaned up. Mine still looks like it did in the pic I text you months ago)
Hahahaha, that before photo of my craft room cracks me up every time I look at it. You would be so proud of me for FINALLY picking up my mess! I can’t wait to share the before and after photos on here next week.
This is GORGEOUS Katie!!! Love the colors!! I need to get my hands on some of that liquid leaf!
Thanks Nicole! Yup, that stuff is AH-MAZING! The color is so vibrant and pretty. I love it!
Hey Katie! I featured this in my Friday Favorites post today! Enjoy 🙂 http://therusticwillow.com/fridays-favorites-links-love-13015/
Yay! Thanks Cat!
Oh my goodness, that gold leaf detail!! The armoire looks all classy and new now!
Thanks Trisha! Yes, I looooove that gold leaf 🙂
What a stunning makeover, Katie! The colors are perfection! Thanks for linking up at The Creative Circle!
Wow. Just wow!
I love hearing the whole story behind this awesome piece and your step by step tutorial is fabulous. Pinning on multiple boards for all the tips you shared!
Pretty please share this armoire on my Show Me Saturday linky party this weekend. Pretty pretty please!
Wow! What a stunning furniture makeover. Beautiful job. Thanks for linking up with us!
You did that! Absolutely gorgeous. Now I need you to come on over to my house.
That is an exceptionally beautiful chest. Great quality to your work. I would buy it in a minute had I gone to the latest color palettes being used. I know you are aware that that brand is very collectable. I’d be happy to know if you got what it would have been worth if re-stained. Would you email me that info. I’m just curious if it holds or hurts the value. Thanks
Stunning! Incredible transformation!
I hope it isn’t too late to comment. What a stunning transformation. I have never heard of the liquid leaf. Will be getting some next trip to Michaels. I am a little lost on the how and why of using a chalk pen? Is that the same thing I use in sewing? Are you using it to form some kind of barrier or to provide a guideline for the tape? Thanks so much for sharing.
Thanks Sonja! I think the specific chalk pencil I used was made for sewing projects, although I’ve never used it for that purpose. I love using it as a guide for projects – like in this project I just drew it where I wanted to paint the liquid gold, that way I had a guid, but it could be erased afterwards with no residue. I LOVE liquid leaf and would love to hear about your experience after you use it!
So, so pretty. Doesn’,t it just make you wonder why people didn’t think of making things so pretty and colorful instead of all the plain brown wood we all just loved?
Your project came out beautifully. I wouldn’t have believed it was the same piece of furniture! Great job.
Thank you so much Kathy A. We really enjoyed that process and then using it afterward of course 🙂