UPDATE: All new featured RV tours will be posted on my other website, Wanderful RV Interiors. Existing tours will slowly be moved to the new website, and anything already moved will automatically redirect.
Disclaimer: This post may contain affiliate links, meaning, if you click through and make a purchase we (or those featured in this post) may earn a commission at no additional cost to you. View our full-disclosure here.
When it comes to renovating a home, even a tiny one on wheels, money spent on projects can quickly add up. Luckily, there are some areas you can easily cut costs with a little bit of elbow grease, and that includes RV vent covers.
At first glance, vent covers may not seem too pricey when they range roughly between $5-$20 each. It’s not until you realize how many floor and ceiling vent registers you have in your RV, that you begin to see how quickly those dollar signs add up.
How to Update RV Vent Covers on a Budget
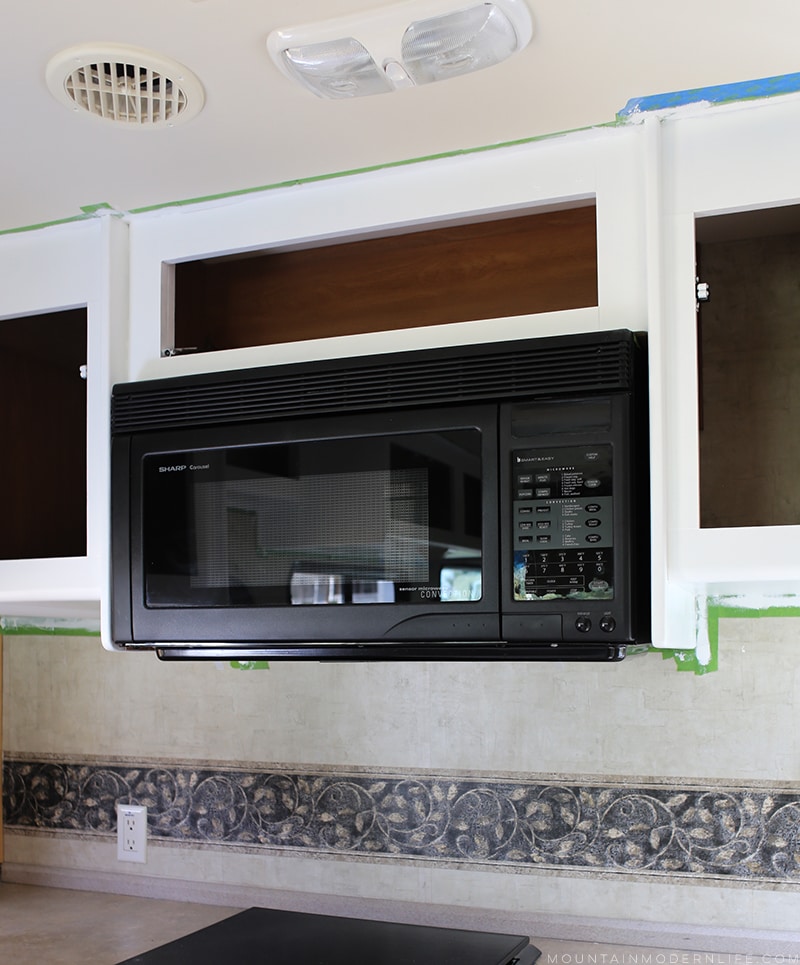
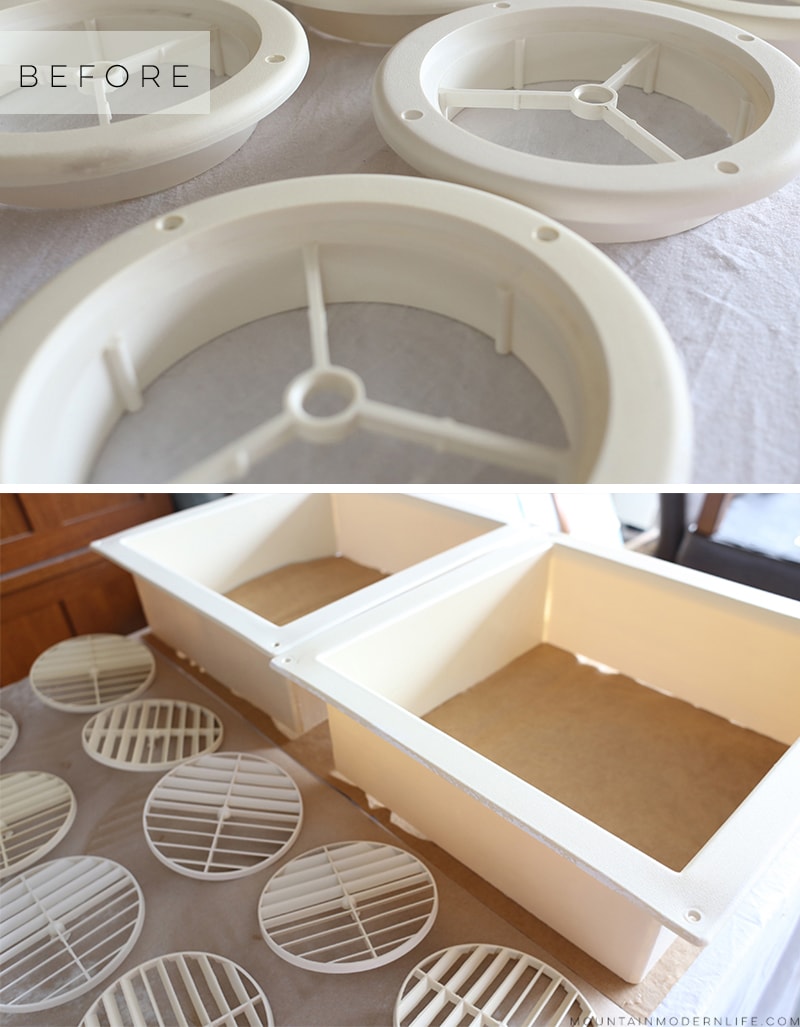
Our walls and ceilings were originally an off-white color, which we didn’t even notice until we started painting our cabinets white. After that, the off-white stood out like a sore thumb. That’s when we decided to paint the ceiling, including all the ceiling vents white.
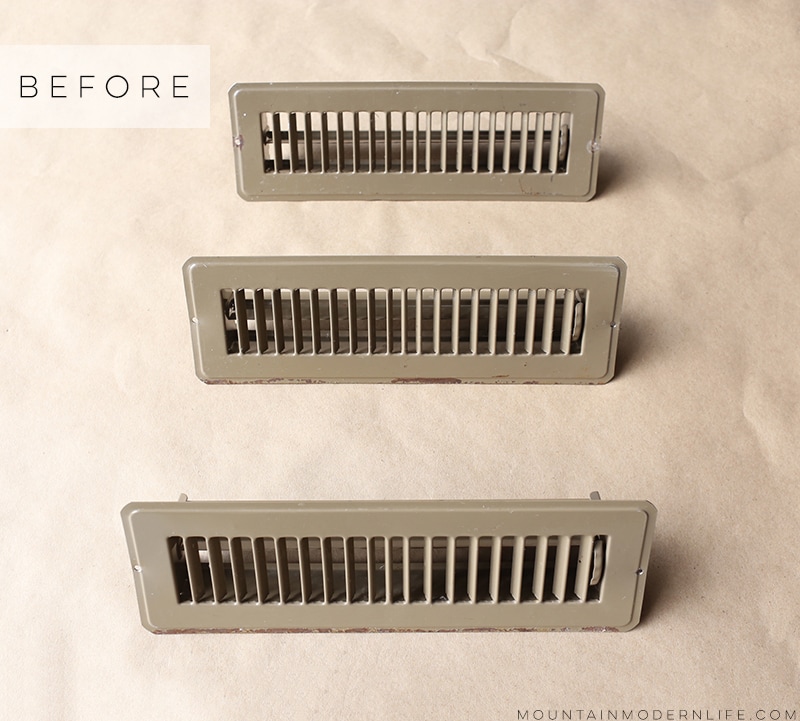
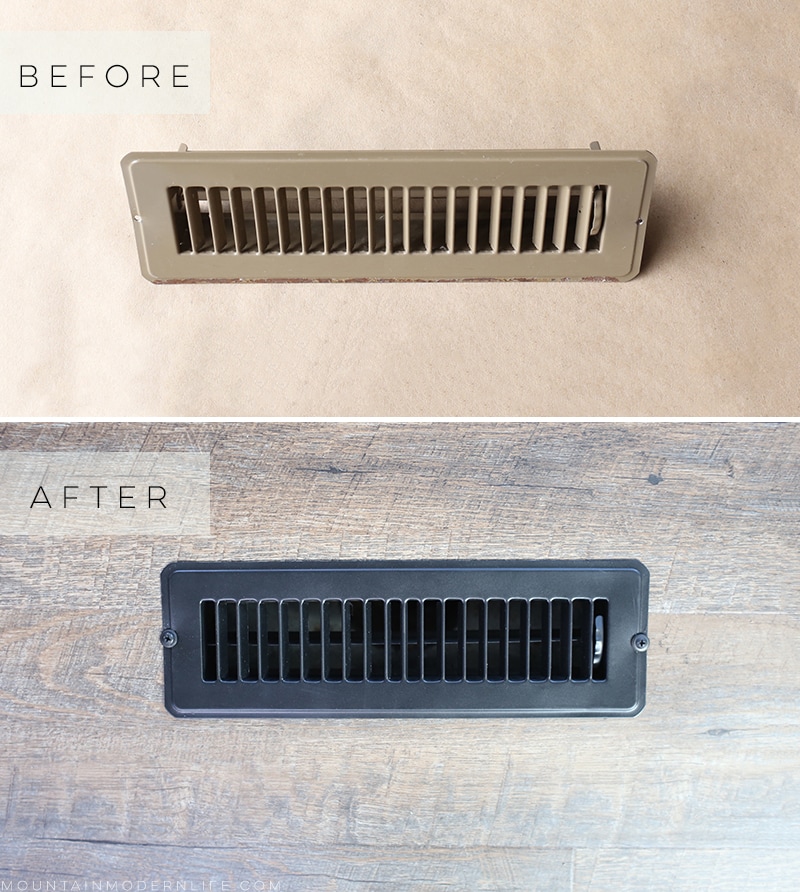
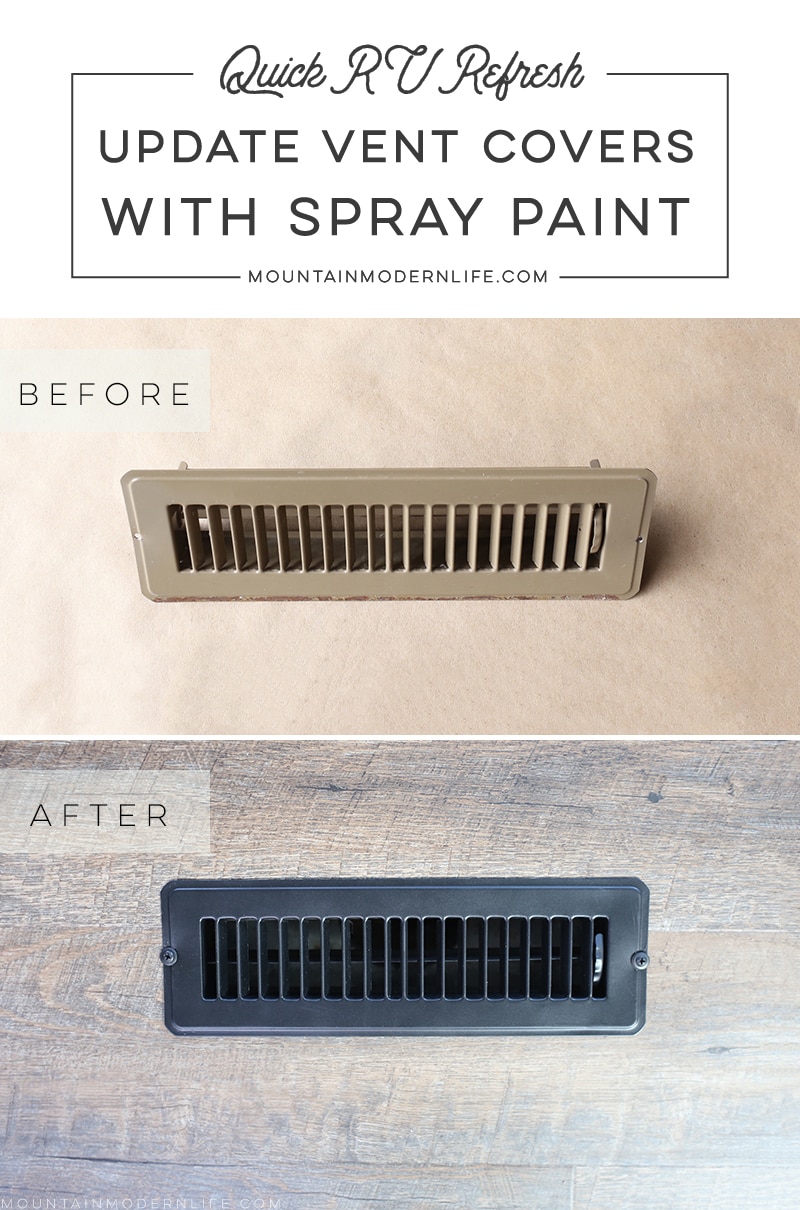
As for our floor registers, they weren’t in terrible condition, but the greenish-beige color felt out-of-place, especially in the kitchen. We originally considered painting them in rubbed oil bronze, but since the lower kitchen cabinets were black we decided painting them all black would look best.
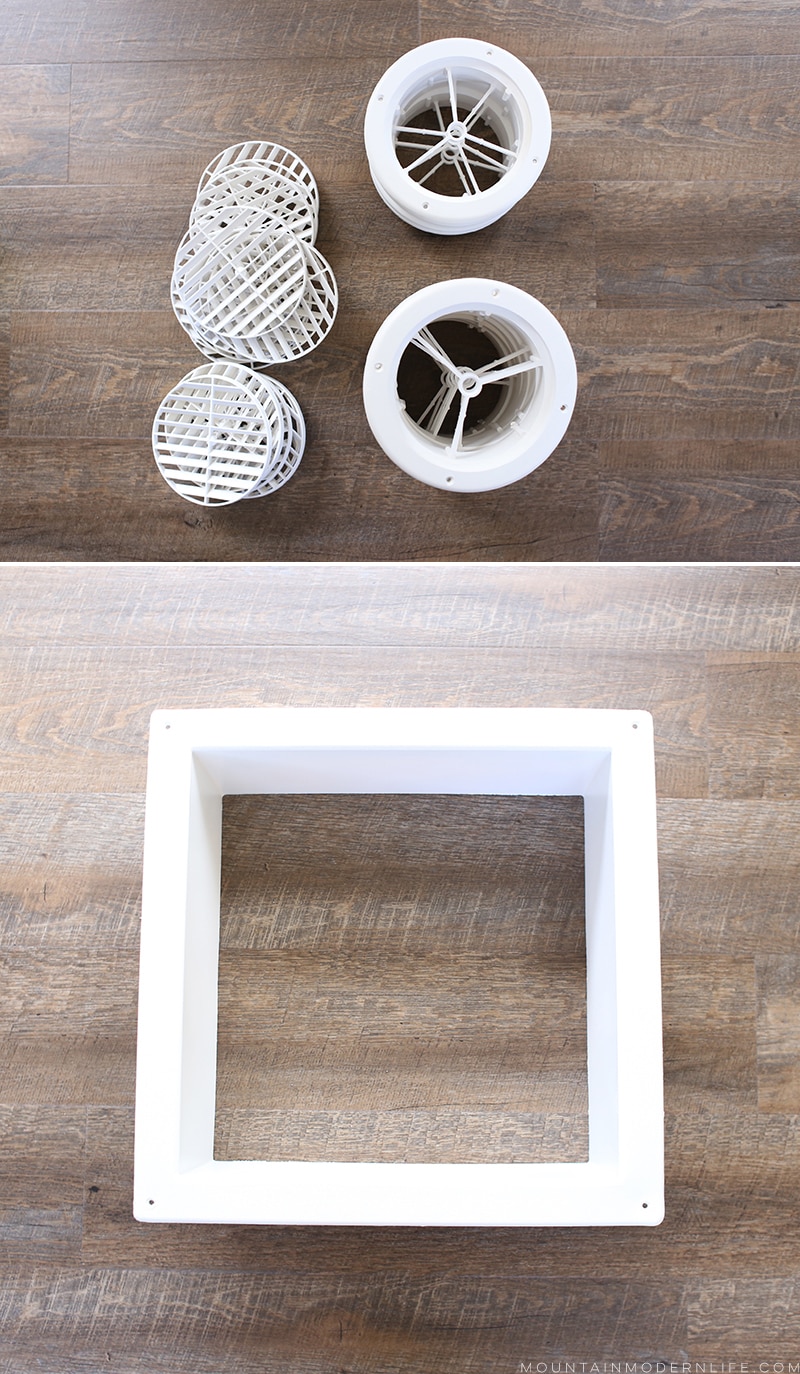
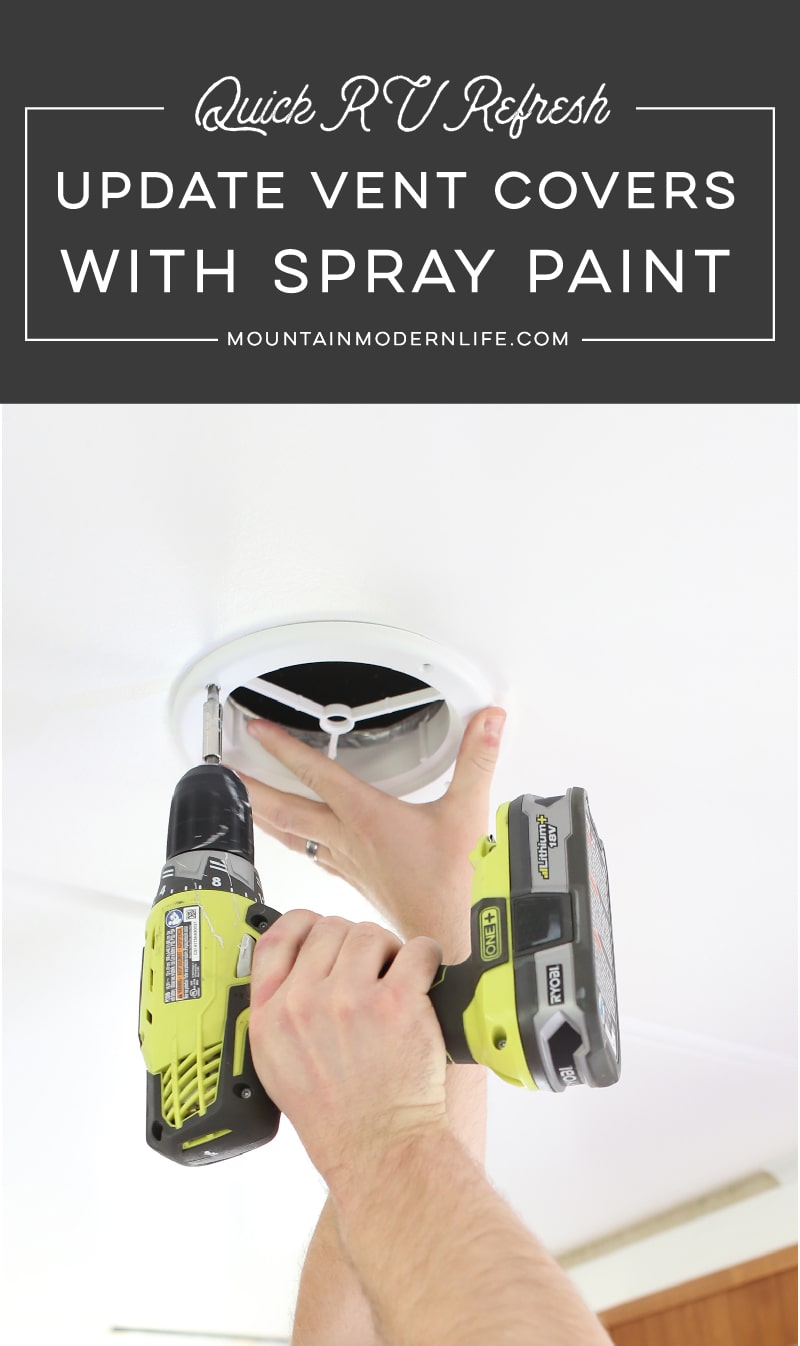
The first thing we did was remove all of the vents from the RV. We then gave the vents a good vacuuming before cleaning the vent covers with alcohol and a microfiber cloth. You can also clean them with good ‘ol soap and water.
- Microfiber Cloth
- Sandpaper
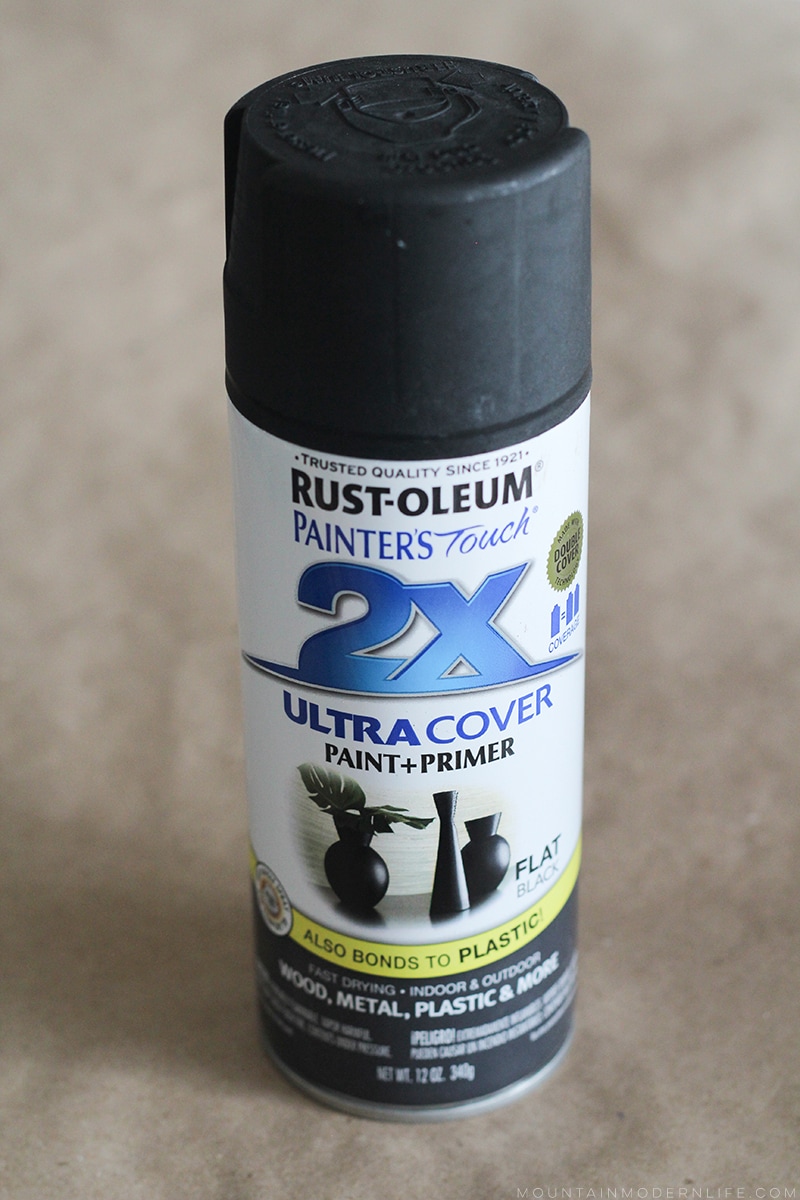
- Spray Paint in Color of Choice
- Primer Spray Paint (optional)
- Clear Spray Paint Sealer (optional)
Spray Painting Ceiling Vents
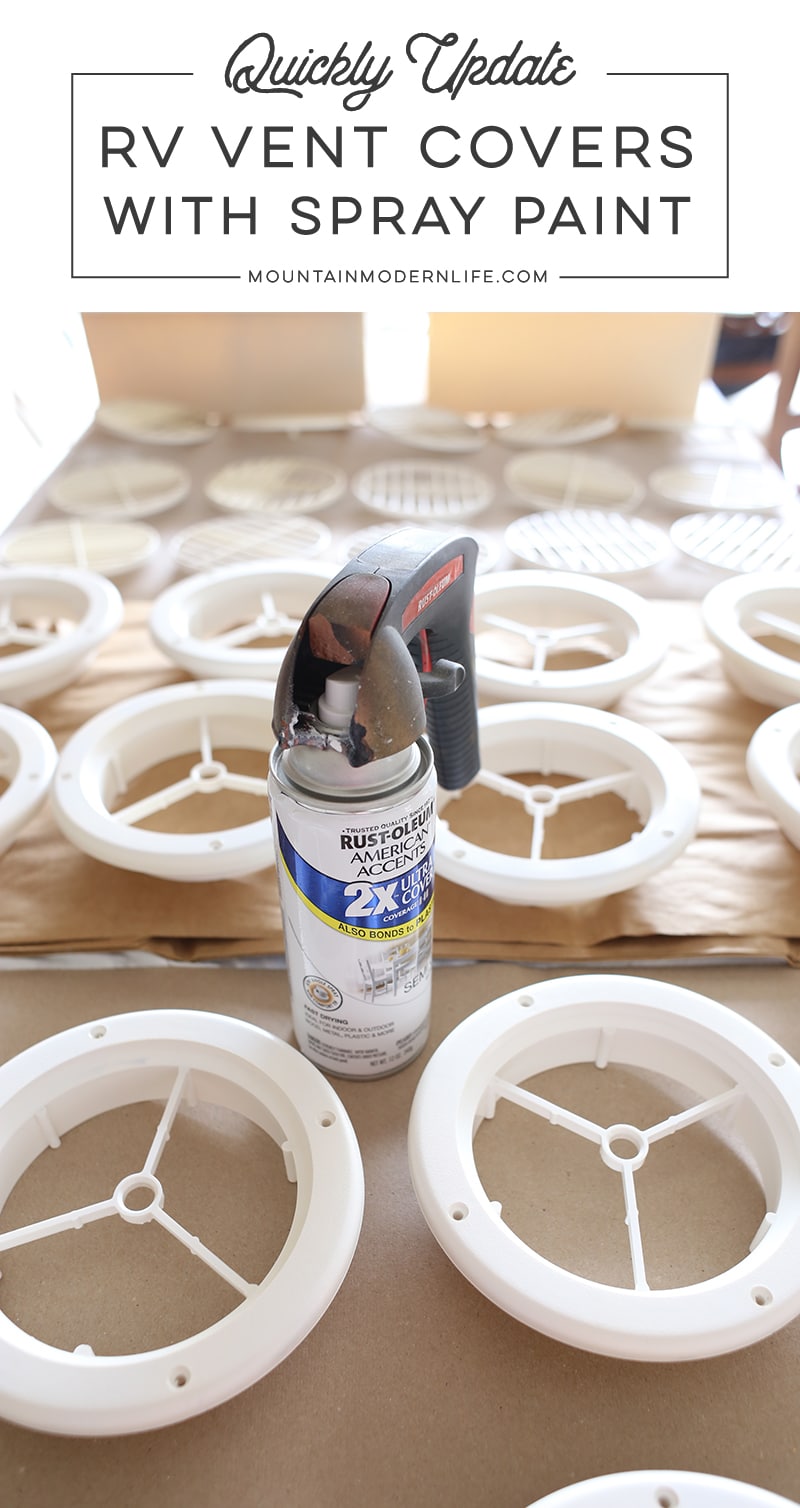
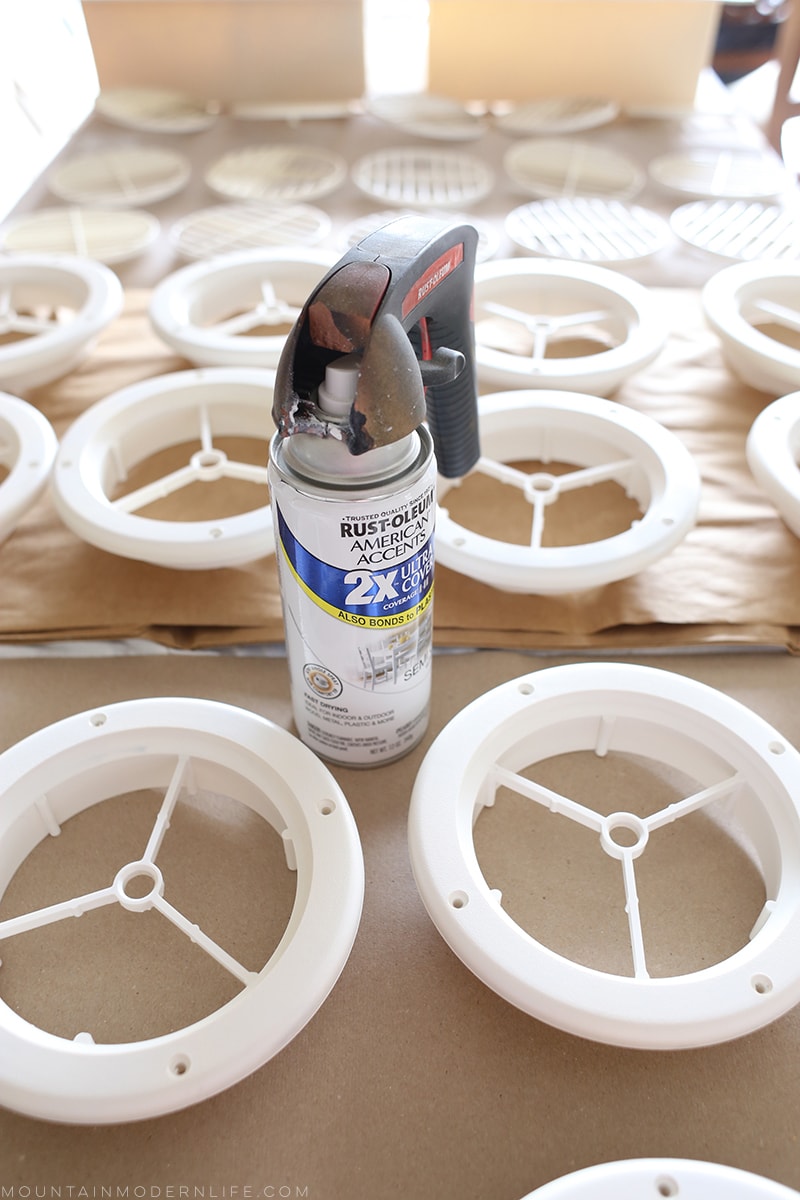
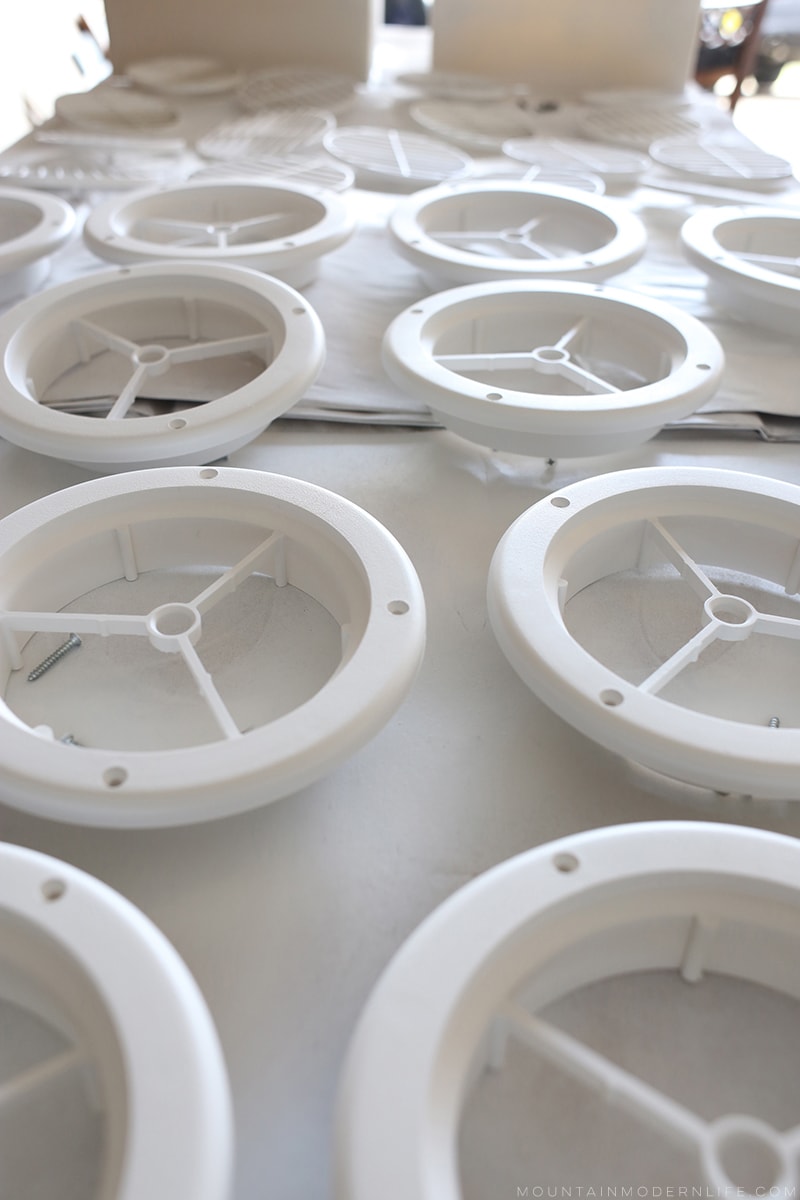
After cleaning the ceiling vents we set them up on a table in our garage that was covered in an old sheet and some kraft paper. We the painted them with 3-4 light coats of white spray paint, making sure to let them dry in between each coat.
I was pretty impressed at how quickly they looked new. Man, what a difference a fresh coat of white paint can make!
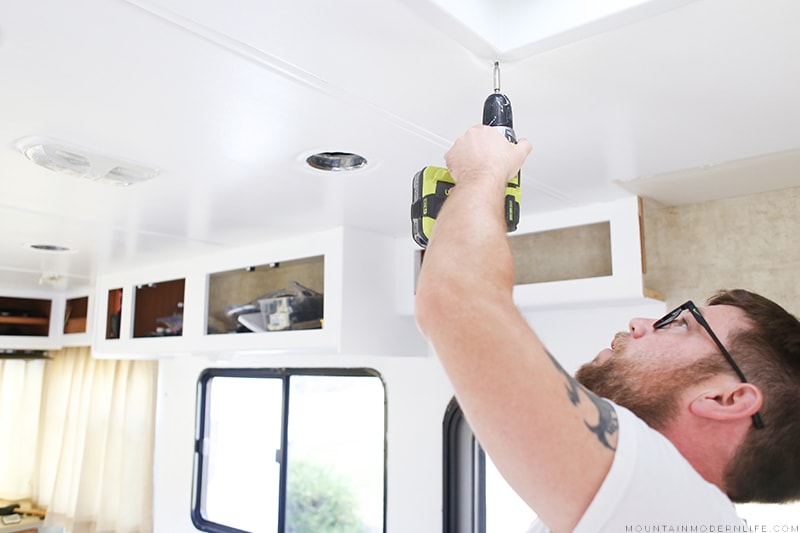
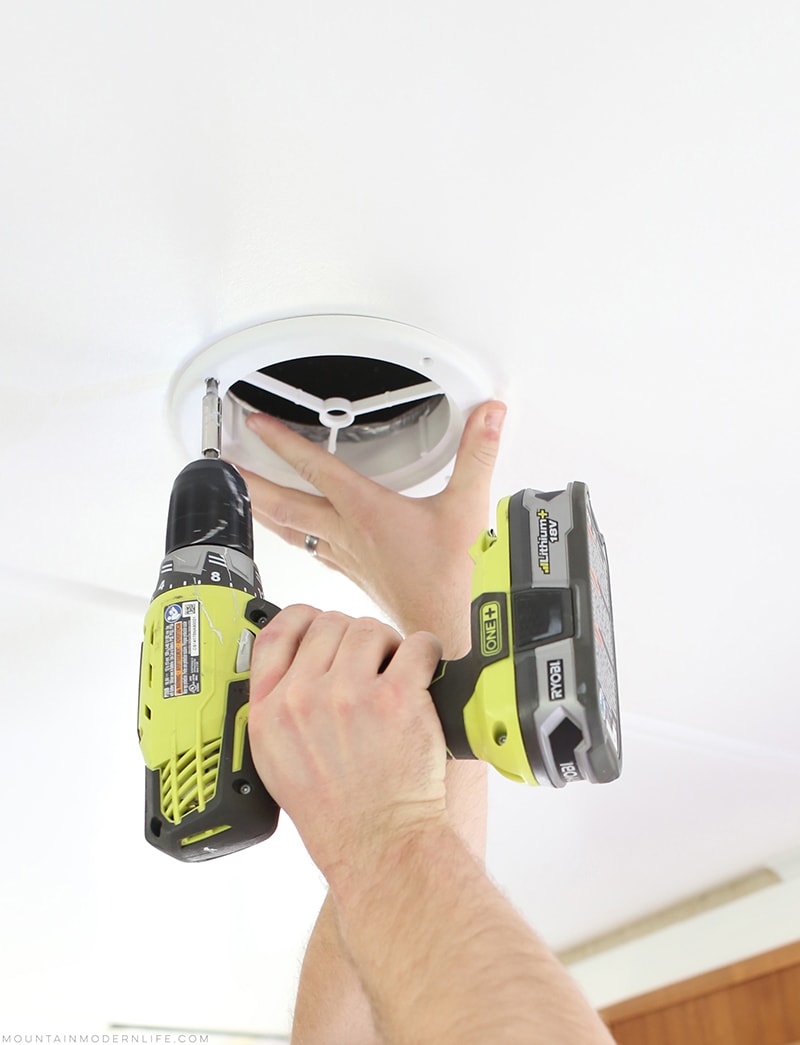
We let all of the vents dry for 24 hours before we installed them back in the RV.
Spray Painting RV Floor Vents
Here’s a photo showing our RV floor vents before we painted them.
Since the vents are metal we decided to lightly sand them down before spray painting them, hoping that would help the paint stick better, especially since one of them would be walked on regularly. I don’t know if this helped or not, but it took less than two minutes so I figured it was worth a shot.
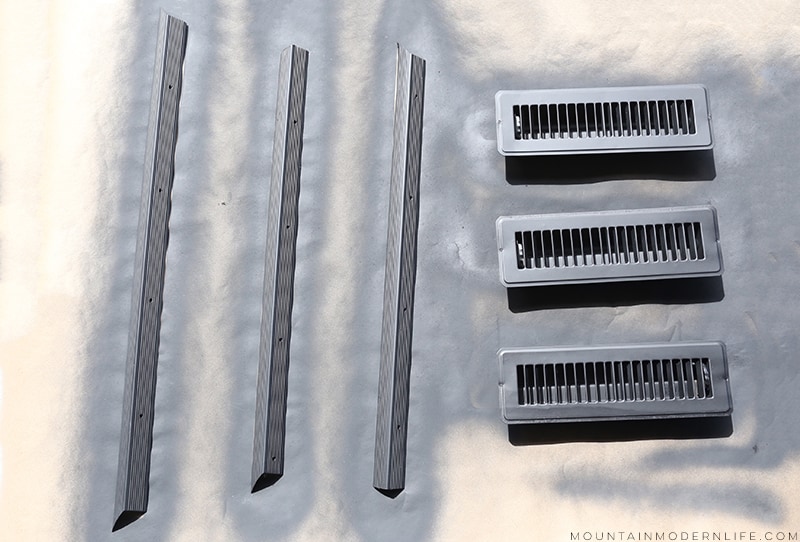
We sprayed each vent register with 3-4 light coats of black spray paint, letting them dry in between. We also made sure to spray paint the vents with them both open and closed.
We went ahead and spray painted our RV stair edging black too.
Once dry we sprayed two coats of clear matte sealer, hoping this would keep the vents from becoming easily scratched. It’s been a year since we spray painted these vents and they’re all holding up pretty well. The only black vent that has light scratches is the one we walk on in the living room, but it’s really not too bad. With that said, if you have a lot of floor vents that get walked on, you may want to spray paint them with primer first.
Overall, we’re really happy with how our vents turned out, and they’ve been holding up pretty well so I’d say the $10 we spend on spray paint was well worth it!
