UPDATE: All new featured RV tours will be posted on my other website, Wanderful RV Interiors. Existing tours will slowly be moved to the new website, and anything already moved will automatically redirect.
Disclaimer: This post may contain affiliate links, meaning, if you click through and make a purchase we (or those featured in this post) may earn a commission at no additional cost to you. View our full-disclosure here.
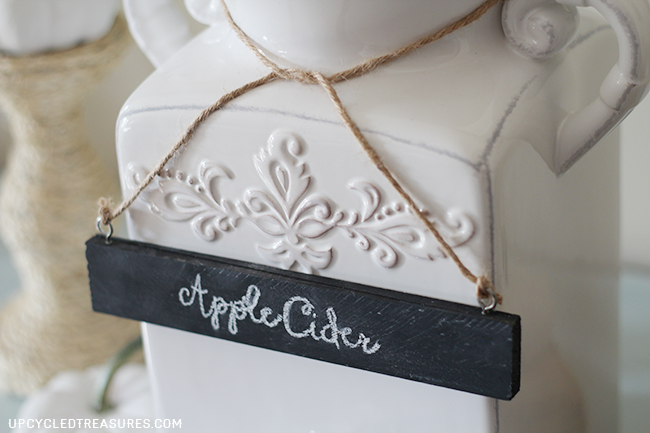
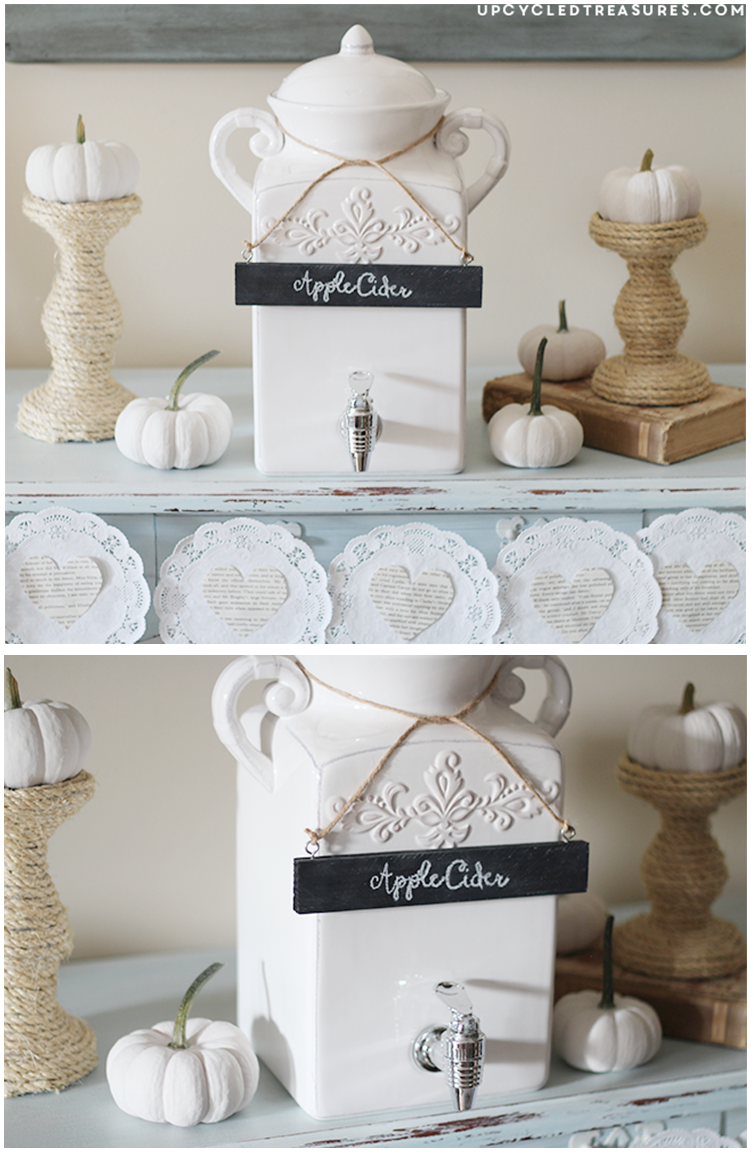
I wanted to make tags for the various dispensers we would be using for our wedding reception, and decided to make do with what I already had on hand. Here is a tutorial on how to make chalkboard beverage tags out of wood shims. Not only are these great for DIY beverage stations, but they are super easy to make!
DIY Beverage Tags
I had purchased a couple packs of short wood shims a while back, which I had planned to use to make some more wood shim art. I felt they would be perfect for what I needed and since a pack is less than $2 at the hardware store, I can always pick some more up later. 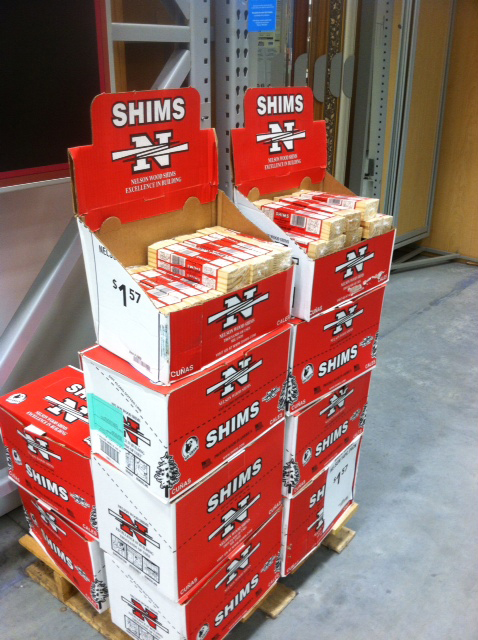

- Wood Shims {2 shims per beverage tag}
- Glue gun/glue sticks
- Eye Screws {2 per beverage tag}
- Chalkboard paint – I used chalkboard spray paint but you could also use the kind you paint on
- Chalk
- Twine
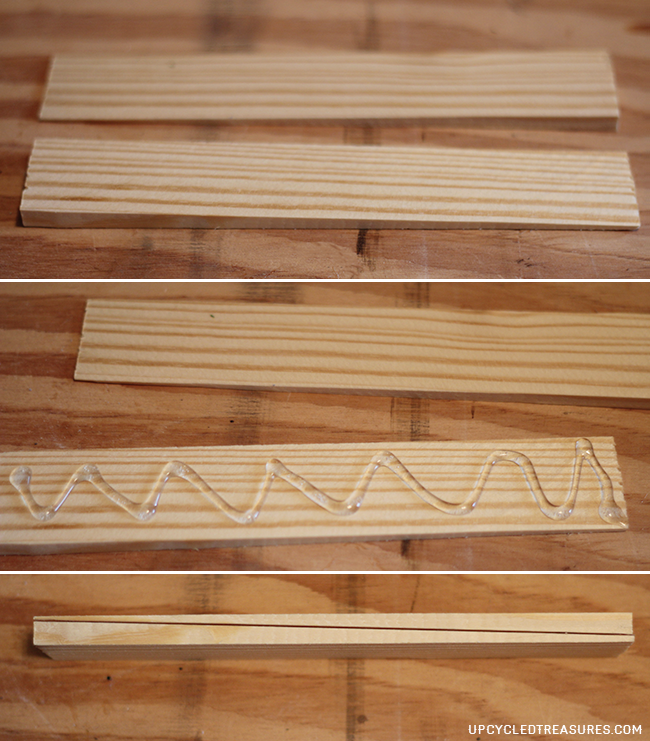
Step 1: Glue 2 woods shims together.
I noticed that when I tried to hang just one wood shim from twine around the dispenser, it didn’t hang level since one side was heavier than the other. So I simply used my glue gun to glue 2 wood shims together by matching a fat side with a skinny side. When pressed together they make a perfect rectangle that is level on both sides as you can see in the photos below.
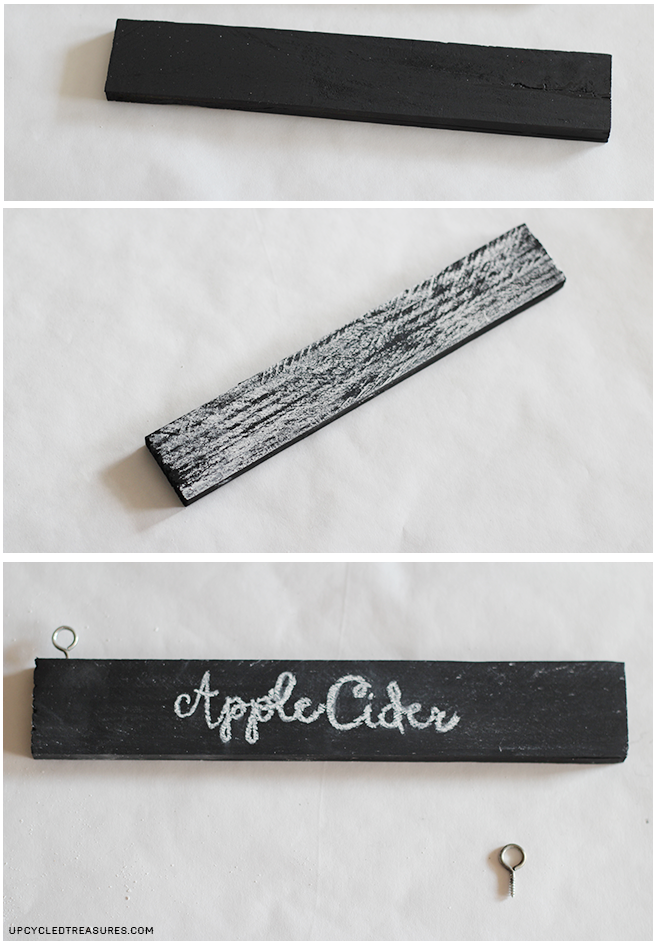
Step 2: Spray with Chalkboard Paint and then “season” once dry
I then used some chalkboard spray paint to cover the wood shim on all sides. After it was dry I “seasoned” it with chalk, which essentially prevents your first chalk words from imprinting on the chalkboard. I then wiped it off and wrote “Apple Cider” using a sharpened piece of chalk. I need to get a thin chalk marker but every time I go to a craft store they are all sold out! Guess it’s time to order it online…
Step 3: Add Eye Screws
I used some leftover eye screws that I bought at Target, which I used for our wedding wands. These screwed into the wood fairly easy with just a little bit of elbow grease!
Step 4: Write on your wood shims
I wrote on my mini wood shim chalkboard before I added the eye screws, but you should probably add the screws and then write with chalk, that way your letters don’t smear.
Step 5: Add your Twine
After that, I simply cut roughly 24″ of twine, wrapped it around my dispenser and then tied the ends into each eye screw. You can make the twine as long or as short as you want, depending on how you want it to hang on your dispenser. That’s it!
I’m hoping my signs will be a bit prettier once I get a thin chalkboard pencil, and then I will probably spray them with hairspray so they don’t smear during the reception. So what do you think?
Pretty easy, huh? And not bad for stuff I already had lying around the house.
Have you used wood shims in unconventional ways?
Great project Katie! I’d like them to say “Spiked” apple cider though! hahaha! Love it! Pinning!
Haha, I hear ya there! The apple cider will actually be the only non-spiked beverage in our dispensers, the others will include our signature drinks 🙂
That’s genius! I love a “cheap” project that makes a huge statement… and, I never thought of spraying chalk with hairspray, but it makes perfect sense. Have you tried the chalk markers? I love the way they look, but I can’t seem to get them to completely clean off of painted chalkboards… slate comes clean, but the paint doesn’t for some reason. Cute, cute, cute!
Hi Heather! I bought one chalk marker quite a few months ago when I made my nautical wreath, but it was a fatter one and broke before I could even use it {When I shook it the tip went inside and wouldn’t come out, so lame}! I have been wanting to try the thin chalk markers but have not been able to find any nearby because they are always sold out. I really want to use one on all the chalkboard signs for our wedding so I will most likely be ordering one online, and heard that using vinegar or Mr. Clean gets the chalkboard all nice and clean afterwards, so hopefully that will work 🙂
Such a cute idea! This is perfect for a fall party. If only I could have better handwriting to use all these fun chalkboards! #lefthanded
Me too! I think this is where a chalk marker would come in handy! I finally ordered some on Amazon, yay!
Well aren’t you the smart and clever one. I never think of shims. Love it. Thanks so much for linking to Inspire Me. Hugs, Marty
Thanks Marty! I have had those shims for a while now and am so happy I was able to find a good use for them. 🙂
This is too cute! I’d love for you to link it up at my link party, DIY Weekend!
http://mrandmrswinslett.blogspot.com/2013/09/diy-weekend-926.html
See you there!
Miranda @ Mr. and Mrs. Winslett
Hi Miranda! I have been a bit behind but will definitely link up this week! Thanks for stopping by to check it out 🙂
I LOVE what you have done. You should come show off your creativity starting at 8PM CST at Craft Frenzy Friday! http://obsessiveandcreative.blogspot.com/2013/09/craft-frenzy-friday-6.html It won’t be a party without you!
You’re my wedding DIY hero! But I knew that already. 🙂 I love this!!!! I am so excited for your wedding!!! (Well, pictures of it!) It’s going to be fabulous!
Haha, you are so funny. I’m the gal that never watched a wedding show or opened up a wedding magazine until 6 months ago when we got engaged. Now I am OBSESSED with the wedding world and only wish I would have gotten into it all sooner, lol. I still have a lot to learn and projects to finish…
🙂
Awesome idea, I love thinking of new things to do with stuff I already have on hand. They look really cute!
Thank you Kristen! Sometimes I get a little crazy and think I’m going to work on a project right away, but then it gets pushed to the side and I eventually find another use for the items I bought. This is the perfect example of that 🙂
So cute! I hope we can see them all fixed up at your wedding reception!
Absolutely! That’s what I made them for 🙂
This is a wonderful idea. I did not know that they made chalk board paint in a spray can – much more user friendly! I will have my eye out for it. Great use of shims.
I host a weekly link party called Seasonal Sundays. I’d love to have you link.
– The Tablescaper