UPDATE: All new featured RV tours will be posted on my other website, Wanderful RV Interiors. Existing tours will slowly be moved to the new website, and anything already moved will automatically redirect.
Disclaimer: This post may contain affiliate links, meaning, if you click through and make a purchase we (or those featured in this post) may earn a commission at no additional cost to you. View our full-disclosure here.
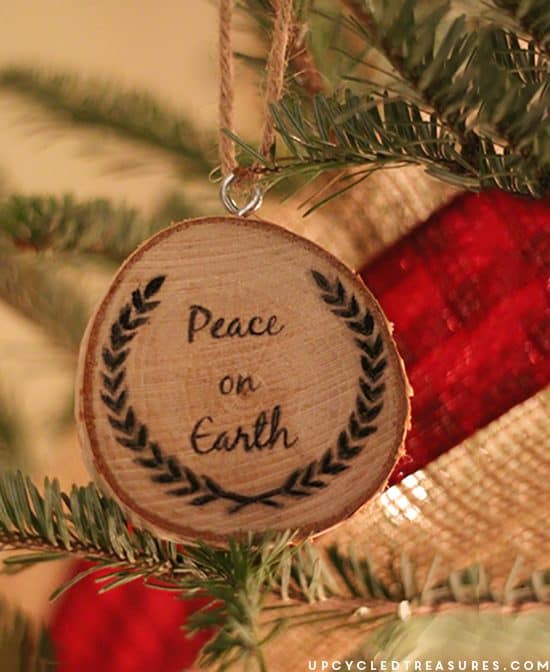
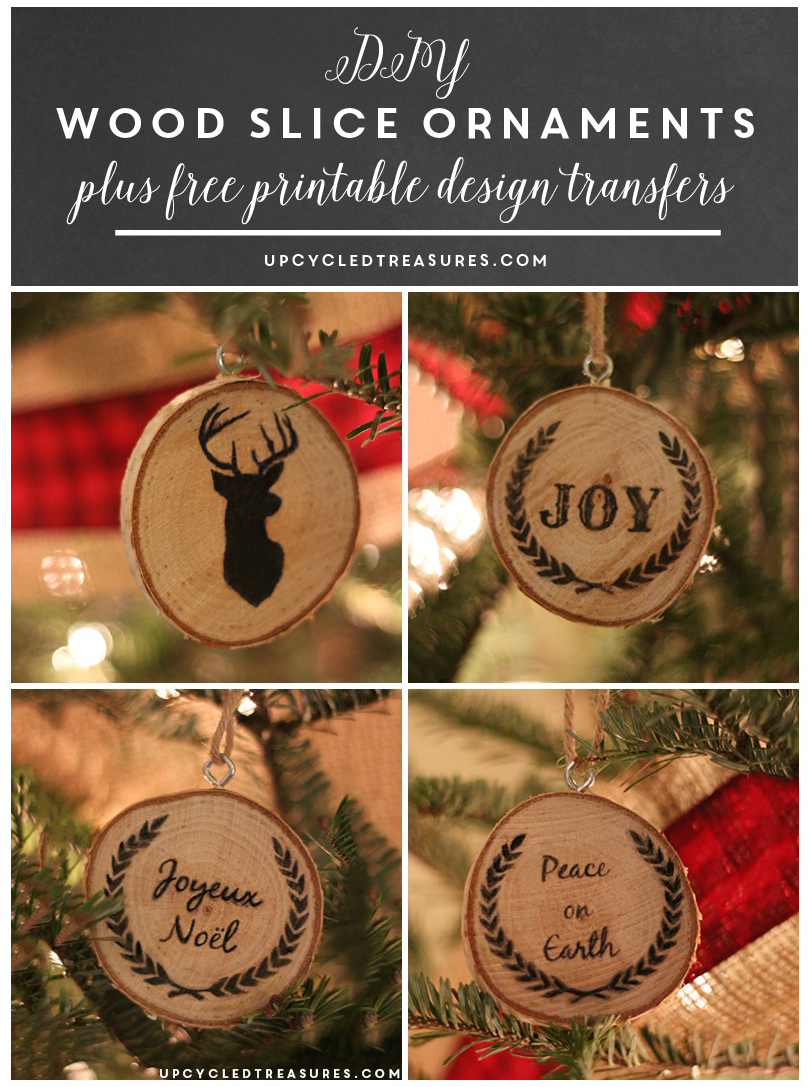
I love rustic decor and today I am sharing a quick post on some DIY wood slice Christmas ornaments I recently made. These would also make for great gifts!
DIY Wood Slice Christmas Ornaments
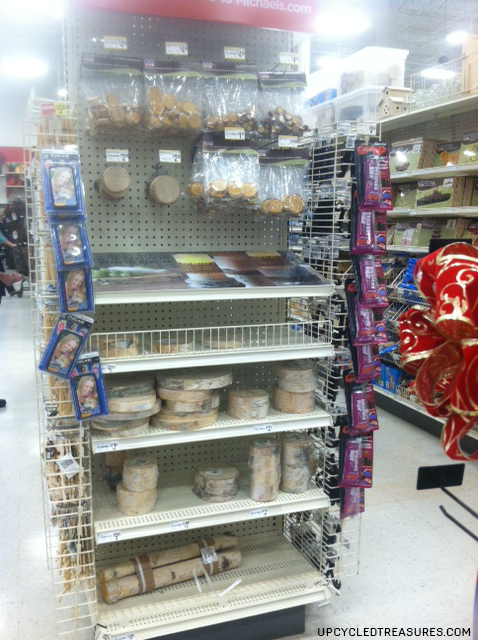
For this project, I used some leftover slices from our Save the Date magnets, and then some birch logs I bought with a coupon at Michael’s a couple of weeks ago. Of course, you could slice up some branches or logs you already have on hand, or even purchase the pre-sliced wood slices.

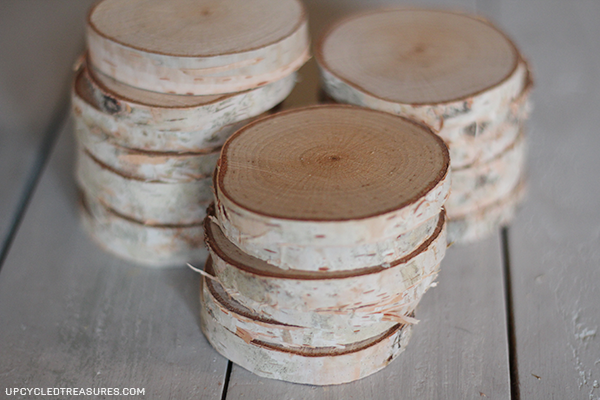
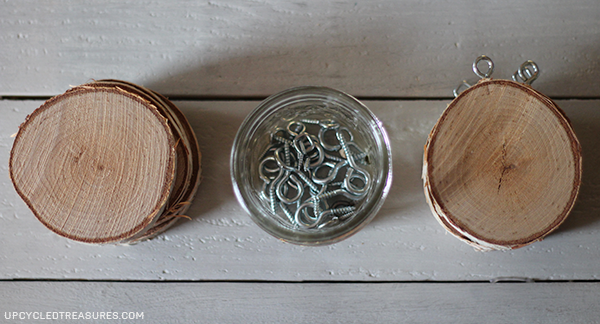
First, Eric sliced the wood using our Ryobi Compound Miter Saw {which is awesome!}. I then lightly sanded the sides with 400 grit paper and inserted eye hooks into the top, which we had leftover from our DIY wedding wands. I was originally going to drill holes into them until I came across this genius tip via Becoming Martha.
To make it easier to insert the eye hooks, I first created the hole with a thumbtack, and then twisted the eye hook in. I used pliers to twist them all the way.
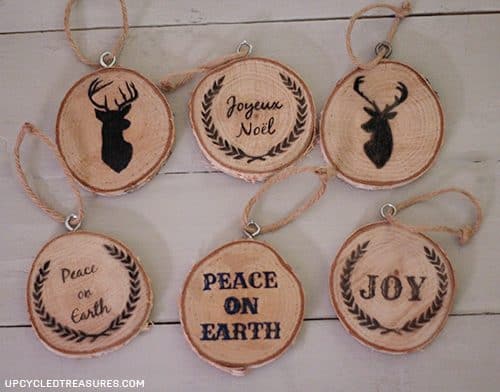
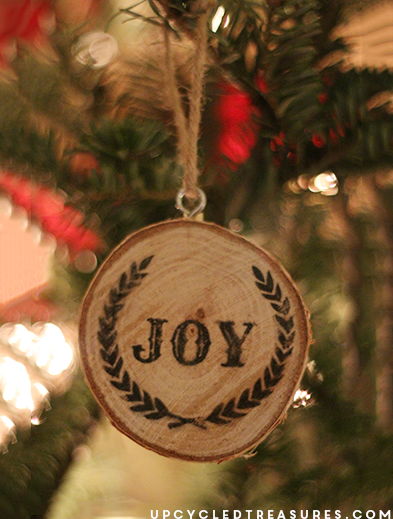
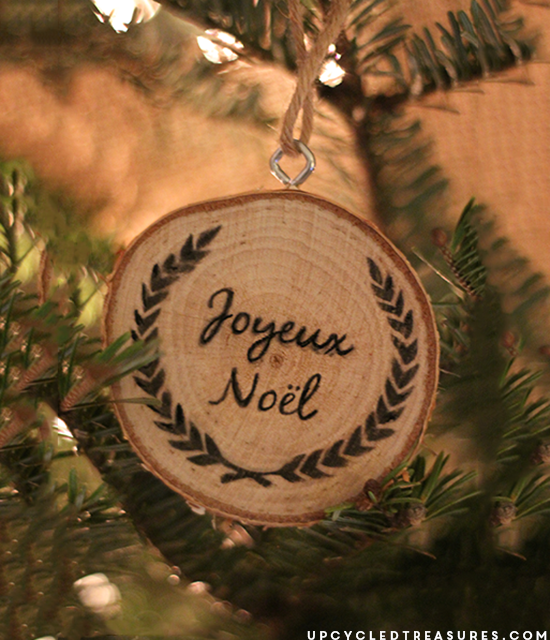
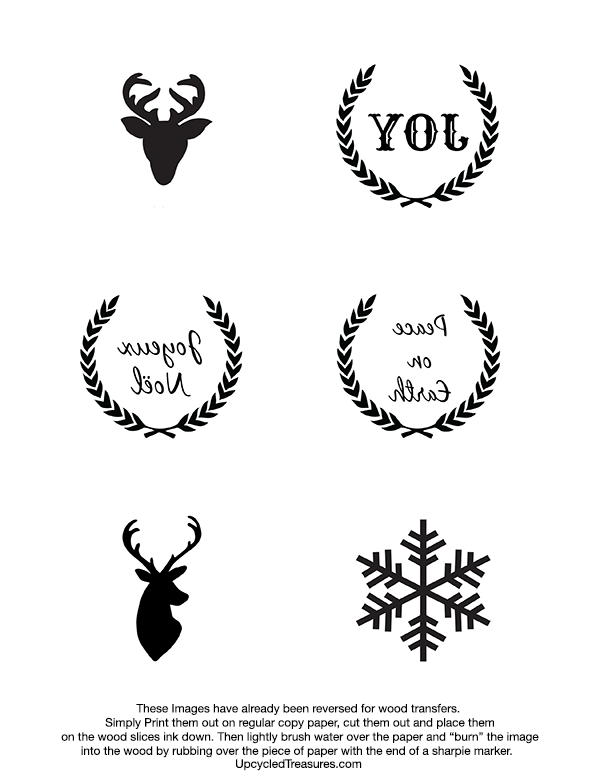
Afterward I printed out some graphics I wanted to put on the slices and used this transfer technique to “burn” the images onto the wood slices.
You can download some of the graphics I used on my ornaments at the bottom of this post.
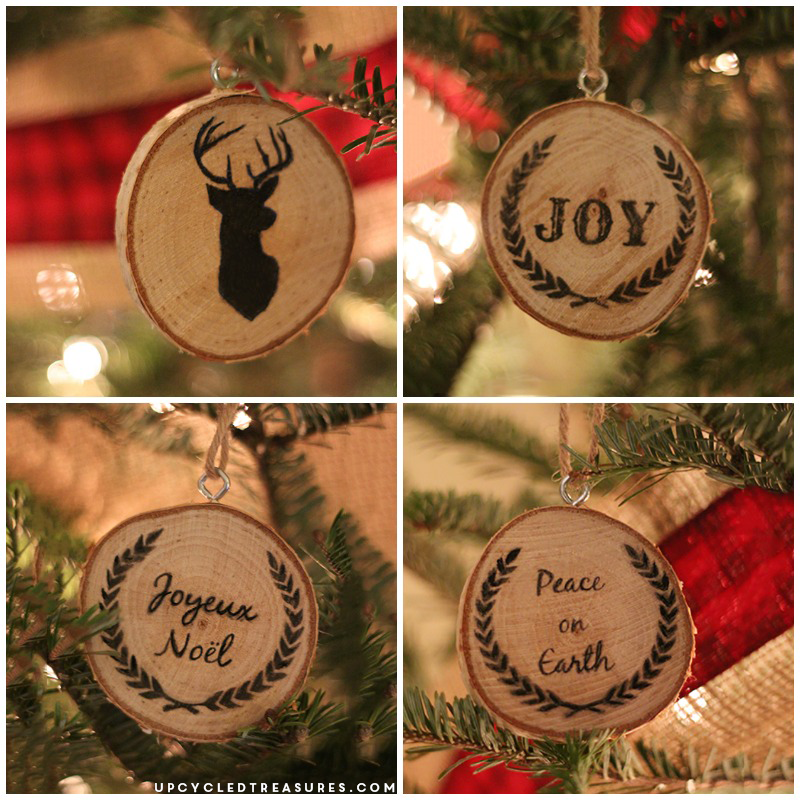
If you can draw or have pretty handwriting you could skip this step and draw whatever you like on the slices. I then tied some twine around the eye hooks, sprayed on some clear sealer and voila, DIY wood slice ornaments!
It was so easy and you can always go over them with sharpies or paint pens in festive colors to jazz them up a bit. I want to pick up some fine point metallic markers and then make some more of these, including one that says “our first Christmas”, being that this is our first Christmas as a married couple, woo-hoo! You could also make some easy Monogram ornaments to give as gifts. The possibilities really are endless.

So what do you think?
You could even skip the eye hooks and twine, spray on some sealer and you have holiday drink coasters!
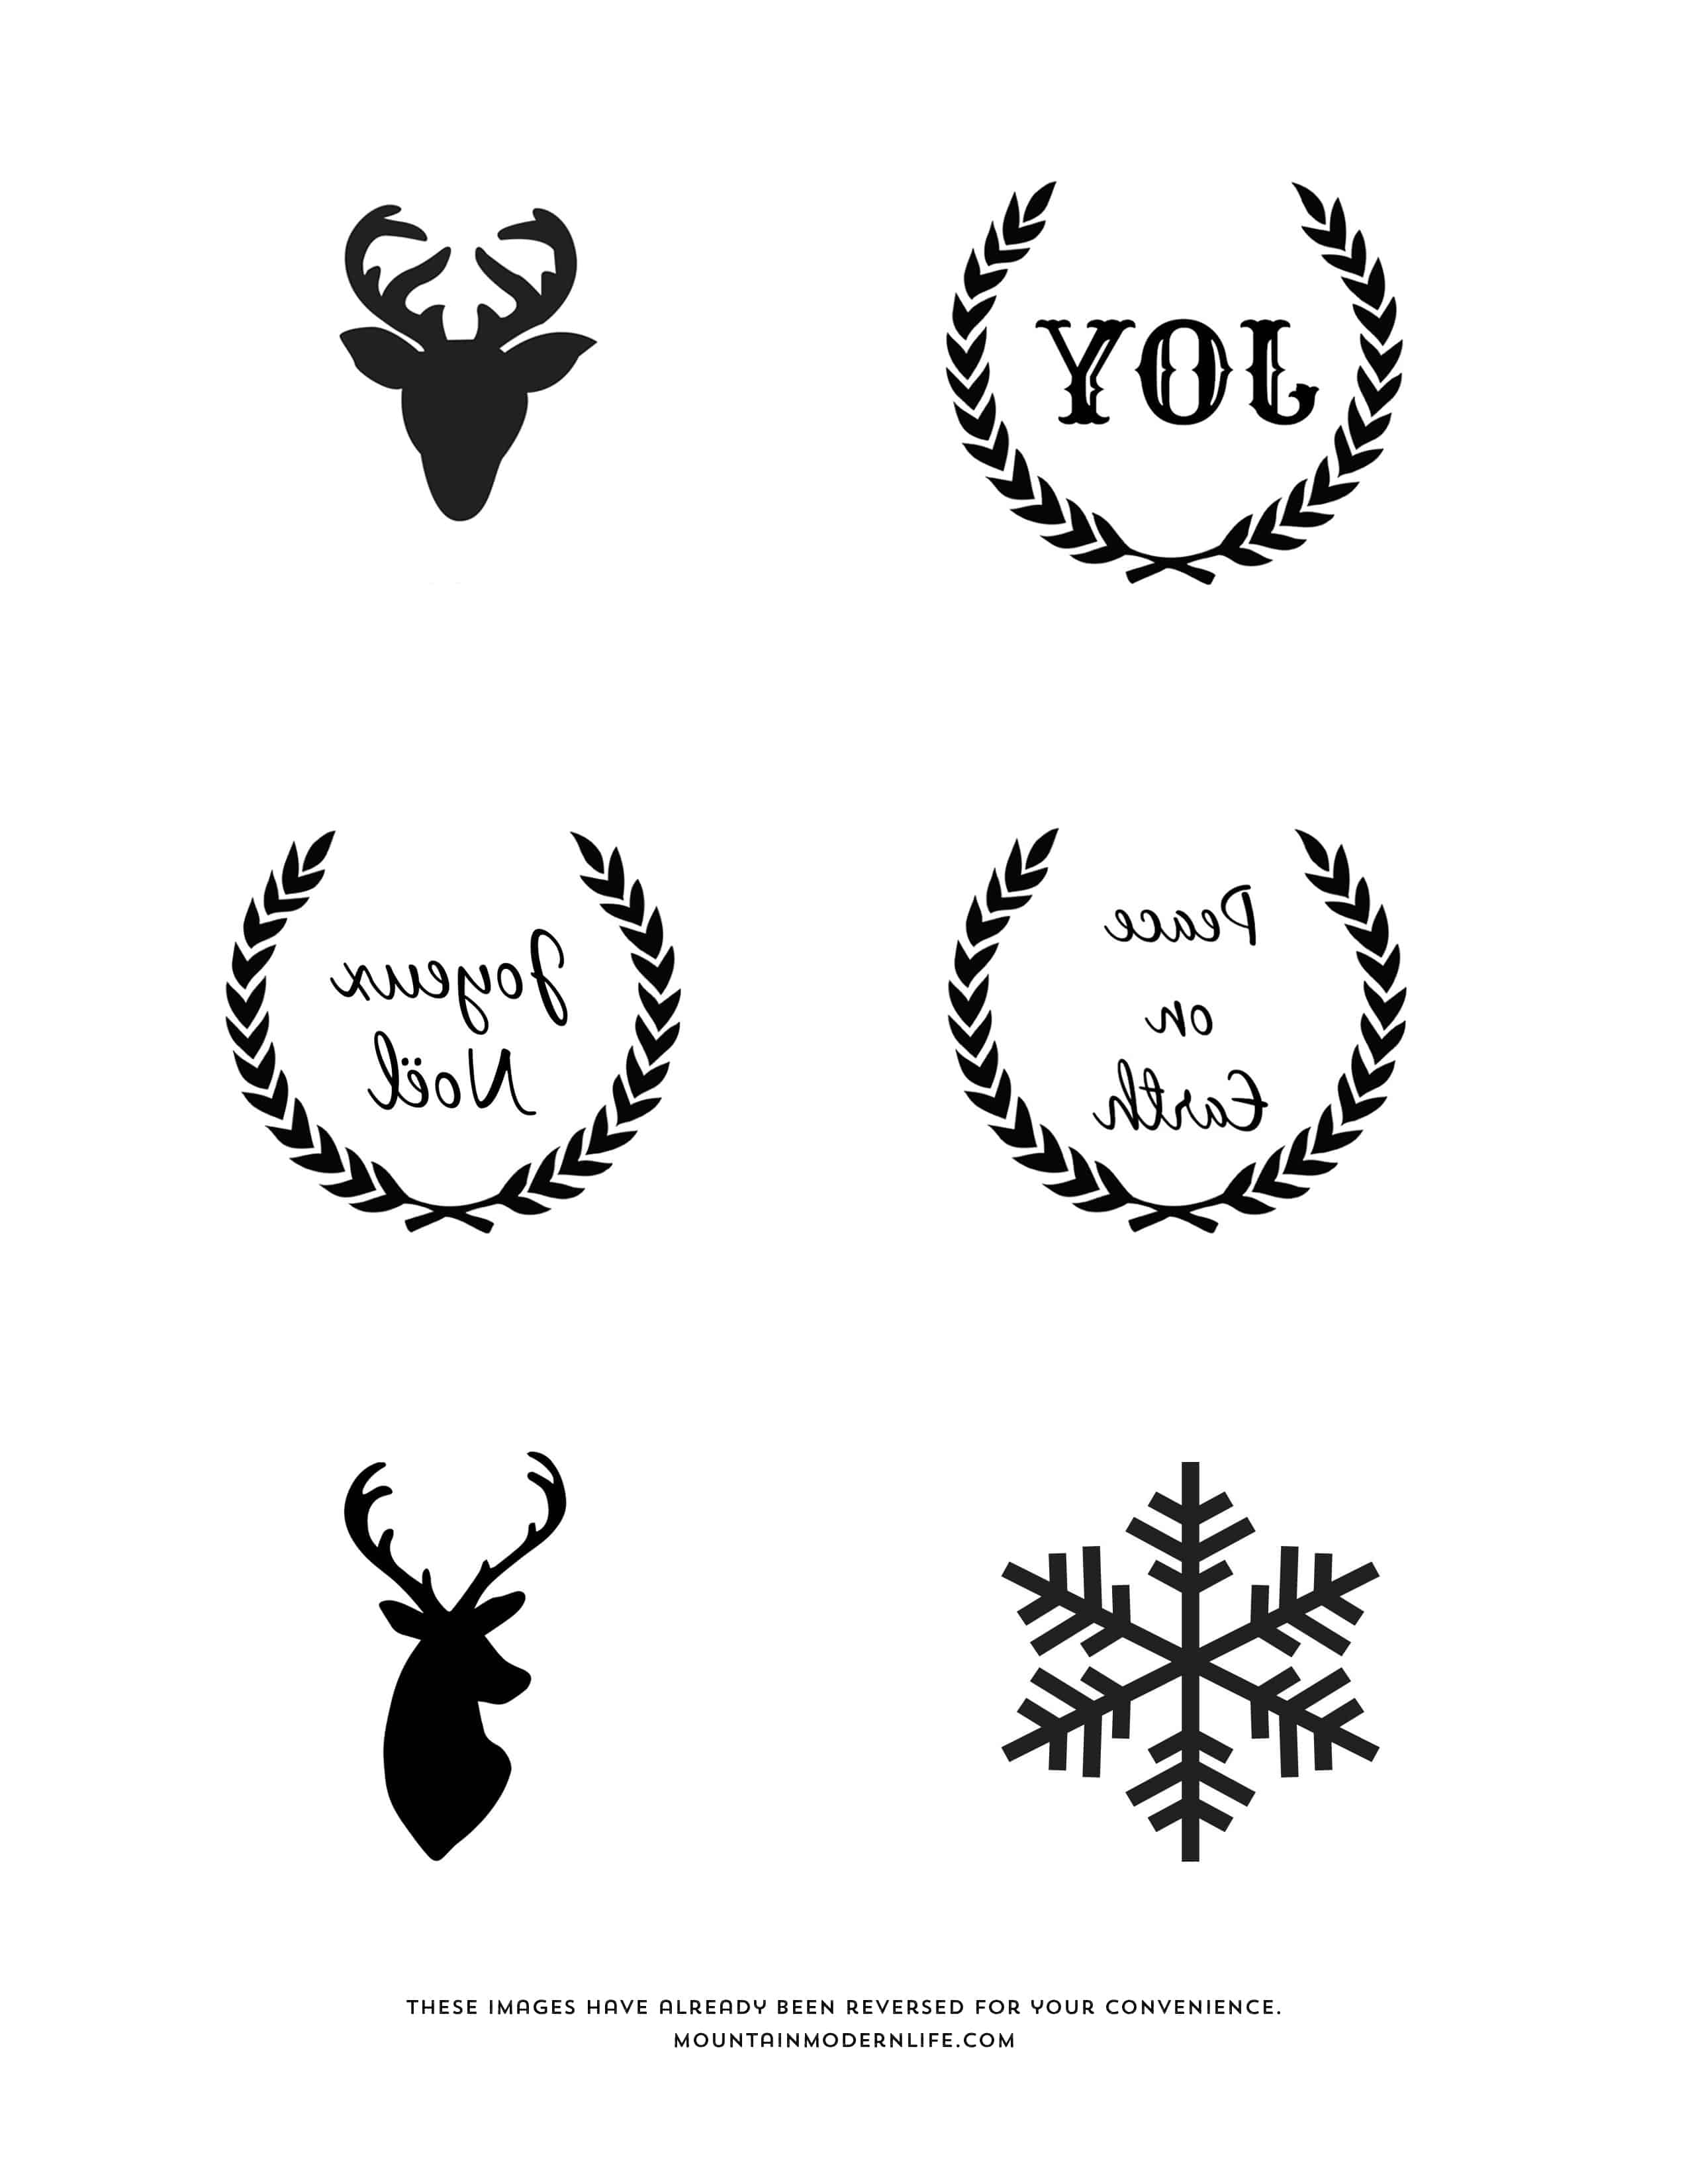

These printable designs are also included over on this post, where I have a more in-depth tutorial about making wood slice ornaments and additional designs you can print.
these look awesome katie!!! sharing now!
Yay! Thanks Jocie! 🙂
I love the free printable designs, do you sell other printable designs for the ornaments?
These are so pretty, I love all the designs on them
Thank you so much Lisa!
They look fantastic!! It does look easy..thanks for sharing! love your blog!!
Happy Holidays!
Thanks Joey! They were super easy and are now my favorite ornaments on the tree. So happy you stopped by to check them out 🙂
Thanks! they are so nice!
Wow!! I absolutely LOVE these ornaments!! What a great idea!! Thanks so much for sharing!
Thank you Megan!
I love the way these came out! I actually have one that is a slice of the bottom of our first tree together as a married couple. I put “Our First Christmas 2011” on it and called it a day. =]
Oh my gosh I LOVE that idea!!
Oh this is SO beautiful! Love the rustic look of these, just beautiful! Love the different messages and pictures you used on them, too! A set of these would make for such a great gift!
Thanks Maria, I hope our friends and family agree 🙂 I like to buy ornaments to go with the gifts but this is so much better, and waaaaay more affordable 🙂
These ornaments look awesome. I love how beautiful they are on the tree.
Thank you Shannah!
Stopping in from Someday Crafts. Those are beautiful! Wonderful job! Charlie @pickledokra.blogspot.com
Thank you so much Charlie!
WOW! I absolutely love these. The silhouette designs are amazing!
Pinning now to my Crafty Christmas board, thank you so much for sharing!
Happy Christmas 😀
Hannah ♫
Sew Lah Tea Dough
Yay, thanks Hannah! I’m so happy you stopped by to check them out 🙂
I love these so much and already have them pinned. I hope you’ll share this on Thank Goodness It’s Thursday at http://www.jordansonion.blogspot.com/2013/12/thank-goodness-its-thursday-blog-party.html – the party is live now
Yay, thank you so much Jordan, I appreciate it 🙂 I linked up too so thanks for hosting!
I had no idea it could be this easy. thank you!
I totally and completely love these Katie and have been trying to talk my husband into cutting me some wood rounds- we have enough wood around here!! Maybe this weekend? Thanks for the tute- pinning!!
I’m so glad you like them! Aren’t wood slices awesome?! I made a ton of these babies in a short amount of time and they are definitely my favorite ornaments 🙂
Absolutely adore these Katie! Such a great technique! Thank you for sharing with us at Monday Funday! 😉 Bonnie @ Uncommon Designs
Thank you so much Bonnie!
Love those. We cut off the bottom of our Christmas tree and I have been trying to figure out what to do with it. I think it may be next years ornaments! Thanks for joining our Twirl and Take a Bow Party! Hope to see you again next week!
I think we are going to do the same thing to our tree this year, and then make one that says “our first Christmas Tree”. Runt mentioned doing this in a comment above and I LOVE the idea!
What a beautiful idea! I love how they turned out. I’d love if you’d link up to The DIY’ers – and don’t forget to enter my giveaway for a free chandelier! http://homecomingmn.blogspot.com/2013/12/the-diyers-42.html
Thanks Kayla! I’ll head over there now 🙂
I love these! I want to make them with a group of girls…do you think I can print the pages ahead of time or does the ink have to be fresh? So glad I found your blog. 🙂
Thanks Lani! They don’t have to be fresh so you can definitely print them out ahead of time – just make sure it’s with an inkjet printer and not a laser one 🙂
~Katie
I love your ideas! I had large branches we cut down from our pine trees and my husband cut small circles for rustic ornaments for me to create as well as angled off three logs for painted faces for yet another rustic decoration!!! I can’t wait to get started! Some long new growth from crepe myrtle trees will be the star atop our tree. Twisted with twine or multicolored jute or string, will be the finishing touch!! Pictures will be coming on pintrest!
Katie, I can’t for the the life of me figure out what I am doing wrong. Using both my inkjet printer (Officejet 6600) and one at my school, I am unable to get the images to transfer. I am following the directions to the letter, but no luck. What on earth am I doing wrong? Thanks
Hi David, Hmmmmmmmm I have used this technique sooooo many times I’ve lost count so I’m not sure what’s going on.
Here are just a few of the projects I’ve created:
http://upcycledtreasures.com/2014/03/how-to-make-a-birch-branch-jewelry-box/
http://upcycledtreasures.com/2013/11/diy-family-established-monogram-wooden-sign/
http://upcycledtreasures.com/2013/05/diy-wood-sign-using-your-printer/
Is the ink transferring but being blurry or only partly being transferred over, or just not transferring at all?
I’ve used this on plain and stained wood and on countless wood slices. What are you trying to transfer it onto? You want to make sure you are using regular copy paper and have the image face down onto the wood, and brush on enough water to cover it, but not too much water otherwise it could tear the paper or make the image blurry. You definitely want to make sure you are pressing the end of a marker or pen against the paper after you brush on the water so that it “burns” the image onto the wood. If it doesn’t transfer over completely you can always go over it with a sharpie marker. I hope this helps and let me know if you figure it out – or figure out why it wasn’t working. Thanks!
~Katie
Love these. Making wood slice ornaments in one of the many projects on my very long “to do” list. Thanks for sharing this on Merry Monday.
These are gorgeous! I hadn’t heard of using water to transfer the images. I can’t wait to try this.Pinned to my holiday ideas board.
Thanks for sharing… great job. Perfect ornament for this Christmas.
I would love to know what kind of spray sealant you’re using! I am using natural cut wood of various types and sizes and have had some crack…. Even with a polyurethane sealant…
Hi Amanda,
I just use a clear Mod Podge spray sealant I picked up from the craft store a while back. Did you dry your wood in the oven beforehand?
Thanks!
~Katie
I tried both, drying on its own worked better than drying in the oven. I’ve been told that linseed oil should keep them from cracking. I’m going to try that and see what happens.
Pinned and shared on Facebook! These are so awesome! Thank you for the easy instructions and the printable 🙂
These look so great! Can you share the dimensions of your designs? I’d like to make a custom design and wanted to double check the size.
Hi Maddie,
I think I made them 2 x 2 but am not positive. However, it would probably be best to measure the wood slices you plan to use, and then print the design size according to that. Some slices are smaller or larger than others. Hope that helps but let me know if you have any other questions.
Katie
these are so cute! I can’t wait to make some this year. I am wondering what font you used for JOY because I would love to create some of my own designs. Thanks
I would love to use these as a craft for our Christmas activity for the women of our church. Would it be ok to use the designs for this purpose?
Hi Sara,
As long as you’re not selling the designs or the end product, then it’s not a problem at all 🙂
Katie
I am doing a red checkered and burlap table scape and this is going to be icing on the cake for take home gifts and a nice accent besides great idea and I need to get me some paper birch limbs
thanks for the great idea to finish my thought on how to dress the table
Your table sounds right up my alley, I bet it’s going to be beautiful!
Yep, that time of year again… Where did the time go. Quick question. I tried making these but using a stamp and then colored pencils to put some color into the design. When I covered with a satin sealer it turned my colors very, I mean very muted and seems hazy. Any suggestions on what to use for a top coat on these? Thanks!
Hmmm, to be honest I’ve never used stamps or colored pencils on these, but was it only the color pencils that became muted? If so that may the the issue and you may want to try colored sharpies or paint pens instead. What kind of sealer did you use? I used a clear spray sealer which didn’t seem to make a difference, if anything it may have made them seem a bit darker actually.
Sorry I couldn’t be of more help but let me know if you get it figured out!
Katie
We made these at our Propel Women’s Christmas party tonight. The women loved them!! Thanks!!!!
Hello,
I know I am a few years late on this post but have just stumbled upon it. I have a few problems though. I tried to let the wood dry in the sun but when using birch, the bark seperates from the wood. I am afraid if I don’t let them dry out, they will mold. Would a polyurethane min wax work at preventing these issues? Thank you! And your ornaments are gorgeous!!
Hi, I wanted to ask if you have any problem with the wood cracking? Do you need to treat to wood prior to decorating? Thank you for this post. It has been very inspiring and helpful.
I only had a couple crack out of the all the ornaments I made – and that happened after I “cooked” them in the oven. I didn’t treat them with anything prior, just dried them out in the oven. If you do the same I would just make sure to have it on the lowest oven setting, flip them, and not leave them in there too long.
These look great! May I ask what font you used for the Joyeaux Noel decoration?
How thick are your wood slices?
Hi Katie,
I tried to make it work in so many ways, but it didn’t!
I am so sad, because I wanted to hang the wood slices on my new tree this year.
I will use them anyway, with no design!
Love your way of making these. Easier than wood burning. Instead of using eye screws, i twist a fine wire around a ball point pen making a 1/4 inch loop with a 5 turn pigtail installed in a small hole with epoxy cement. Also cut same slices at an angle for longer animals like bears.
Nobody has said how thin these discs can be without warping! I would love to know, as The thinner the better as far as I’m coNcerned!
PlEase someone respond if you know! Thanks so much in advance!
I can’t say specifically but ours were about .5 inch. I’ve seen some sold on Etsy that are 3/16 so you should be able to go thinner. From my experience, we’ve had some slices warp while others haven’t – the ones that have warped seemed random and rare so I don’t know what makes some warp and other’s not, could be the type of wood and how dry it is. I would think the longer the wood has dried, the less likely it is to warp, maybe?
This is such a great idea as I can save even more money on it by using some of the wood I have around my house.