UPDATE: All new featured RV tours will be posted on my other website, Wanderful RV Interiors. Existing tours will slowly be moved to the new website, and anything already moved will automatically redirect.
Disclaimer: This post may contain affiliate links, meaning, if you click through and make a purchase we (or those featured in this post) may earn a commission at no additional cost to you. View our full-disclosure here.
I am obsessed with wood slices. No seriously. I am. Just in case you haven’t noticed. And if you are new here, welcome. My name is Katie and I’m addicted to wood slices 🙂
I’ve used them for magnets, thumbtacks, coasters, ring holders, banners, and art, but I think my favorite wood slice projects have been centered around Christmas ornaments.

Of course, that could be because I become as giddy about Christmas as Buddy the Elf, and holiday projects are the bee’s knees. I also like to pretend we live in a cabin in the mountains surrounded by snow and these wood slices help give off that vibe. Hey, someday it will happen, but until then a girl can dream, right?
Cabin Inspired Christmas Ornaments
Last year I decided to skip just about all of our purchased ornaments and use mostly handmade ones on the tree instead. It was so perfectly rustic, cozy and beautiful. I loved it.

My first post about wood slice ornaments was a couple of years ago, which I share here, but I wanted to do an updated post which includes additional printable designs you can use. I am also going to include information on how you can create a custom photo wood slice ornament. We used it to create an “Our First Christmas” wedding ornament, but this would work perfectly for any family photos or lifetime events like “Baby’s First Christmas” or family established dates.

I made these cabin inspired Christmas ornaments from fallen tree branches in our backyard, but you can always pick up unsealed wood slices online, or from your local craft supply shop.

- Pre-Cut Wood Slices Or Branch/Saw/Sandpaper
- Ink-Jet Printer/Copy Paper
- Scissors
- Craft Paint Brush
- Cup of Water
- Eye Hooks/Thumbtack
- Ribbon/Baker’s Twine
- Spray Sealer
- Additional Supplies Needed for Photo Ornament:
- Photo
- Mod Podge
- Foam Brush
![]()
Step 1: Get your wood slices ready
The first thing I did was cut some wood slices out of branches using our compound miter saw. Afterward, I baked them in the oven on the lowest setting for about an hour or so, flipping them halfway through. You can place them on top of the foil on a baking sheet. This makes sure the wood is dry and kills any critters that may have been on them. {Eeeeew.} Afterwards you can quickly sand the sides with fine sandpaper to make them a bit smoother. Now your cabin inspired Christmas ornaments are ready to be designed.
Again, you can buy natural, unsealed wood slices online or at most craft stores, and skip this part altogether.
Step 2: Create and Print Your Design
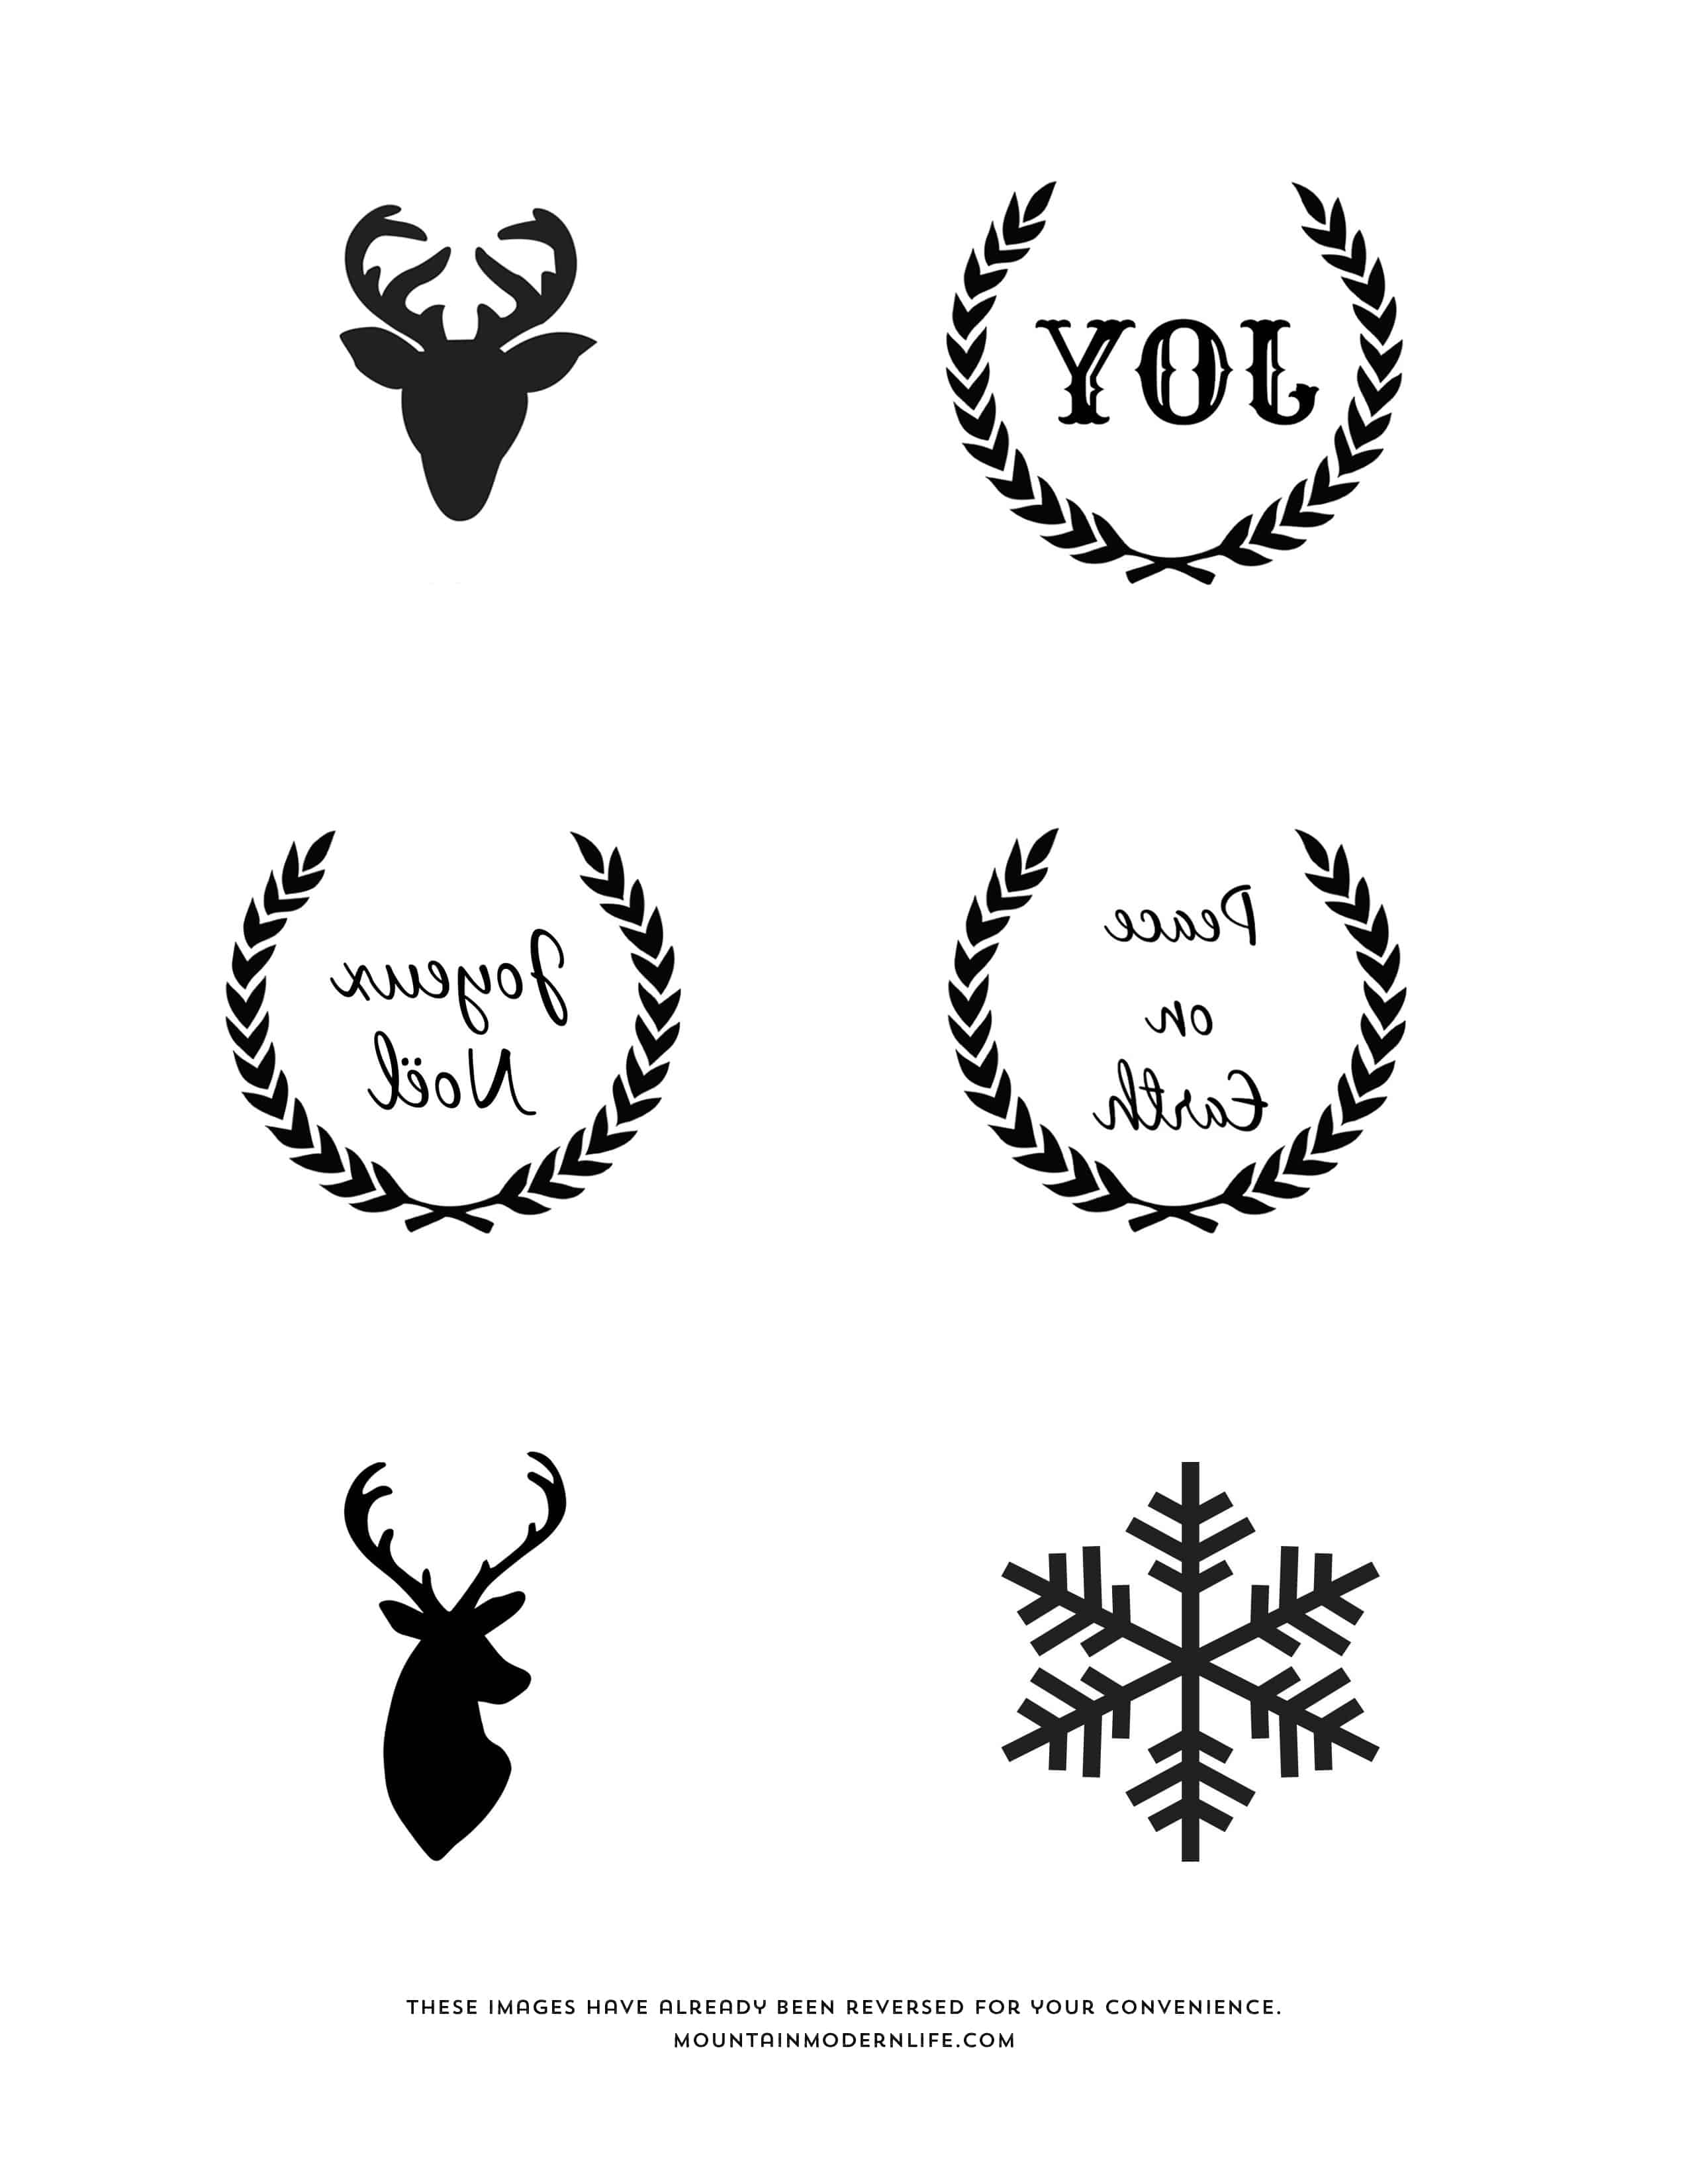
I am including some free designs and text at the bottom of this post in case you want to use them on any of your DIY ornaments.
I created several designs on my computer, some which had holiday sayings and others with moose, deer and bear silhouettes. I used Illustrator to set these up but any word or image editing software will do. You can even use the free online image editing program, PicMonkey.
Make sure to measure the size of your wood slices so that you can plan the size of the design accordingly. I made our designs 2 inches by 2 inches.
Once you create your design, make sure you REVERSE it before printing.
You should be able to do this in any image editing software, including Paint. This step is VERY important if you are transferring text onto your wood slice, otherwise, it will be backward once you transfer it.
After the text was reflected I printed it out from my inkjet printer {I don’t believe this will work with a laser printer} and onto plain copy paper. You don’t want to use cardstock or heavy paper because it will be more difficult for the ink to transfer onto the wood.
If you want a photo on one side of your ornament and words on the back, I recommend adding the words first.
Sometimes if you don’t “burn” the design into the wood long enough or accidentally move your paper then the design could smudge. For this reason, I prefer to add any text to the wood slice before adding an image to the other side. Of course, you can do whichever you prefer.
Step 3. Add your Design onto the Wood Slice
Once your paper is printed and your designs are cut out, you will want to flip the paper over so the ink is facing the wood.


You can then take a small paintbrush and brush the water on top of the paper, making sure to keep it in place. You don’t want it too wet that it tears right away, but wet enough where you can start to read the text through the paper. I will normally pat the paper down to the wood to help it stick a little easier.

I then use the end of my small paintbrush to “burn” the ink into the wood slice. This basically just means scratching it over the paper in all directions, while keeping the paper in place. You can use the end of a sharpie, a credit card, etc. I find that using the end of a small detail paintbrush works really well and also makes for one less item for me to worry about. Make sure to use some force but it may take a little practice so having a few extra wood slices on hand wouldn’t hurt.
I will “burn” the text onto the slice, then brush on a little more water, “burn” it some more, and so on and so on. I also move the wood around so I am able to rub the end of the brush in all directions and also go left/right, up/down, and in circles. This seems to get the ink transferred pretty well. The paper will eventually begin to pill up and that’s okay as long as you’ve already transferred most of the image over.

You just don’t want the paper to tear or move while you are transferring the ink over or it could smudge it. I will also lift the corner up to see how well it’s transferred and carefully put it back down in place if I need to “burn” it some more.
This is what mine looked like afterward.

You can see in the photo below that my 3 smeared a little bit {oops} and that the ink is a little lighter once it dries. Once you spray it with the sealer it will darken it up a bit though.

Step 4 (Optional): Go over your design with a Sharpie Marker
If your ink doesn’t completely transfer over or it’s not as dark as you want it you can always go over it with a fine sharpie marker. Although mine had transferred over pretty well I still decided to do this.

Of course, if you have nice handwriting or drawing skills you can skip the image transfer altogether and just go straight to writing on your wood slice. My handwriting, however, is not so pretty and I like using fun fonts. Doing the transfer method makes it easy to get those fonts or images on the wood slice easily, and I can then go over the designs with a sharpie I want to. You could also go over your design with a wood-burning tool if you want.
Step 5: Seal the Wood
Once the ink is dry you can seal the wood by spraying it with a clear sealer. I used Mod Podge clear spray sealer in matte, but you can also use gloss. Just make sure your ink is completely dry, otherwise, it could smear. I was a little too impatient though and didn’t let it dry long enough so it actually smeared a bit when I sprayed it. Woops. Ummmm character? 🙂
Step 6: How to add a photo to your wood slice ornament
If you don’t want to add a photo you can skip this step.
I added a sepia-toned wedding photo to our wedding ornament to give it that vintage/rustic feel. Whatever photo you decide to use, just make sure the area you want to use can be cropped to fit on your wood slice. For instance, I made sure our faces were small enough to fit on a 2.5″ x 2.5″ ornament.
I then placed the ornament on top where I wanted it to cover the image and traced around the photo to make it easier when I cut it out. You could just cut a circle but I wanted my photo to cover the entire front of the wood slice, and since wood slices aren’t perfectly round I found tracing it was easier. I then cut around the inside of the line to make sure to avoid the sharpie smearing, just as a precaution. You could use a pencil/pen instead.

Once you have your photo cut to size you can paint some Mod Podge onto the front of the wood slice {before you add your photo}. I probably would have used a foam brush but didn’t have any left so I just used an old crappy paintbrush I didn’t care much about.

Once dry, place your photo on top of the wood slice, image facing up, and brush a layer of Mod Podge on top.

Again, make sure you let it sit until it is completely dry. Once it’s dry you will want to paint another coat of Mod Podge on top of the photo.

Here it is with the second coat dry. The Mod Podge adds some texture which I actually like.

Step 7: Add the eye hooks & twine
Once the ornament is completely dry you can add eye hooks to the center edge. The best way I found to do it is to first use a thumbtack and then after you put your eye hook in the hole you can twist it in tighter with pliers. This makes things sooooooo much easier, and you can actually do several without hurting your fingers.

You can then tie red or green baker’s twine, ribbon, copper cord, etc around the eye hook, which is what the wood slice ornament will hang from. Another option is to drill a hole into the wood slice but I prefer using the eye hooks.
That’s it! Now you can hang your cabin inspired Christmas ornaments and Instagram photos to all of your family and friends showing how awesome it looks!
Here is the front and back of our wedding ornament all finished:

Here are a Few More Cabin Inspired Christmas Ornaments:


Whether you are looking for Christmas decor, a fun holiday project, or a personalized gift idea, these cabin inspired Christmas ornaments are sure to spread some holiday cheer!
For those that are wondering, the paid fonts used on these were Brandall and Thankful.
Do you make your own Christmas ornaments?
FREE Printable Designs
Want to use some of these designs on your own Cabin Inspired Christmas Ornaments? Download the printables below!


These are so adorable!
Thank you Chelsea! I think making wood slice ornaments has turned into a yearly tradition around here 🙂
Love these!! Perfect gift idea for the holidays. Thanks so much for sharing:) Sarah
You’re welcome Sarah, have fun making them!
Great post! Thanks for instructions. Will this work with a laser ink printer?
I can’t get this to work for me… 🙁 I followed all of your detailed instructions and pics but it’s still not working. What am I doing wrong?!
Sorry! Scratch my last comment! It was the wrong kind of printer! Happy to report I finally got it to work! Thanks for the great tutorial! Love this! 🙂
Thank you so much for sharing these!! I’ve downloaded and am going to make these this week! My daughter and I both are going simple this year with live trees and simple rustic decorations! These are perfect!! I’ve had three tree limbs sitting in my garage for over a year now that my husband kept wanting to throw out and I wouldn’t let him! Yay!!
What font did you use? I love it! Want to make more but haven’t found the font anywhere. Thanks Katie!
After ridiculously extensive searching I’ve come to the conclusion that the font is Thankful Display Filigree by Ornaments of Grace. Hope it helps. The website http://www.whatfontis.com helped me a lot in my search.
Love these ornaments! I used your idea here but with a slightly different process. I used citrussolv instead of water. And laser jet printer/copy machine.
What is the name of the font(s) used on your ornaments? I used your downloads and love them so much!! I’d like to make some custom name ornaments for gift tags and I love the fonts you used.
Thanks so much!! Happy holidays!
Kelly
Hi! The person above you asked the same question. I looked and looked I think the font is Thankful Display Filigree by Ornaments of Grace.
Hi Kelly and Jana,
Yes the fonts used are Brandall and Thankful – both paid fonts. Irene had asked this question on Instagram as well as here, and I had responded there so I apologize for not adding it here.
Happy holidays!
~Katie
Do you need a ink jet printer? or is a laser printer ok? I love the ornaments. What kind of paper do I buy ?
Great DIY and very pretty blog 🙂
I will follow you on Pinterest !
these are cute as can be
So cute, thank for sharing!
Thank you! These are so cute!
I have always loved things rustic and these ornaments say it all. You did a wonderful job of listing step by step so the rest of us can also take part in “all things rustic” I am going to try this next year for my gifts to my 4 grown daughters and their families.
It is a gift that will create lasting memories
Same questions about the laser printer – is that a deal breaker? Does it need to be an ink jet printer for it to work?
I could of get it to work! Tried multiple times
What am I doing wrong?
[…] Cabin Inspired Christmas Ornaments | Mountain Modern Life is creative inspiration for us. Get more photo about home decor related with by looking at photos gallery at the bottom of this page. We are want to say thanks if you like to share this post to another people via your facebook, pinterest, google plus or twitter account. Right Click to save picture or tap and hold for seven second if you are using iphone or ipad. Full size is 798X1092 (Link to full-size image) pixels. Source: mountainmodernlife.com […]
[…] Cabin Inspired Christmas Ornaments from mountainmodernlife.com […]
Thank you FOR ALL The effort you put into the description and for the pics of the finished products. I love the idea and i will be trying it myself. You rock! Sorry about the “all-caps”. My keyboard insisted. Ugh. Have a great holiday season.
Thank you so much Lisa! And no worries on the all caps, sometimes they just have to be used 🙂
How thick are the slices? I aM Going to try this. Thank you!
Hey Debb, I think we tried to get them all around 1/2 an inch, hope that helps 🙂
Thanks so much!! My daughter and son in law just moved into a cabin, and it will be their first Christmas in their new home. These will be a perfect gift for them for their tree:)
No worries at all Wendy, we’re really glad you like them and I think they will be a perfect gift for a new cabin 🙂 Let us know if you end up having any questions along the way 🙂