UPDATE: All new featured RV tours will be posted on my other website, Wanderful RV Interiors. Existing tours will slowly be moved to the new website, and anything already moved will automatically redirect.
Disclaimer: This post may contain affiliate links, meaning, if you click through and make a purchase we (or those featured in this post) may earn a commission at no additional cost to you. View our full-disclosure here.
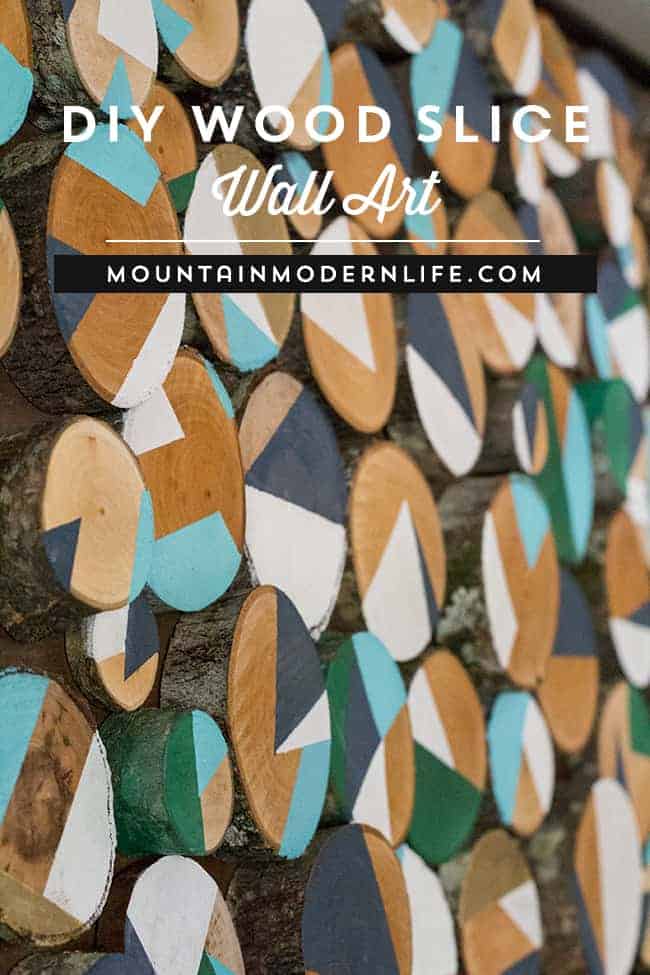
It’s no secret that I love using elements of nature in our home, and today I’m sharing how to make wood slice art, which just so happens to be one of my favorite DIY art projects to date!
If you follow me on Instagram you may remember this photo I shared a while back of a tree that fell in our backyard.
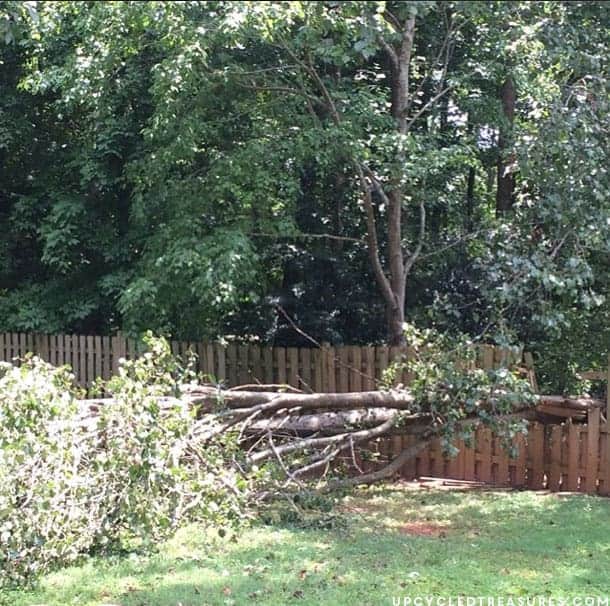
Thanks to a little upcycling, this project was made using some of the fallen branches from that tree. The tree that fell was actually from our neighbor’s yard so my husband had asked if we could keep some of the wood. We were not home when they were doing the cleanup and repairing the fence so they only left a few branches for us to use, but it was more than enough for the art project I’ve been wanting to finish for quite some time now.
Some of you may already know this, but we are renting and our lease is up in a few months. I’ve always painted every apartment/home we rented but this time I decided just to keep them beige. In doing so I realized that the natural wood slices didn’t pop as much as I wanted and the wall would look a little to bleh for us. So instead I decided to incorporate some of the other colors in the dining room into the wood slices.
How to Make Wood Slice Art
I was able to create this framed wall art using leftover materials we had available, along with some fallen branches in our backyard. So depending on what you have available and the size you want to create, this could be a free or very low-cost project! I mention the tools I used for this project, but you can also just use what you have available, and if you don’t have branches or a saw, you can purchase wood slices from craft stores, Etsy or Amazon.
You could also have your wood slices go over the edge of the wood and skip the frame if you want. I’ll list the general items I used, but of course, you can customize the amount, size and colors to match your style and home.
- Plywood
- Wood Slices
- Paint
- Rubb’n Buff
- Foam Brushes
- 220 Grit Sandpaper
- Stain
- Heavy Duty Glue
- Wood for Frame {I used 1 x 4’s}
- Painters’ Tape
- Heavy Duty Picture Hanging Hardware
- Tools Used:
- Ryobi Compound Miter Saw
- Ryobi Airstrike Nail Gun
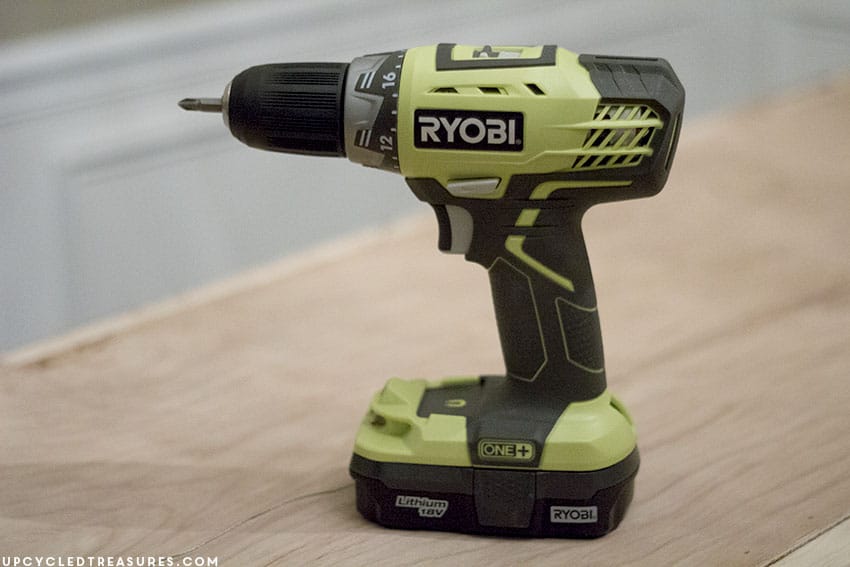
- Ryobi Drill
- Kreg Jig
I had some plywood left over from my large DIY chalkboard and used that as the back of my wall art. You could use any size wood or canvas as your backdrop.
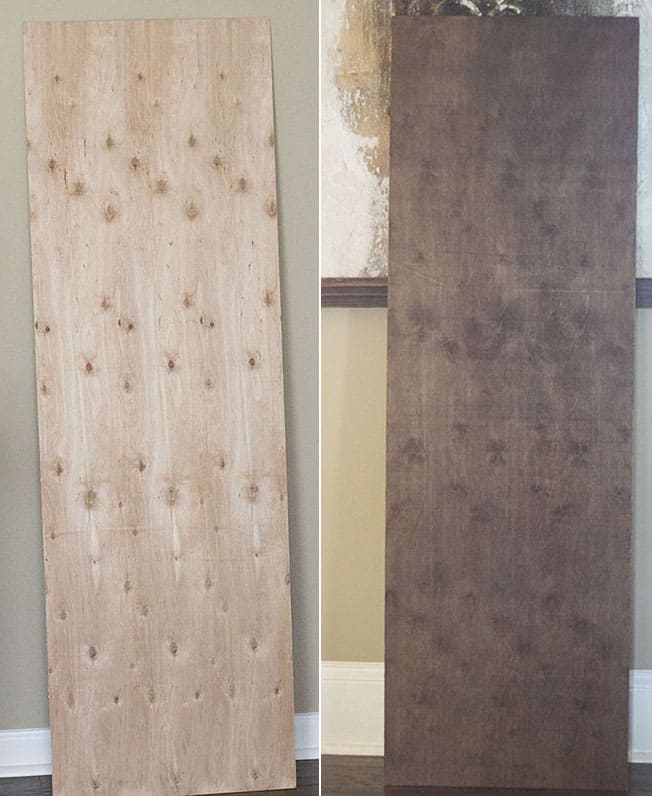
I knew there would likely be some small gaps in between the wood slices, so I decided to stain the plywood so the background wouldn’t stand out as much. I just used some dark walnut stain:
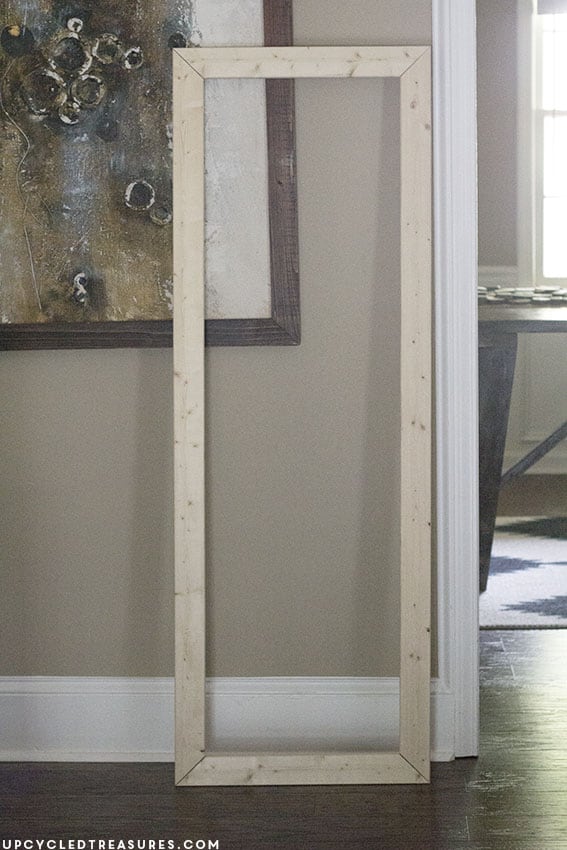
Once the plywood was stained I created a super simple frame made with 45-degree angles. This frame can easily be made using the Kreg Jig if you have one.
I stained the frame using a mixture of American Walnut and Dark Walnut. Once the plywood and frame were stained I moved on to the wood slices…
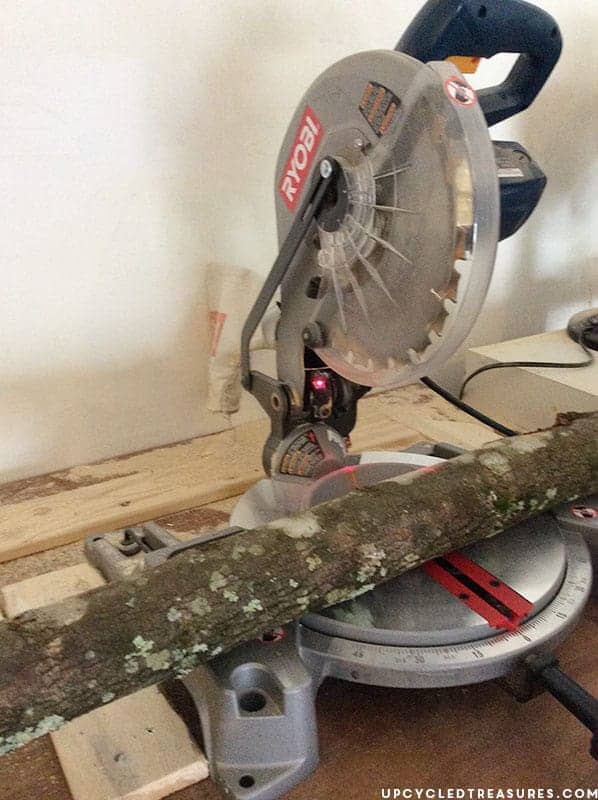
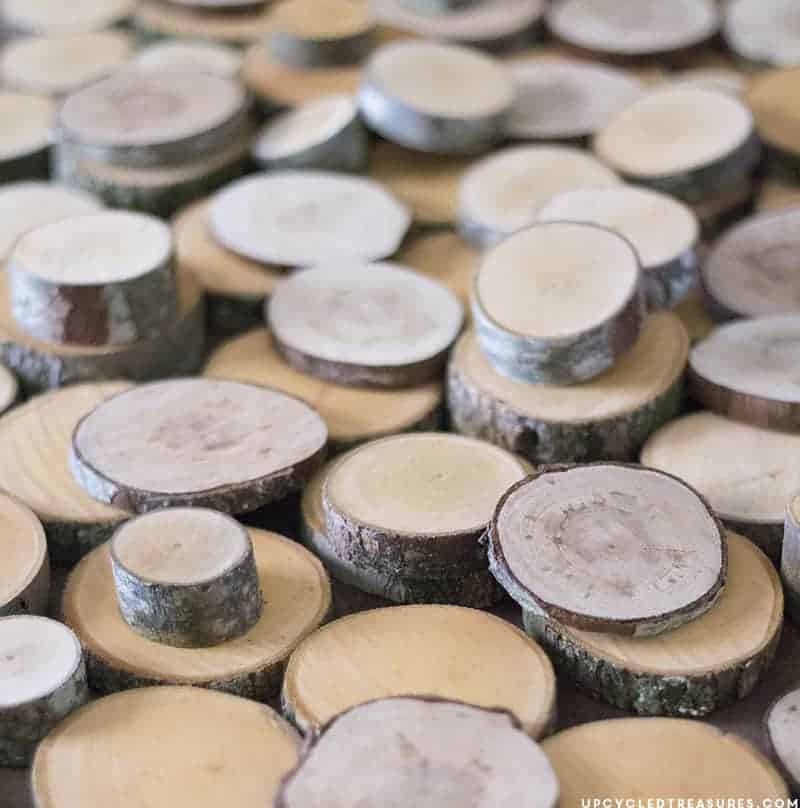
The first thing I did was slice up some of the branches using our Ryobi compound miter saw, creating a variety of sizes. Afterward, I baked them in the oven on low for about 20-30 minutes. This kills any critters {eeeew} and dries them out.
After that, I quickly went over the tops of the wood slices with 220 grit sandpaper. This was just to smooth them out a bit and make the paint go on easier.
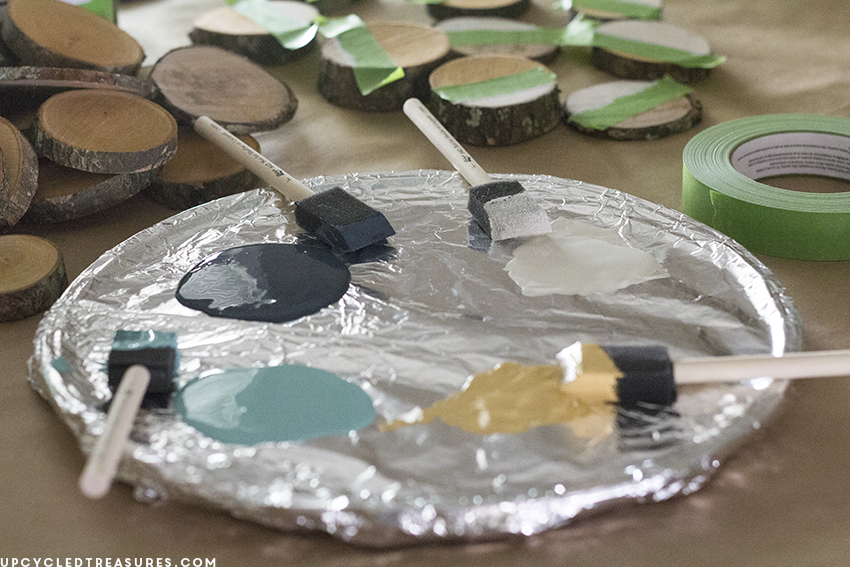
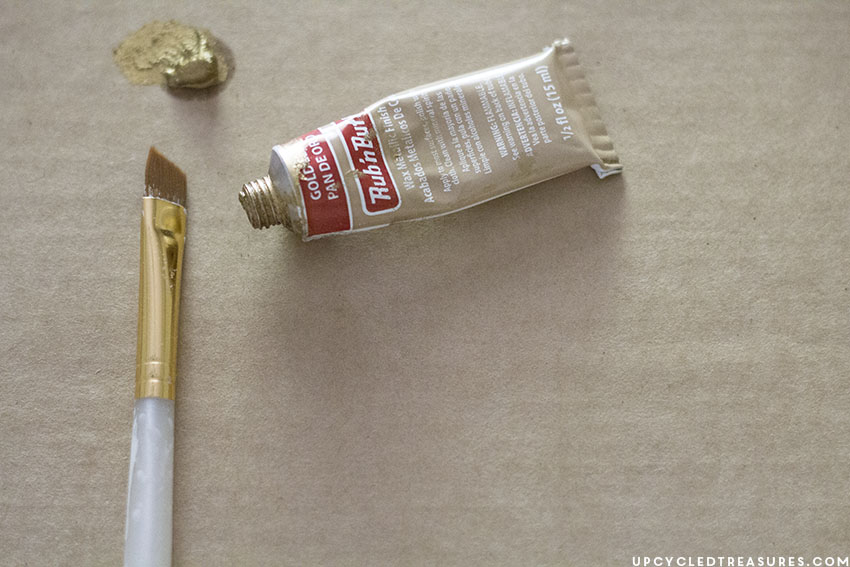
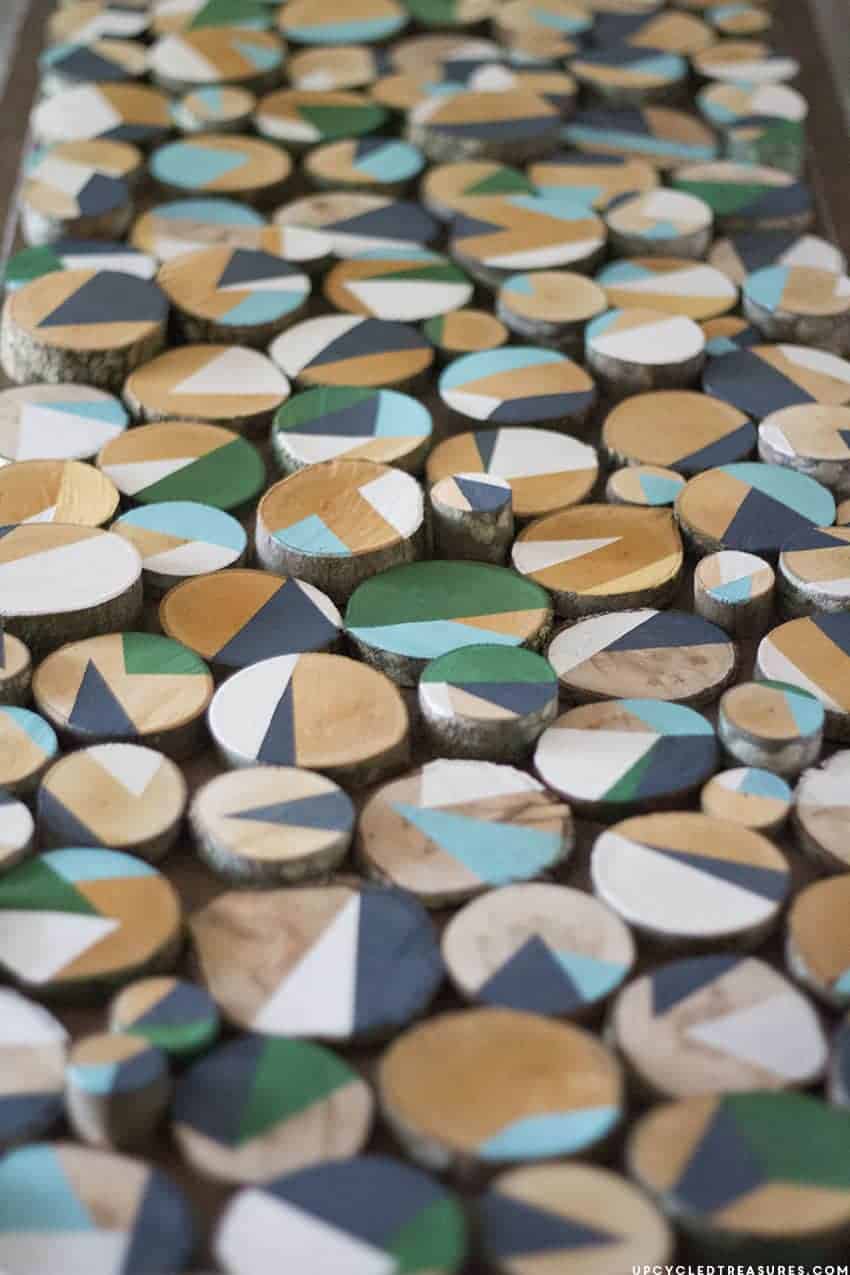
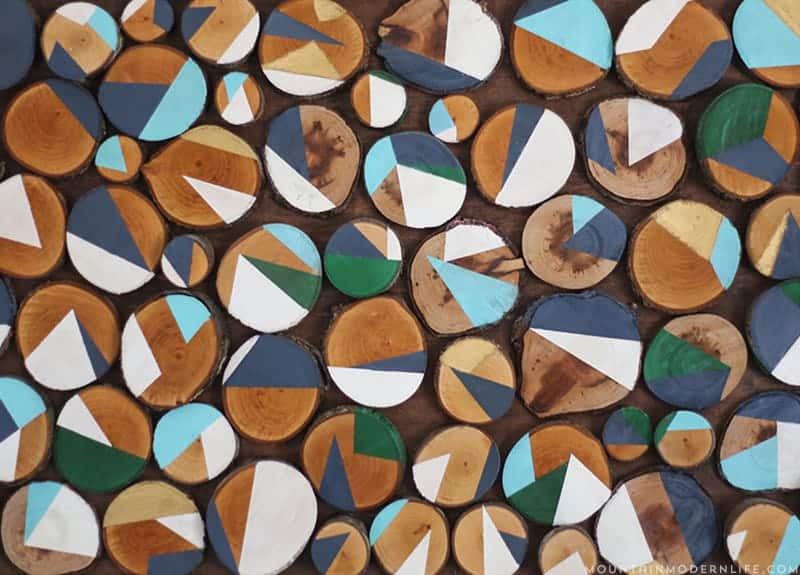
I then picked out a few different paint colors (a mix of acrylic and craft paints) and poured a little bit out on a plate covered with foil (for easy clean up). I used navy, turquoise, white and yellow. The yellow actually didn’t have enough contrast so I didn’t use much of it, and later went over those painted sections with some gold rub in buff.
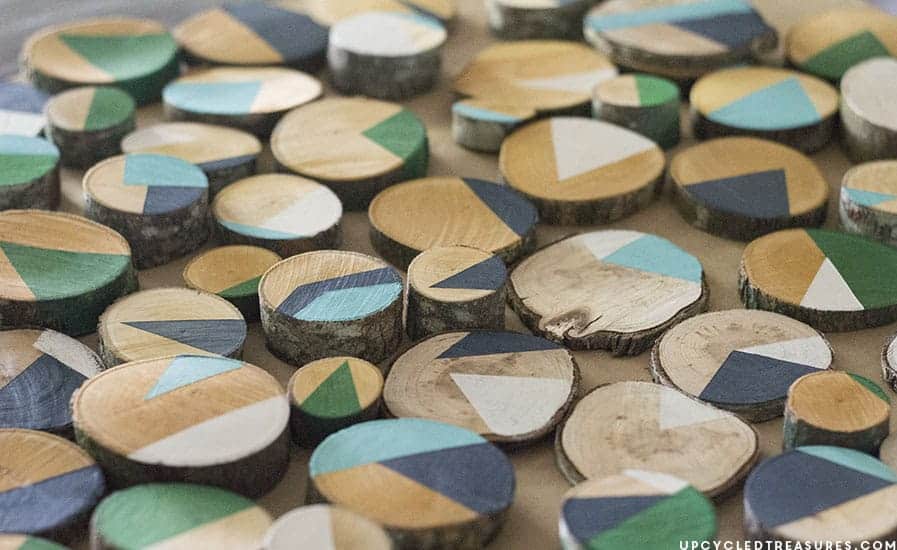
I also used some green spray paint on some of the wood slices so that some of the wood slices would tie into our DIY Mason Jar Chandelier.
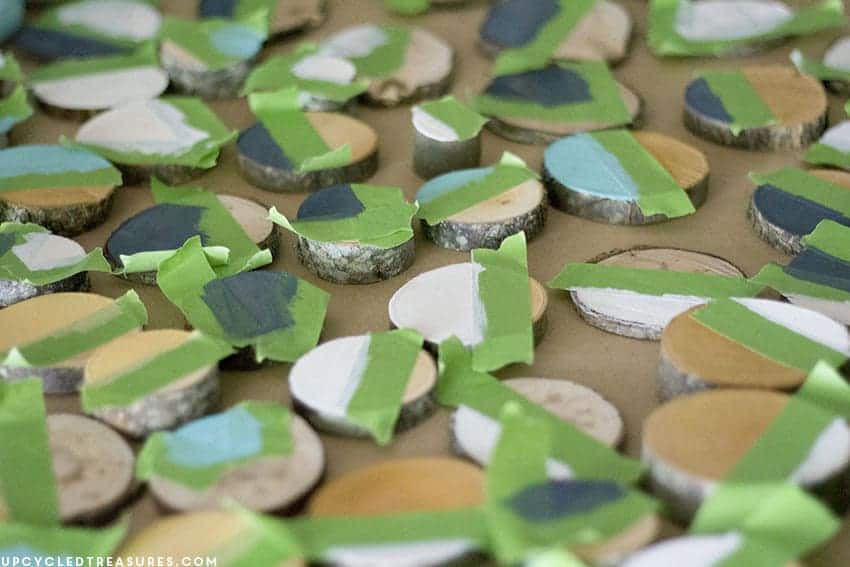
Once I had my paint and foam brushes ready I started taping off sections of the wood slices and then painting the slices. I would place one or two pieces of tape on the slice to create geometric shapes and then painted in the empty spaces.
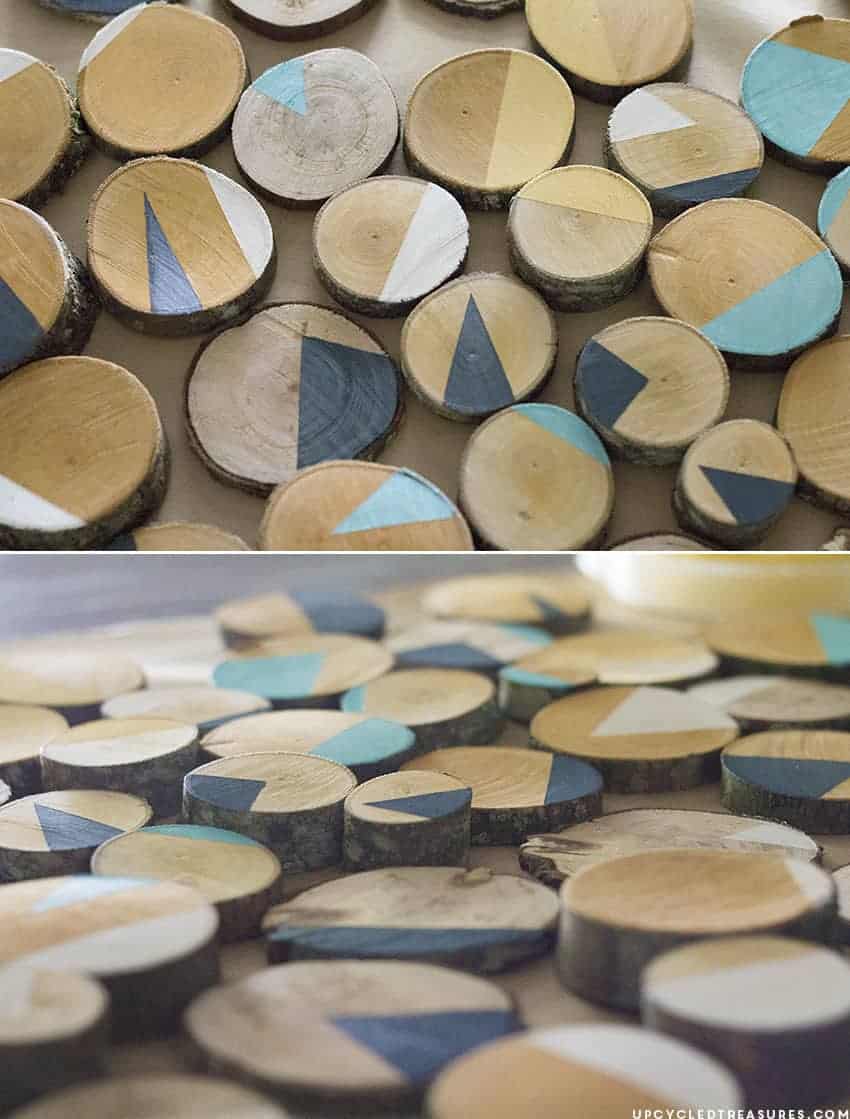
Once the slices were dry (within 10 minutes) I would remove the tape and then tape off another section of the wood slices to add another section of paint.
I continued to do this until I had a variety of colors and patterns on the slices.
Once my slices were all painted and dry I placed them on top of the plywood to figure out where I wanted each piece to go.
Since I was adding a frame to the plywood I drew a border 1 inches from the edge that I would want my wood slices to stay within. This is because I wanted to use my nailgun to attach the frame to the plywood.
You could always attach your frame and then glue the slices inside, but I decided to glue them down first. Before I glued them down I did place the frame on top to make sure everything lined up correctly though.
When I had all of my wood slices laid out how I wanted, I then used my glue gun on the high setting and began gluing the slices down one at a time.
Tip: Don’t use a glue gun.
I admit that I used the glue gun because I was impatient and wanted instant gratification, but I would recommend using something else like Liquid Nails, epoxy, wood glue, Super Glue, etc. It’s nice if you can use glue that allows a little more time to move the slices around if necessary, and will make them more permanent once dry.
The glue gun did work really great initially, but over time a few slices fell off and I had to superglue them back on.
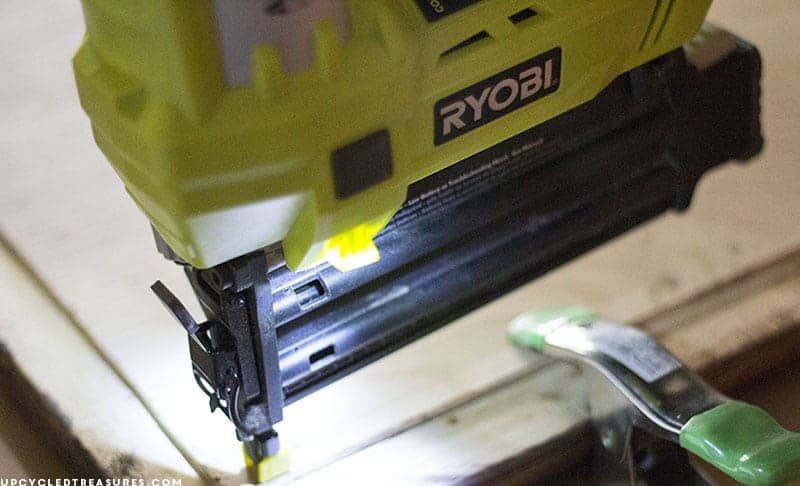
I then attached the frame using our Ryobi Airstrike and added some heavy duty picture hanging hardware with our drill.
After it was all finished I took it outside and gave it a couple of coats of clear acrylic sealer. By the way, if you use spray paint I highly recommend getting the Rust-Oleum spray can grip! It makes spray painting anything soooooooo much easier and sprays more evenly too. I <3 that thing!
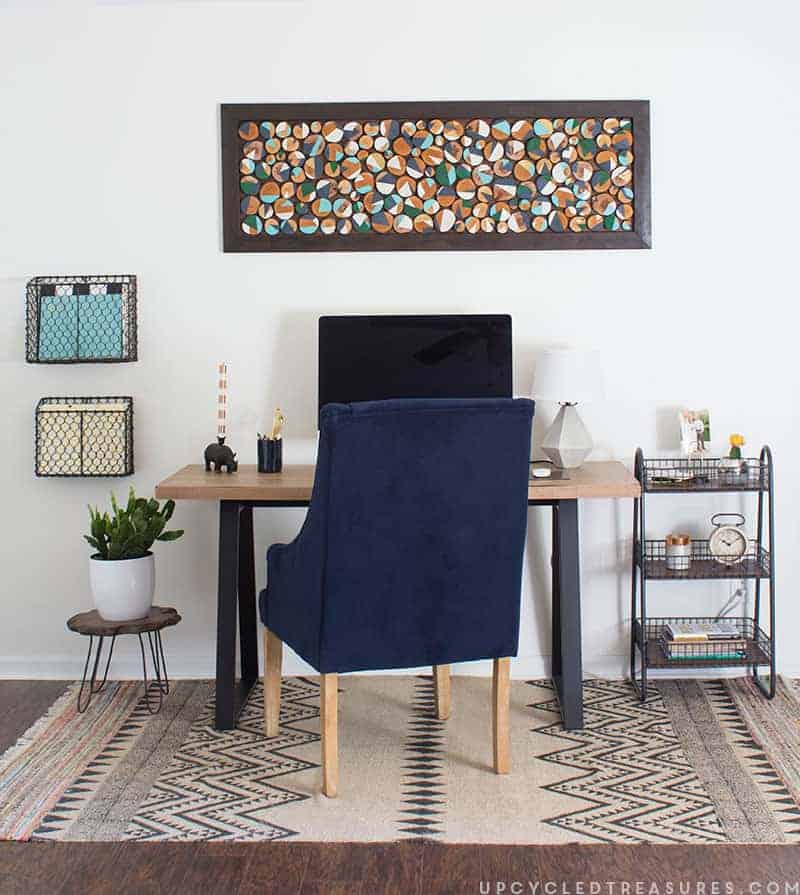
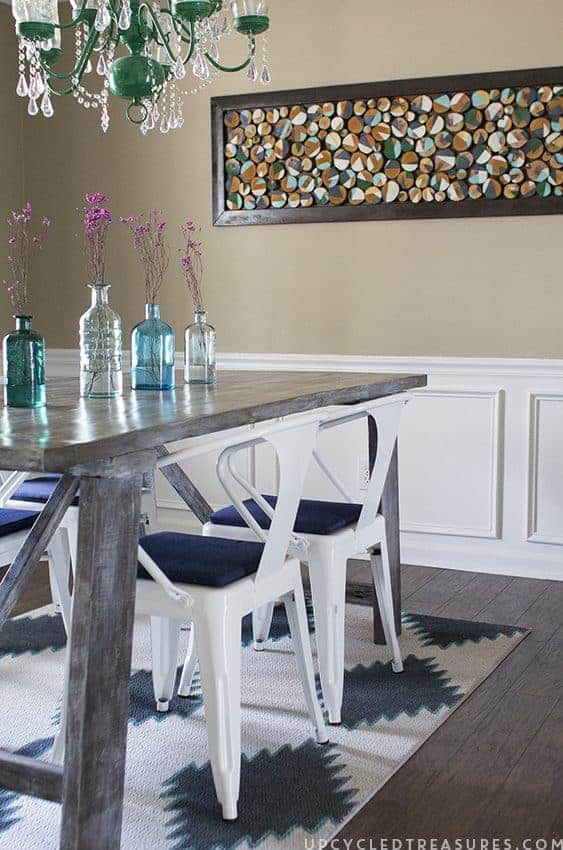
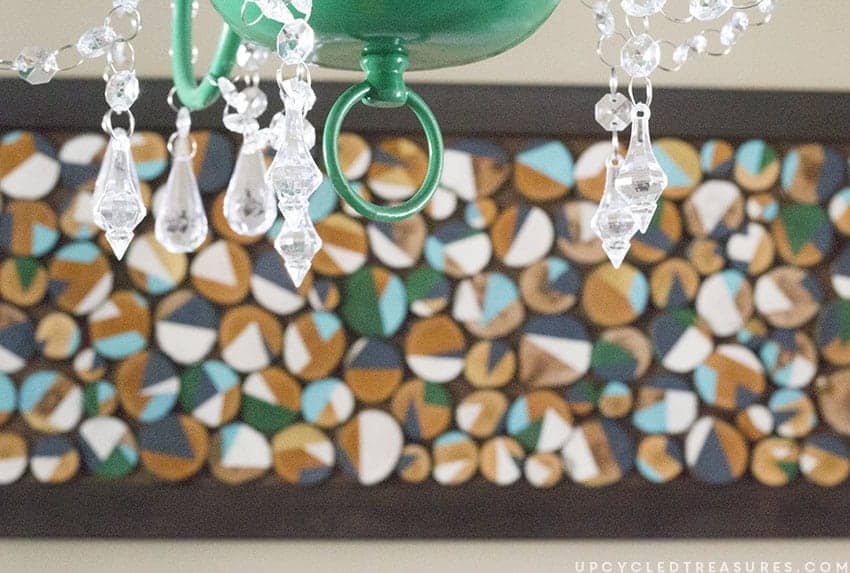
Here is my wood slice art all finished and hung up in our dining room:
I really love how simple and rustic it is and how it brings out some of the other colors in our dining room, like my painted rug and emerald chandelier.
Oh, and of course the leftover painted wood slices are being used for coasters.
Here’s an updated photo of the wood slice art in the office nook of our bedroom:
What creative ways have you reimagined branches or wood slices?



This is absolutely gorgeous Katie!! Now I wish I would have kept some limbs from a tree that we lost in the wind last year. So awesome, pinning!!
xoxo
Thanks Tanya! Yeah, I may get a little too excited whenever I see fallen branches in our yard, haha.
This is SERIOUSLY COOL!!! Such a brilliant idea and I LOVE, LOVE, LOVE the mix of rustic and modern!!! Brilliant Katie!!!
Thanks Kristi, I love all of your wood slice projects too!
Oh my word!! I LOVE this!! I want to do it in my own home 🙂 It will look great with the wooden candle sticks I just finished. I’ll be pinning this for later! Thanks for sharing!
-Lindi @ http://www.lovecreatecelebrate.com
You should, it’s sooooo easy and fun to customize. I’d love to see what you make!
This is such an amazing piece, Katie. So pretty and graphic!!
Thanks Krista! The colors are darker than I originally planned, but I love how it now works perfectly in our dining room 🙂
This is incredible, katie!! Such a unique and special piece of art 🙂
Thanks Breanna! I’ve been wanting to make wood slice art for soooooooo long but never had enough slices to pull it off, so this was the perfect opportunity 🙂
Wow! That is all I can say. I am in love with this piece of art. Your dining-room is amazing!
what a great fun look
come see us at http://shopannies.blogspot.com
wow, that is awesome. i love how you incorporated the colors to give it even more interest.
b
Thank You 🙂
How creative is this?!? Such a fun idea. It looks awesome in your room, too! Love it!
Thanks Katie!
Oh, wow! You are seriously amazing! I LOVE,LOVE,LOVE this project! I can’t wait to try some wood slice project myself! Hugs!
Thanks so much for the sweet words Aniko! Have a great week!
Love this project – beautiful, natural and creative! Pinned it.
<3 Christina @ I Gotta Create!
Wildly Original link party is open
This wood slice art looks wonderful! I’ve been struggling with what to hang on my dining room walls but this is a great idea!
Absolutely fantastic. Already I imagine how great it would be presented in my living room!
Hey Katie, love your piece. Just wondered if you have thought about possible breaks in the wood when it will dry out. I just had to cut a nut tree and cut it into slices to make some wall art, too. But the guy who helped me cutting it said that i would have to dry it slowly, waiting up to 1 year until i could use them without problems of breaking. What do you think? Is your work keeping as you built it? How long is it on the wall now?
Thanks for your suggestions!
Hi Jule, Generally speaking yes you would want the wood to dry out first which can take a looooooooong time. However, after doing some research I had read that you can dry out the wood {for smaller pieces anyway} in your oven or microwave. Although this wouldn’t necessarily work with large pieces of wood, it seems to work just fine with smaller pieces like the slices.
I basically just set the oven to the lowest setting and place a bunch of slices on some foil and a baking pan. I then flip them over every 10 minutes and do this for about 30-40 minutes – depending on how wet the wood is. If you notice the wood starting to warp or crack then the oven is either too hot or they are in there too long.
I now have this hanging in our bedroom and haven’t noticed any cracks occurring in the slices. The biggest mistake I made was using the glue gun to attach them, because some randomly have fallen off and I then had to reattach them with super glue, but I mention all of that in the post 🙂
Hope that helps!
~Katie
This is really good, katie!! Such a unique and special piece of art 🙂
Beautiful
Natural
Creative
It’s just superb!!
Kudos
Hi, I wanted to know what kind of paint you used on your wood slices.
I used a random assortment of acrylic, chalk and craft paints I had. Basically whatever I had on hand 🙂
I love your art piece. What kind of glue did you use on the back of your wood
I believe I wrote somewhere in the post that I originally used my glue gun but over time a few of the slices fell off so I re-glued them with super glue. As long as you use a stronger adhesive that can be used on wood you should be good. Hope that helps 🙂