How to Make Cork Bark Wall Planters
This post was originally published in 2019 but updated in 2021, although we are no longer full-time RVing. Disclaimer: This post may contain affiliate links, meaning, if you click through and make a purchase we (or those featured in this post) may earn a commission at no additional cost to you. View our full-disclosure here.
I love plants, but sadly I’ve sent more to the graveyard than I’d like to admit.
And sure I could blame my cat, Duckie, for thinking my plants are his salad bar, but I’ve also had my fair share of overwatering/underwatering/not enough sun, too much sun, or just straight up neglecting them.
Or losing plants due to DIY cat-repellant concoctions that killed the plant before my cat could.
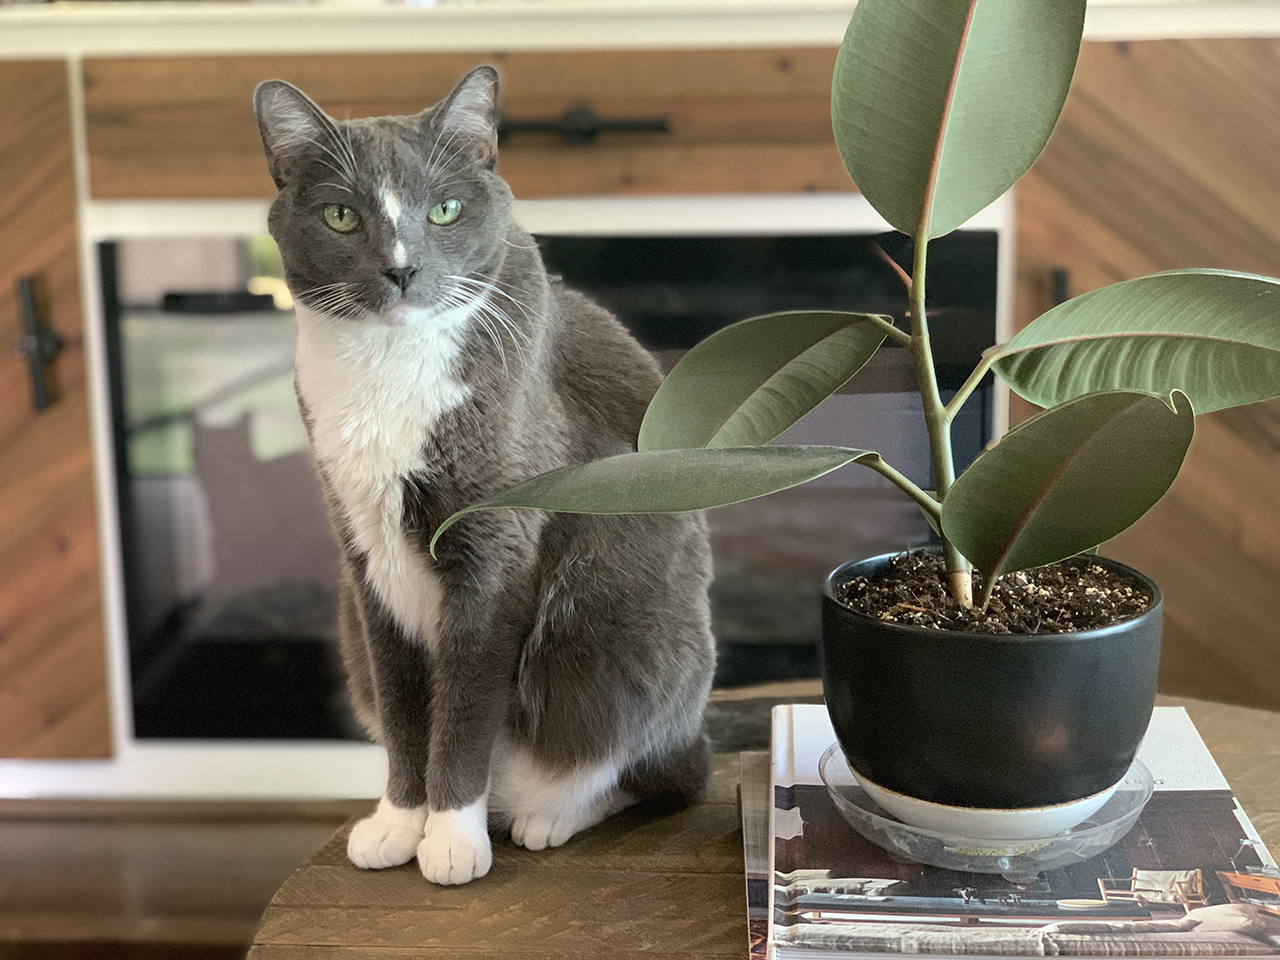
The problem isn’t even Duckie nibbling on my (non-poisonous) plants, but that he does it in the middle of the night when I’m asleep.
And then he throws up.
On my rugs.. or cozy throw blankets… or just about anywhere else that’s inconvenient or annoying to clean.
Yet this doesn’t prevent me from browsing nurseries and bringing home more plants (Sorry Eric!).
And I’ve tried faux plants over the years and do have some faux greenery sprinkled about, but for me, it’s more about bringing life into our RV.
I struggled with keeping plants alive in our previous house, but traveling in the RV has only created additional challenges – hello humidity.
And it doesn’t help that we don’t have a ton of vertical space in our RV that Duckie can’t reach.
With that said, I’d like to think I’ve made progress in my plant-care abilities. Not only have I learned which plants thrive in our tiny home on wheels, but which plants Duckie is likely to stay away from. While snake plants and cacti have held up great in our tiny home on wheels, it’s Spring and I’m longing for leafier, lush, green plants.
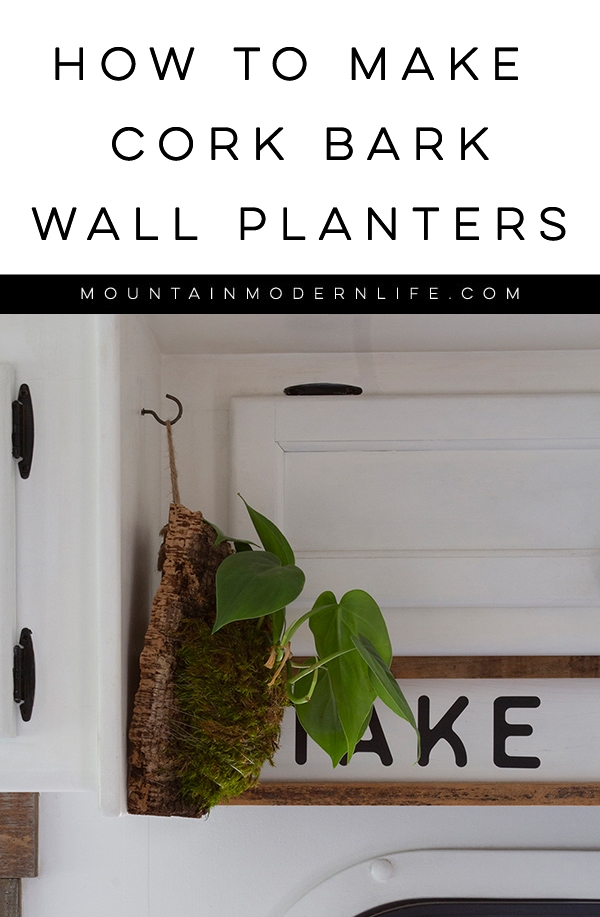
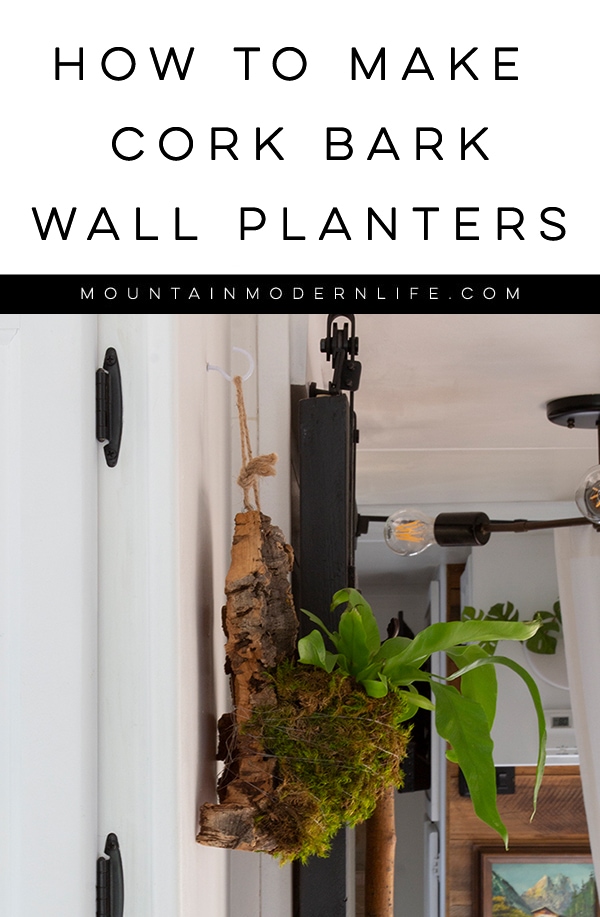
So today I’m sharing how to make hanging wood planters using cork bark, driftwood, or any other wood board you can find or have on hand.
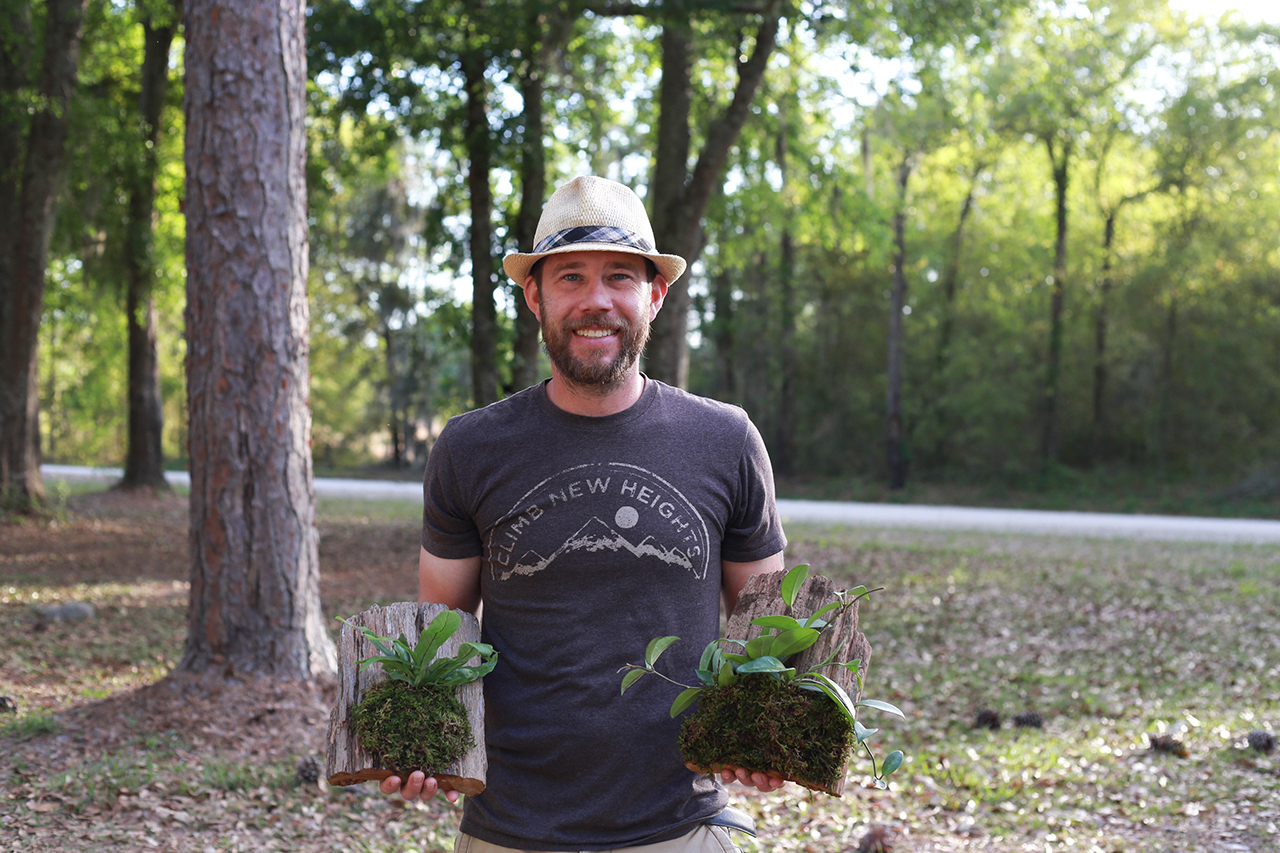
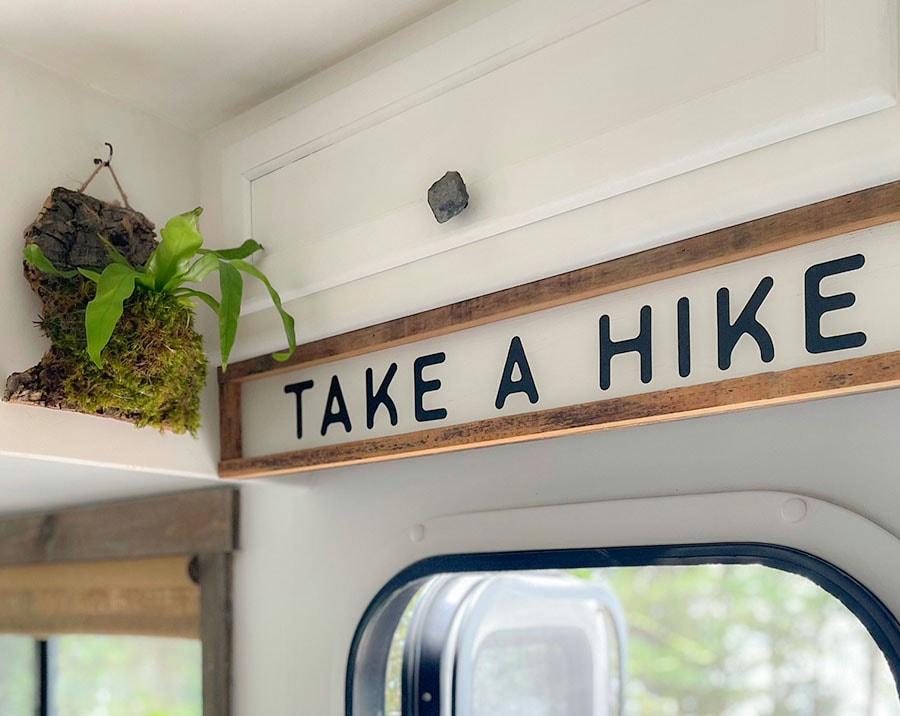
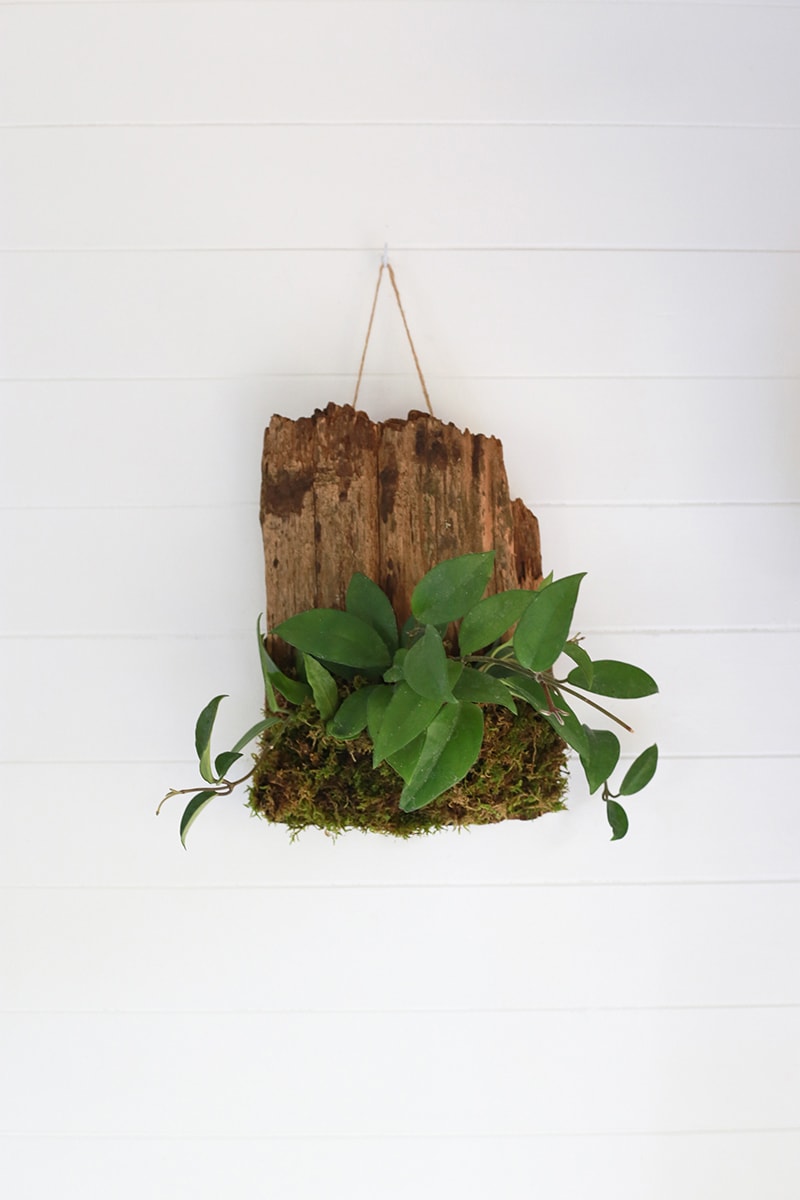
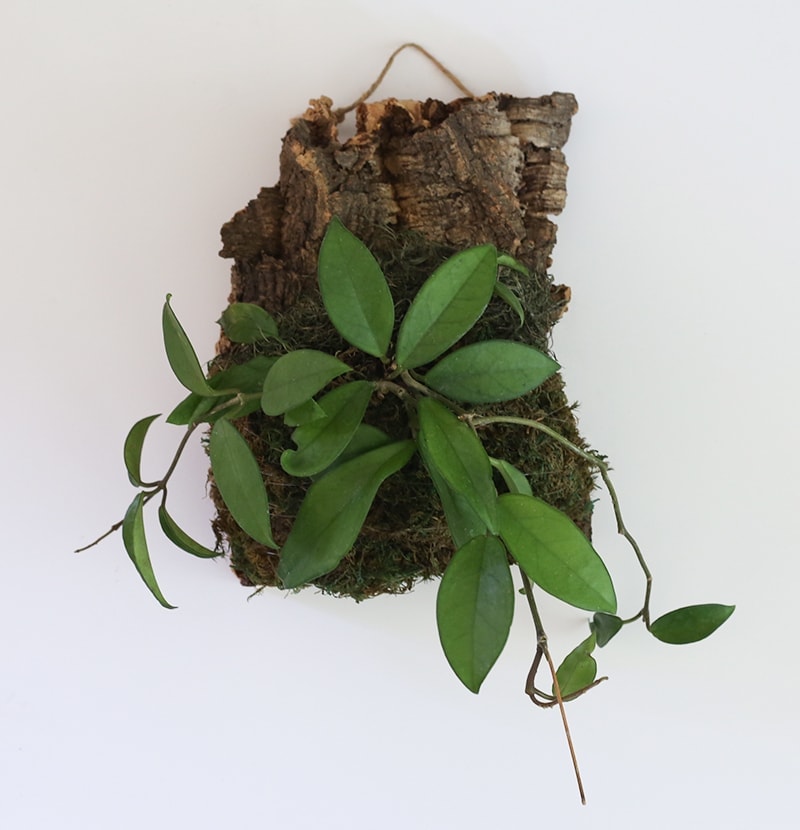
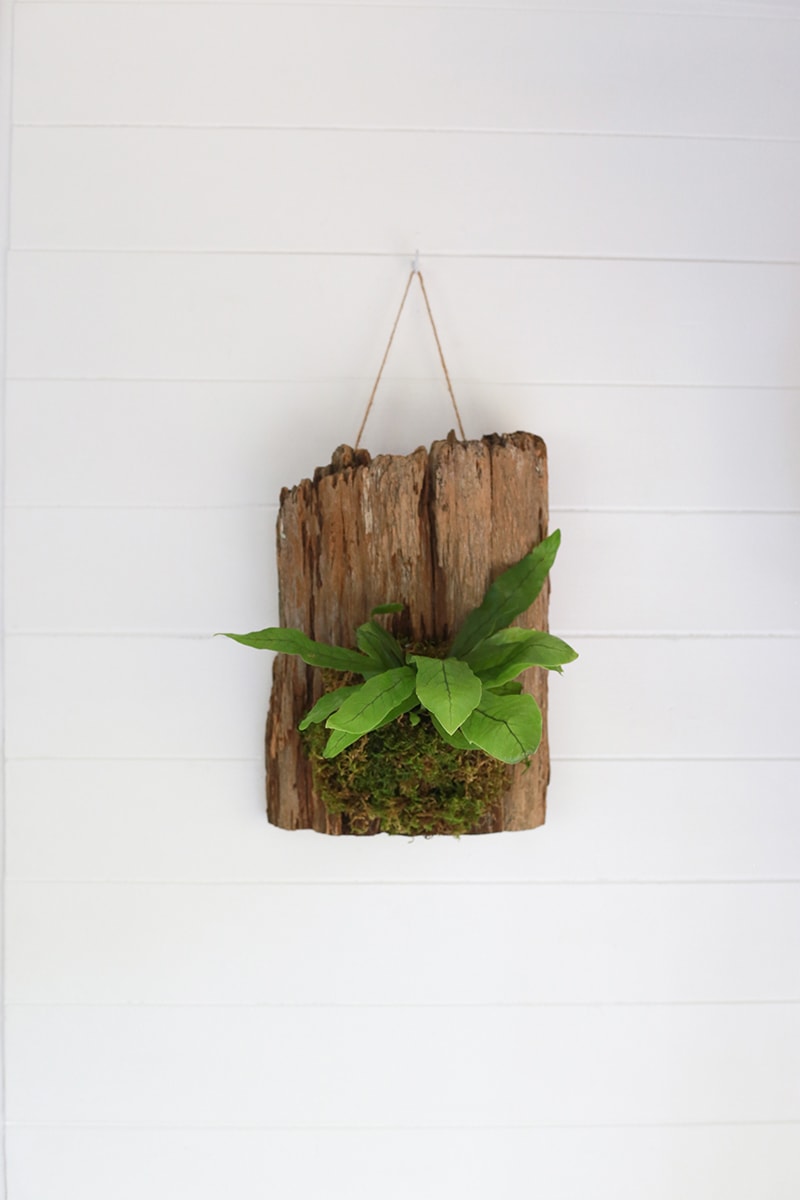
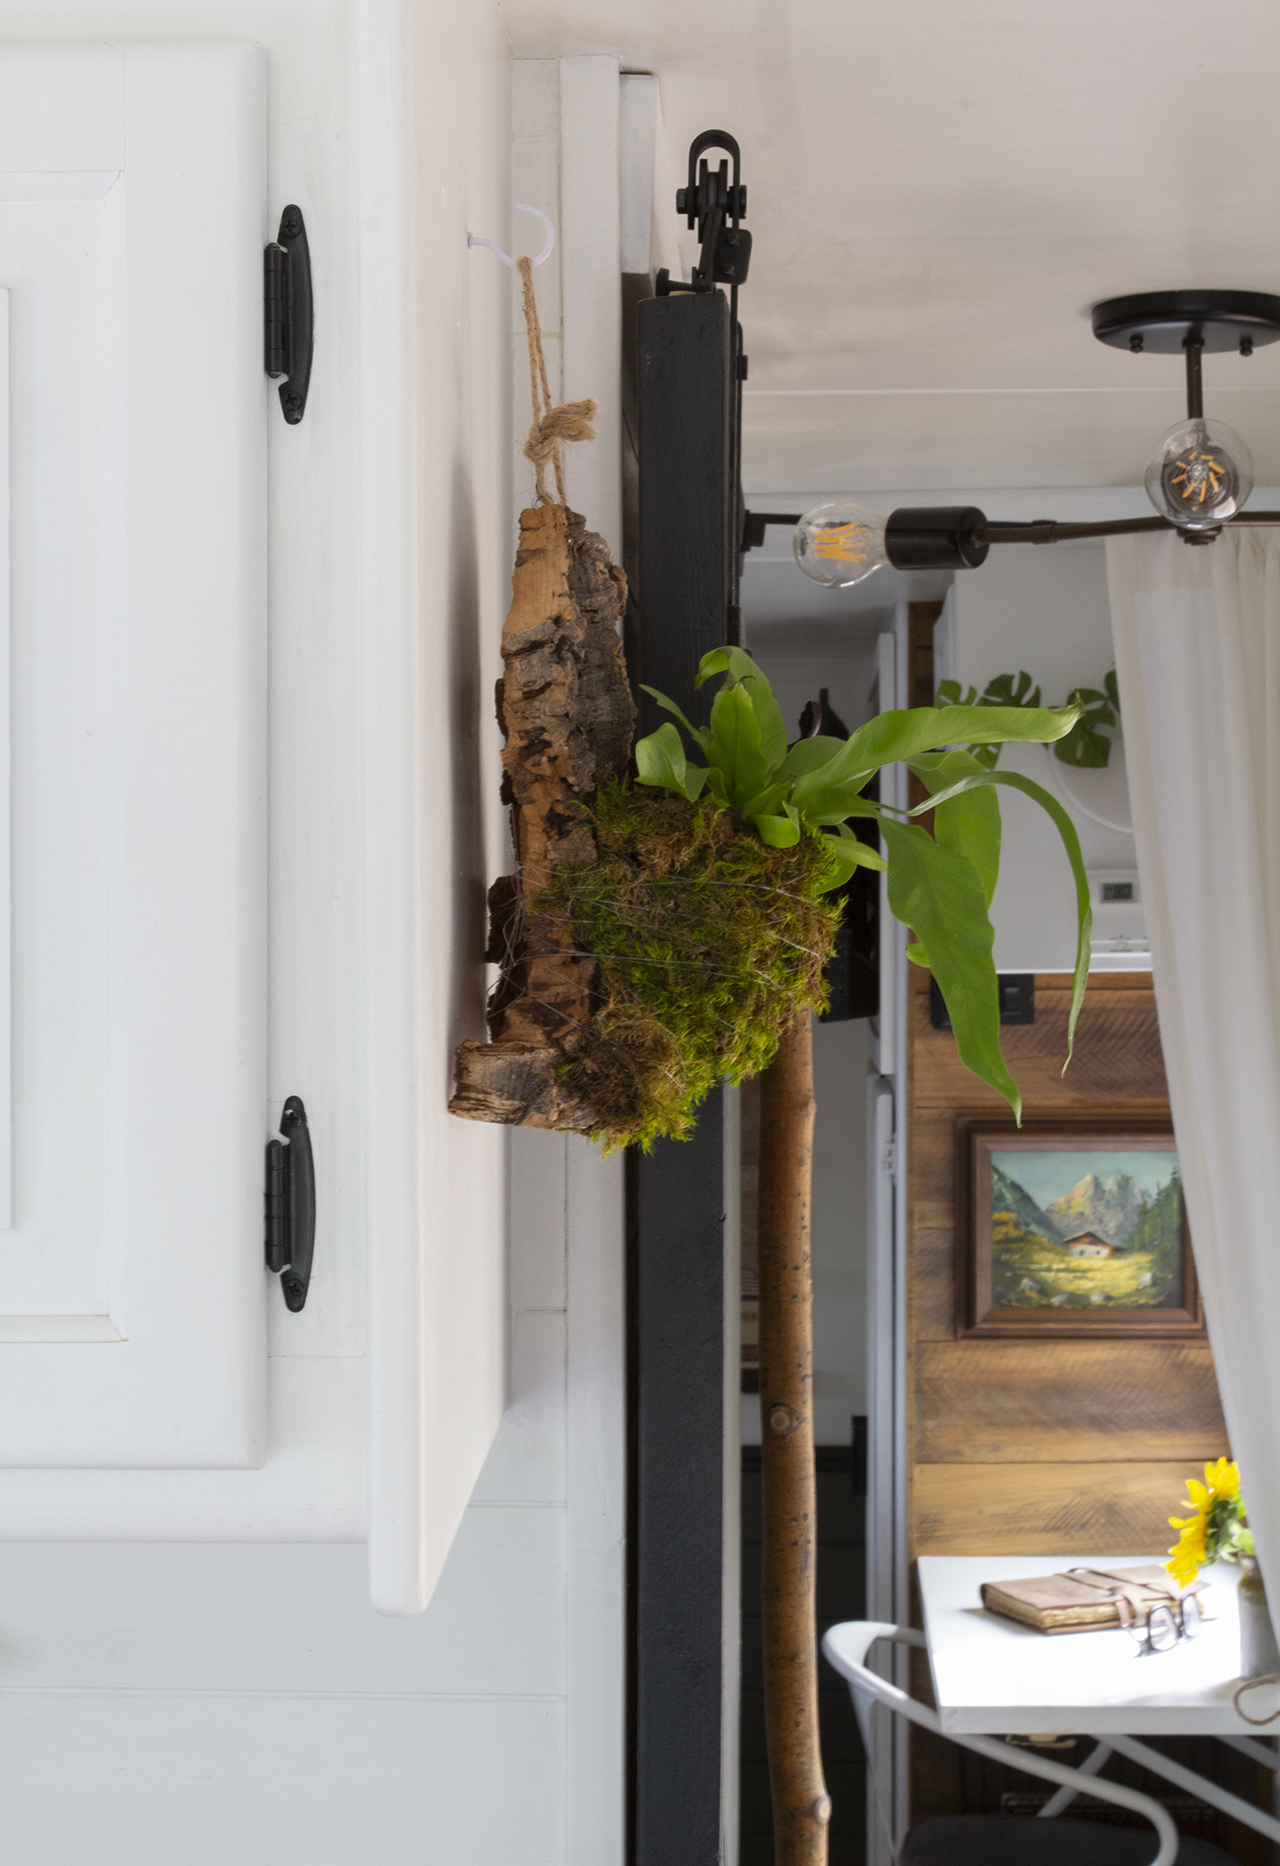
The photo above shows Eric holding a Hoya and Crocodile fern (Crocodyllus) mounted to a piece of cypress driftwood, and the one below is a bird’s nest mounted to a cork bark flat.
Side Note for pet owners: I guess this is a good place to mention several plants are poisonous to cats, so please be cautious when adding plants to your home or make sure they are out of reach. And also use caution when making DIY cat repellants as some essential oils can be dangerous for pets. Do your research and use your best judgment.
DIY Cork Bark Wall Planters
Not only are these cork bark planters perfect for tiny living, but they create beautiful, living wall art, can help purify the air, and are a great option for keeping nibbling pets away.
So if you’ve ever wondered how to hang plants from a piece of wood or cork bark, I’m here to guide you along the way. It’s so simple!
In fact, the first time we attempted this project, we shot a video of the process to show just how easy it is, which you can watch below. What you see in the video are Eric’s very first wall-mounted plants and I think they turned out awesome! I use a more simplified method since we shot the video (Eric still prefers the first), but will share my version further below.
Watch the video for Eric’s favorite DIY hanging wood planter method:
His way vs. My Way
I’ll admit that after making the first two cork bark planters, I skipped most of these steps and sorta just winged it. It works both ways, so it comes down to preference… and patience.
With that said, Eric shares his favorite method in the video above, and I’ll share mine below. I figure this way you can choose the method that works best for you.
Eric’s method involves tracing a circular object onto your wood and adding screws, which he then zig-zagged the fishing line around to help keep the plant and moss in place. He likes to follow specific instructions and thought the planter looked more “finished” this way. If you
I, on the other hand, saw this as the perfect opportunity to get messy, play around, and sorta see what happens. I prefer the less structured, simplified, and more organic vibe of these planters.
Feel free to try either method or find a different method that works best for you.
Supplies/Tools
Here are the supplies you’ll need to create your own hanging wood planters:
- Epiphyte Plant such as Staghorn Ferns, Pothos, Bird’s Nest, Hoyas, etc.
- New or Salvaged piece of wood – my favorite is Cork Bark/Cork Bark Flats
- Hanging Hardware – we used eye-hooks and twine
- Sphagnum Moss
- Container with water
- Fishing Line (or twine)
- Scissors
The items below are optional and only needed if you choose to follow the method in the video.
- Screwdriver and screws
- Circular Object (about the size of the plant)
- Pencil
Step 1: Choose your Plant (tip: pick an epiphyte!)
First off, the best plants to use for this project are epiphytes, also known as Air Plants. Whenever I heard the term “Air Plant” I always thought of these guys…
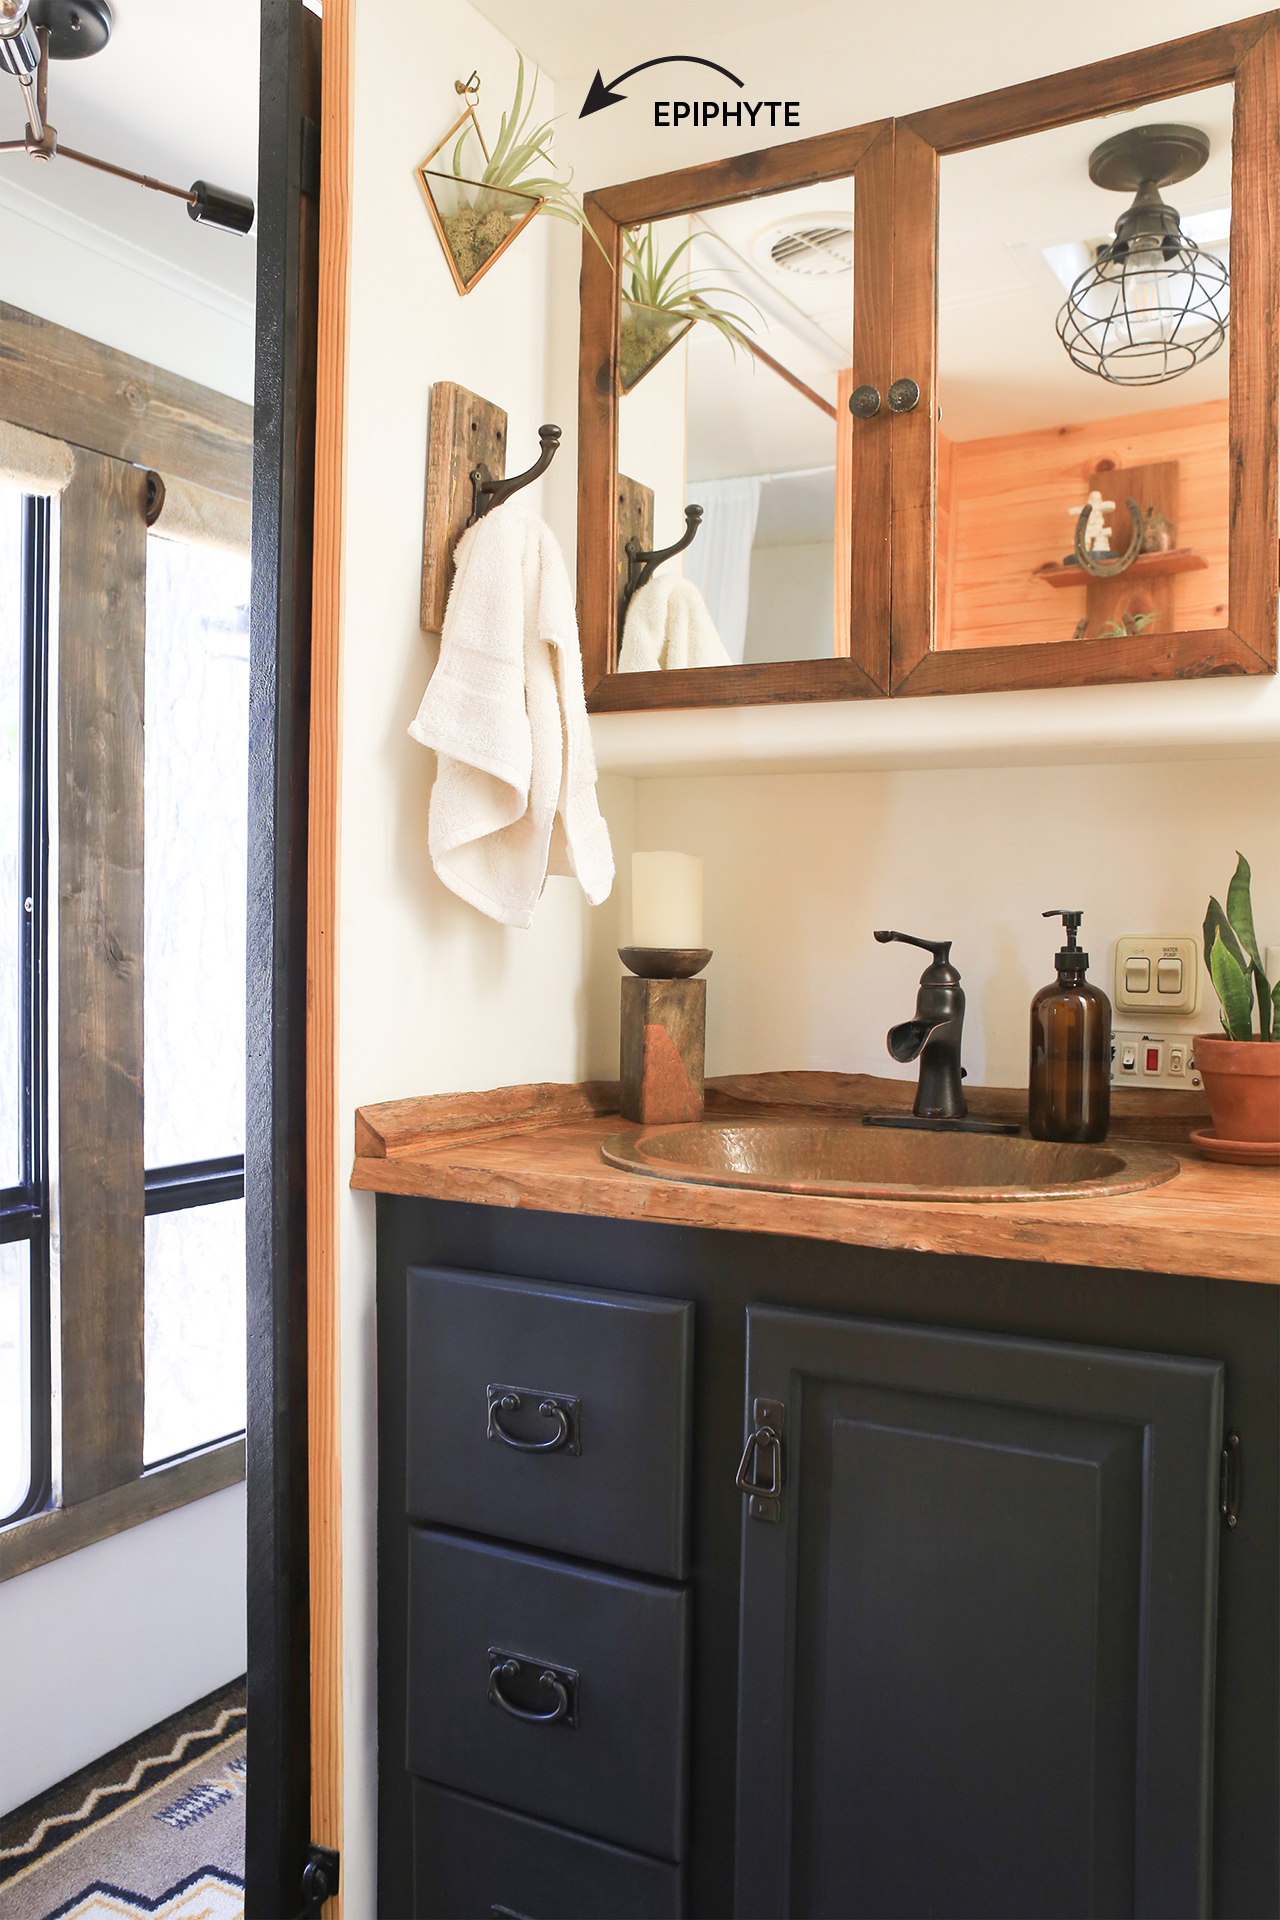
Turns, out there are over 22,000 different varieties of Air Plants!
So what are epiphytes? The short answer is they are plants that are able to gain their moisture and nutrients via the air rather than from the soil. You can often find them growing on the side of a tree trunk, branch, or rock. They also help purify the air.
Some examples are ferns, orchids, a variety of cacti, philodendron, etc. Some of my favorites are staghorn ferns, hoyas, pothos, and bird’s nest. If you’re unsure about a specific plant, you can always ask Uncle Google “Is (xyx plant) an epiphyte?” and you should be able to find the answer.
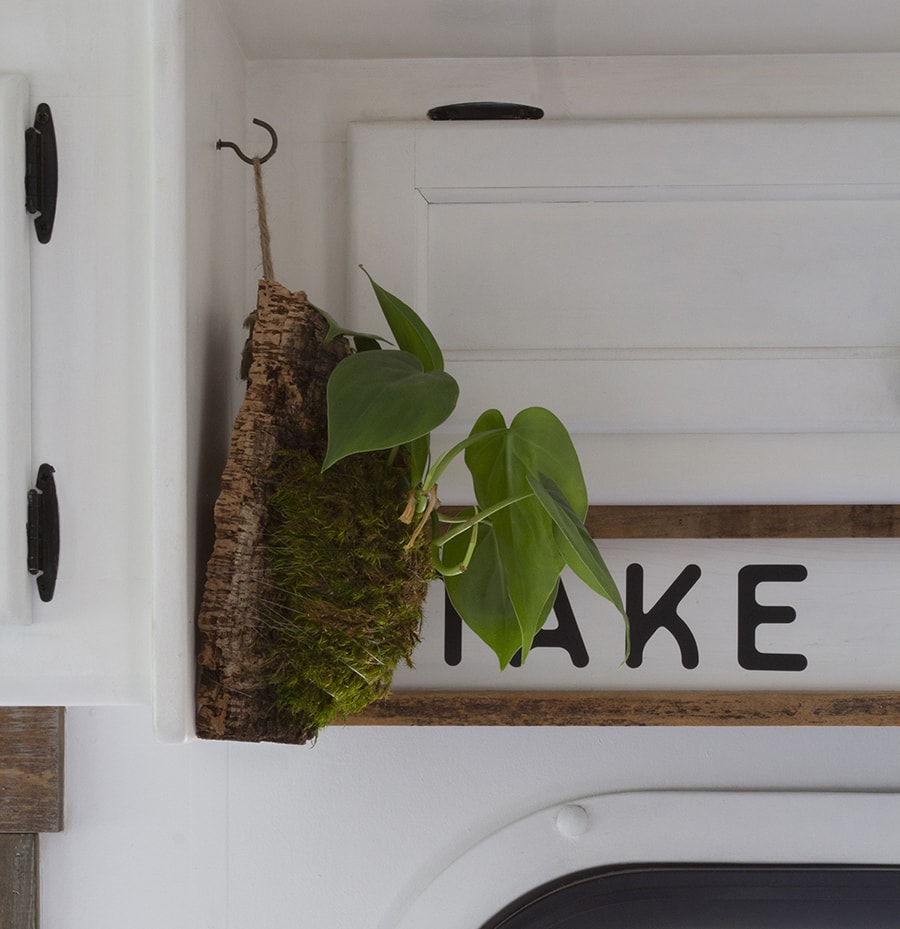
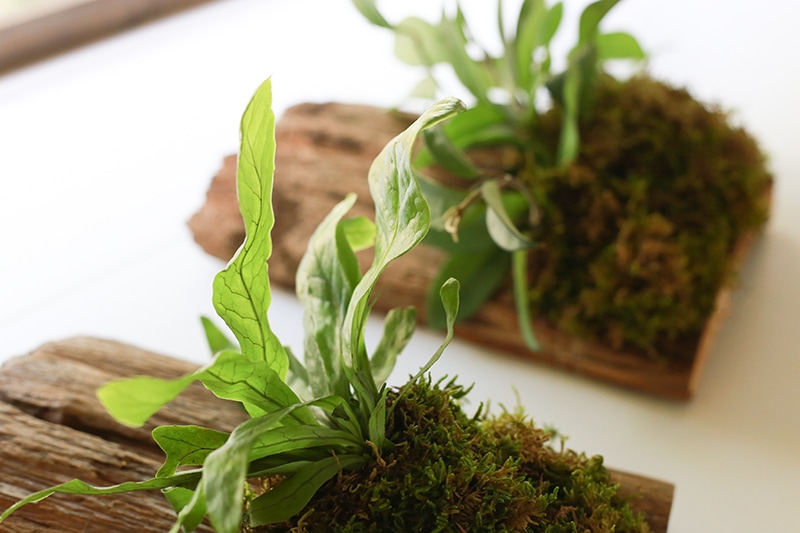
Here are a few more photos of the finished planters so you get a better sense of what we’re making here:
Side note: We used a Crocodylus plant in the video but didn’t realize they can be a little trickier to keep alive, probably not the best option for us since we are far from having a green thumb. It didn’t do too well in our RV and we ended up replacing it with a Bird’s Nest plant, which has done amazing and is supposed to be one of the easiest plants to take care of. So if you’re looking for an easy, leafy epiphyte to mount, go with a Bird’s Nest! Hoyas and pothos have done really well too!
Step 2: Pick out your wood (cork bark flats are my favorite!)
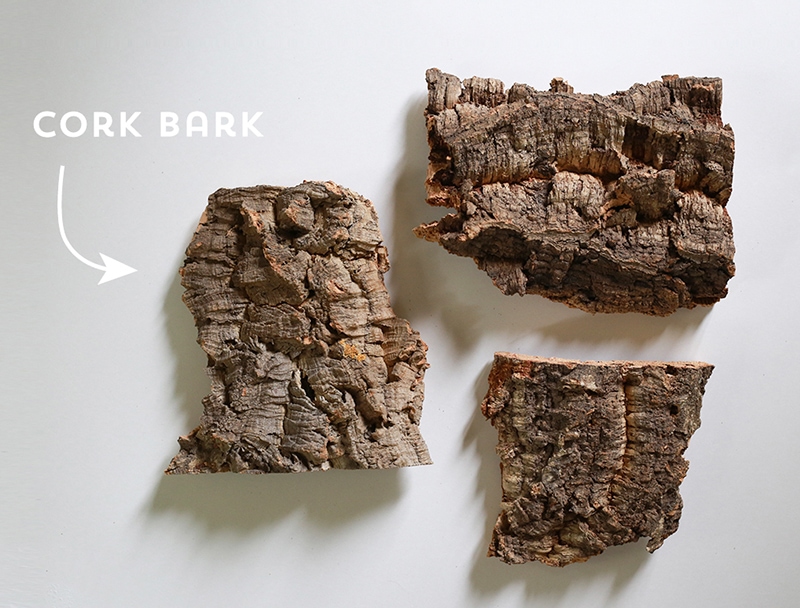
I’m now OBSESSED with cork bark flats! I didn’t even know they existed until I started researching materials for this project.
Cork comes from Cork Oak Trees and just like the board, the bark is super light and spongy and easy to work with.
I struggled with finding them locally because the local nurseries didn’t carry them, and while you can sometimes find them at pet supply stores near the reptile supplies, I didn’t have such luck.
I was too impatient or order online so I drove to a bunch of nurseries anyway and eventually found some near the orchid supplies. What’s funny is I found them at a nursery I had called that told me they didn’t know what I was talking about. Go Figure.
Of course, these were found after we shot the video, so in the video, you can see we used cypress driftwood, which I think worked well too. I just prefer the look of the cork bark.
With that said you can find Cork Bark/Cork Bark Flats on Amazon or from other online retailers.
Step 3: Attach Hanging Hardware
The main reason you want to do this first is that it’s easier to do before you attach the plant. In the video, you’ll notice we used actual hanging hardware (D-Hooks) for one of the planters, but then tied some twine around it because we wanted to have the planter hang from the twine. For the rest of the planters, we ended up using eye hooks and twine which was sooooo much easier, and what I recommend. I also noticed the eye hooks were super easy to twist into the cork bark or driftwood we had.
Step 4: Remove your plant from the pot and dip it into a container of water
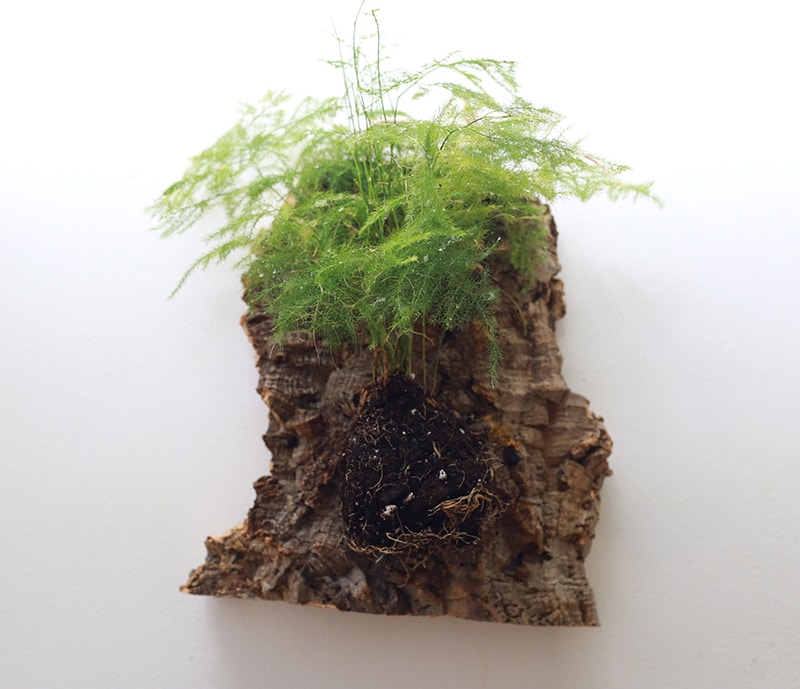
Remove your plant from the pot it’s in and dip it into a container of water. You’re going to dip it in the water a few times to remove some of the dirt from the roots, which will make it easier to work with. You don’t want to remove all of the dirt, just some of it to make it easier to work with.
Step 5: Position the Plant onto the Piece of Wood and Add Moss
Set your plant onto the wood, until you have it where you want it. Then take some of your moss and place it inside a container of water. You want the moss to soak up the water, then squeeze it out. This makes it easier to work with and will help add water to the plant. I recommend having this setup and ready to go before you begin the project. This way the moss has a couple of minutes to soak up the water.
Spread the moss on top of and around the roots until you get the look you want.
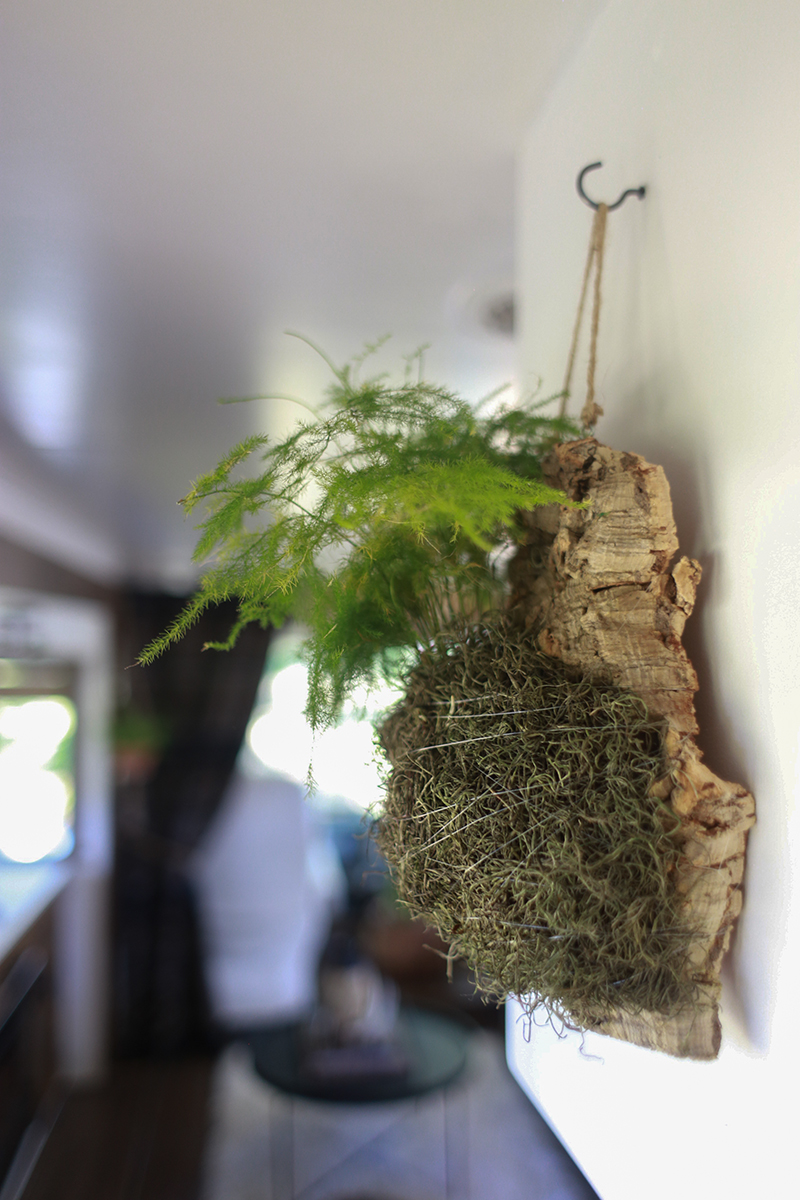
We’ve used preserved moss and Spanish natural moss (as seen in the photo below), just depending on what was available and convenient at the time, but any sphagnum moss will do. After making several of these I have to say my favorite is the green mood moss because it comes in small thicker sheets and feels enchanting and lively.
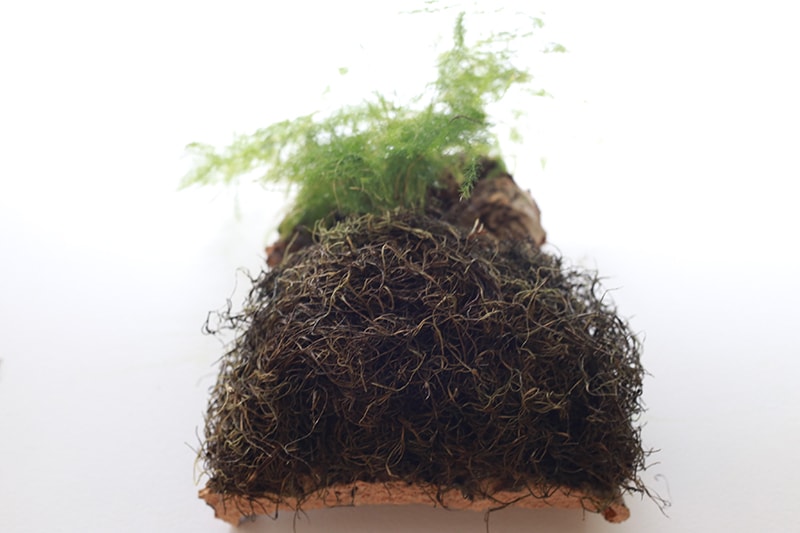
Step 6: Wind Fishing Line around the Roots/Moss to the Wood to Secure it
If you watch the video above, you’ll notice Eric made a version of this simplified planter and first wrapped the fishing line around the piece of wood, tied it off, then slid the roots underneath it. This is probably a good idea, but I’ve skipped it for all of my planters and instead just put the moss directly on top of the roots, and then wrapped the fishing line around the moss, which in turn has held the roots in place.
To do it this way I simply tie a knot on the side or back of the board (triple-knotted), then continue to wrap the fishing line around and around the board until the moss looks nice and secure, but not too tight where the leaves or roots look suffocated if that makes sense. You can gently move any leaves out of the way as you continue to wrap the fishing line around the moss. Then tie it back off once you feel good about the amount of fishing line used. You can also go in and tuck extra moss around any areas or make adjustments as needed.
I’ll admit I use quite a bit of fishing line, but you can’t really see it unless you get super close, and even then, the moss covers a decent amount of it as it dries. And while you can see it on the side, you can always tuck extra moss under and around it to hide it more.
I recommend letting the planter lay flat while the moss dries, which will then make the fishing line more taught.
You’re done, woo-hoo!
Although once you finish one you’ll probably want to tackle another. It’s fun and the planters are so darn cute!
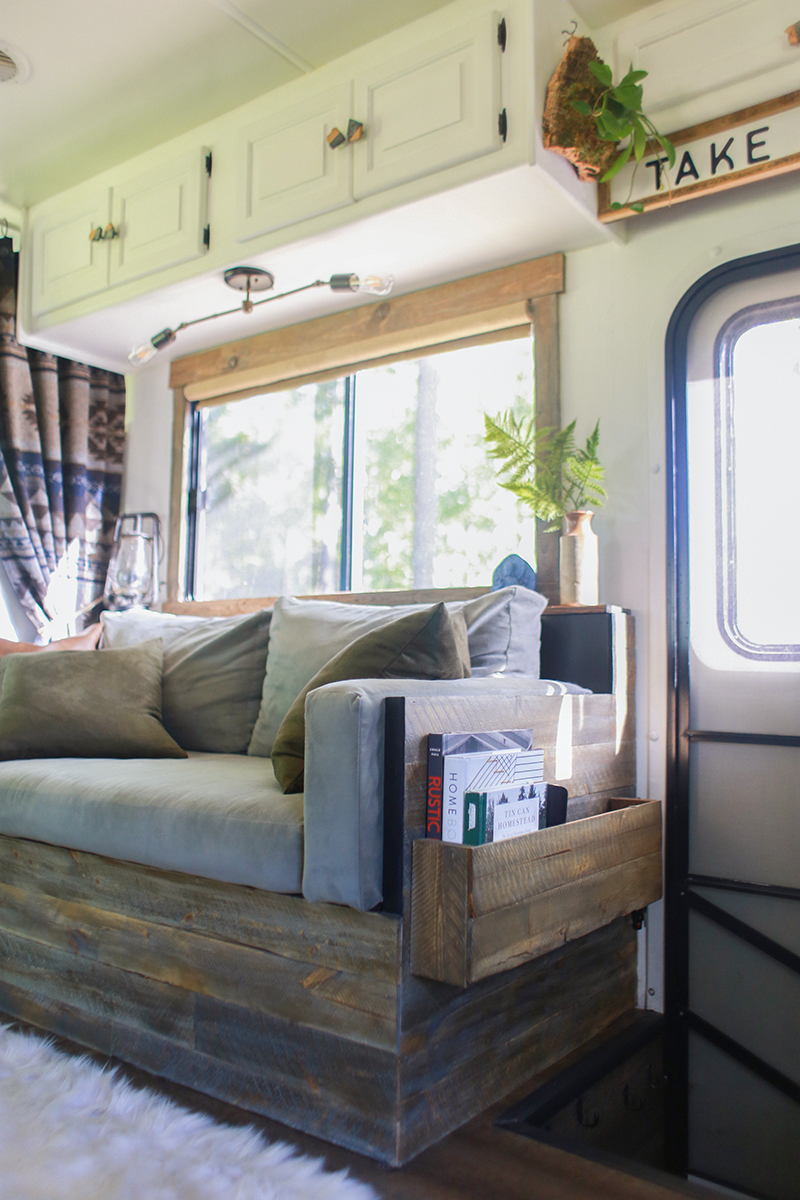
Here are some additional photos of the hanging wood planters we’ve created throughout our RV over the years.
The asparagus fern above didn’t too well so I went back to hoyas, pothos, and bird’s nests.
How to water cork bark planters:
When it’s time to water your plant, submerge the entire mount in water for 20-30 minutes and let it dry before hanging it back up. You can also spritz it with a water bottle throughout the week. Keep in mind that watering guidelines vary depending on the type of plant used and the season, so do your research!
Additional Resources
Here are some of the resources we used for this project:
- Gardening Know How | Learn more about Epiphyte Plants
- Video: How to Make a Cork Mount Bromeliad from Josh’s Frogs
- The Fresh Exchange | DIY Mounting Staghorn Fern
- Vintage Revivals | How to Mount a Staghorn Fern
Where to purchase pre-made options:
If you’d rather buy than DIY be sure to visit Pistils Nursery as they have some of the most beautiful cork-mounted plant options!

Love the wall mounts. I plan to make some of my very own. Also, some for gifts for friends
Tanks so much