UPDATE: All new featured RV tours will be posted on my other website, Wanderful RV Interiors. Existing tours will slowly be moved to the new website, and anything already moved will automatically redirect.
Disclaimer: This post may contain affiliate links, meaning, if you click through and make a purchase we (or those featured in this post) may earn a commission at no additional cost to you. View our full-disclosure here.
When it comes to planning a kitchen renovation it’s important to keep in mind how each decision impacts the next.
This is especially true when it comes to choosing a countertop that complements your kitchen cabinets.
Black counters not only add depth and warmth to a kitchen but they make a bold statement. I personally prefer the matte finish when paired with reclaimed wood cabinets for a modern rustic vibe.
My obsession with black kitchen countertops only grew when I came across the photo below.
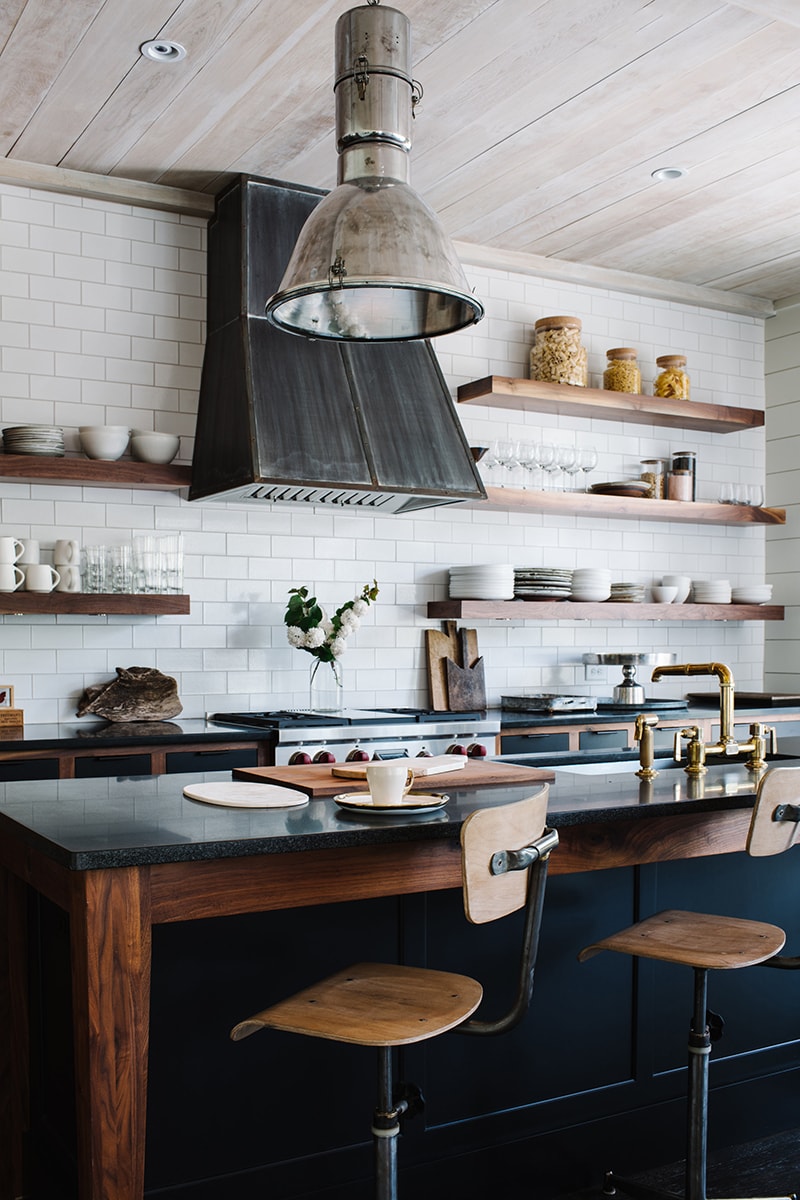
I know black counters may not be everyone’s cup of tea but I hope this post will help you decide if they’re the right option for you, regardless of the material you use and whether or not you go the DIY route.
Backstory
During our RV remodel I originally wanted to use reclaimed wood for the lower kitchen cabinets, but ultimately decided to use the existing cabinets and paint them black instead. We then decided to go with butcher block countertops to bring in a natural element and create some contrast.
While the cabinets and counters looked great, I never stopped thinking about how reclaimed cabinets would add history and character to our tiny home on wheels.
When in doubt, follow your gut.
After swinging through a salvage lumberyard last September, I was finally able to convince Eric it was time to make the change.
There was just one caveat, I knew our wood countertops may clash once the new cabinets were installed, meaning they may need to be updated as well.
Thankfully, this didn’t sway Eric’s decision but I did agree to live with the changed cabinets for a while before making any rash decisions.
Long story short, once we finished installing our reclaimed cabinetsour reclaimed cabinets, the counters felt out of place.
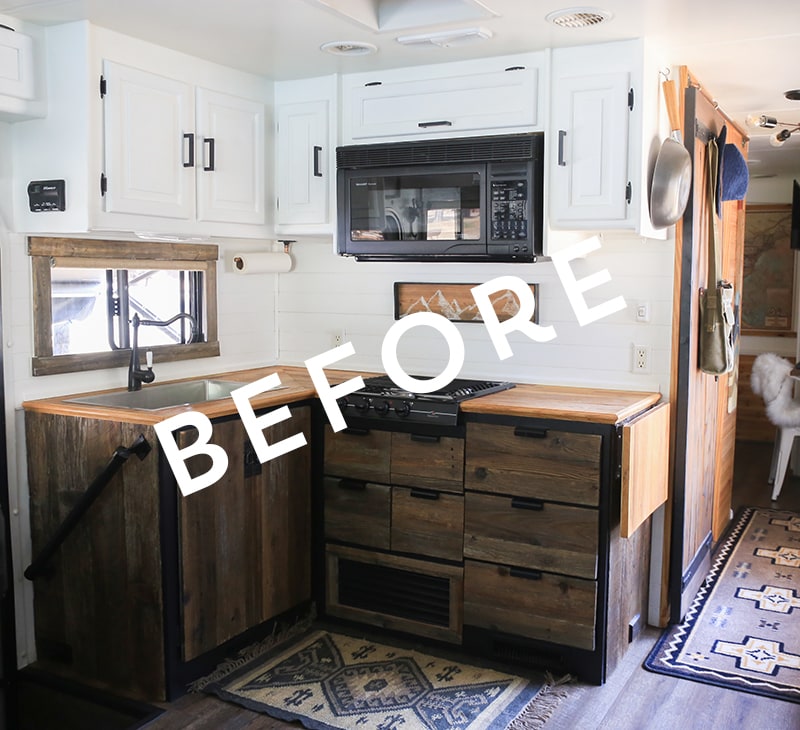
Eric was content with how they looked, but it just felt too busy to me. Honestly, I kinda hated it.
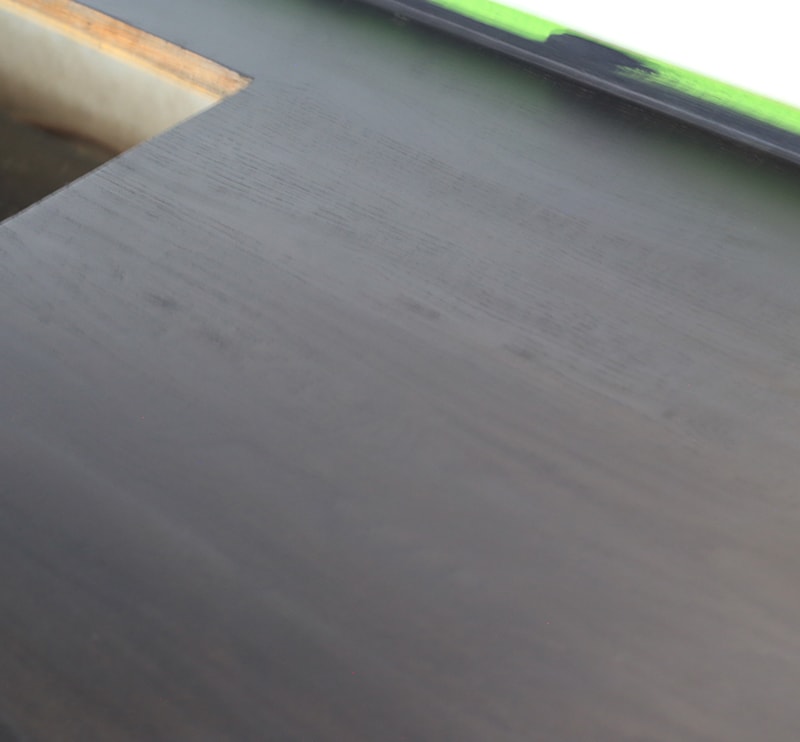
Less than two weeks later, we were staining our existing butcher block black.
DIY Black Kitchen Countertops
I’ll share some tips we learned from staining our RV counters black, but if we were to do it again, I’d definitely buy actual butcher block vs. creating our own version from flooring. I feel like pre-cut butcher block is much smoother and less prone to cracking in between pieces. I could be wrong but you get what you pay for, and we didn’t use the best quality wood so I think that definitely plays a part.
In fact, if we were doing this in a home I’d probably go with black stained concrete or possibly a more durable option like quartz. I do love seeing the wood grain through the stain though which is why I’d recommend going with a better quality butcher block if you want black-stained wood counters.
With that said, if you’re considering staining wood countertops, I hope this post helps give you some direction. Be sure to check out the video below for more info on the process we used.
Watch the video:

- Sander
- Sand Paper or Sanding Blocks in a variety of grits
- Painter’s Tape
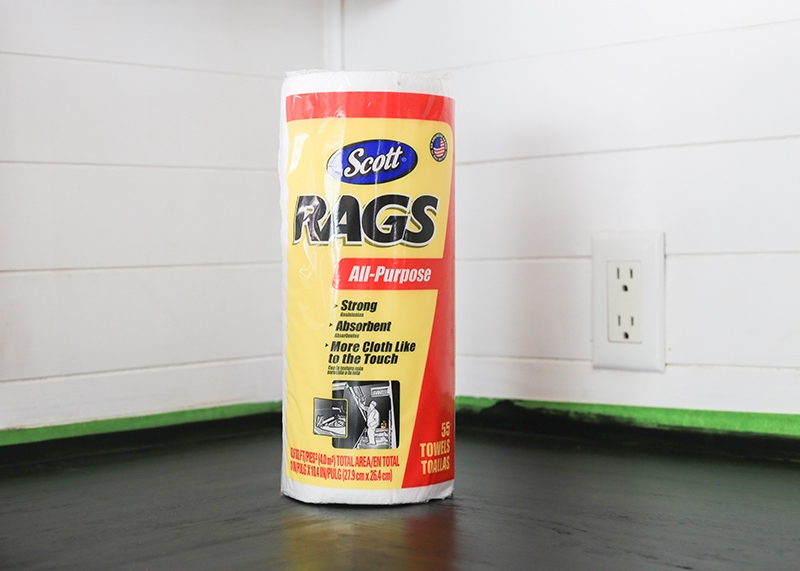
- Rags – I love Scott’s All-Purpose Paper Towels/Rags
- Tack Cloth
- Foam Brushes
- Stir Sticks
- Stain – This is what we used
- Top Coat- This is what we used
- Gloves and Eye Protection
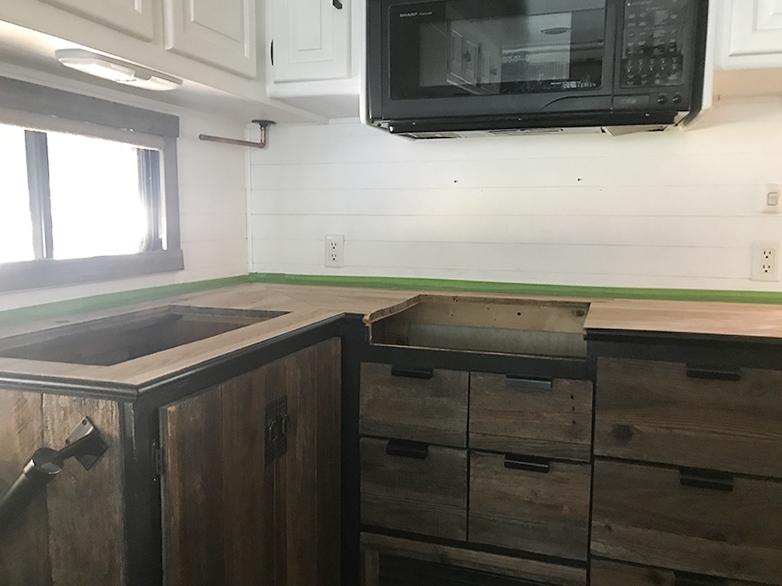
Prep
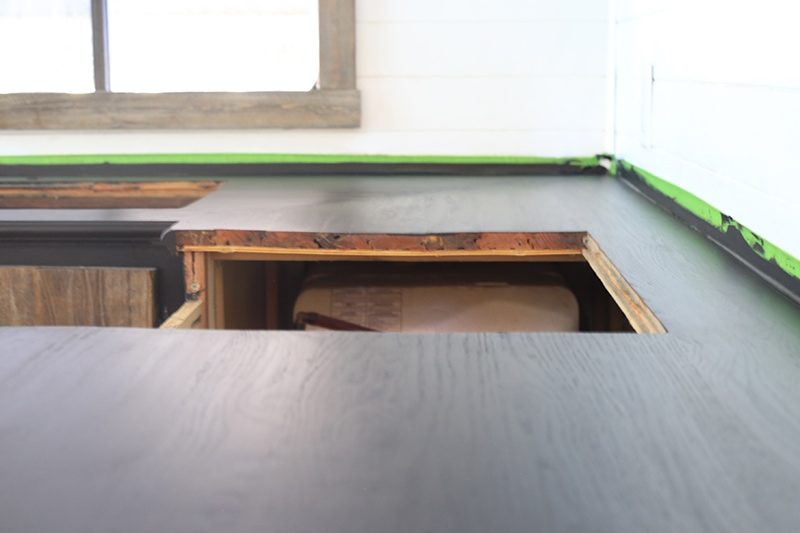
If you plan to stain your existing countertops I cannot tell you how important prep is. We sorta prepped but honestly got lazy and tried to cut corners. We removed the stove cover and taped off the backsplash trim, but all that did was create more work later on. This was mostly due to the clear caulking around the sink and trim which prevented the stain from penetrating those sections.
Once we realized this we removed the sink, stove, and trim which made the process soooooo much easier! Moral of the story? Clear anything in your way, cover or protect what you need to, and vacuum any dust or fur that could potentially land in your stain. Make time for prep so you can avoid wasting time and money later on. Trust, me we learned this the hard way and had to re-sand then re-stain our counters. Not fun.
If you’re able to stain the counters before installation that can make this step even easier.
Sand
Be sure to sand your wood counters to provide a smooth surface for the stain to adhere to. We used a combination of our power sander and sanding blocks, starting with 80 grit, followed by 150, then 220. Wipe off any dust with a tack cloth or clean rag. I also like to vacuum the surface before staining.
While optional, you may also choose to use a wood conditioner, which can be especially helpful with butcher block that has varying shades of wood tones. We skipped this step since we figured the black was dark enough to give an even color, and thankfully it did.
Stain
There are several stain options available, all with a variety of sheens. While oil-based options are said to be more durable, we opted for a water-based stain. This is mainly because we try to use products with fewer fumes and toxins (VOCs), but I’d recommend using whichever stain works best for you and your project.
It’s always a good idea to test the stain color you choose on a scrap piece of wood before applying it to a larger area. We tested the stain we chose on our small flip-up kitchen extension.
While not completely necessary, it’s recommended you lightly sand between coats using 220 grit sandpaper or an extra fine sanding block. Just be sure to do this when the stain is dry and wipe off any dust afterward. Be very gentle during the process so you’re not removing the stain from the surface, and don’t sand the top coat of stain. Don’t freak out if a little stain comes off, especially after the first coat. It will be covered in the second, and look cohesive with the rest by the third.
We added 3 coats of stain to our countertops using a 2″ foam brush and wiped off the excess with Scott’s All-Purpose Rags/Paper Towels. While these may not be the most “eco-friendly” they worked better than the rags we had and make clean up soooo much easier in an RV!
Be sure to read the directions on whatever stain you go with, as directions vary depending on the type of stain being used.
And if you decide to use a product from General Finishes, you can read more of their application tips here.
Protective TopCoat
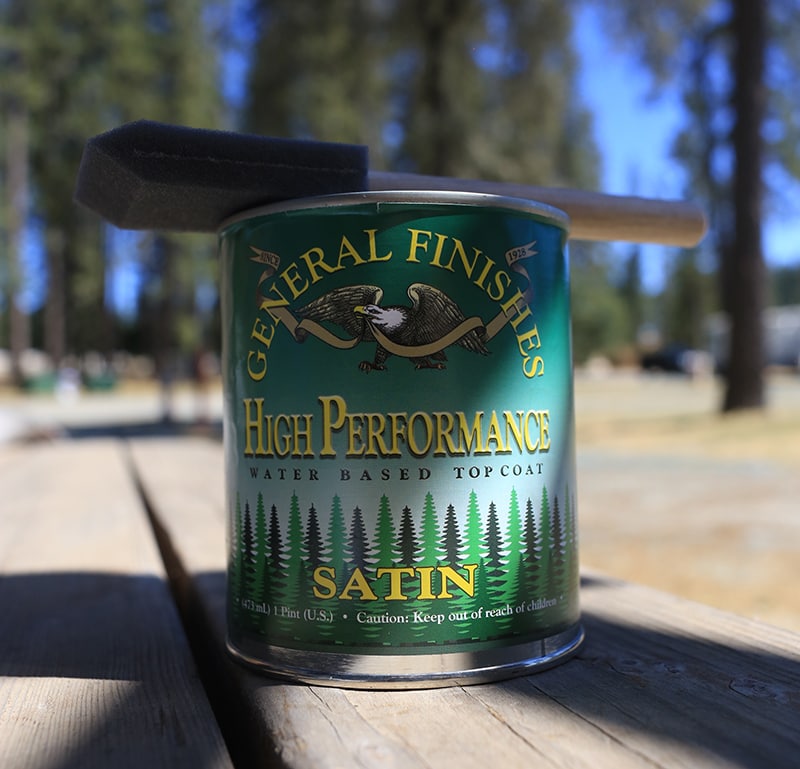
We previously sealed our wood kitchen counters with Tung Oil, which held up better than we expected but this time we decided to go with General Finishes High-Performace Sealer in a flat finish.
Update: The GF High-Performance Sealer is great for other furniture projects, but I don’t recommend using it on countertops! Instead, use something more durable and meant for surfaces near water – like GF Enduro-Var Water-based Urethane (or oil-based if using an oil-based stain).
We previously purchased this sealer when we were trying to find a product to re-seal our bathroom counter that could also be used to protect our reclaimed kitchen cabinets. It worked great on both projects so we decided to use it on our kitchen counters too!
You can apply the topcoat with a paint pad or foam brush, which is what we did. We found that applying it in rows with a 2″ foam brush and then following on top of it with a clean 2″ foam brush helped smooth out the sealer and remove excess. I don’t know if this is the best approach, but it worked for us.
We opted for 3 coats of sealer, which is supposed to make the counter more durable, but I guess only time will tell how that goes…
Again, I’ve read that oil-based topcoats are more durable than water-based but went with a water-based top coat to avoid fumes and keep the toxins on the lower side. Use what’s best for you and your family.
If you have a favorite low-VOC oil-based stain or top coat let me know in the comments!
Also, in most cases, you want to stick to a water-based sealer if using a water-based stain and an oil-based sealer if using an oil-based stain, but there are exceptions to this rule so just check the directions for whatever product you choose to use.
Again, After 6 months, the stain started to come off in some areas so I can’t recommend using this sealer on kitchen counters. Instead, use something more durable and meant for surfaces near water – like General Finishes Enduro-Var Water-based Urethane (or oil-based if using an oil-based stain).
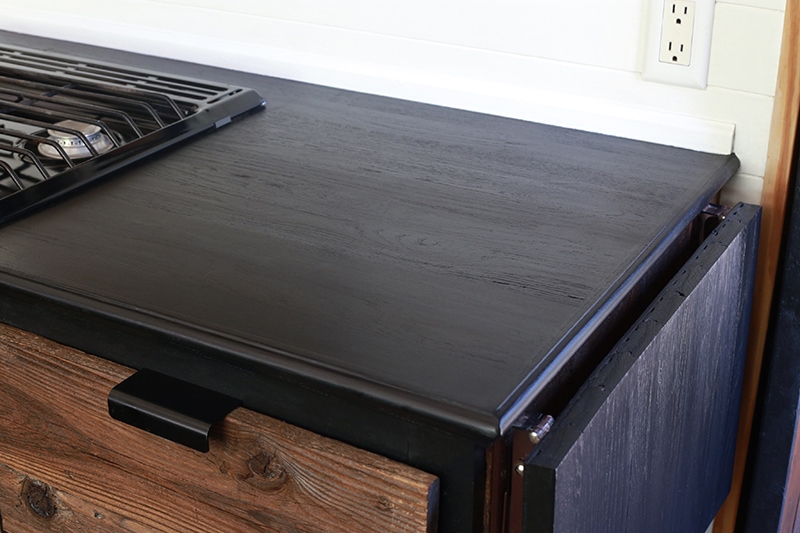
Final Touches
Once the top coat is fully dry you can re-install any fixtures but I’d be careful not to leave any glasses or items on the countertops until it fully cures, which can vary depending on the type of top coat used.
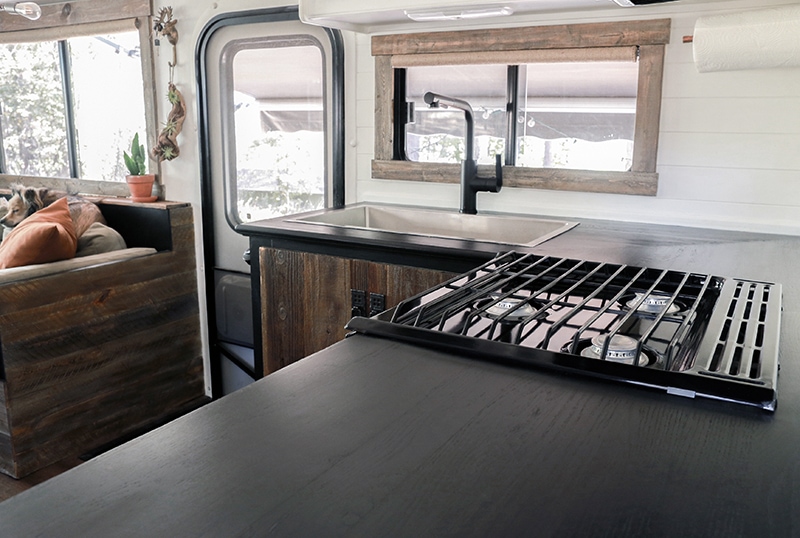
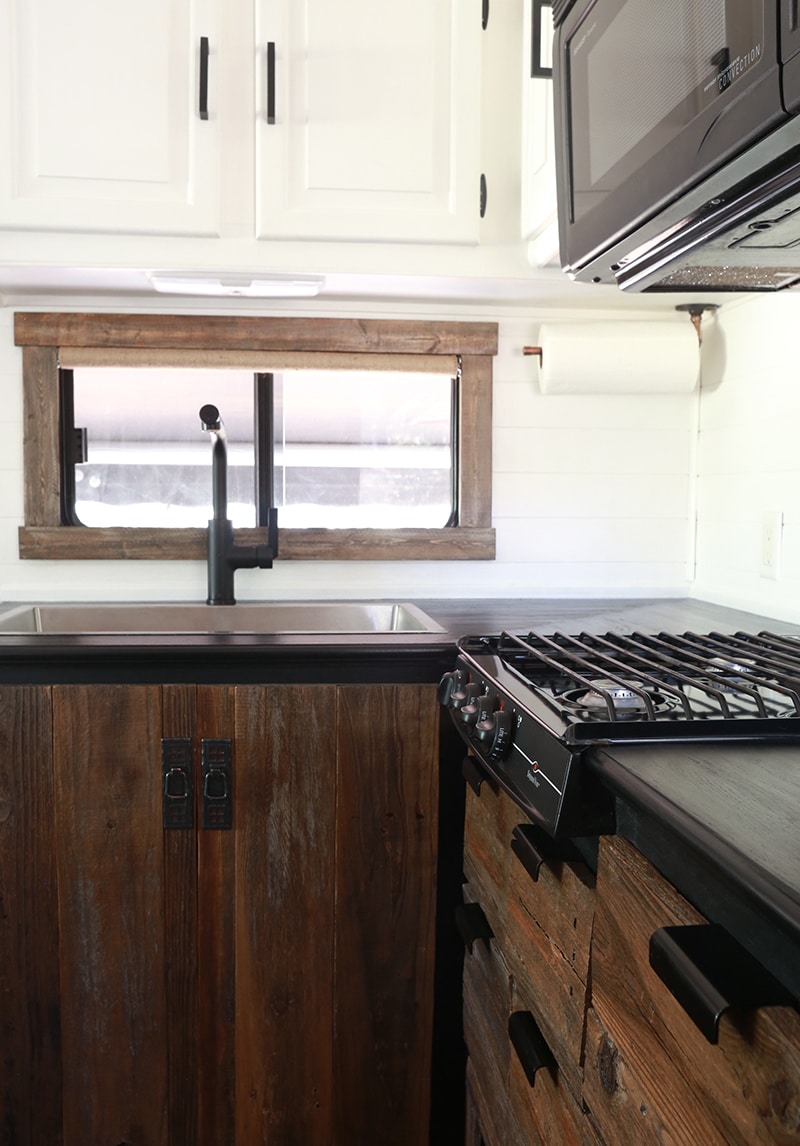
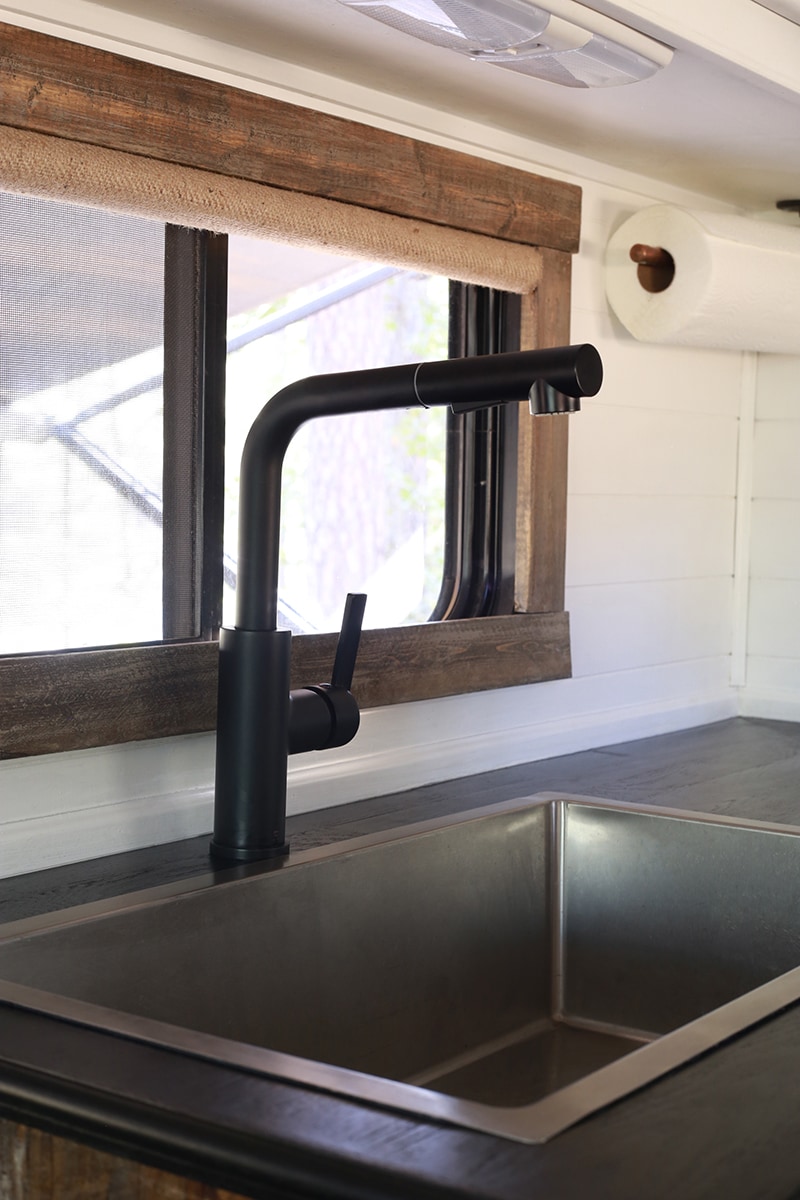
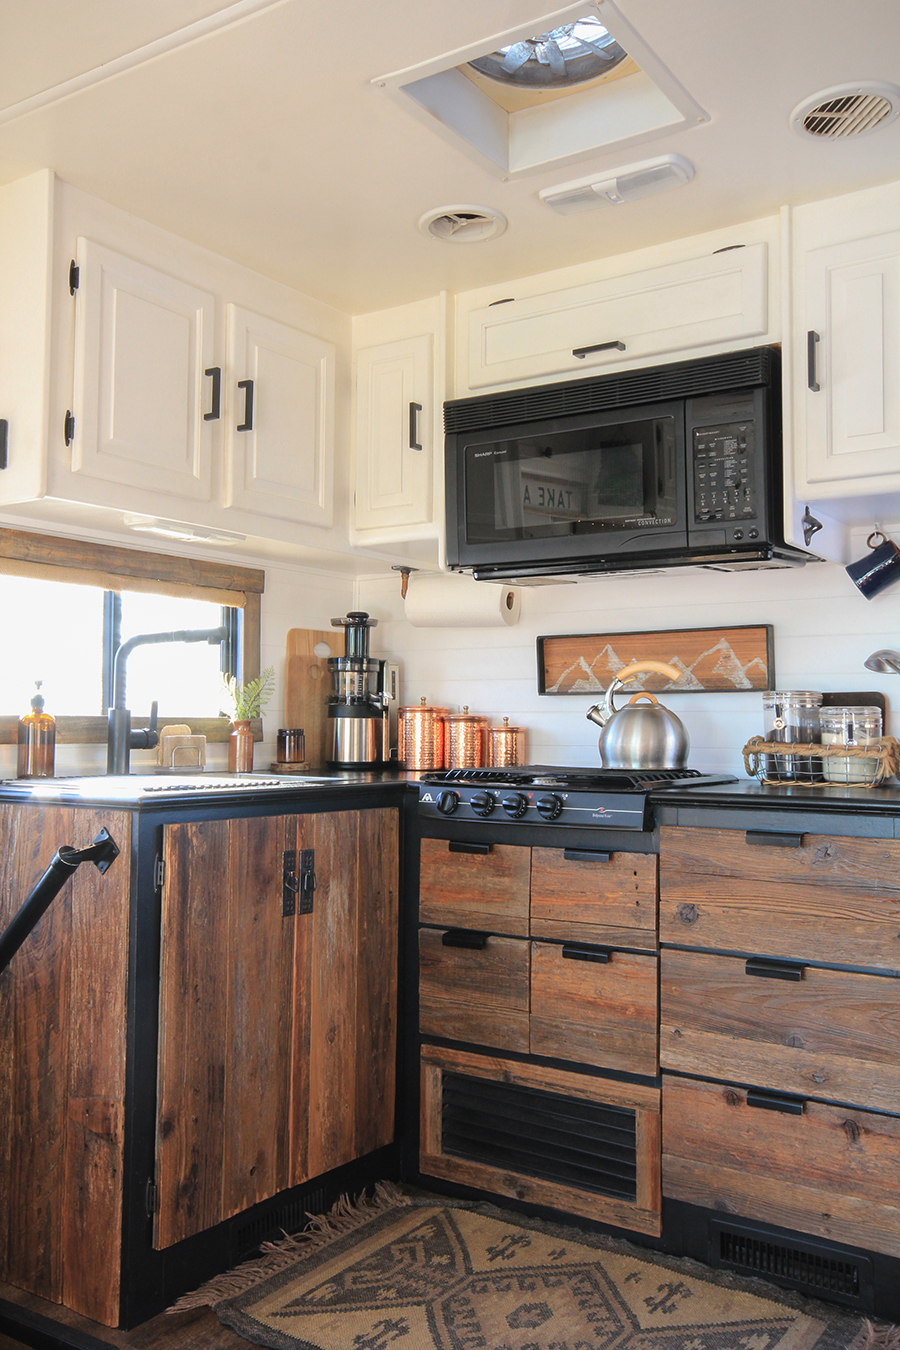
Here are a few photos of our black kitchen counters, which compliment the lower reclaimed cabinets. Eric admitted he loves the black counters now too so I’d call that a win!
While they’re not perfect, I love the outcome and it’s amazing how much our tiny kitchen now flows with the rest of our RV.
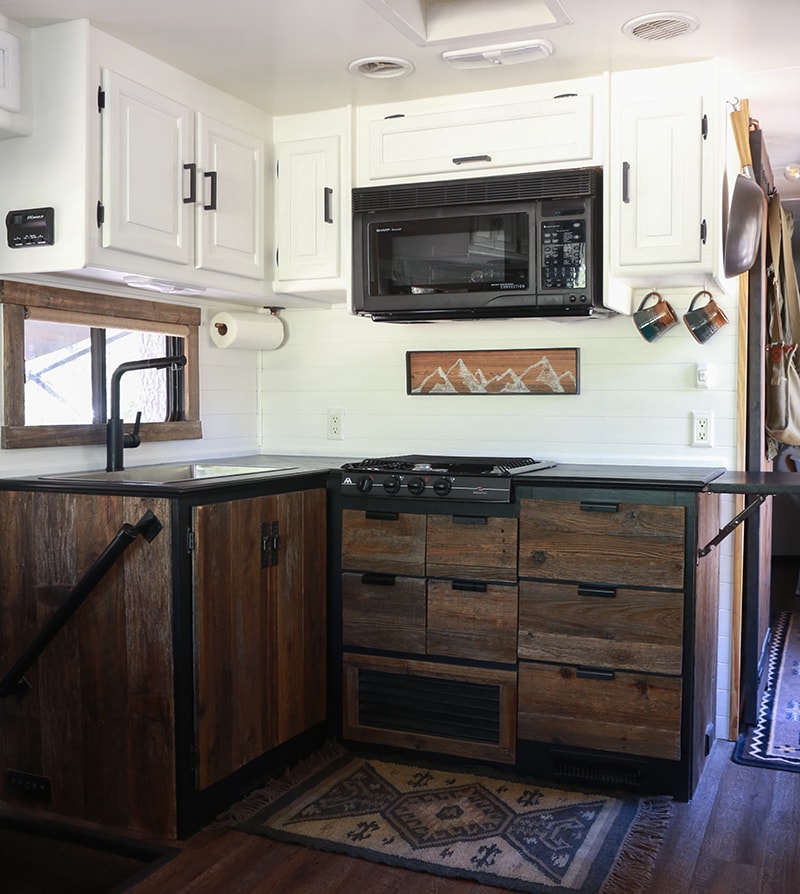
These photos were all taken within a couple of days of finishing up the process:
6-month update:
Alright, so it’s been over 6 months since we stained the wood black, and I still love the look but have to admit I’m really starting to question water-based stains and sealers.
I always try to go water-based vs. oil due to them having fewer V.O.C’s, and therefore being healthier for the home and environment when compared to oil-based stains and sealers. With that said, I think oil-based options would offer more protection and possibly be more durable.
I could be wrong, but within the last month, I’ve noticed some of the stain beginning to lift up a bit on the right side of the counter – which is the area we use most often. Soooo… as much as I’d love to stick to water-based options unless someone can convince me otherwise, I’ll probably go with oil-based options in the future. At least until water-based products can really compete with oil.
1-Year update:
I actually discovered that the High-Performace sealer is good for other furniture projects, but not meant for countertops or in areas near water. Instead, use something more durable and meant for surfaces near water – like General Finishes Enduro-Var Water-based Urethane (or oil-based if using an oil-based stain).
What’s your take on black kitchen countertops? Yay or nay? Let us know in the comments below! And if you have a favorite topcoat for countertops, let us know!


I think black counters are cool!
Thanks, Judith! While I would have loved to have white (especially white concrete), we were able to use what we have and make it work, and I love how it turned out!