UPDATE: All new featured RV tours will be posted on my other website, Wanderful RV Interiors. Existing tours will slowly be moved to the new website, and anything already moved will automatically redirect.
Disclaimer: This post may contain affiliate links, meaning, if you click through and make a purchase we (or those featured in this post) may earn a commission at no additional cost to you. View our full-disclosure here.
DIY Coffee Filter Garland
I <3 coffee, but I never realized how much I love coffee filters until I made some garland from them for our wedding. Who knew coffee filter garland could be functional AND pretty?
Coffee filter projects are nothing new, yet I’m still impressed at how well my garland has held up over the past year. So today I’m sharing how I created this whimsical decor for just a few bucks.
Water
Bowl or Bucket
Paper Towels
Dryer {optional}
The first thing I did was pick up a few packages of regular coffee filters. You can use whatever size or shape you prefer.
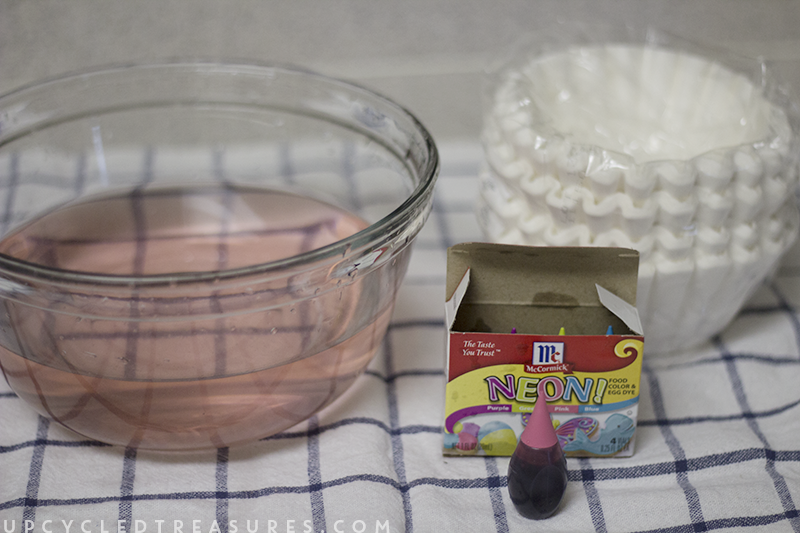
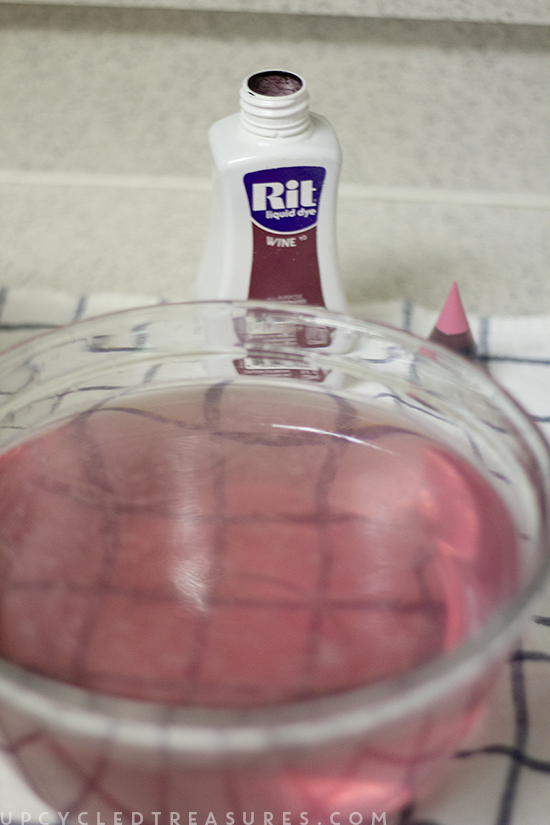
I knew I was going to need A LOT of these babies but decided to start by using a small bowl filled with water and just a couple drops of pink food dye.
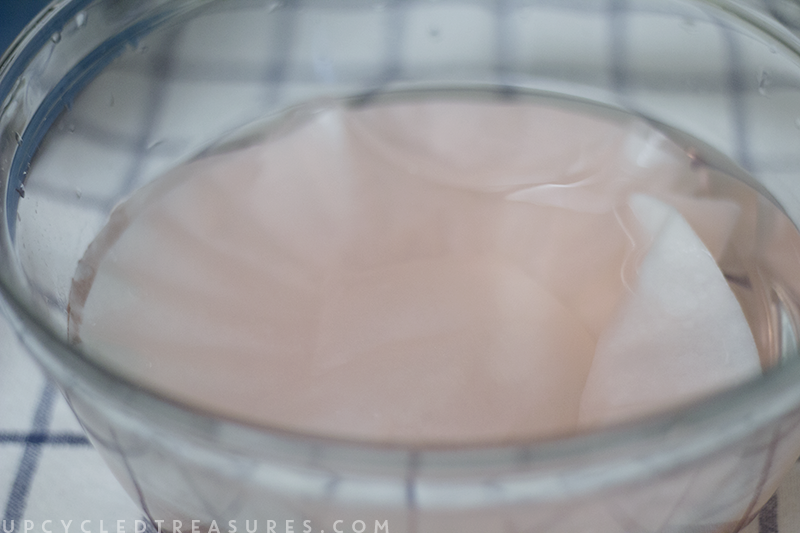
You can leave the filters in the colored water for a few seconds or a few minutes depending on how saturated you want the color to be.
I already had some neon food dye at home so I tested with that first. However, unless you want neon I’d say stick to the regular food dye colors. Of course, you won’t really get the neon pink color unless you leave the filters in the water/dye for an extended amount of time.
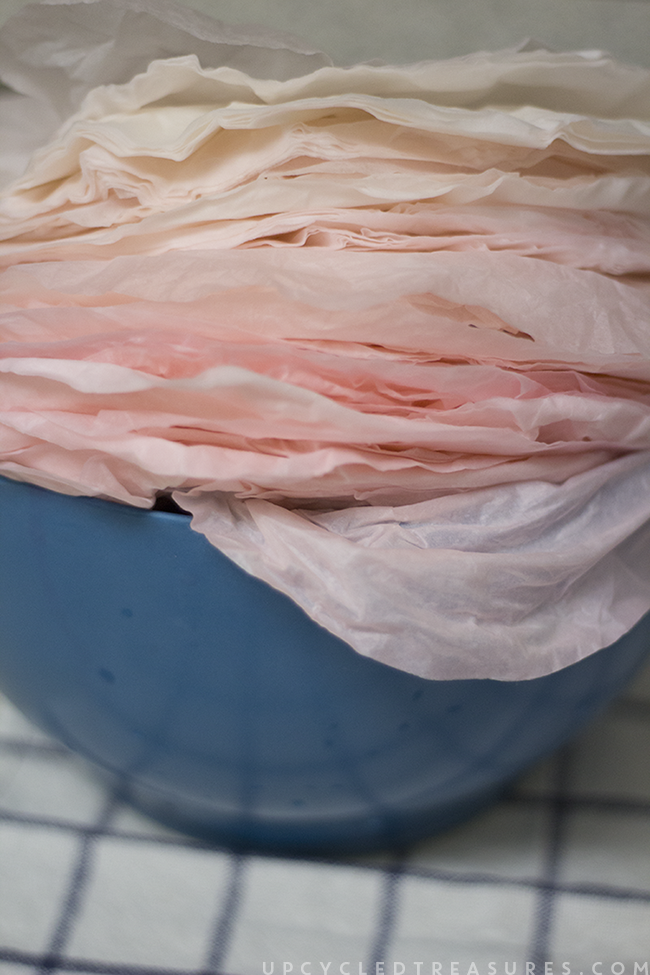
I wanted a light pink/peach color so I left most of mine in the bowl for about 30 seconds. You can always add more drops of color if you want the coffee filters to get more saturated quicker. I’ve also seen people use spray bottles filled with water and a couple of drops of dye.
I was surprised by how strong the coffee filters held up, but then again they are coffee filters 🙂
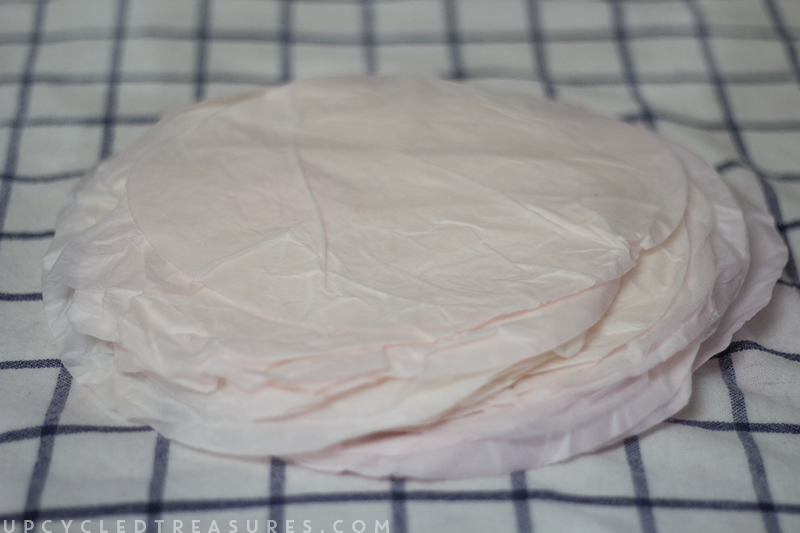
I started by only dunking one coffee filter in the bowl at a time and then taking it out and sandwiching it between paper towels to dry it off a bit. My impatience got the best of my and I quickly began dunking small stacks of the coffee filters into the bowl. This was a lot easier and less time consuming than one at a time so I just went with it, leaving each batch in for different amounts of time to create more of an ombre effect.
I then decided to do some testing and added a little bit of fabric dye to the water.
It was fun to see the color get supersaturated, and I liked the variation in the shades at this point.
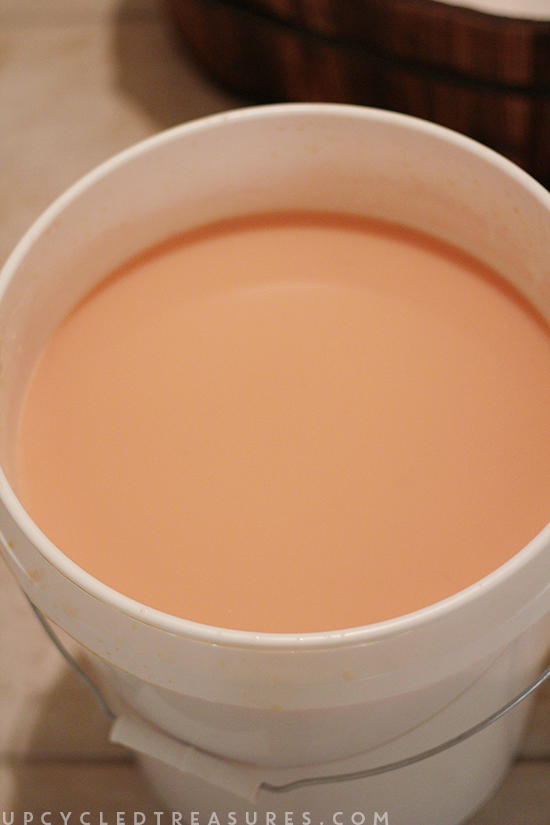
However, I will tell you that the darker pink coffee filters turned out to be waaaaaay pinker than I wanted once they were completely dry, and the neon pink definitely started to show through. Rather than toss the neon pink filters out I decided to fill a bucket with some water and a mixture of peach acrylic paints. I can’t remember how much paint I put in but it was probably 80% water and 20% paint. I think I actually left my filters in there for about 30 minutes because I forgot, woops. Oh well, I was all about experimenting…
After testing the first batch of filters, I liked the color so much more that I basically ended up dumping all of the filters into the bucket. It took a couple of batches to re-color all of them. My point is that you can play around with what you have and experiment to get the color{s} you want. I used a similar technique on my book page flowers.
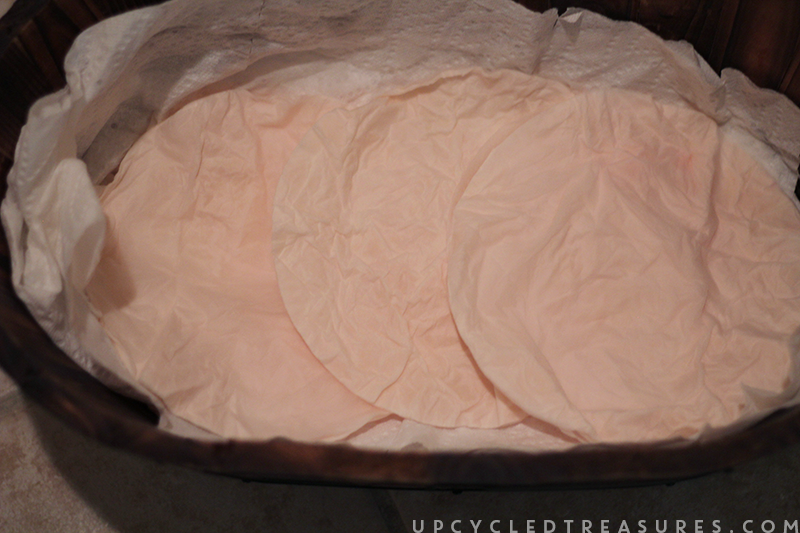
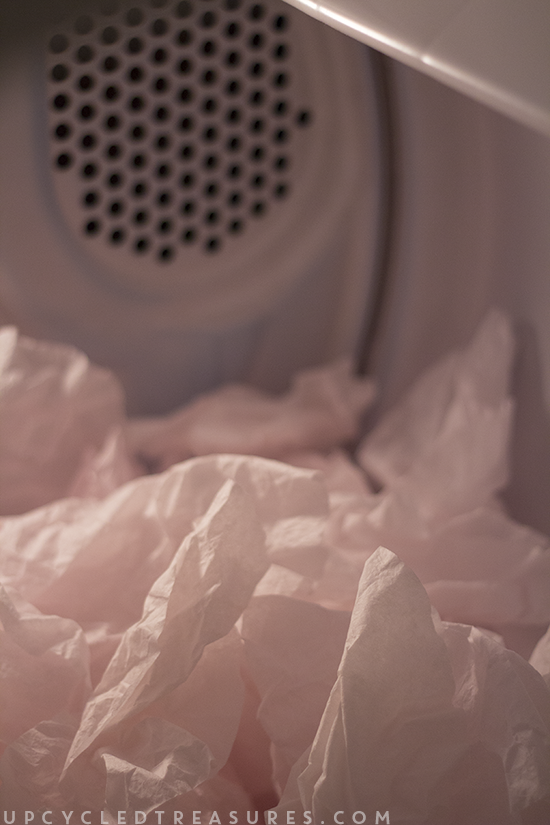
You could let the filters air dry but I decided to toss them in the dryer after I had patted all of the excess water from them with paper towels. I was a little nervous about this and kept an eye on the dryer the entire time. It took less than 10 minutes for the filters to all be dry, but there were no issues and it was nearly instant gratification. Please use caution if you decide to use your dryer!
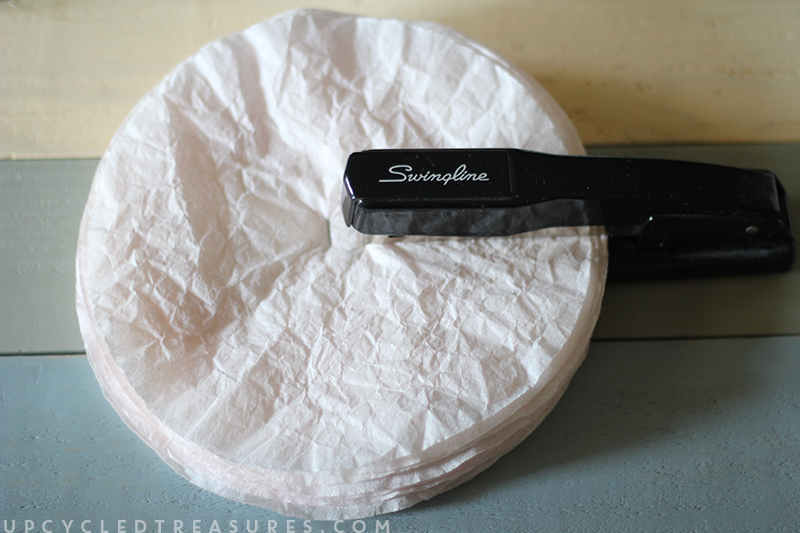
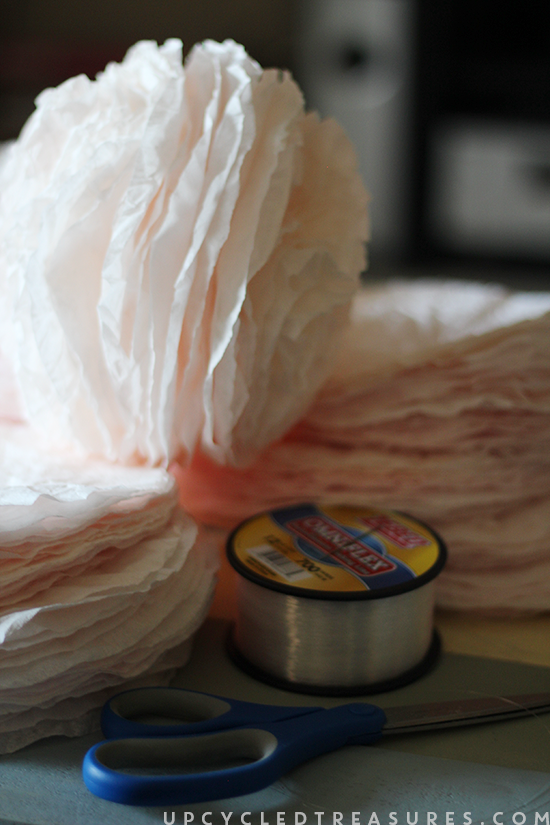
I then dumped all of the filters into a basket and plunked down in front of the tv as I worked on the next part. I think I originally was going to use 20 filters per puff, but they weren’t as fluffy as I wanted so I decided to go with 40.
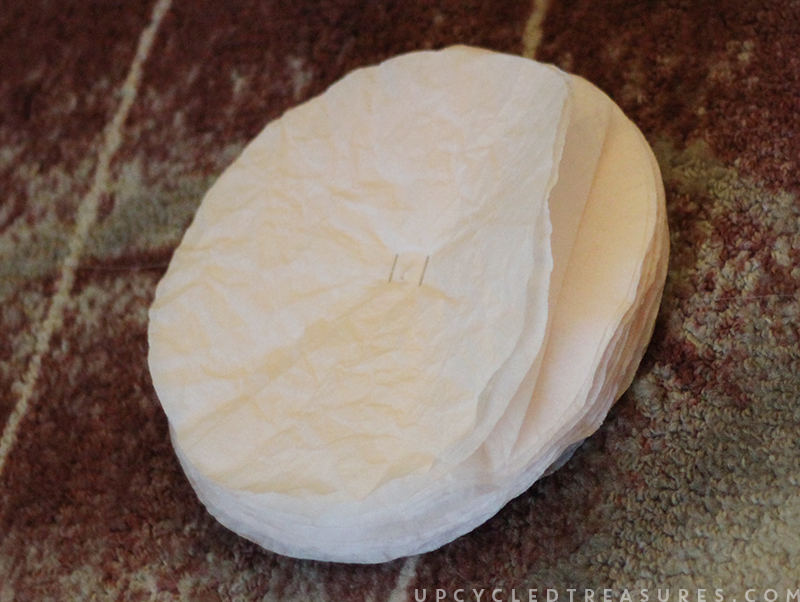
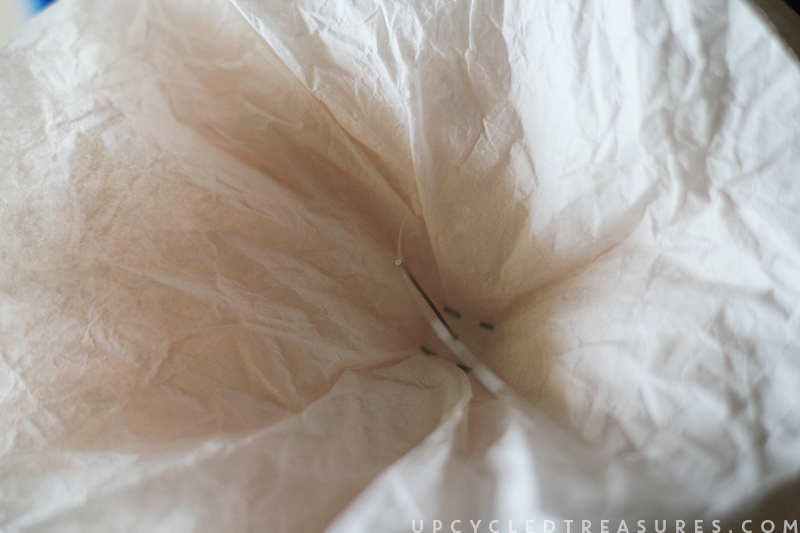
So I would create a stack of 40 filters, lay them down on top of one another and then using a stapler I stapled 2 staples into the center as you can see in the photos below:
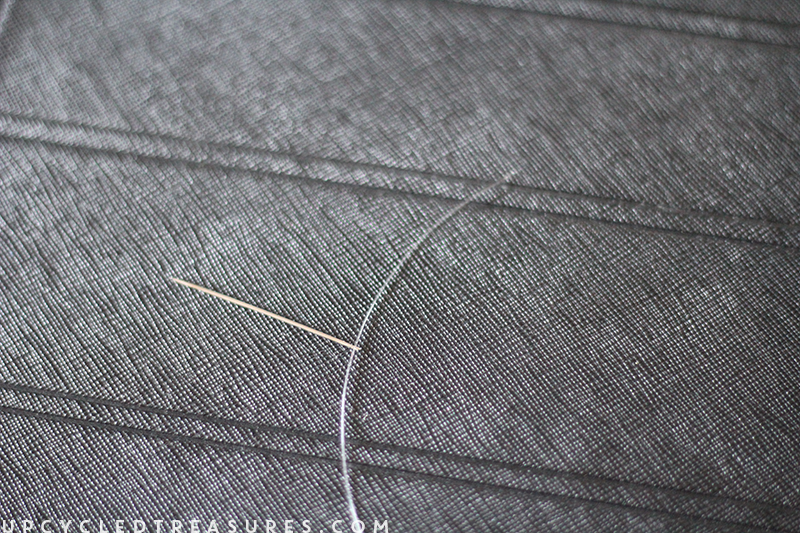
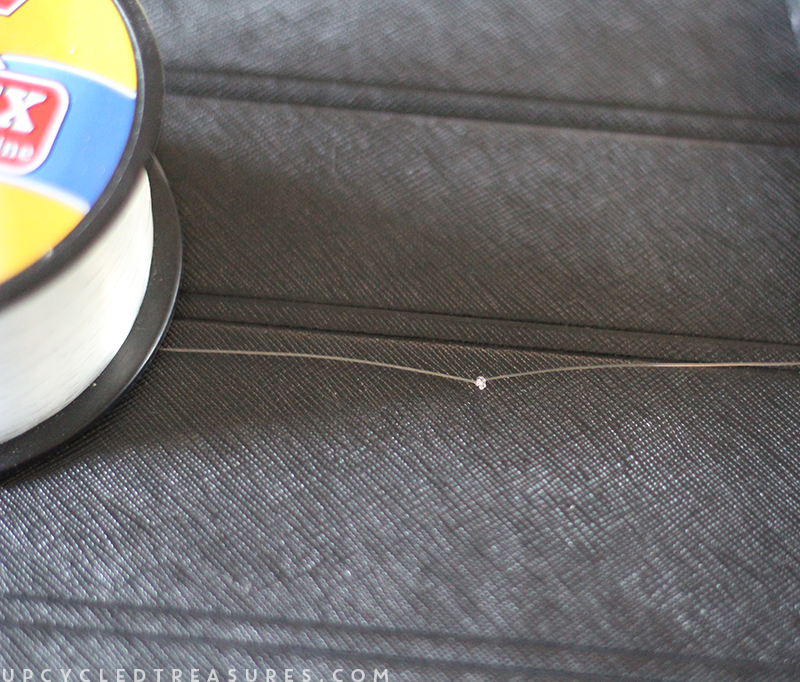
Next, you will want to thread some fishing line through a long needle, making sure to leave space on the end. The length that you cut will depend on how long you want your garland to be.
I made several strands of coffee filter garland and I think each strand was about 6 feet long. So I tied a knot about 10 inches from the edge so that there was enough fishing line to tie the garland to something or to another piece of garland.
I’ll admit that the fishing line was kind of a pain because it’s a bit coarse, and I had to make sure the 6-foot strand didn’t get all knotted up as I threaded each coffee filter stack. I got used to it pretty quick though.
I used fishing line because I didn’t want the string to be super noticeable, but you could use yarn, twine, etc.
Using a thimble I pushed the needle through the center of the staples and the stack. Pushing a needle through a stack of 40 coffee filters can hurt your thumb pretty quick, so I definitely recommend using a thimble 🙂 I think this was actually my first time ever using one, haha.
I then made sure to thread the entire piece of fishing line through the other end {so there were nearly 5 feet on the other side after the first puff was threaded} and then tied a knot on the other side of the puff. I did this because I wanted a gap between each puff, and didn’t want them to slide next to one another. You could always string them side by side though and skip the extra knots, and only knot the very ends of the fishing line. I think I left about 6 inches in between knots/puffs.
After I was done stringing my stacks I crumpled up each stack into my hands and then fluffed up each filter individually to get the rosette effect. You could fluff the stacks before you string them on the garland, but I found it easier to thread and then fluff.
That’s it! Although this required some time and a bit of patience, I was super excited about the outcome AND how little it cost me to make.
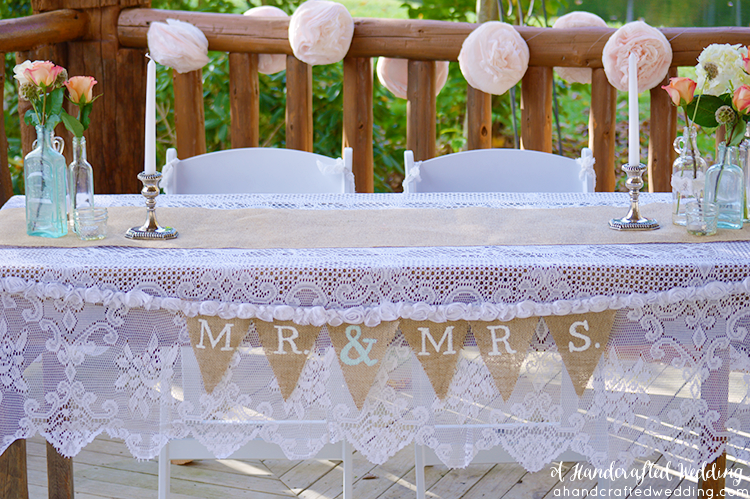
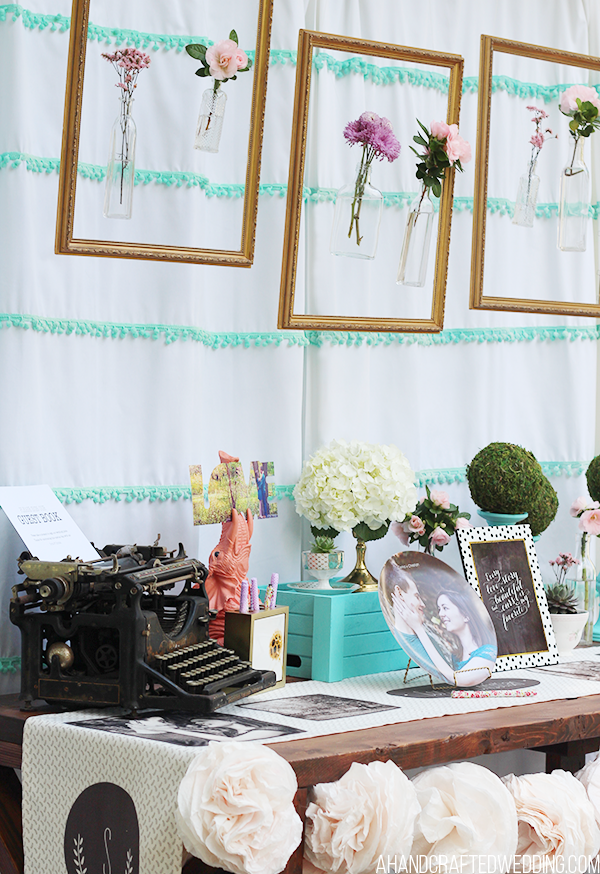
Here’s a peek of the coffee filter garland at our wedding reception:
Although I gave most of the coffee filter garland to another bride after our wedding, I did keep one section for myself, which you may recall seeing it when I shared some guestbook ideas:
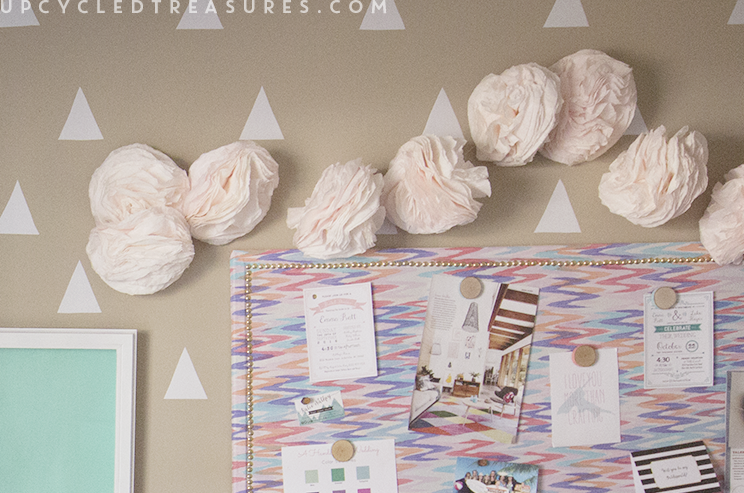
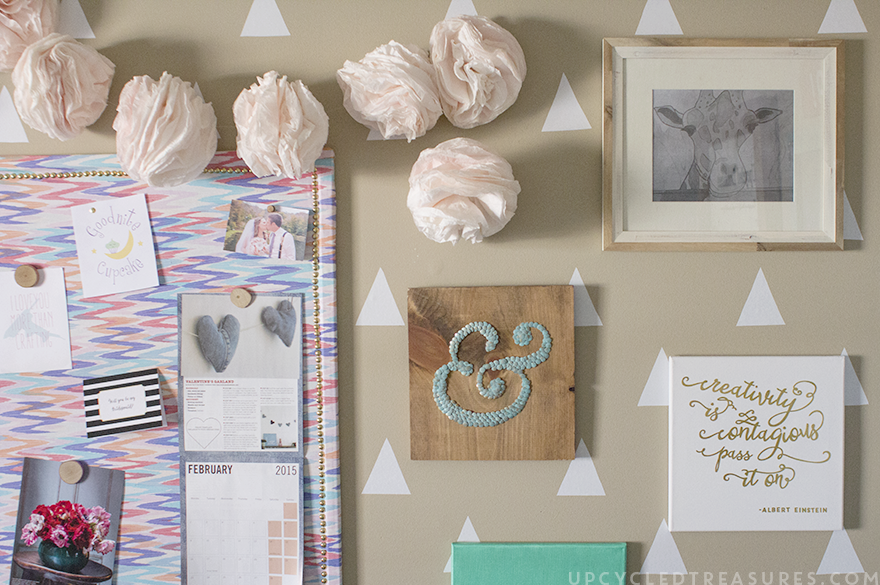
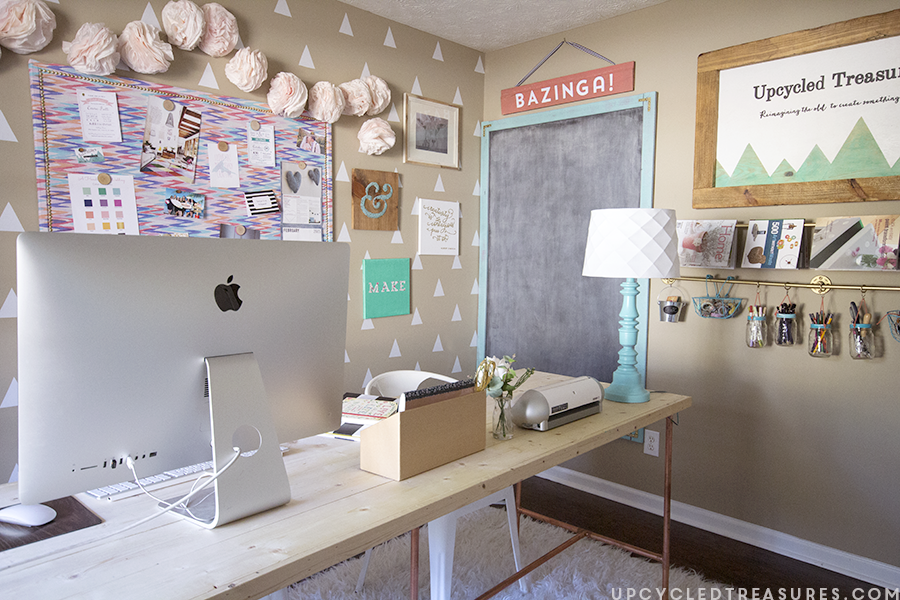
Despite this coffee filter garland being made over a year ago, I’m still able to appreciate it every day now that it’s displayed in my home office 🙂
Have you upcycled coffee filters before? I’d so I’d love to hear about it in the comments. And if you’ve been thinking about crafting it up with coffee filters, I’d say go for it!


Gorgeous!
I love this! I’m hosting my sister’s baby shower in a few months and this would be so pretty! She’s having a girl, so the soft pink color would be great. Thanks for the inspiration!
So cute!
Funny I just found a huge box of 1000 filters in my garage, they were for an old Bundt commercial coffee maker we used to have and was trying to figure what to do with them. I’m definitely going to attempt this. I am so excited, thanks for sharing
Wow!!!!
Thank you Evlyn 🙂