UPDATE: All new featured RV tours will be posted on my other website, Wanderful RV Interiors. Existing tours will slowly be moved to the new website, and anything already moved will automatically redirect.
Disclaimer: This post may contain affiliate links, meaning, if you click through and make a purchase we (or those featured in this post) may earn a commission at no additional cost to you. View our full-disclosure here.
I love moss. It’s earthy, rustic, and instantly adds a pop of color to your home. Here is a ridiculously easy way to create some wall decor using moss, scrap wood, and a vintage-style key.
I actually made this moss key decor during the fall when I was looking for some additional items to add to our gallery wall. However, I felt like there wasn’t enough contrast between the iron and mossy green color, so I recently decided to add a pop of my favorite color, turquoise.
DIY Moss Wall Decor


Scrap piece of wood
Picture hanging hardware or Command Picture Hanging Strips
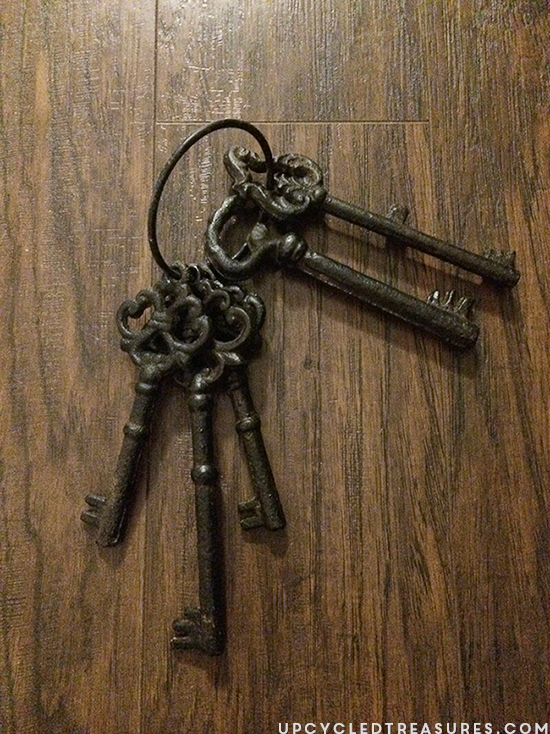
I found a set of vintage-style skeleton keys at Ross for $3 a few months beforehand, and although I didn’t know exactly what I would use them for at the time, I knew they would come in handy and couldn’t pass up the price.
You could always buy the decorative type keys or even use real antique/vintage keys.
Better yet, why not shop your home looking for any other kind of item you think would be fun to highlight on your wall?
Here is what the set of keys looked like that I had picked up. Sorry for the awfully grainy photo:
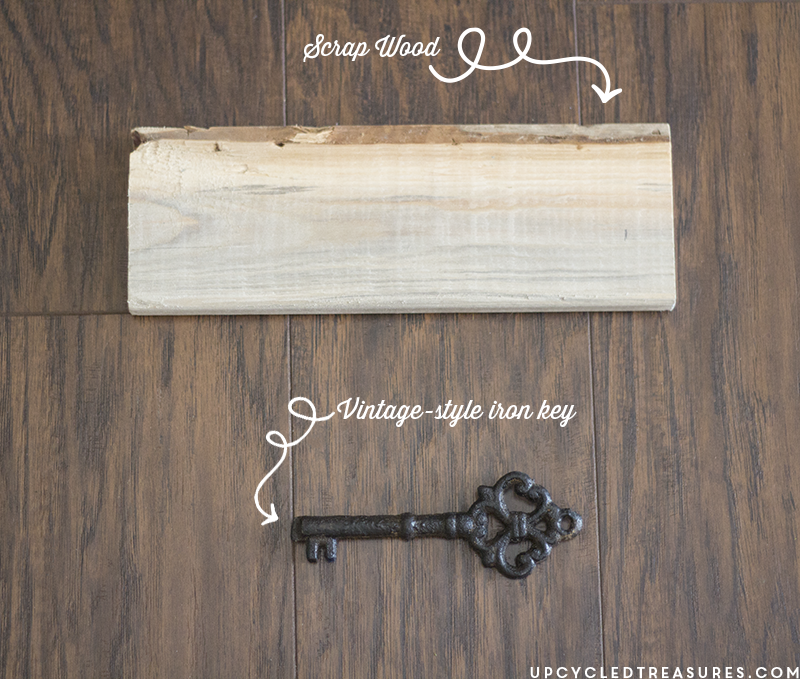
I used some pliers to open up the ring and remove one of the keys and then picked out a piece of scrap from a bin in our garage:
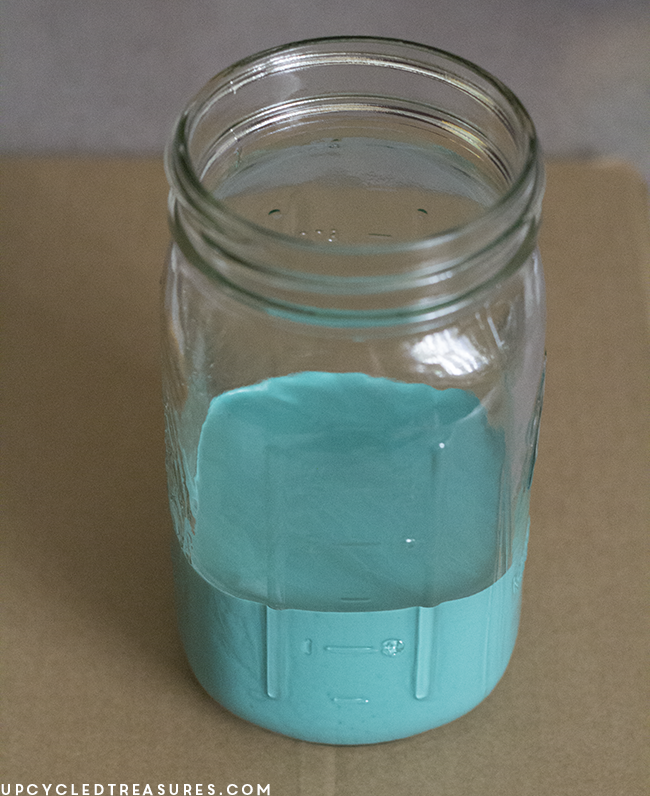
At this point, you can paint your key if you would like. I wound up painting mine with some leftover Florence Annie Sloan Chalk paint using a small detail paintbrush.
While the paint on the key is drying you can go ahead and begin gluing the moss down on the wood. I actually used some loose moss for this project because believe it or not I still have tons of it leftover from our wedding. However, the moss that comes in sheets would be even easier, or you could use a couple of strips of moss ribbon:

You can use any kind of spray adhesive or glue but I used my handy dandy glue gun and glue sticks to attach the moss to my scrap piece of wood.
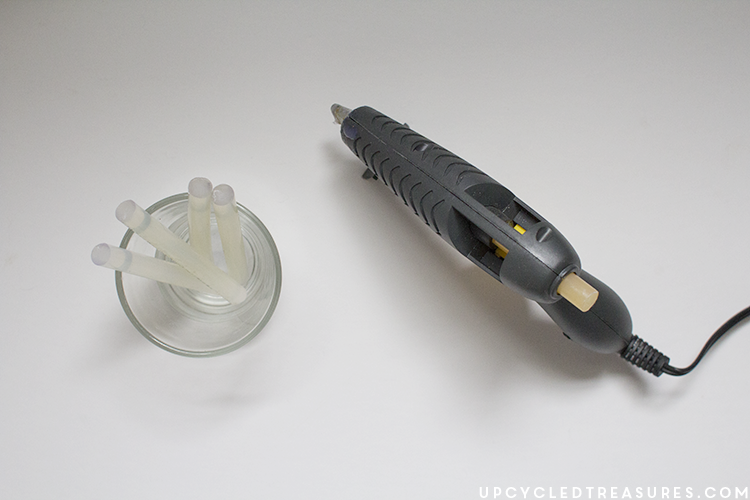
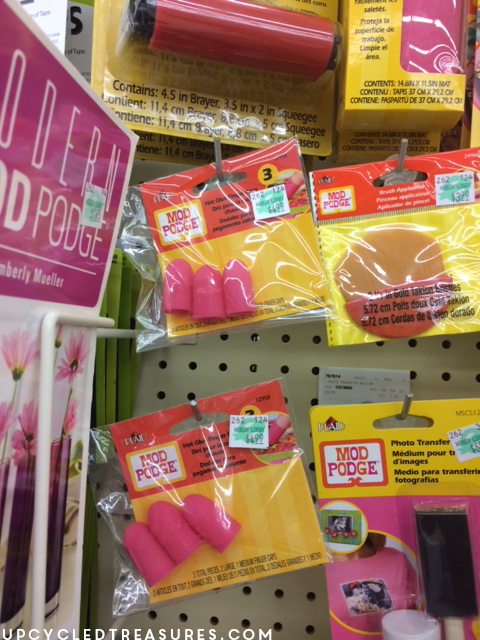
By the way, one of my favorite new products to use with my glue gun are these awesome hot glue finger caps. I picked these up at Hobby Lobby with a coupon. No more finger blisters from being impatient and using my fingers to pat things down, yay!
So after my moss and key were glued down I sprayed the entire thing with some clear sealer to help prevent the moss from fraying too much.
Then some picture hanging hardware was added to the back and it was hung up on our gallery wall:
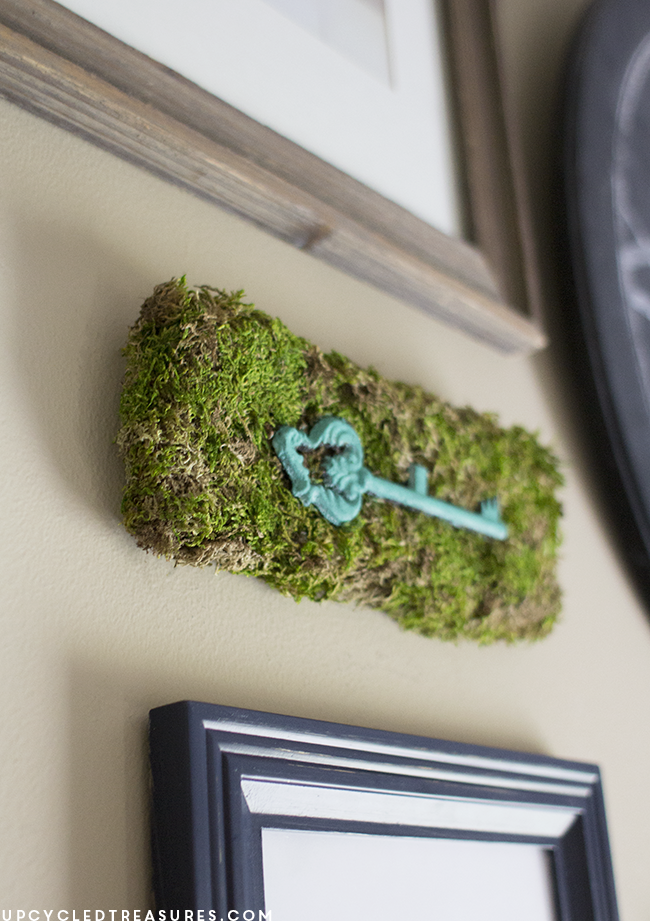
I love how enchanting it feels. So what do you think of our DIY Moss Wall Decor?

If you are planning a gallery wall or looking for fun ways to decorate your home, don’ t forget to shop your home first. Not only will it save you money, but you can create custom wall decor that is personal to you and your decorating style.
This is such a cute idea! I just love the natural element that it adds to your gallery wall. Have a great weekend!
Such a cute idea, I love the use of moss and I would never had thought of using it this way!
Such a pretty idea!
Awesome idea. This sort of decor would be great for a Forrest Wonderland themed party!
Thanks for sharing 🙂