UPDATE: All new featured RV tours will be posted on my other website, Wanderful RV Interiors. Existing tours will slowly be moved to the new website, and anything already moved will automatically redirect.
Disclaimer: This post may contain affiliate links, meaning, if you click through and make a purchase we (or those featured in this post) may earn a commission at no additional cost to you. View our full-disclosure here.
If you are looking for rustic-inspired wedding favors that won’t break the bank then these DIY S’more kits are a great option. These little guys were a hit at our romantic cabin wedding so today I am sharing a quick tutorial on how to make them. I am even including FREE printable tags at the bottom of this post that you can attach to your own s’more kits.
How to Make DIY S’more Kits
After buying all the materials we needed for our s’more wedding favors, I made a couple of samples to figure out how I wanted them. However, I realized that the graham crackers became stale after sitting for over a week and decided it would be best to make them the night we drove up to the venue {it was out of state so we drove up 2 days before the wedding}.
Of course, I didn’t sleep at all the days leading up to the wedding and since things went wrong left and right, time was something we ran out of fast. Luckily my girls were there to help get these babies put together and they turned out awesome.
Materials Needed for DIY S’more Kits:
- Plastic Acrylic Boxes – I used 4x4x2
- Printer and Paper (I used vellum paper)
- Graham Crackers – we used 4 half crackers per kit)
- Marshmallows – we used 4 per kit}
- Miniature Chocolate Bar Nuggets – we used 6 per box
- Bakers Twine
- Scrapbook Paper
- Double-Sided Tape
- Scissors
- Craft Punch
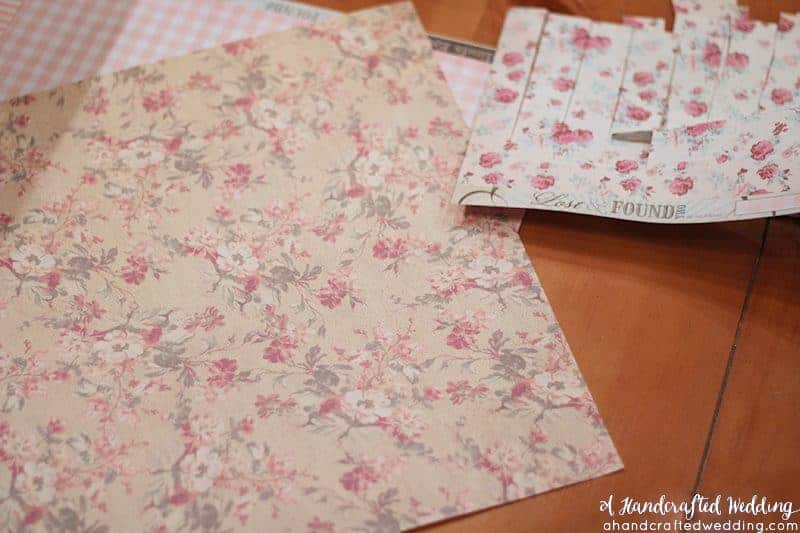
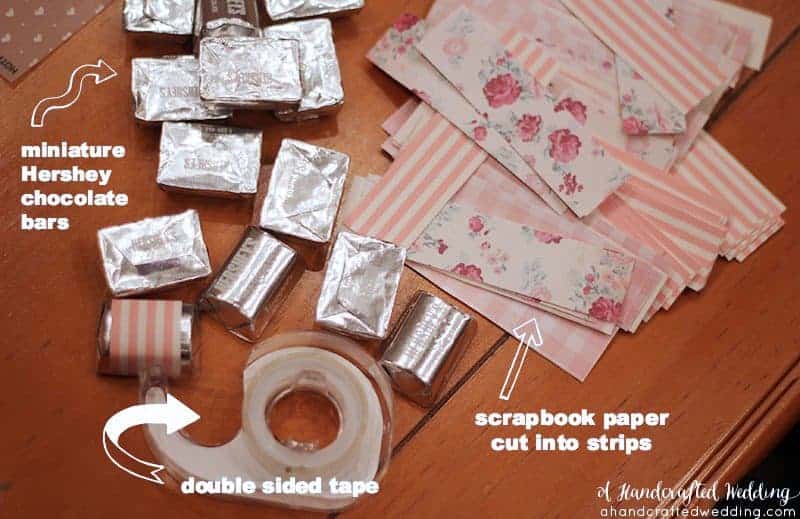
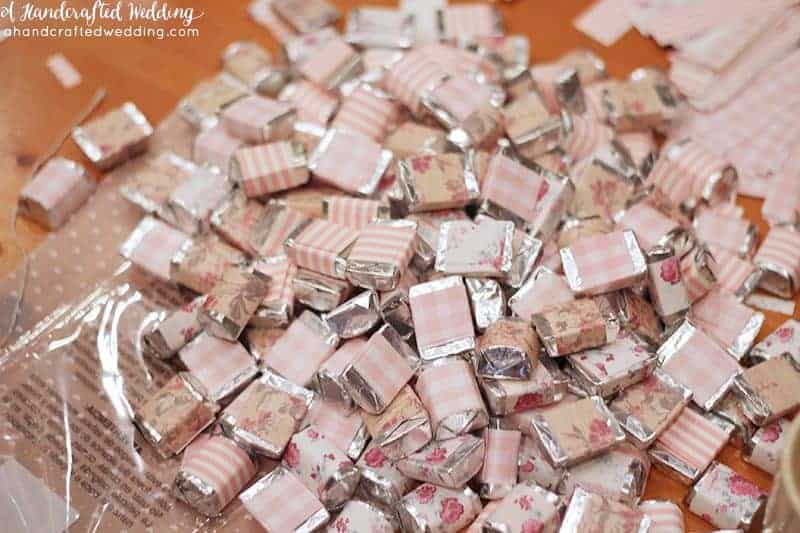
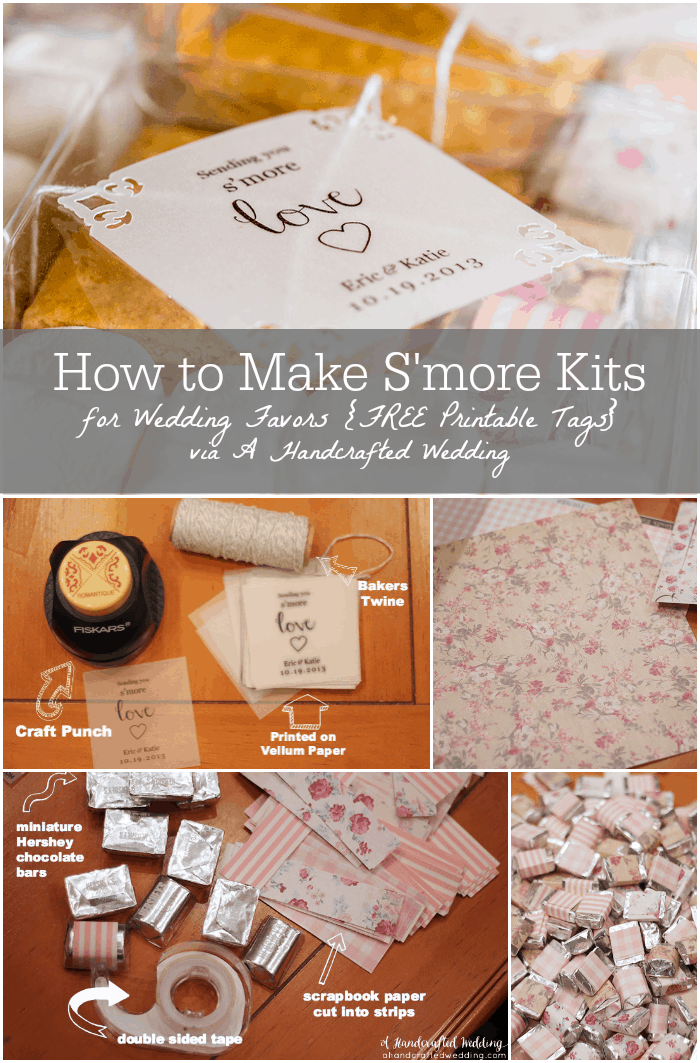
I had purchased a few different patterns of scrapbook paper from Hobby Lobby, which we cut into strips. I don’t remember the exact measurements because it was like 3am, everyone was running around and I’m honestly surprised I remembered to take photos, haha. We then wrapped the strips of scrapbook paper around the miniature chocolate bars using double-sided tape.
I was sleep-deprived, delirious, an emotional roller coaster and on a serious adrenaline rush. Apparently this is what most brides go through leading up to the big day. Oh, the life of a DIY bride. Good times…
I have to admit that it was difficult not to finish all of the projects myself because I was running around so much {and am a control freak}, but it was also awesome to see all the love my friends and family put in to help. It made our day that much more special.
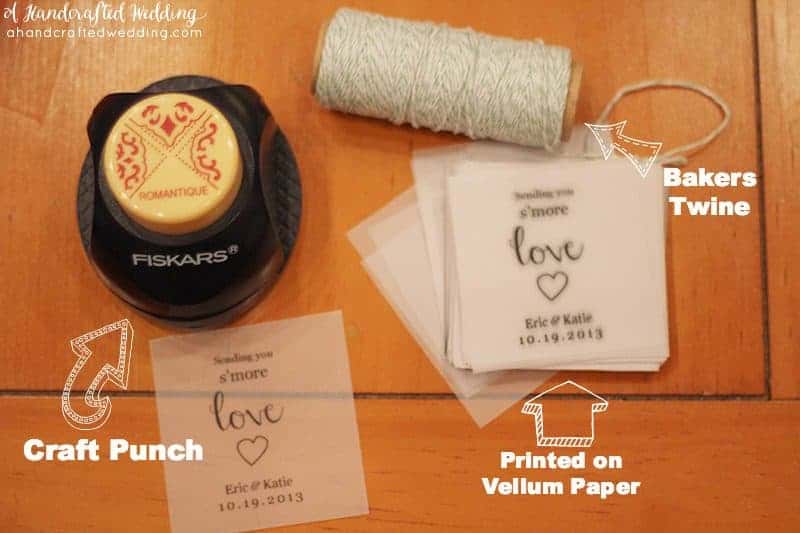
I had printed some custom tags on vellum paper at home and then brought them to the cabins to be craft punched and tied around the s’more kits with bakers twine. We used the same craft punch on our DIY wedding invitations and I seriously sucked at it. Luckily Eric is like this craft punch genius so he punched them all for me, and in record time too. I <3 him.
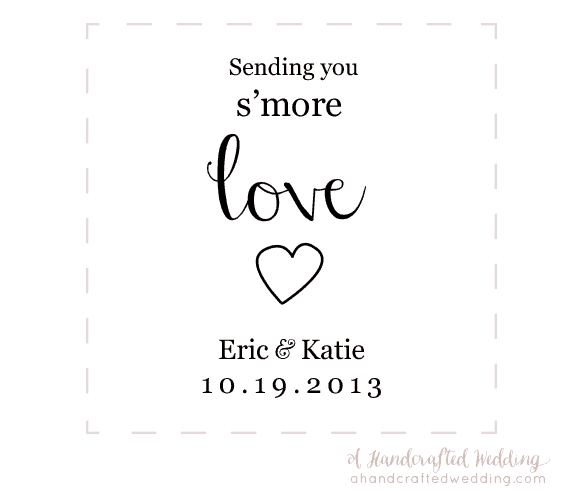
The font I used for most of the words is Georgia, “Love” is Janda Stylish Script and the “&” is Abraham Lincoln.
Don’t forget to check out the FREE s’more kit tags at the bottom of this post, which you can add your own personal details if you want.
Here are some photos of (most of) the materials:
I’m surprised this pile of pretty chocolates made it through the night.
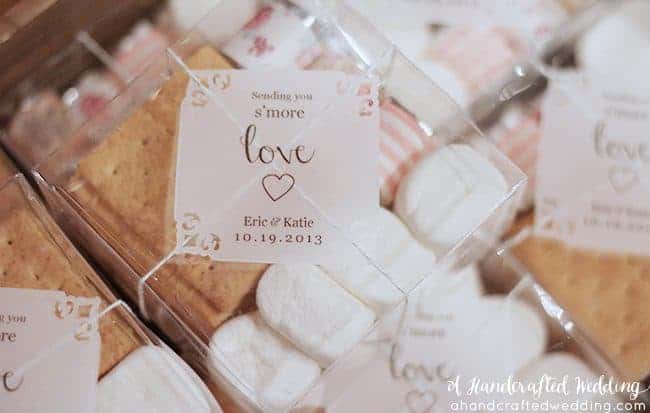
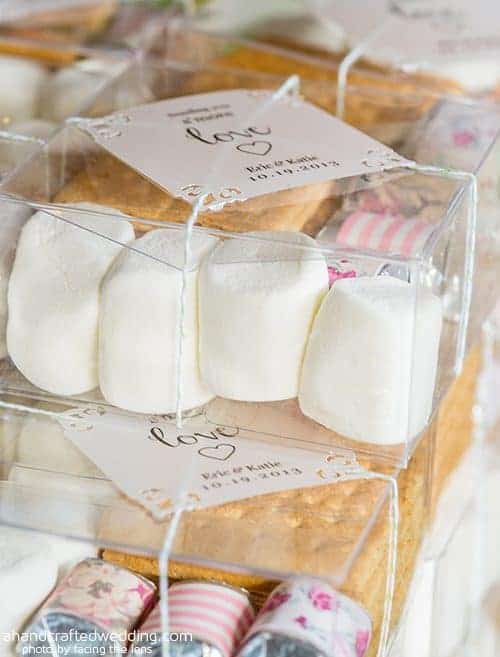
Once the chocolates were all wrapped we folded the plastic boxes into shape (they were shipped flat), and filled each s’more kit with 4 half graham crackers, 4 jumbo marshmallows, and 6 miniature chocolates. Here are some photos of our DIY S’more Kits all finished up. Aren’t they adorable?
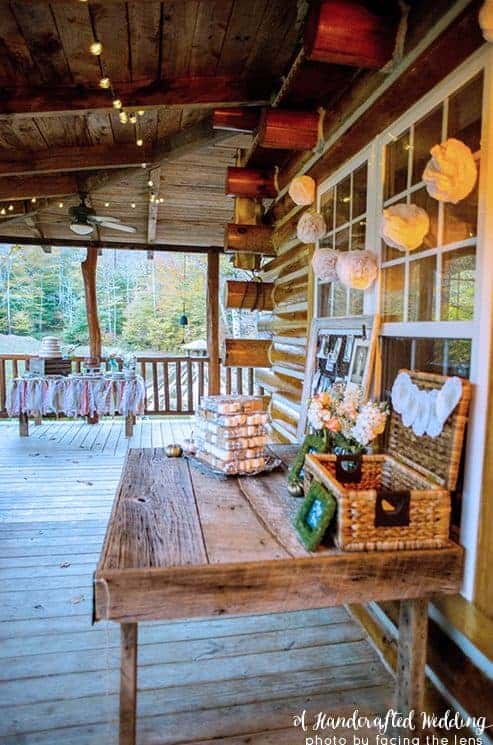
Here they are set up during the wedding reception. I wish we would have created 2 smaller stacks, rather than one large one. It also would have been nice not to have run out of tablecloths but we had to improvise with the gazebo not being finished. Like they say “Everything will go wrong and it will still be perfect”. Yup.
What’s so great about these DIY s’more kits, is that you can personalize them for your wedding. Not to mention you could use mason jars or clear bags rather than the clear favor boxes to dress them up.
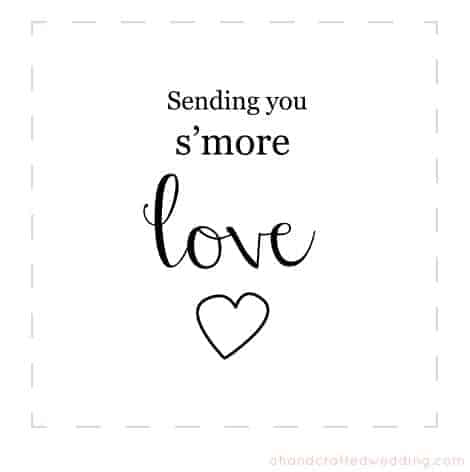
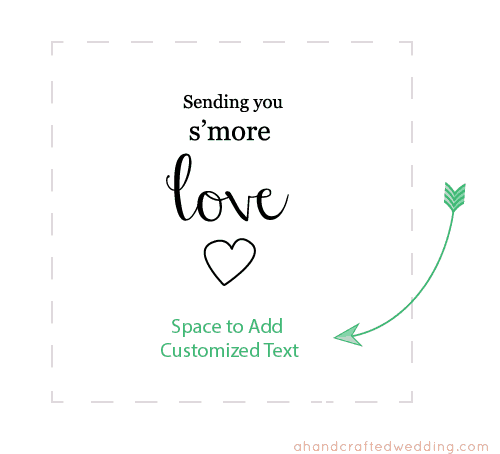
Sending You S’more Love – FREE Printable Tags
Click the download button below to be taken to the FREE downloadable JPG File to use on your own DIY s’more Kits. You can add customized text to them using your own editing program or at PicMonkey.com. You can see a tutorial on adding text with PicMonkey here.





Can’t wait to use these for my wedding! Thank you so much!
So happy you enjoyed the post, the s’more kits were definitely a hit at our wedding 🙂 Thanks for stopping by!
These are so cute! Can I ask what font you used for your names on the customized tag?
Hi Ashley, the font I used for “love” was Janda Stylish Script and you can get it free here:
http://www.dafont.com/janda-stylish-script.font
Thanks for stopping by!
~Katie
I was wondering about the font you used for “Eric & Katie” the and sign looks really cute with the other fonts! :))
Oh, woops, haha. The names are Georgia and the “&” is Abraham Lincoln 🙂
Hi, I was just wondering what font you used to write your name and date in?
Hi Alexis, the names and date are Georgia, the “&” is Abraham Lincoln and “Love” is Janda Stylish Script 🙂
Are you able to upload the printable in word or something editable?
Hi Candyce, the file is a PDF so you can open it in any program that accepts those files. I would probably recommend a version of Adobe Reader that allows you to add text. Hope this helps!
~Katie
Hello,
I for some reason can not figure out how to add text when I open this in adobe, help?!
Hi Jess, I just updated the download files to include a high res JPG, this way you can open the file at picmonkey.com {click on “edit photo” and select the JPG from your computer once you download the zipped folder}, and add your text from there. Hope this helps!
~Katie
How did you get the graham crackers and marshmallows to stay fresh? And how far in advance did you make them?
Hi Melanie, I mention this in the post, hope it helps!
“After buying all the materials we needed for our s’more wedding favors, I made a couple samples to figure out how I wanted them. However, I realized that the graham crackers became stale after sitting for over a week and decided it would be best to make them the night we drove up to the venue {it was out of state so we drove up 2 days before the wedding}.”
Hello! Where did you buy the acrylic boxes from?
Where you got your containers from?
Oh goodness, I can’t type. I mean where did you purchase your containers from?
Lol Jess, I purchased mine through PaperMart.com but you can also find them on Amazon.
They have tons of styles and sizes to choose from and their pricing is really competitive too 🙂
http://www.papermart.com/clear-plastic-boxes
~Katie
what size contaniers from papermart did you get?
Hi there, I think she mentioned 4x4x2. I purchased 2x2x4 by mistake and they were way too small.
If you don’t mind me asking, do you remember how much each individual favor cost you? Or how much they cost in total versus how many guests you had? Your way is so much more chic than just cellophane bags, but I’m trying to keep it super cost-efficient. Thanks!
Hi Kate,
I can’t remember exactly but I know it came out to being less than $100 for all of the materials for 50 guests so you could estimate $2 per guest. Of course the price will depend on the cost of the materials you purchase. I just did a quick estimate looking at Amazon and Walmart prices and still came up right below $100 including the scrapbook paper and twine. Of course buying in bulk generally ends up costing less than purchasing smaller individual bags – although the pricing I estimated was on the regular size bags/boxes. Purchasing items on sale in advance can certainly help costs too 🙂
The way I figured out what to buy was to look at the serving size on the back of each package. You can then determine how many boxes/packages you will need depending on the number of guests you have. I list in the post how many of each item we used so if you purchase the same size boxes as us then you can use that as a guide too. I hope that helps 🙂
~Katie
Hello! I am also having an outdoor wedding the end of August in the midwest. I was wondering if you had issues with your chocolate melting at all during the reception, and if there was anything you did to combat that? Thanks in advance!
It was fairly cold during our wedding since it was October and in the mountains, so we didn’t have this issue. Hmmm….you may want to keep them inside or in a cooler or some other place that’s chilled before you set up out to prevent them from melting.
Love this. It’s really cute and extremely easy to make. IMO, I would prefer this to bought favors. There is something sweet about getting a DIY gift. Made with love, right? We’ll just ignore the reality of making wedding favors–brides making DIY favors are probably dealing with a great deal of (extra) stress. Haha.
Hello, where did you purchase the individual hersheys from?
I’m having the hardest time finding them!
Thanks 🙂
Hi Leah,
We actually bought ours from Walmart, but you can check grocery stores, Target, Walgreens, Amazon, etc.
~Katie
Hi Katie,
This is such a cute idea! I was wondering though how did the marshmallows and graham crackers stay fresh for you? The boxes are super cute but I worry that they would get stale. How did this work out for you? Thank you!
Hi Kim,
Here is some info from the post that may help:
After buying all the materials we needed for our s’more wedding favors, I made a couple samples to figure out how I wanted them. However, I realized that the graham crackers became stale after sitting for over a week and decided it would be best to make them the night we drove up to the venue {it was out of state so we drove up 2 days before the wedding}.
~Katie
Hi Katie,
Your blog has been absolutely wonderful and helpful to me! These S’more kits are so cute and such a great Idea. I had one question about them though. How did you wrap the twine around the boxes and get the tag onto them?
Thanks so much,
Lisa