UPDATE: All new featured RV tours will be posted on my other website, Wanderful RV Interiors. Existing tours will slowly be moved to the new website, and anything already moved will automatically redirect.
Disclaimer: This post may contain affiliate links, meaning, if you click through and make a purchase we (or those featured in this post) may earn a commission at no additional cost to you. View our full-disclosure here.
Have you used stencils to decorate furniture, your walls or home accessories such as pillows or lamp shades? I have used a few stencils on furniture before, but nothing as large and detailed as the stencil pattern I will be sharing with you today.
DIY Tribal Wall Art
I was introduced to Royal Design Studios last year at a blogging conference and was really impressed with the designs they carried, their prices, and reviews I later read online.
They offer a wide variety of stencil styles and sizes, vinyl decals, tutorials and inspiration that can lead to hours spent browsing their website. No joke 🙂
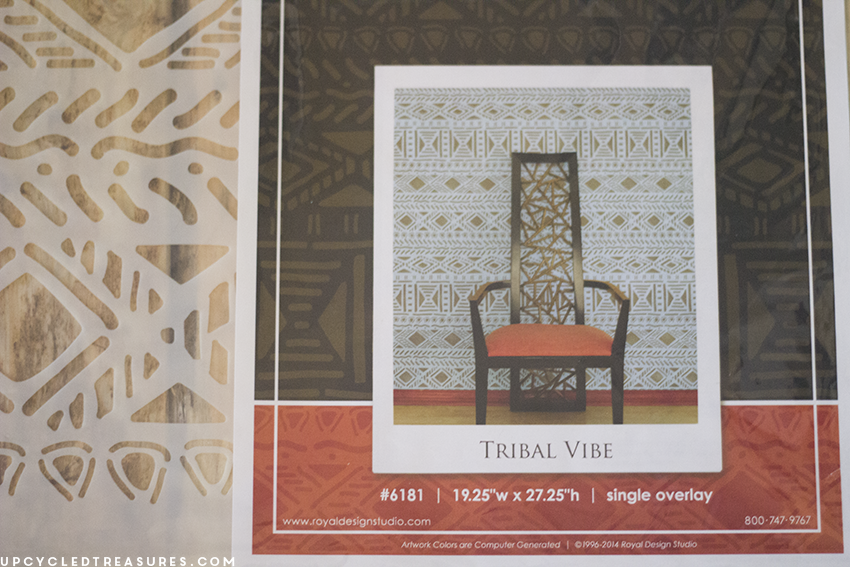
So today I’m excited to share with you my experience using the Tribal Vibe Allover Stencil from the African Stencils Collection!
This stencil immediately caught my attention with the funky pattern that was perfectly imperfect. As you know, I’ve been on the hunt for affordable wall art and thought this stencil could be a great way to incorporate a fun pattern into our home.
You could always paint the stencil directly on your wall, but as you may already know, we are currently renting so the idea of creating art I can take with us when we move was really appealing.
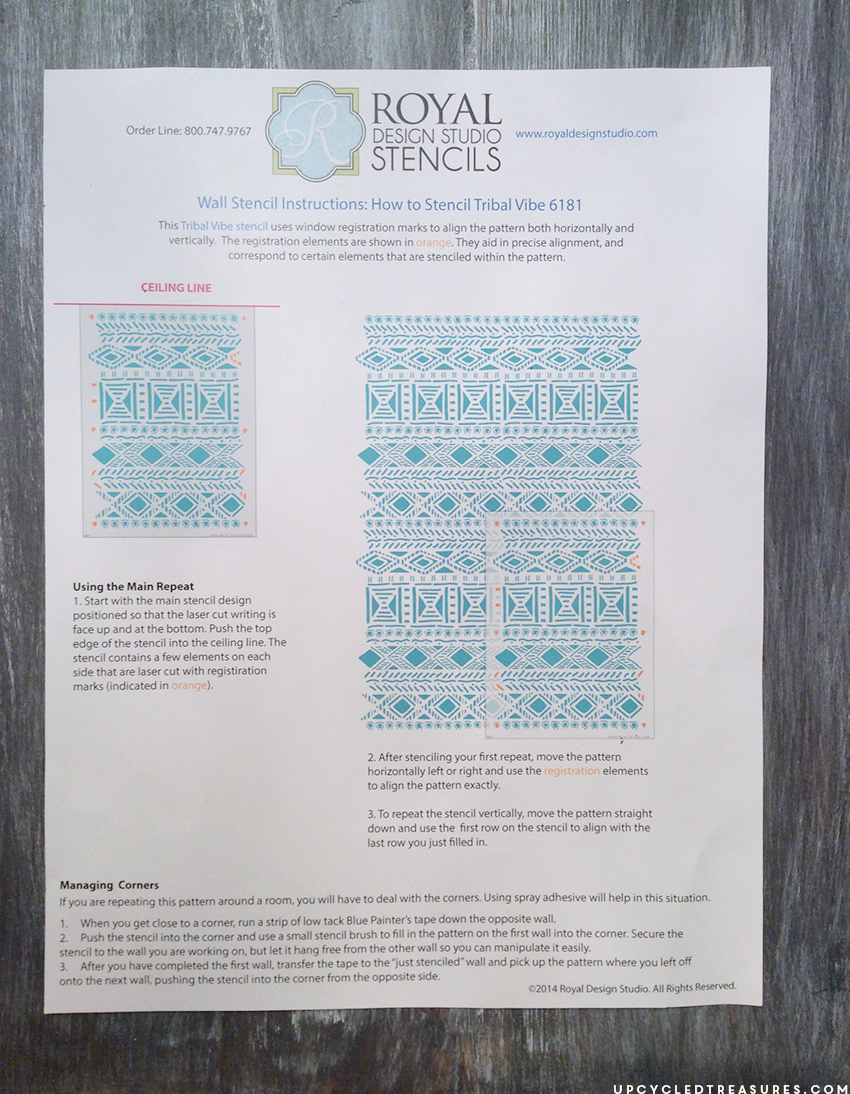
By the way, each stencil comes with directions for that specific stencil, making it even easier. Oh and each purchase also comes with a FREE $8.95 stencil, how awesome is that?
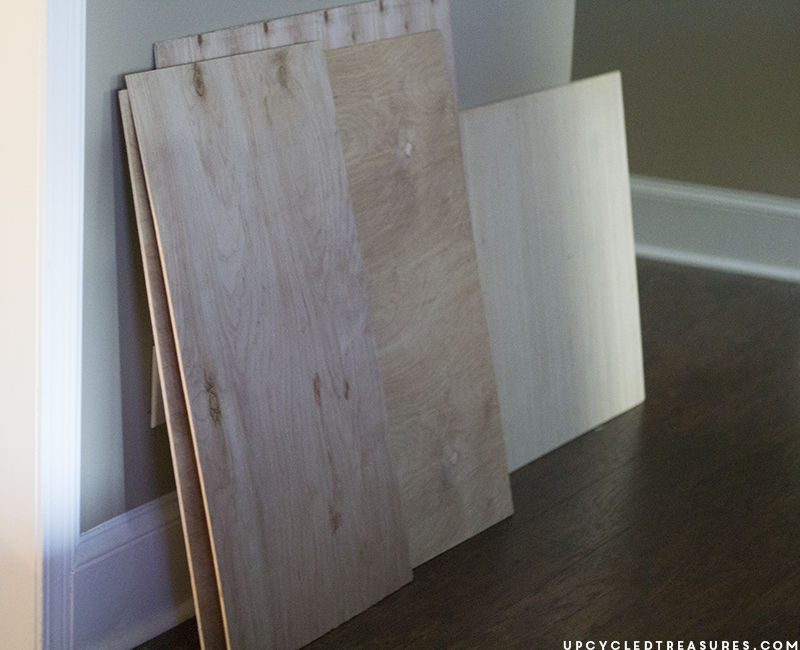
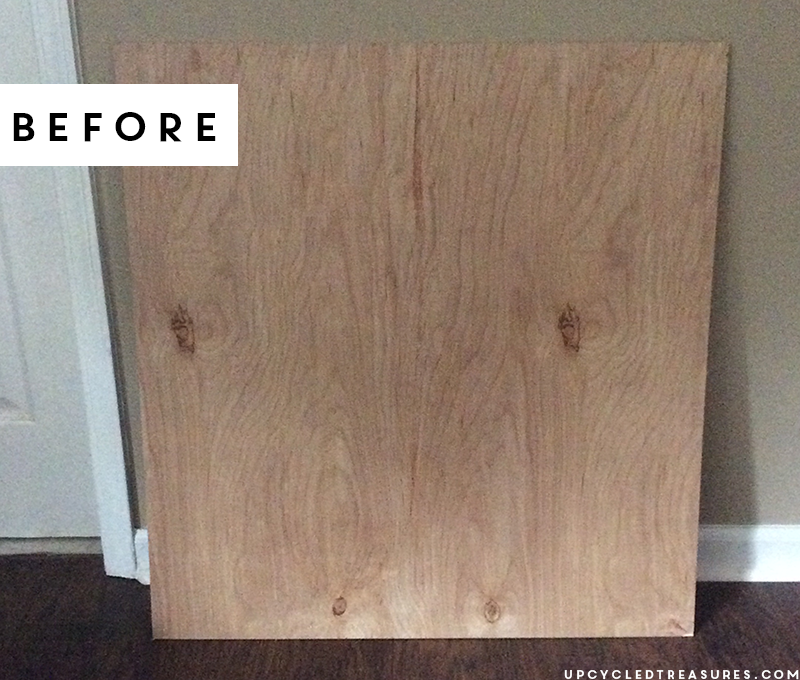
I originally planned to use this stencil over 3 pieces of extra plywood we have leftover from previous projects and hang them in our entryway.
However, I have since moved our “Let’s Be Adventurers” sign there {as you can see in my Fall Home Tour}, so I decided just to paint one large piece of plywood and hang it on a wall with less space in our dining room.
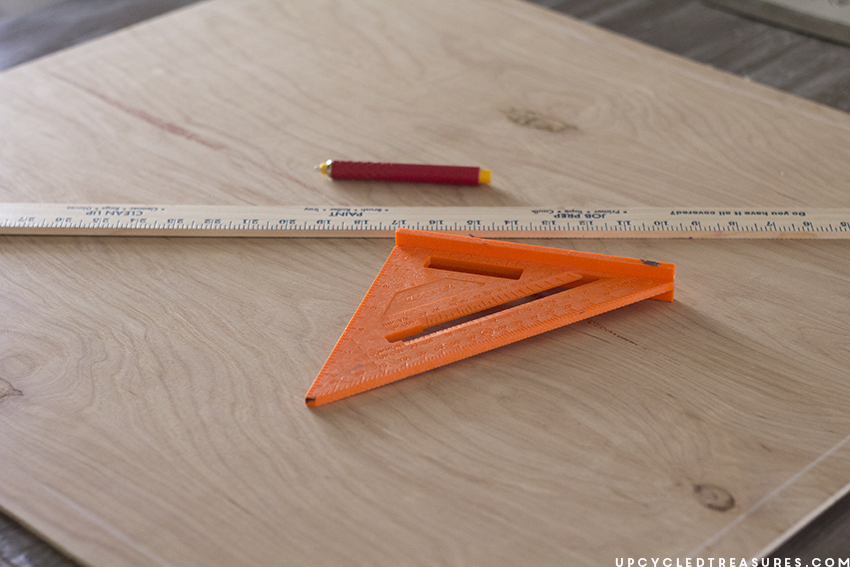
I knew for this DIY tribal wall art I would want to frame the plywood out so I measured it out and then using a square, yardstick, and chalk, I made a 1-inch border on the board that my stencil would go inside.
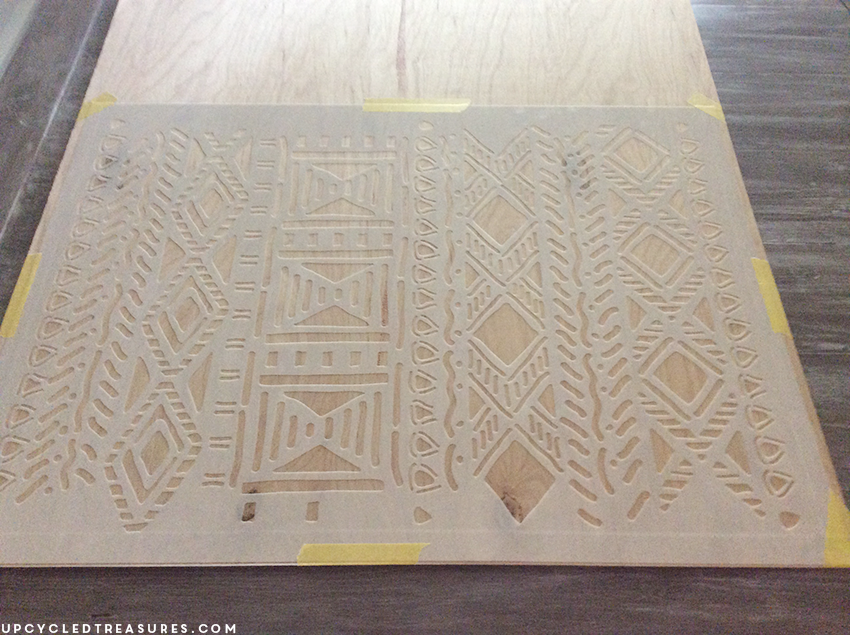
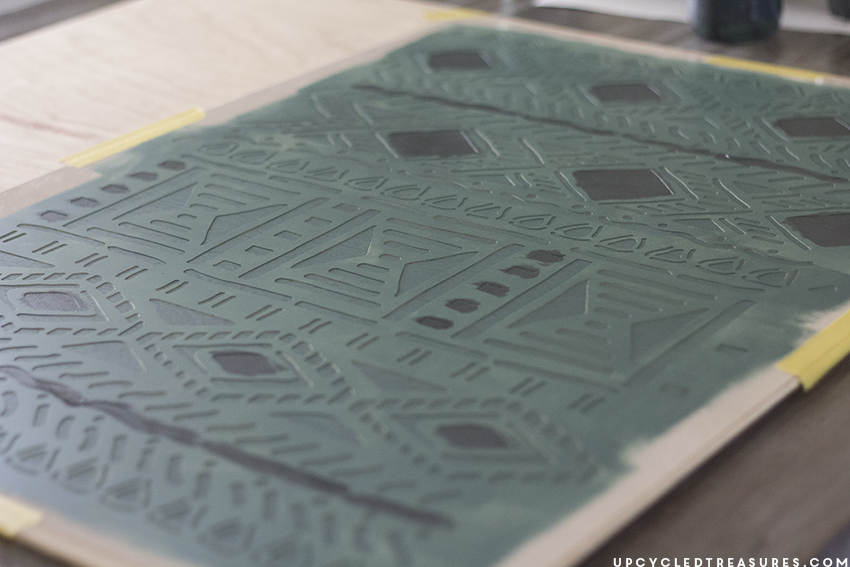
I placed the stencil where I wanted it and then taped it into place, knowing that I would have to move the stencil down along the board to repeat the pattern.
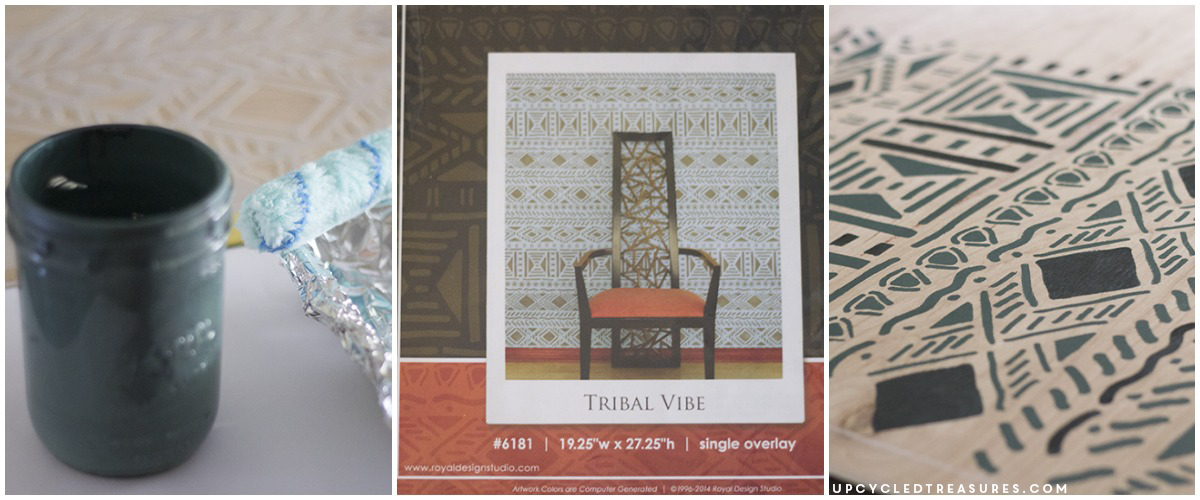
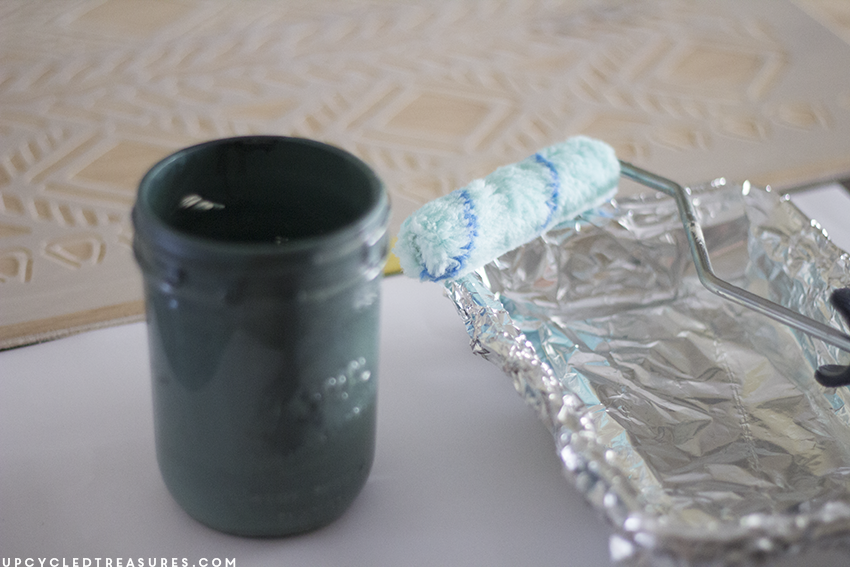
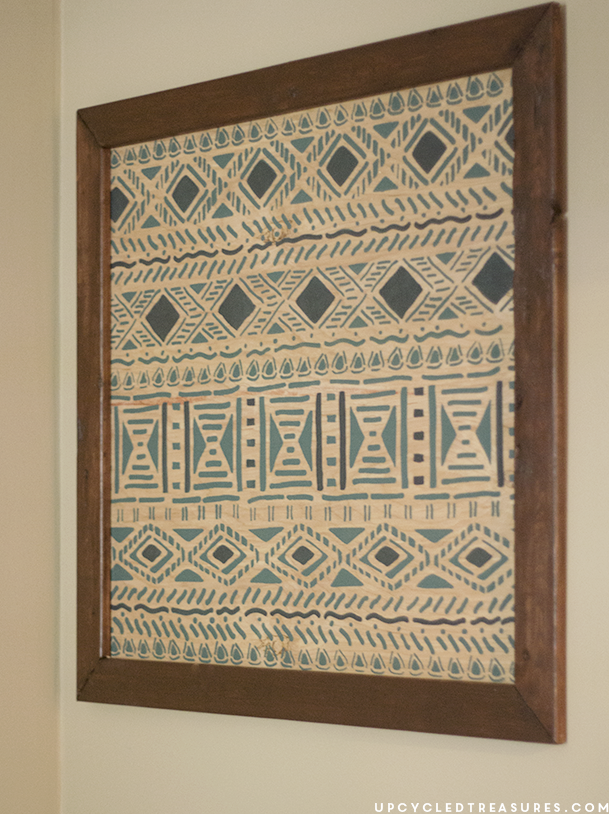
I wanted to keep the plywood as the base but have the stencil pattern be in dark green and blue. I had previously mixed up some dark blue paint so I basically blended that with some of my Florence chalk paint to create a custom dark green color.
When it comes to stenciling I prefer to use a roller rather than a foam brush because it seems to go on easier and smoother and dries faster too.
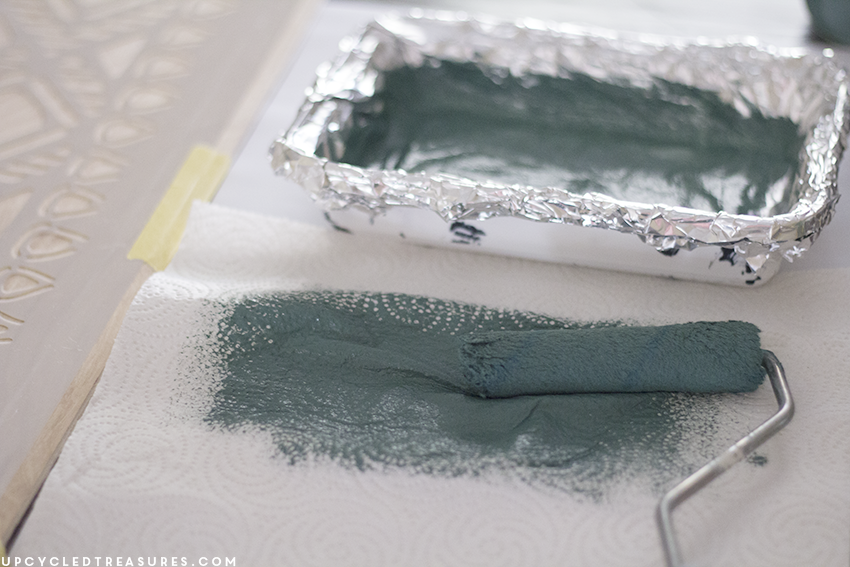
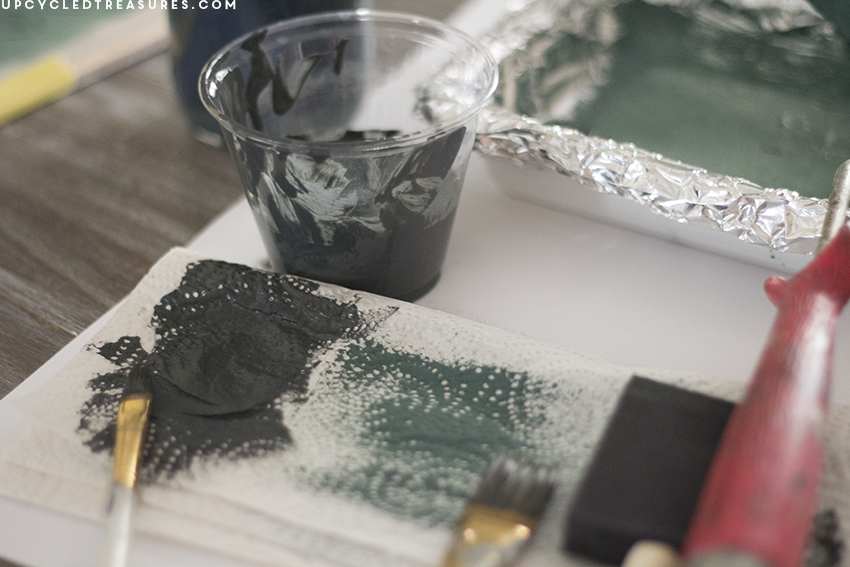
I poured a little bit of my custom green color inside of a tray and, and then rolled it on top of some paper towels to make sure and get any excess paint off. The key is to not have too much paint on the roller so that it doesn’t bleed.
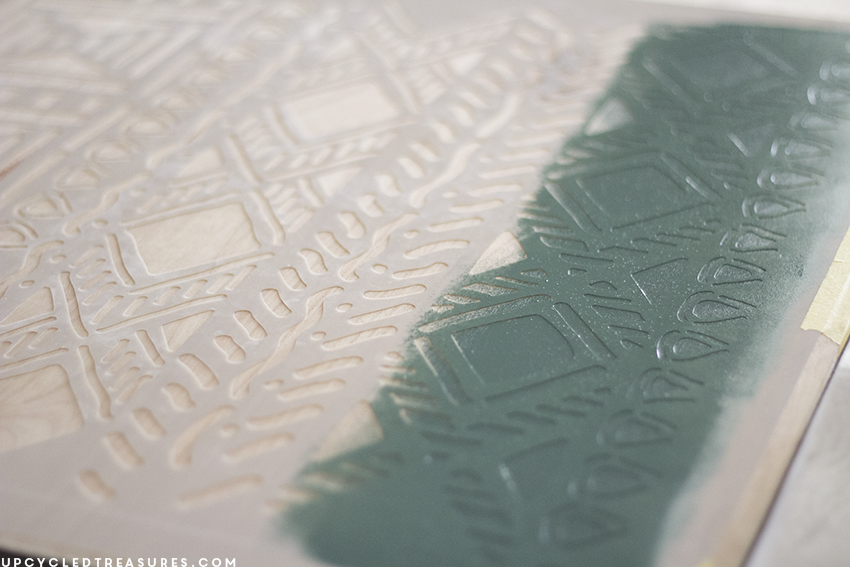
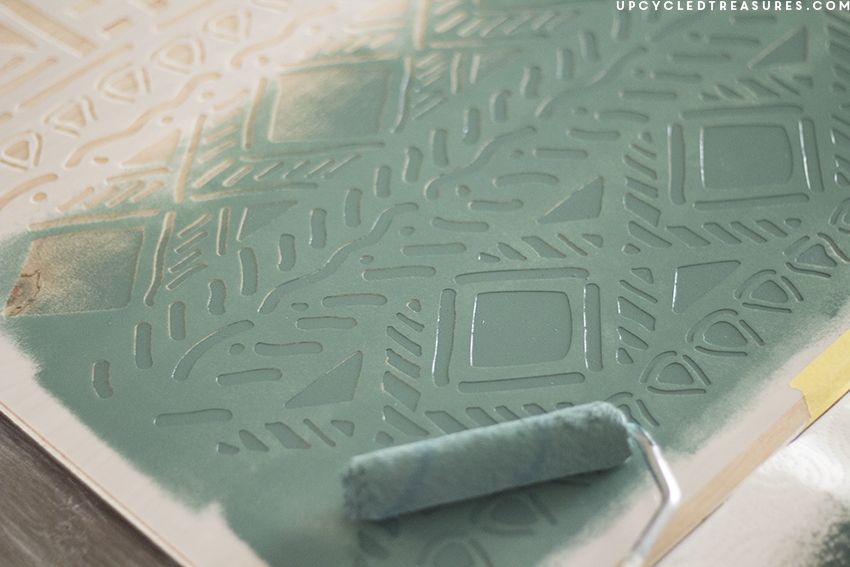
I then began to roll the paint on top of the stencil. Although it was taped down, I still held it with my left hand while rolling with my right in a diagonal direction. I have dealt with moving stencils in the past and didn’t want that to happen. However, this stencil stayed in place and was super easy to work with. Side note: Make sure your stencil is laser cut size up.
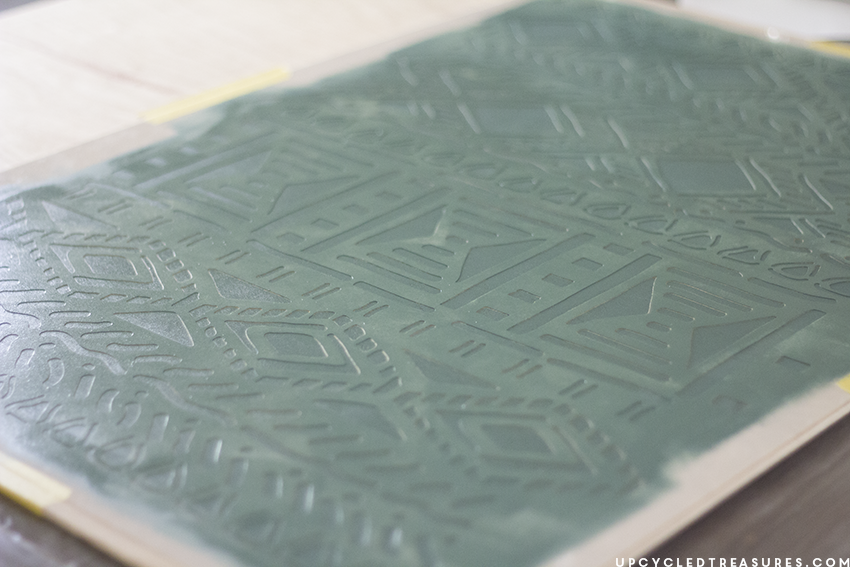
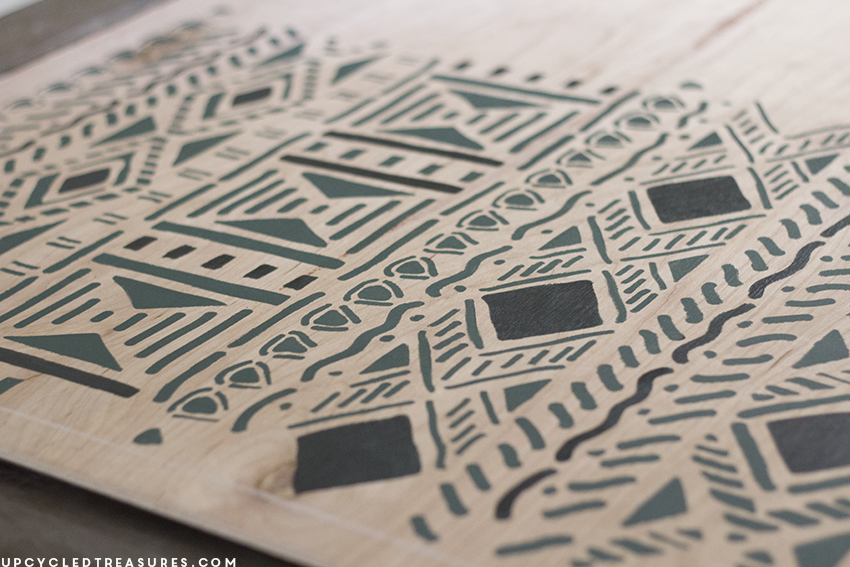
Oh my gosh, painting this stencil was a breeze and instant gratification too. I definitely peeked underneath afterward to make sure there was no bleed and was really impressed! As much as I wanted to remove the stencil and stare at the new easy wall art, I decided to add a second color on part of the pattern with some dark blue. Well, I thought it was dark blue but I apparently made it more black. Woops. Even so, I still liked the contrast against the dark green and plywood.
I would have used a small foam or stencil brush for this part but couldn’t find my stencil brushes and all of my foam brushes were too wide. So I just used a normal detail brush. Although this worked just fine I would still recommend using a small foam or stencil brush instead. After I dipped the brush in paint I wiped it on the paper towel just to make sure I didn’t have too much paint on the brush.
I will admit that I did this pretty fast because I was excited and impatient and honestly felt that the stencil pattern could be imperfect and still look great. That’s one of the reasons I liked it so much to begin with.
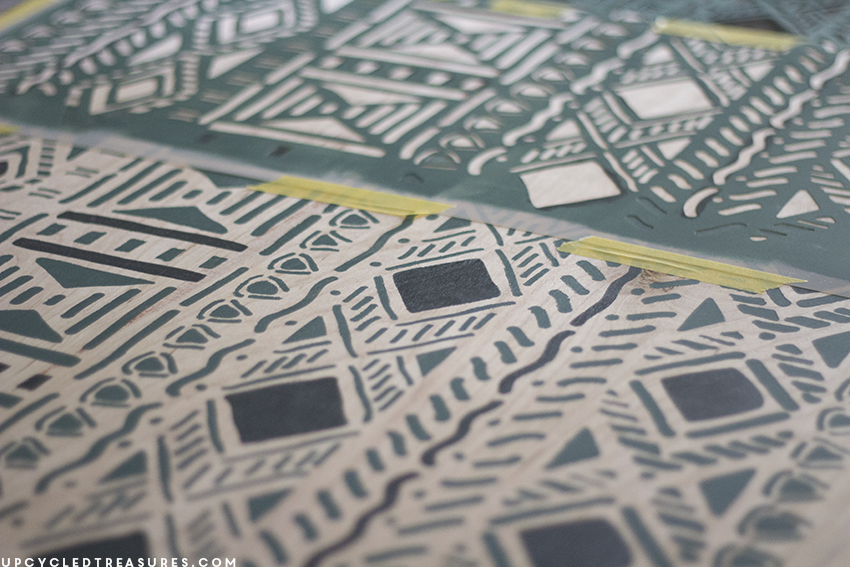
Once the first section was dry I moved the stencil over, lined it up and then continued the pattern onto the plywood.
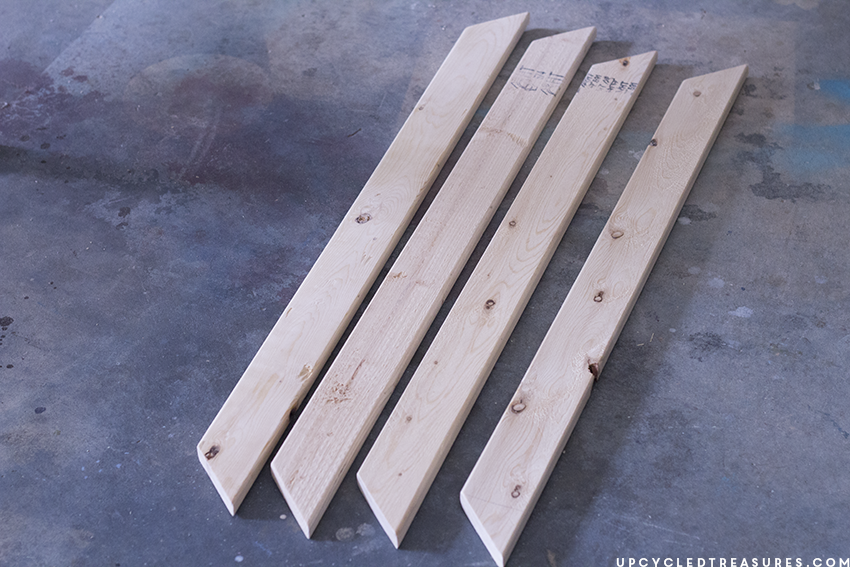
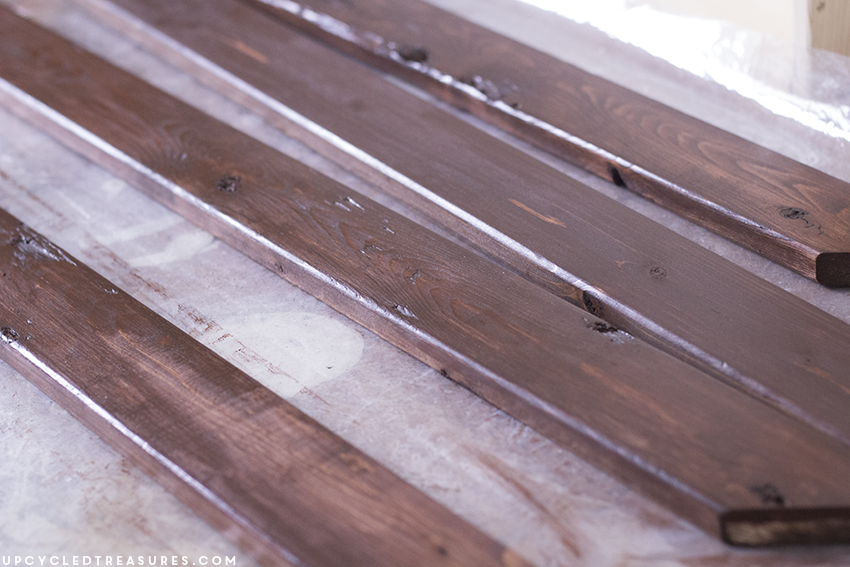
Then while I waited for the paint to finish drying I started working on the frame, which was just an easy frame made out of {4} 1 x 3 boards.
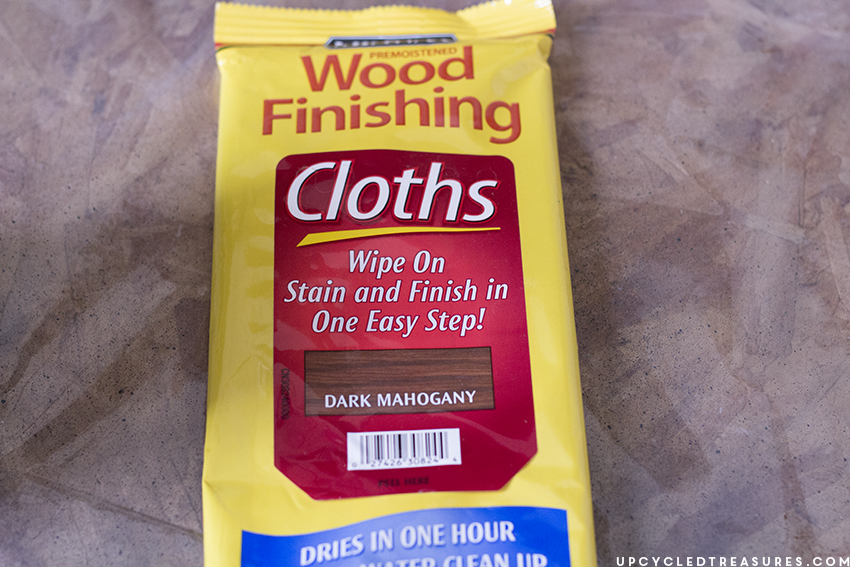
I first covered the boards with some dark walnut stain, but then went over them with one of the dark mahogany stain cloths.
Once the frame was built I attached the plywood to the back with our nail gun and then attached some hanging hardware.
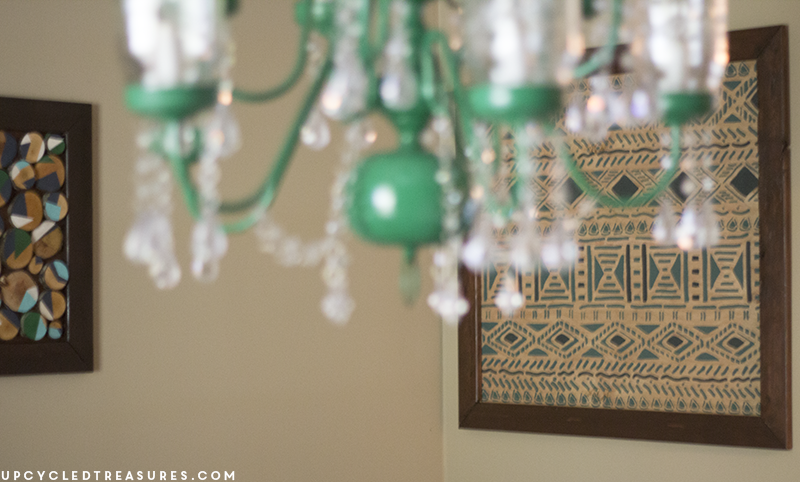
The DIY tribal wall art actually fits perfectly on a blank wall in our dining room, and I love how it looks with our new mason jar chandelier, bear wall art, and DIY wood slice art.
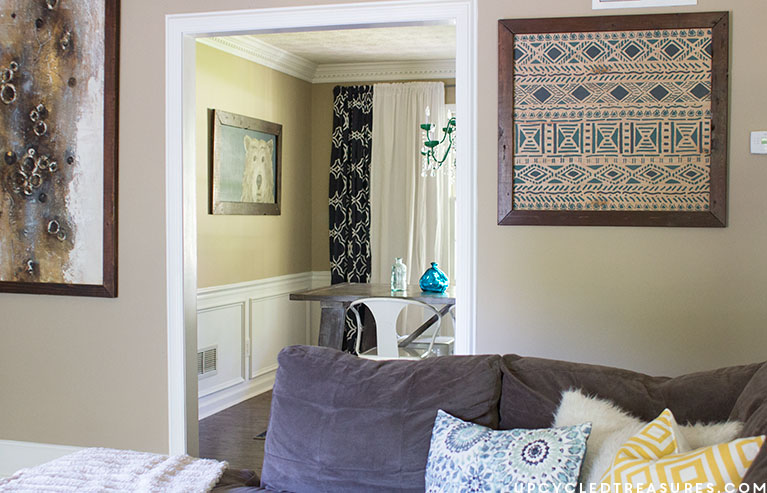
Update: This DIY tribal wall art has since been moved into the family room:
Overall I was really happy with this stencil, how easy it was to use, and the fact that it didn’t slide around while I was working with it.
Have you used Royal Design Studios products in the past? If so I’d love to hear about your experience or any tips you have in the comments below.
What do you think of our DIY Tribal Wall Art with a stencil? Are you planning a stencil project of your own? Here are some more great resources you may want to check out:
Royal Design Studio | Inspiring Stencil Ideas | How to Stencil
This post is sponsored by Royal Design Studio. Although I wasn’t compensated for this post, I did receive a free stencil in exchange for a review. All opinions are my own.

This looks like such a fun project! I cannot wait to see how it turned out!!!
Katie, This is adorable! Seriously, in love with it.
This turned out so pretty.. I was dying to see the end results..Looks so cute. Pinning.
that is simply beautiful! I love that idea!! I have actually ordered stencils from that company before too and got 2 free small stencils!
I found you on tatertotsandjello and would love to invite you to link up on my blog too! I run Totally Terrific Tuesdays and it runs until sunday! If you get a chance, come on over and visit 🙂
Jess
I love this!! Thank goodness for stencils. I can picture a place in my house for something like this. I’m featuring this on my site for Think & Make Thursday. Love it!