UPDATE: All new featured RV tours will be posted on my other website, Wanderful RV Interiors. Existing tours will slowly be moved to the new website, and anything already moved will automatically redirect.
Disclaimer: This post may contain affiliate links, meaning, if you click through and make a purchase we (or those featured in this post) may earn a commission at no additional cost to you. View our full-disclosure here.
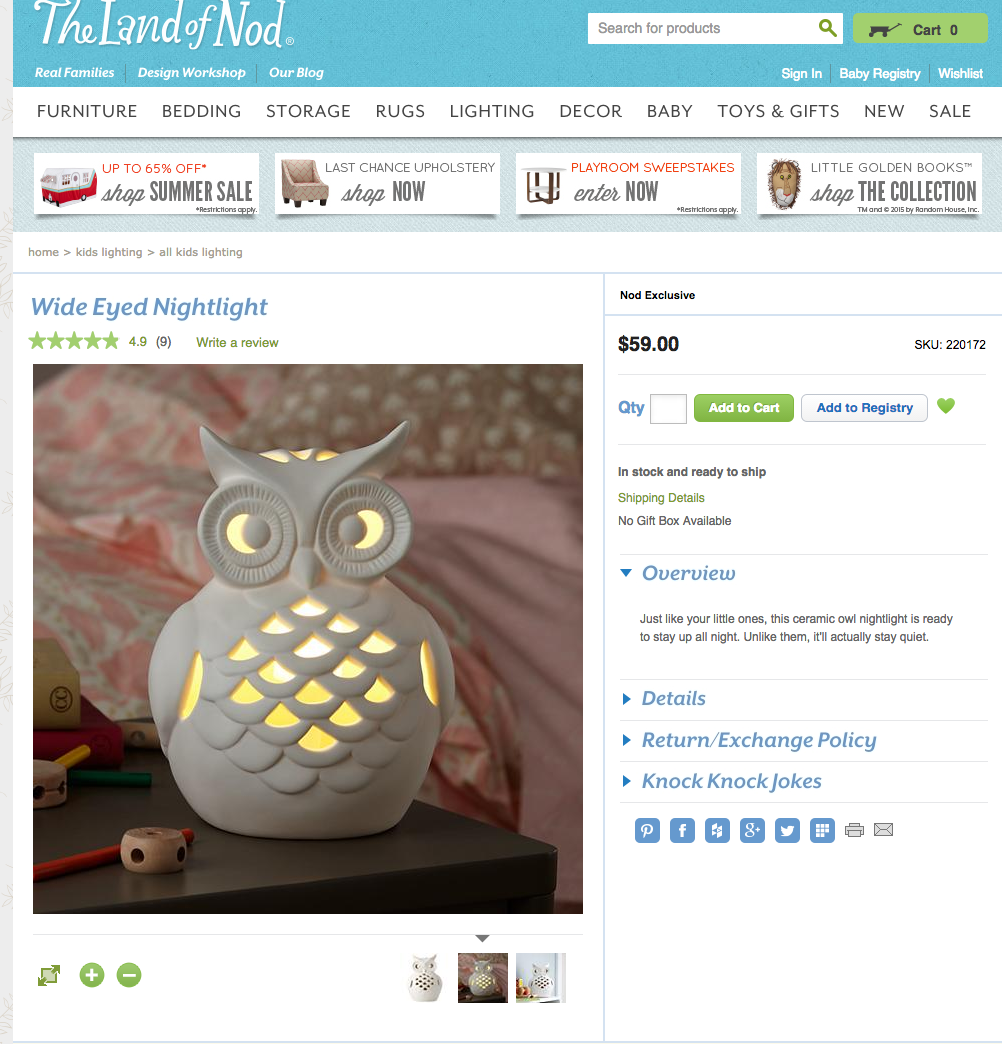
We’re back with another round of #knockoutknockoffs, and this week our DIY inspiration came from the shop, Land of Nod.
In case you’re new here, I teamed up with 5 super creative bloggers to share a DIY project inspired from a specific store we love. We will post a new project on the first Monday of the month from now until August. You can view the first round here, where I shared my Modern Rustic Wall Hangings inspired by Anthropologie.
I’ve always been a fan of the whimsical and playful decor they offer at Land of Nod, but not having kids made this project a little more challenging. I’m also finding myself being a little pickier with projects now that I know we will have to eventually downsize for our RV road-trip adventures, and didn’t want to make something just for the sake of making it.
However, as soon as I came across this owl nightlight I was instantly inspired.
DIY Upcycled Owl Nightlight
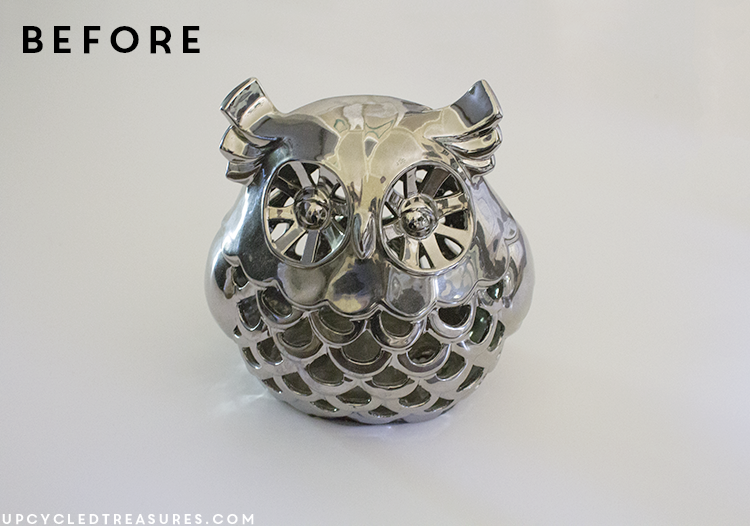
You see, I sorta went through this owl phase a couple of years ago and this nightlight reminded me of a metal owl I had purchased at HomeGoods during that time {which was now sitting patiently in a storage bin}.
I figured that the holes that went through the metal would be perfect for light to shine through.
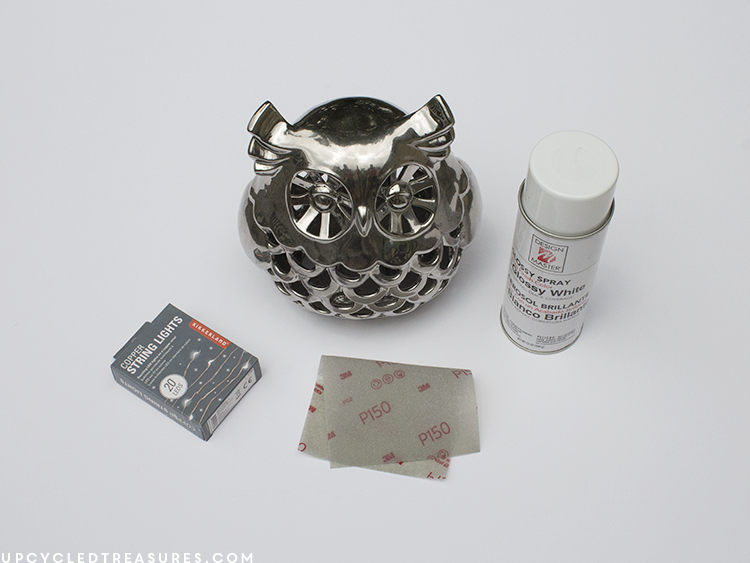
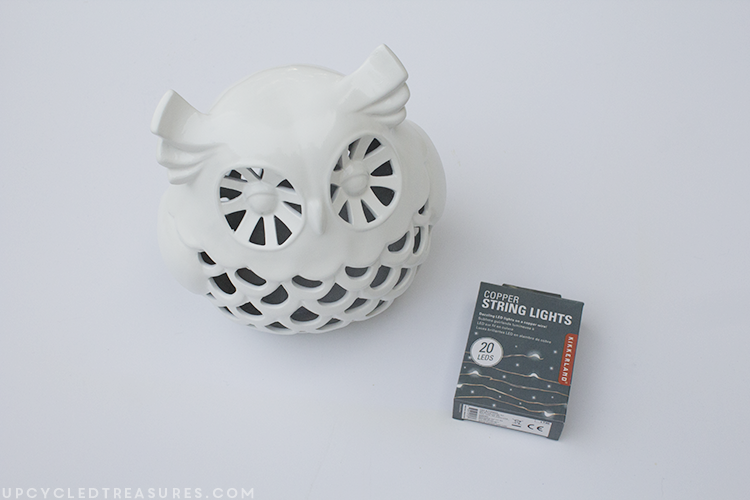
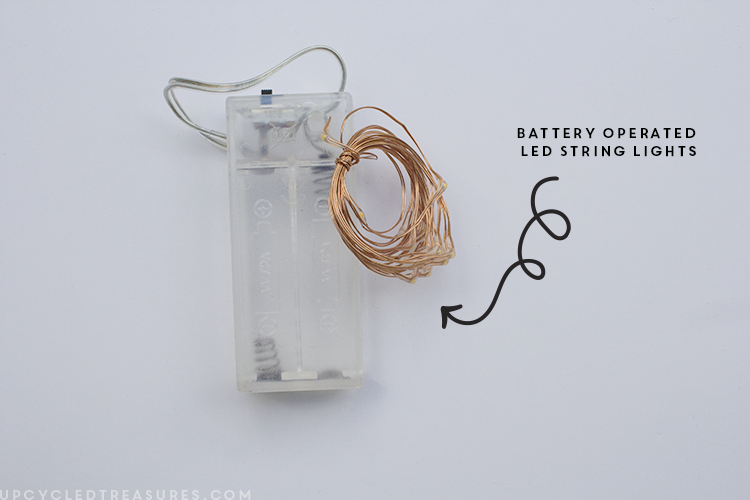
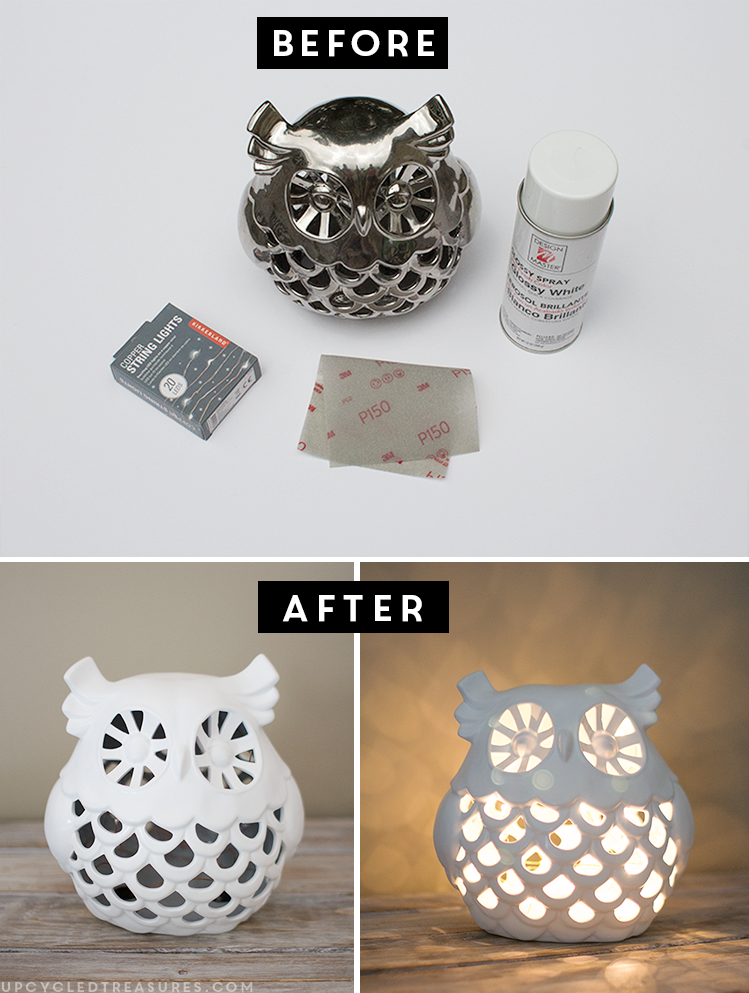
Since I had just about everything I needed, all I had to purchase was some white spray paint and some battery operated lights, and both were purchased with coupons making this project cost less than $10, woo-hoo!
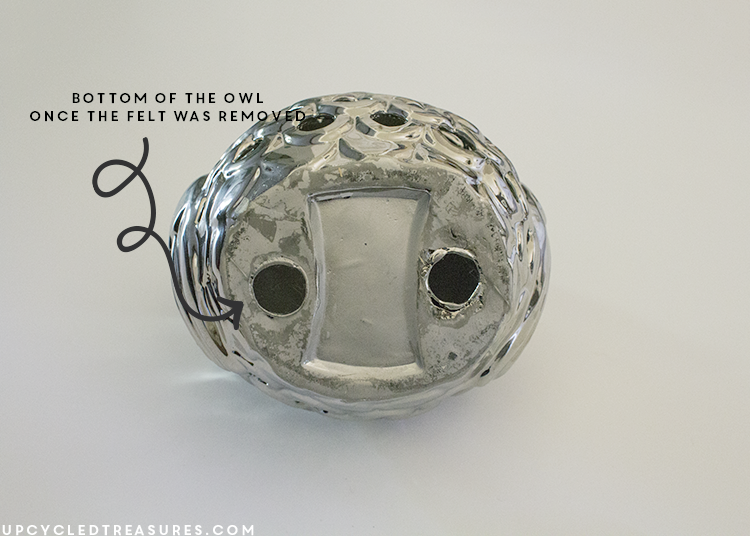
The first thing I did was remove the felt from the bottom of the owl, which to my surprise had the perfect size holes underneath for me to feed the string lights through, yay! I did have to clean some of the gunky glue off but that was the most labor-intensive part of this project.
I then lightly sanded the owl to make it easier for the paint to stick, and then spray painted a couple of coats of white paint, making sure to do thin even coats and letting it dry in between. Of course, you could jazz it up a bit by adding a splash of color or even do a fun ombre or dip-dyed paint job.
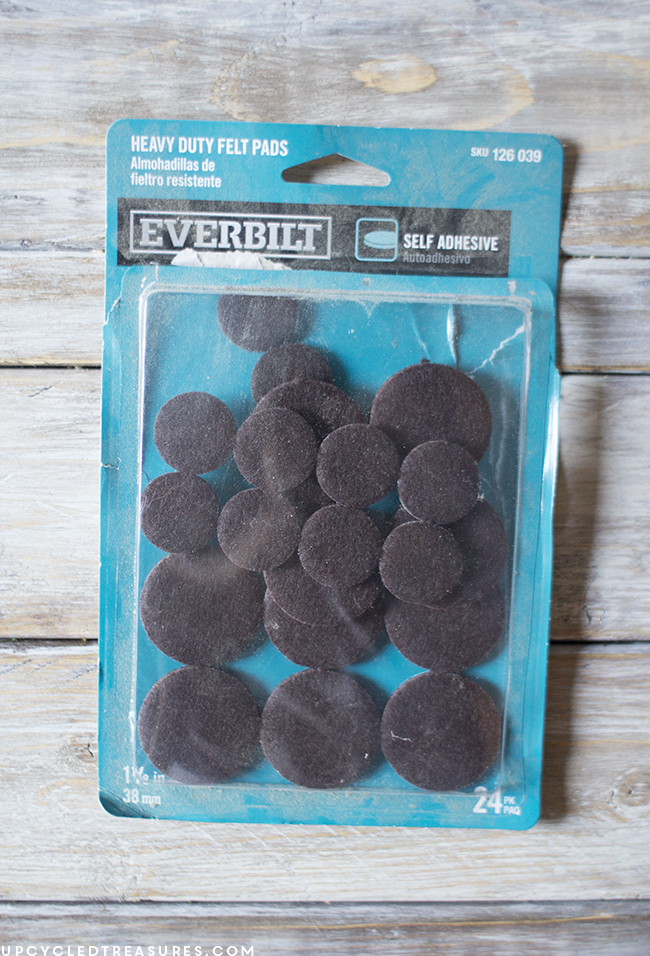
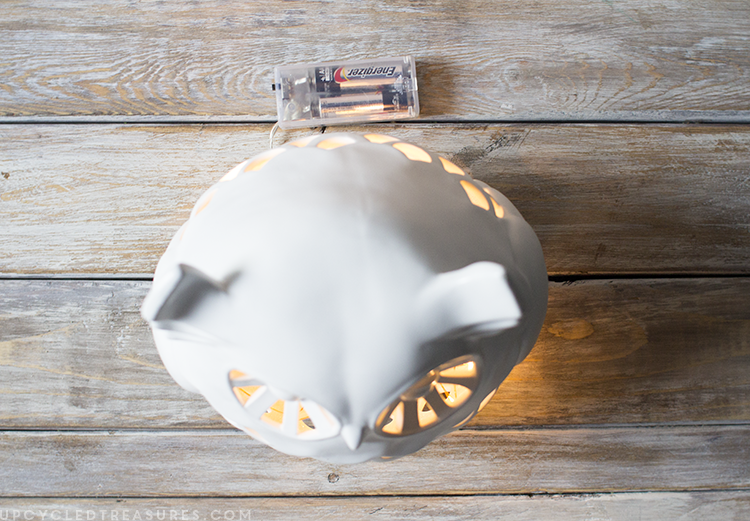
Afterward, I sprayed it with a quick coat of clear sealer. Then once the owl was dry I fed the battery operated string lights through one of the holes at the bottom, closed it off with 2 furniture feet and called it a day!
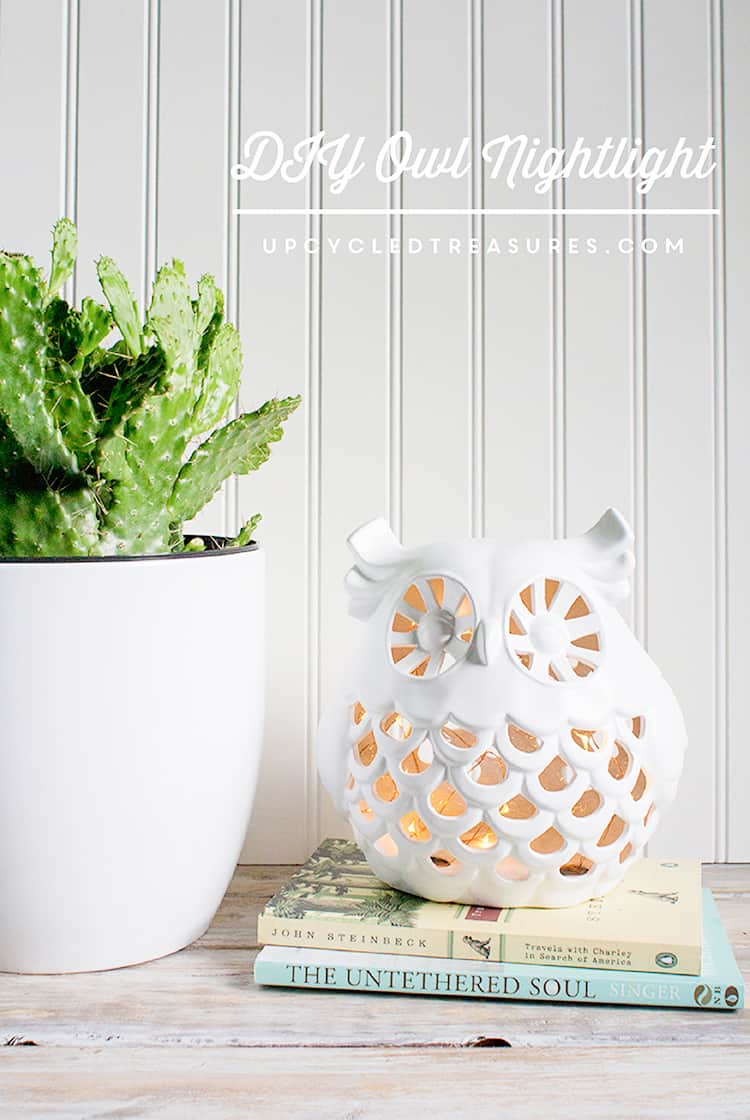
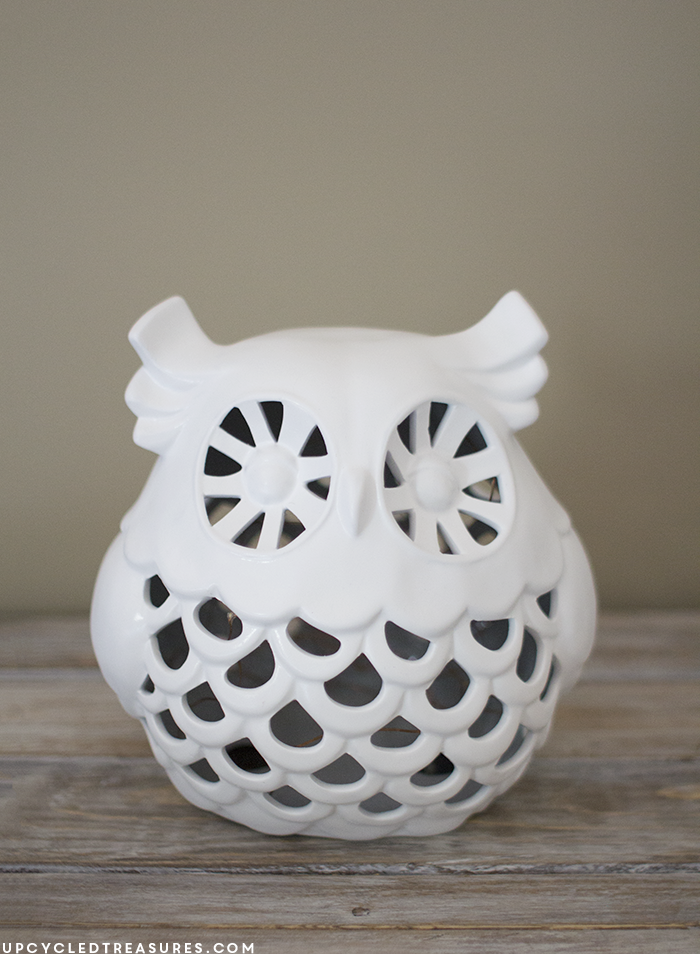
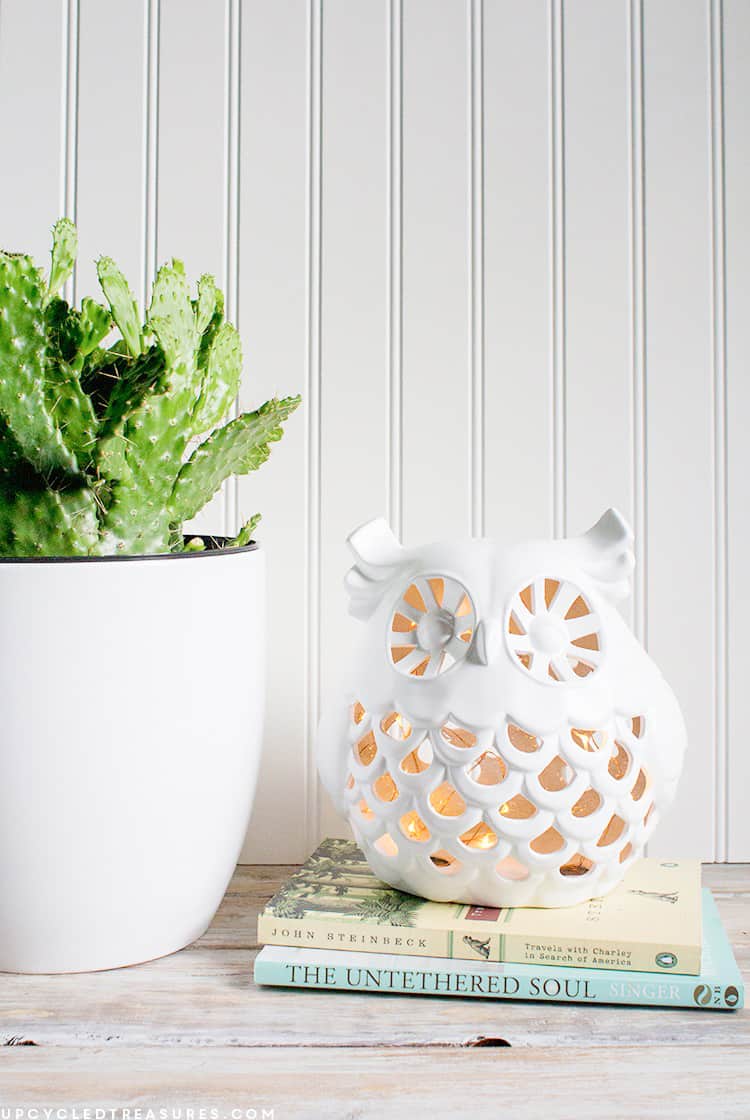
Here is what our DIY upcycled owl nightlight looks like with the lights turned off:
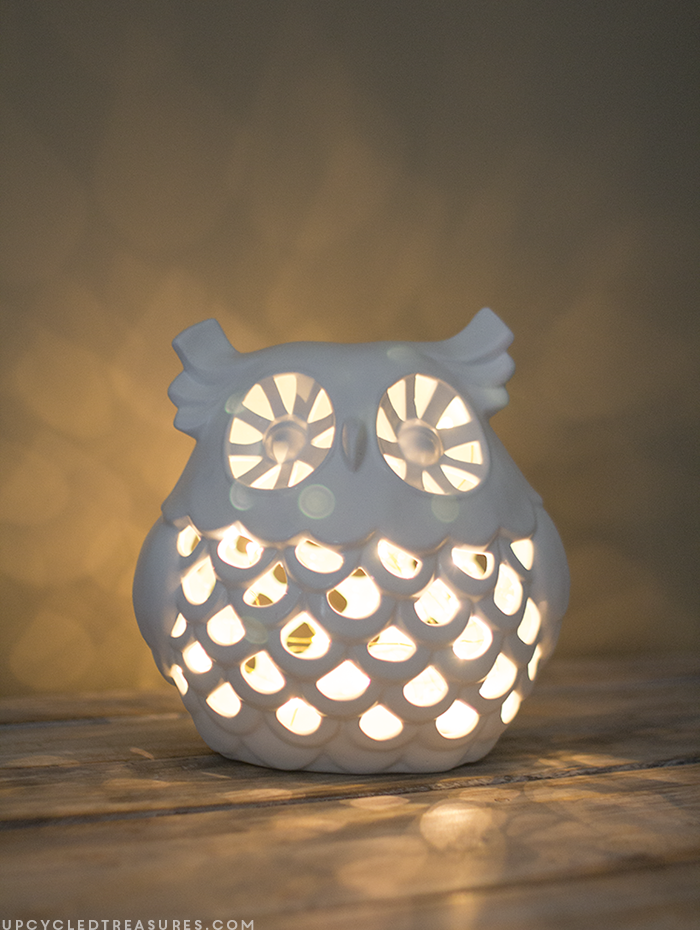
And here it is with the lights turned on:
Talk about easy peasy, and now I have a new quirky DIY upcycled owl nightlight that requires no electricity 🙂
You could even use indoor/outdoor battery lights or solar lights to create a cute side lamp for your porch or patio.
You can see how the switch for the lights is still on the outside, which makes it easy to turn them on or off.
So what do you think of our DIY upcycled owl nightlight?
I understand that not everyone will have this same owl sitting around to replicate this project, but I hope to inspire you to re-imagine items you may already have.
So if your feeling thrifty and inventive, don’t forget to re-visit some of your forgotten treasures, which like my owl, maybe sitting in the attic or in a storage bin on a shelf in the garage.
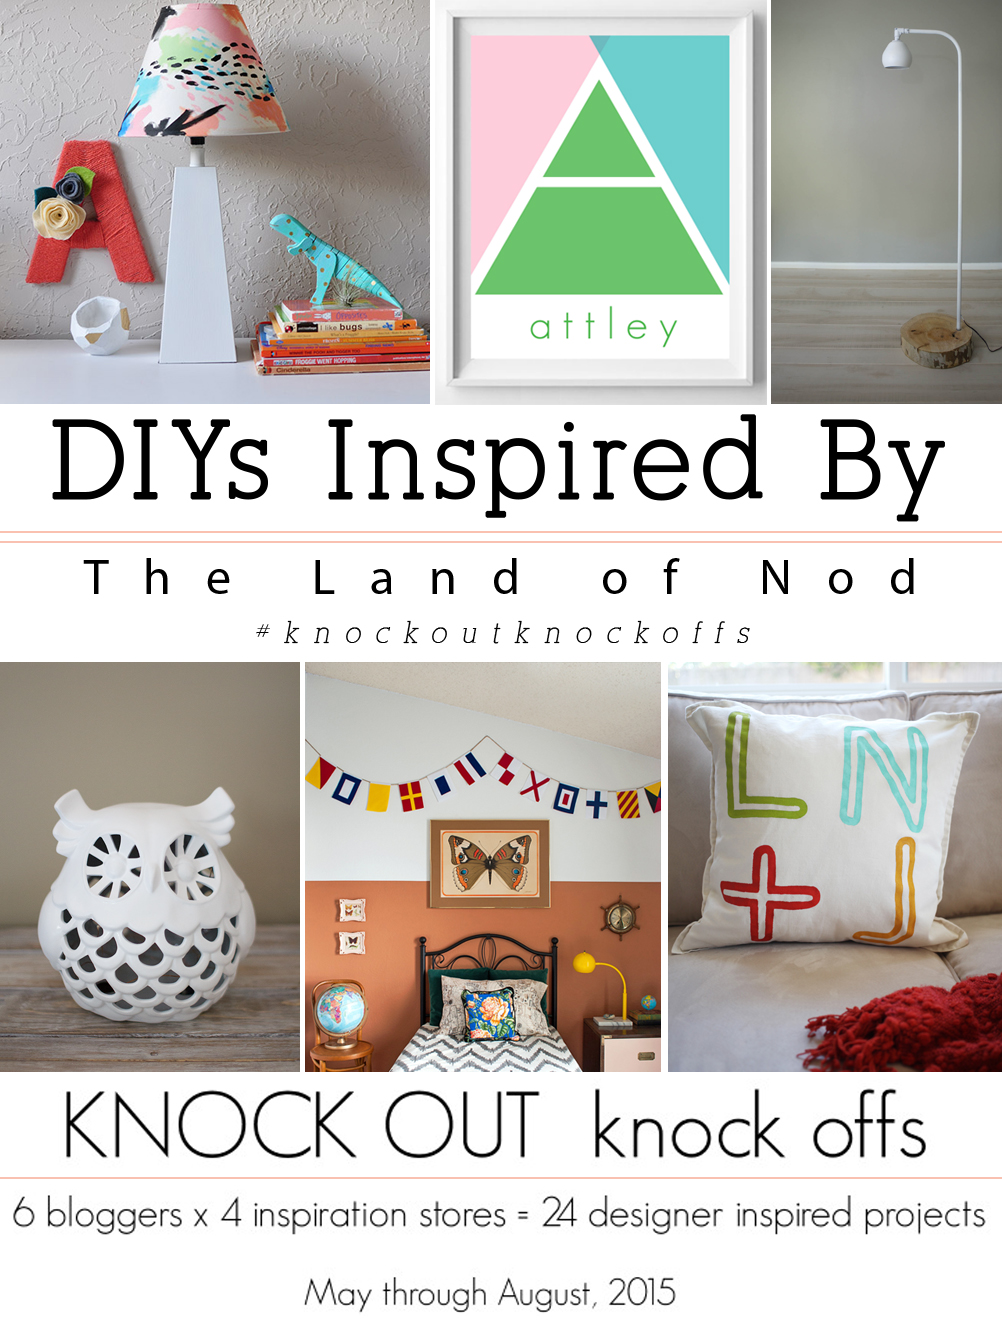
Don’t forget to check out the additional projects inspired by Land of Nod below!
DIY Colorful Painted Lamp Shade | Delineate Your Dwelling
DIY Monogram Wall Art | Designer Trapped in a Lawyer’s Body
DIY Modern Floor Lamp | Bigger than the Three of Us
DIY Nautical Flag Banner | The Gathered Home
DIY Monogrammed Initial Pillow | Brave New Home
Have you saved that old treasure from storage? If so, I’d love to hear about it.
Thanks for stopping by!



Love it! And so clever to just add a battery pack for the light. Adorable!
Thanks Amy! By the way I totally thought I responded to tis a long time ago but just saw that I didn’t. Must be losing my mind. Haha.
No way – that owl was just perfect for this project! It pay to hang onto things! 😀 I love those little battery powered string lights – I’m definitely filing them away for future project ideas!
Genius! Gotta get some of those string lights!
Thank you Ashley! I picked up an extra pack because they really are so versatile!
What a great idea! Never would have thought about creating a light like that. Thanks for sharing!
Thanks Jennifer! I’m just happy I was able to give an old owl some new love 🙂
I love owls and this is such an easy project to do. I’ll have to keep my eye out for a large owl to do this with.
Thanks Erlene! I have actually seen quite a few at HomeGoods and Marshalls lately and they have all been about $10 or less 🙂