UPDATE: All new featured RV tours will be posted on my other website, Wanderful RV Interiors. Existing tours will slowly be moved to the new website, and anything already moved will automatically redirect.
Disclaimer: This post may contain affiliate links, meaning, if you click through and make a purchase we (or those featured in this post) may earn a commission at no additional cost to you. View our full-disclosure here.
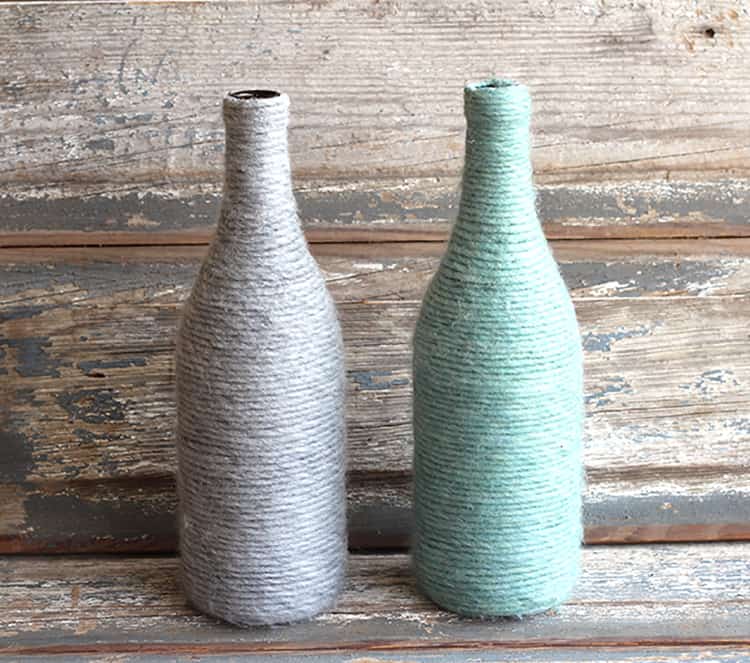
These yarn wrapped bottle vases are not only functional and pretty, but budget friendly and easy to makel. You can personalize any kind of bottle using yarn in your wedding colors, or even use rope or twine.
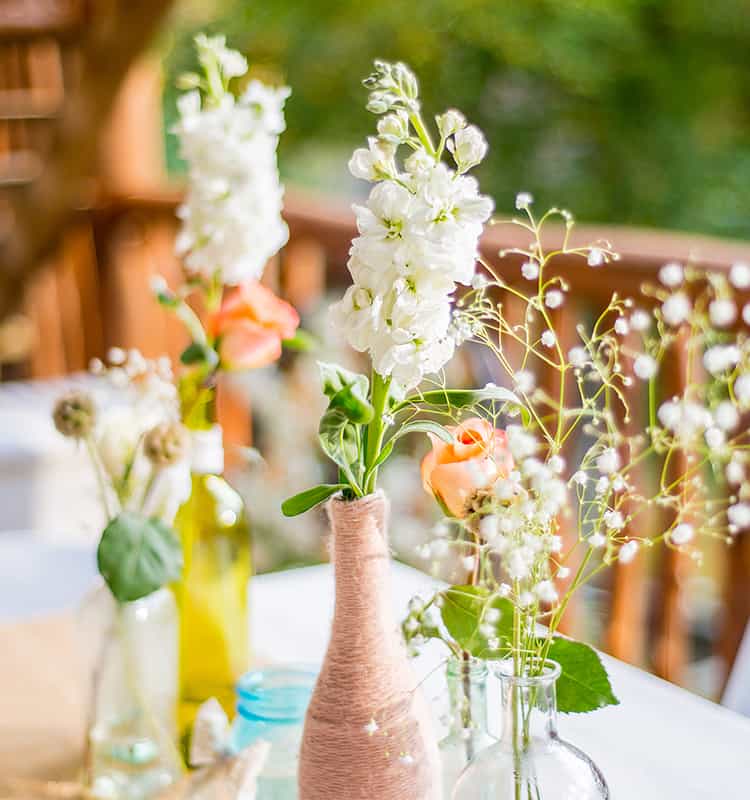
How to Make Yarn Wrapped Bottle Vases
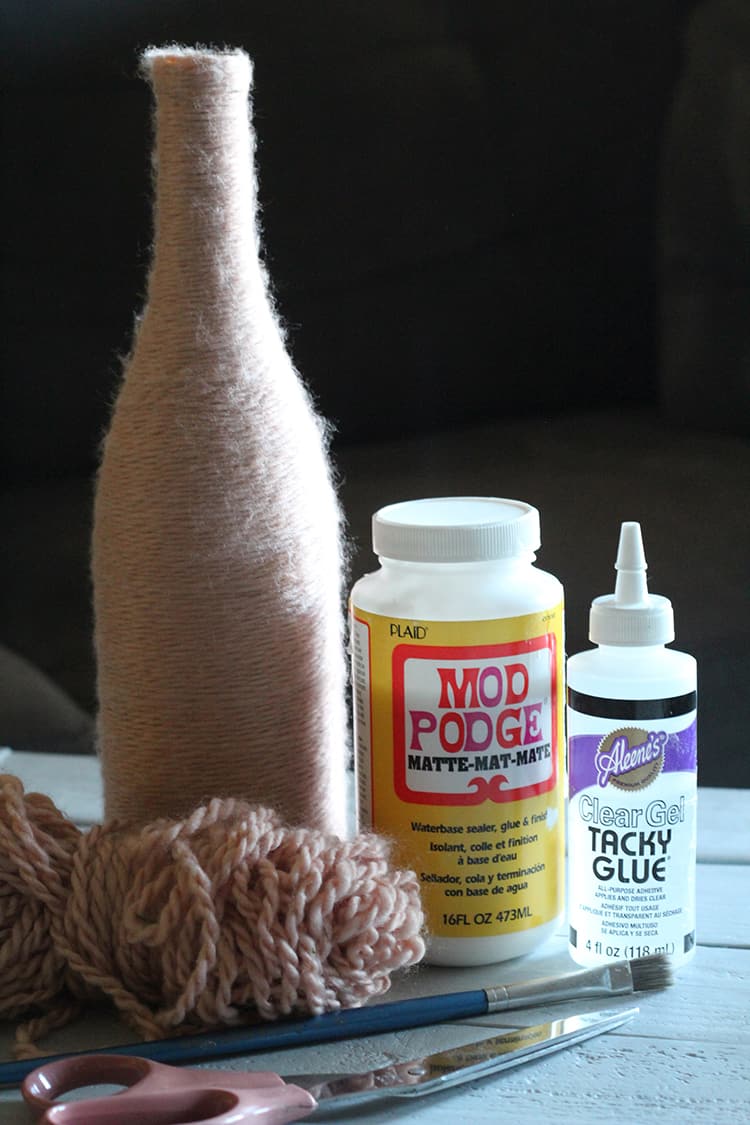
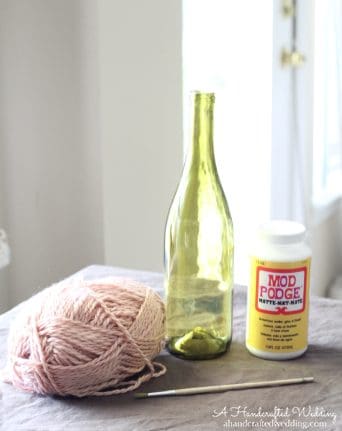
Materials you will need to make your own yarn wrapped bottle vases:
Step 1:
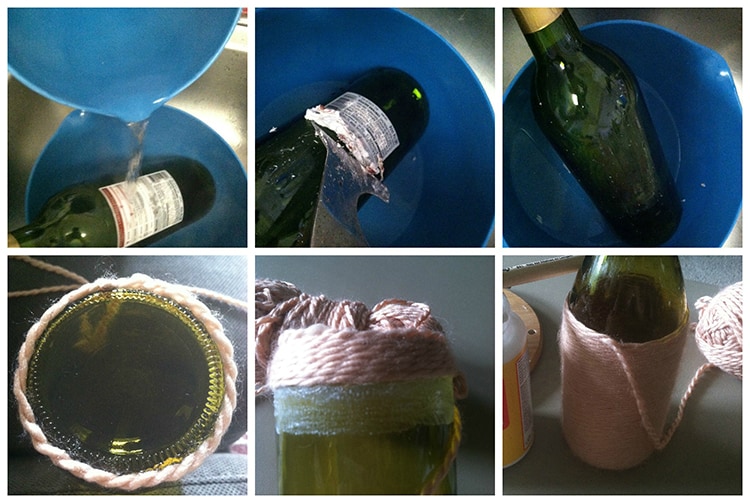
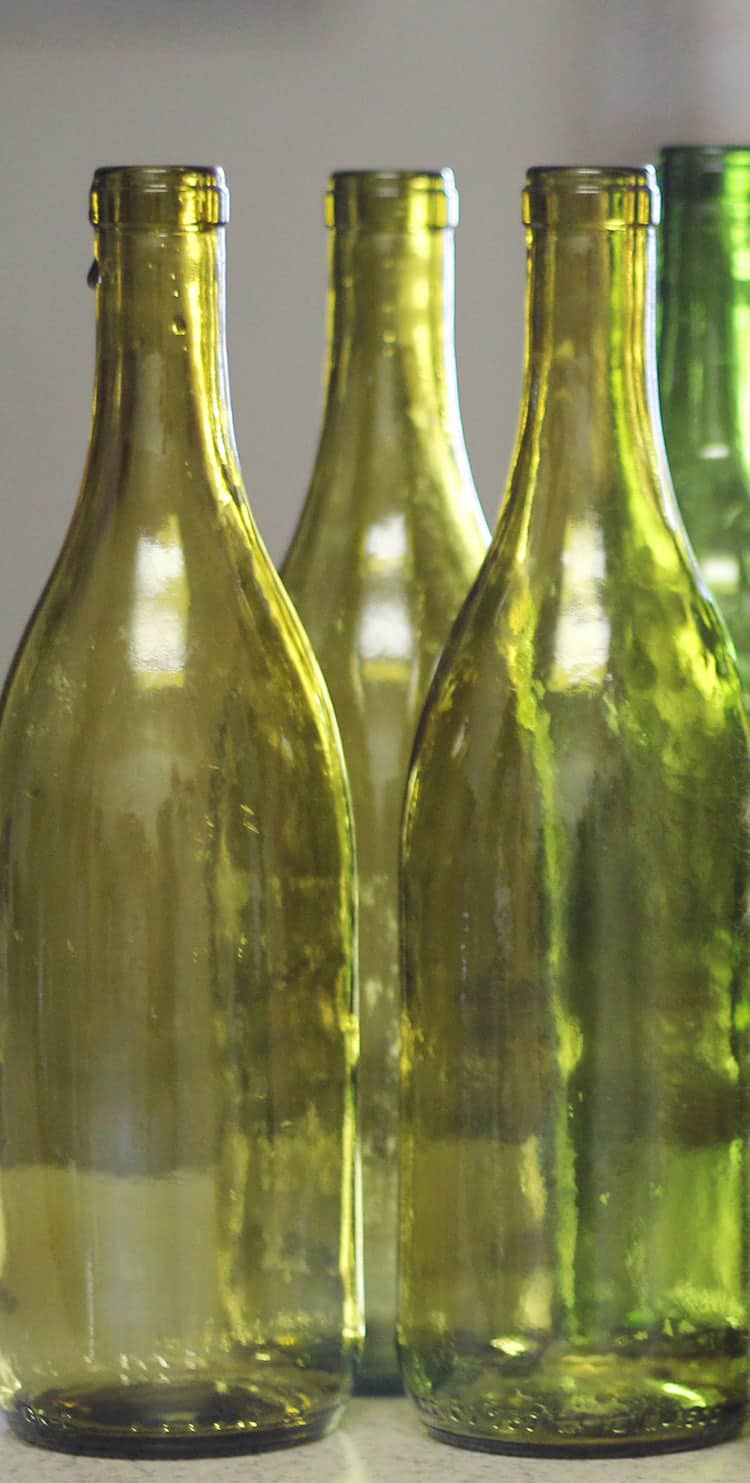
Clean the bottle – here is a rundown of how I removed the labels from the bottles, but since they are going to be covered they don’t need to be perfect. I first heated up some water in a pot and then using a ladle I scooped some water into a bowl {If you have a tea kettle that would be much easier}. I then poured some of that hot water over a wine bottle that was inside a bowl in my sink. The hot water will loosen up the adhesive so I then used a paint scraper to scrape the label off. I put the wine bottle inside a bowl in the sink to keep the label pieces in the bowl and to keep better control of the hot water.
I had previously removed the labels from the bottles right after they came out of the dishwasher, so the steam made them easy to come off. However, these wine bottles were washed a while ago which is why I tried this technique and it worked really well.
Step 2:
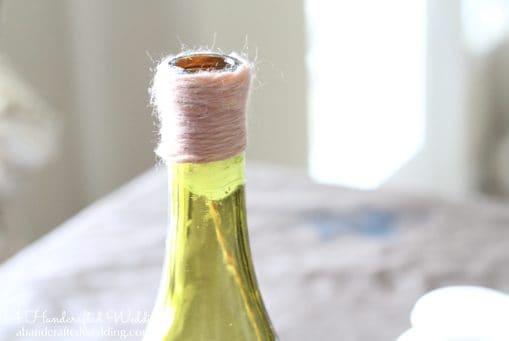
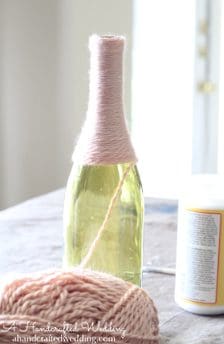
Starting at the top, paint on some Mod Podge {or whatever glue you have} around the rim of the bottle and begin twisting you yarn around the top, one line under the other. If you prefer a more organic look you can layer the yarn rather than keep the lines straight. I used the glue gun for the base and lip of the wine bottle, but then used dabs of tacky glue and Mod Podge throughout.
Step 3:
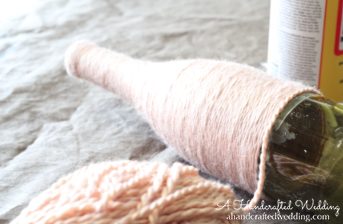
Wind it up – Keep winding the yarn around the bottle until you get to the bottom – then cut the yarn, glue the last bit and you’re done!
Here are a couple other colors I had made:
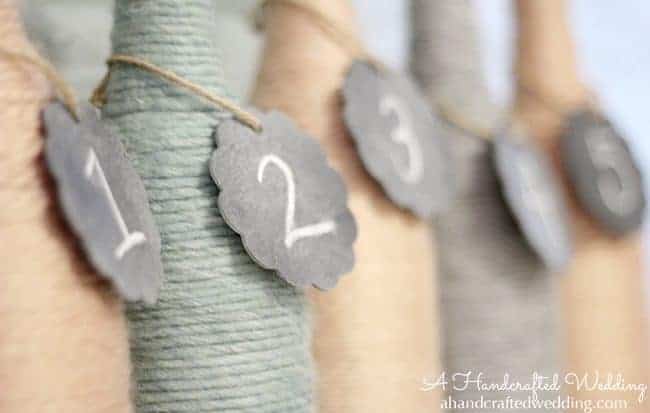
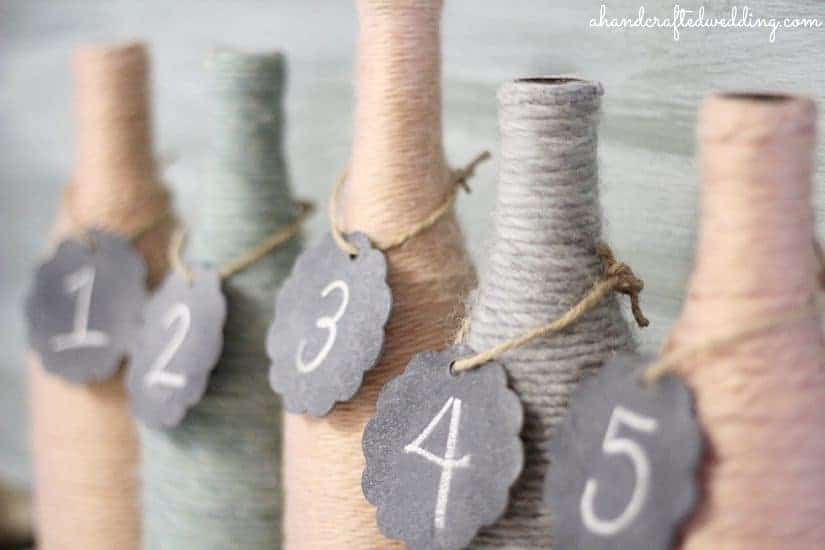
Want to double those vases as table numbers during your reception?
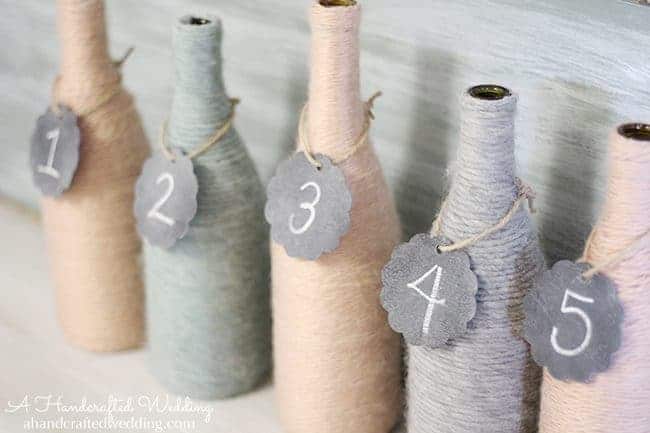
All you have to do is add some chalkboard paint to wood tags and tie them around the bottles using twine. Voila, you have table numbers!
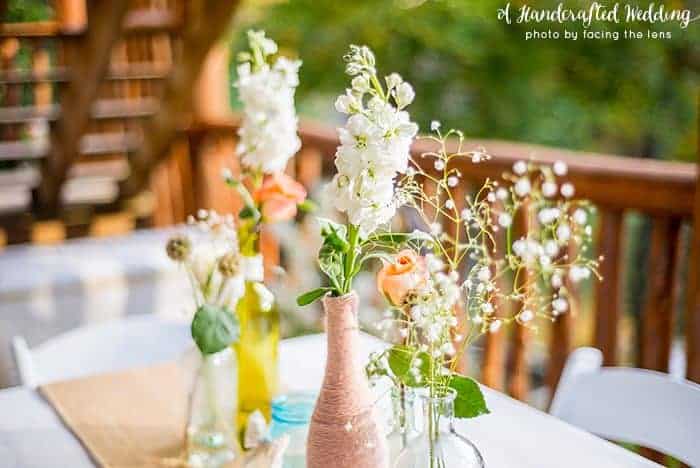
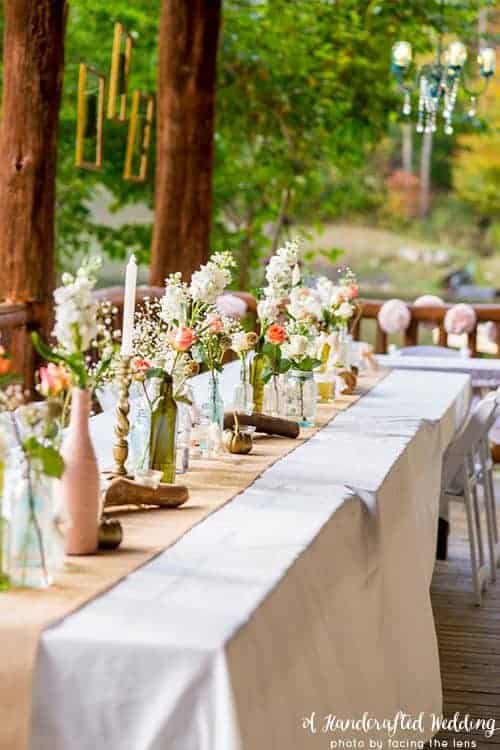
We didn’t use table numbers at our wedding, but here is a photo of one of the bottles being used as a vase:
So what do you think? Will you be yarning up any bottles in the near future?
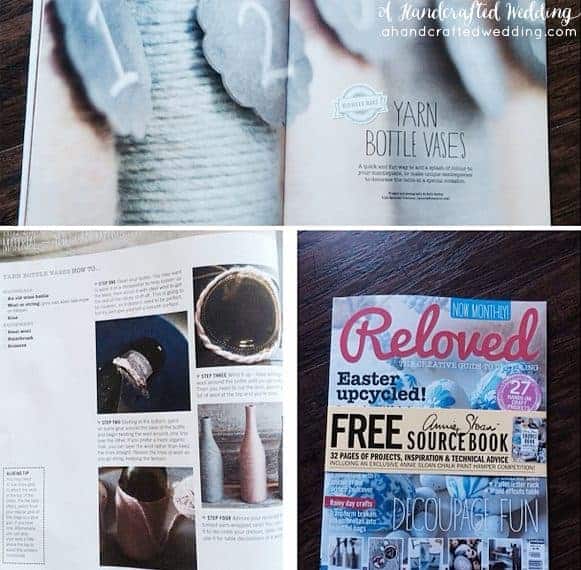
This project was featured in Reloved Magazine!


These bottles look stunning. I love the pastel hues
Hello,
I am Hosting a craft night with about ten girls. We are doing halloween themed bottles. How much yarn do you think I will need?
Thanks!
Hi Kristen,
Sorry that I’m just seeing this. How many bottles were you planning on using? One large roll of yarn should go a looooooooong way. I would say that the one roll of dusty rose yarn covered at least 4 of the bottles with lots of yarn leftover. Hope that helps and if you haven’t already had it, enjoy your craft night – that sounds like so much fun! If you have had it I’d love to hear how it went and how many bottles you made.
Thanks!
~Katie