UPDATE: All new featured RV tours will be posted on my other website, Wanderful RV Interiors. Existing tours will slowly be moved to the new website, and anything already moved will automatically redirect.
Disclaimer: This post may contain affiliate links, meaning, if you click through and make a purchase we (or those featured in this post) may earn a commission at no additional cost to you. View our full-disclosure here.
This post (which is not sponsored) was originally published in 2017, but re-posted in 2022.
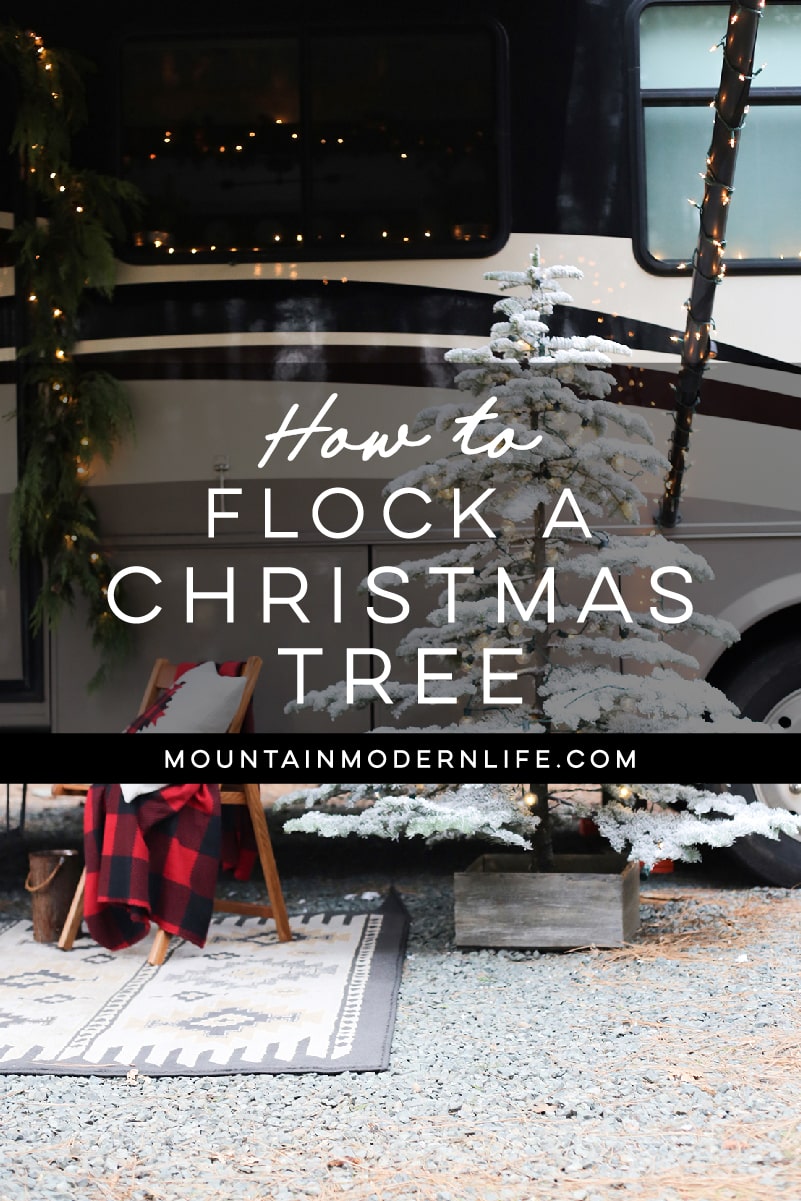
Last year was my very first time flocking a Christmas tree, and I absolutely loved the experience and outcome!
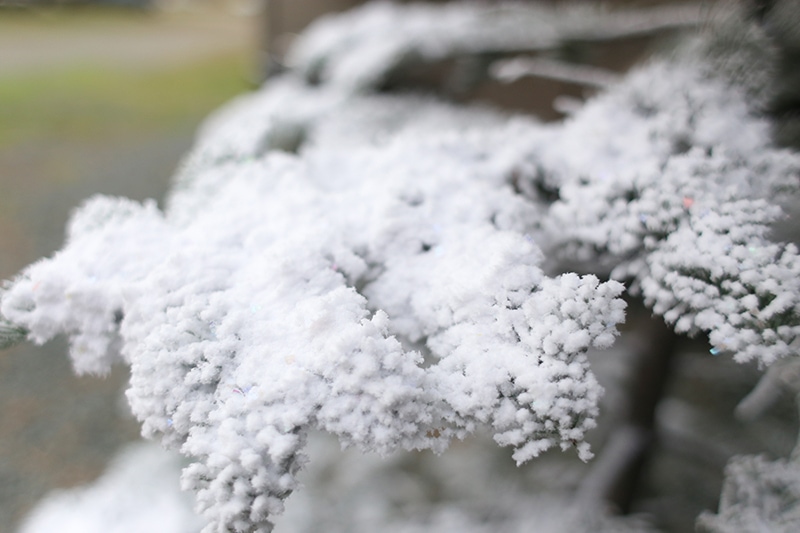
For those who have never heard of “Flocking”, it’s basically just a way to add fake snow to any kind of greenery. You can flock wreaths, garland, trees, etc. and can also use it on artificial, pre-lit, or real greenery.
If you’ve ever considered flocking a Christmas tree I hope this post and video will give you insight as to whether or not it’s something that you’ll want to try out at home.
How to Flock a Christmas Tree
While I love a natural, green Christmas tree, I think there’s something magical about a snow-covered tree.
There are several ways you can flock a Christmas tree, including DIY recipes and the spray-on “snow” you purchase from a craft or hardware store. Then there are products that professionals use, which provide a more realistic snowy effect.
I was going back and forth between using Sno-Bond or Sno-Flock, but ultimately decided to try Sno-Flock after reading their reviews. This post and video are not sponsored by them in any way, but now that I’ve flocked a tree using their product I can absolutely say I recommend them! I can also say they sell out online pretty fast, so if you are considering flocking you may want to purchase early. I went with 5 pounds for a more heavily-flocked look and think it’s better to buy more vs. not have enough.
Some other perks to using Sno-Flock:
- Biodegradable
- Helps tree hold in moisture
- Flame-retardant
- You can still recycle the tree after adding flocking
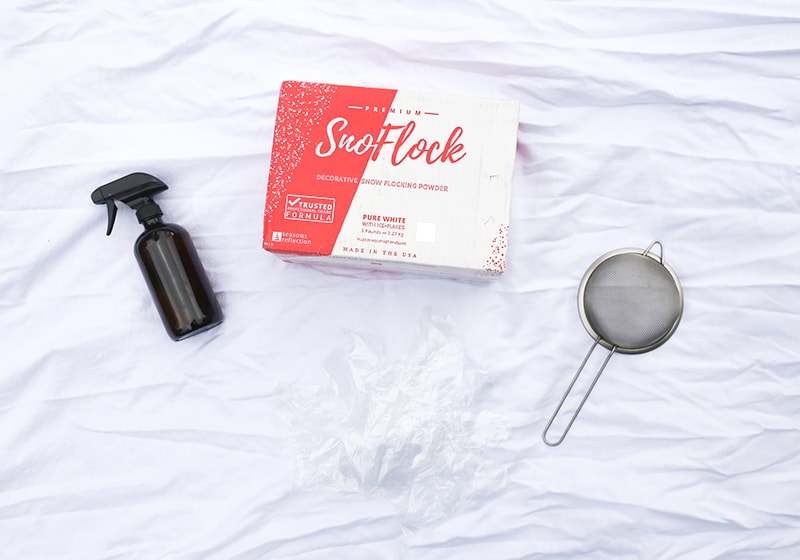
Sno-Flock (I used a 5lb bag for heavy flocking)
Sno-Flock (2lb bag)
Kitchen Sifter
Spray Water Bottle
Dropcloth or Tarp
Disposable Gloves + Face Mask
Container or bowl (optional)
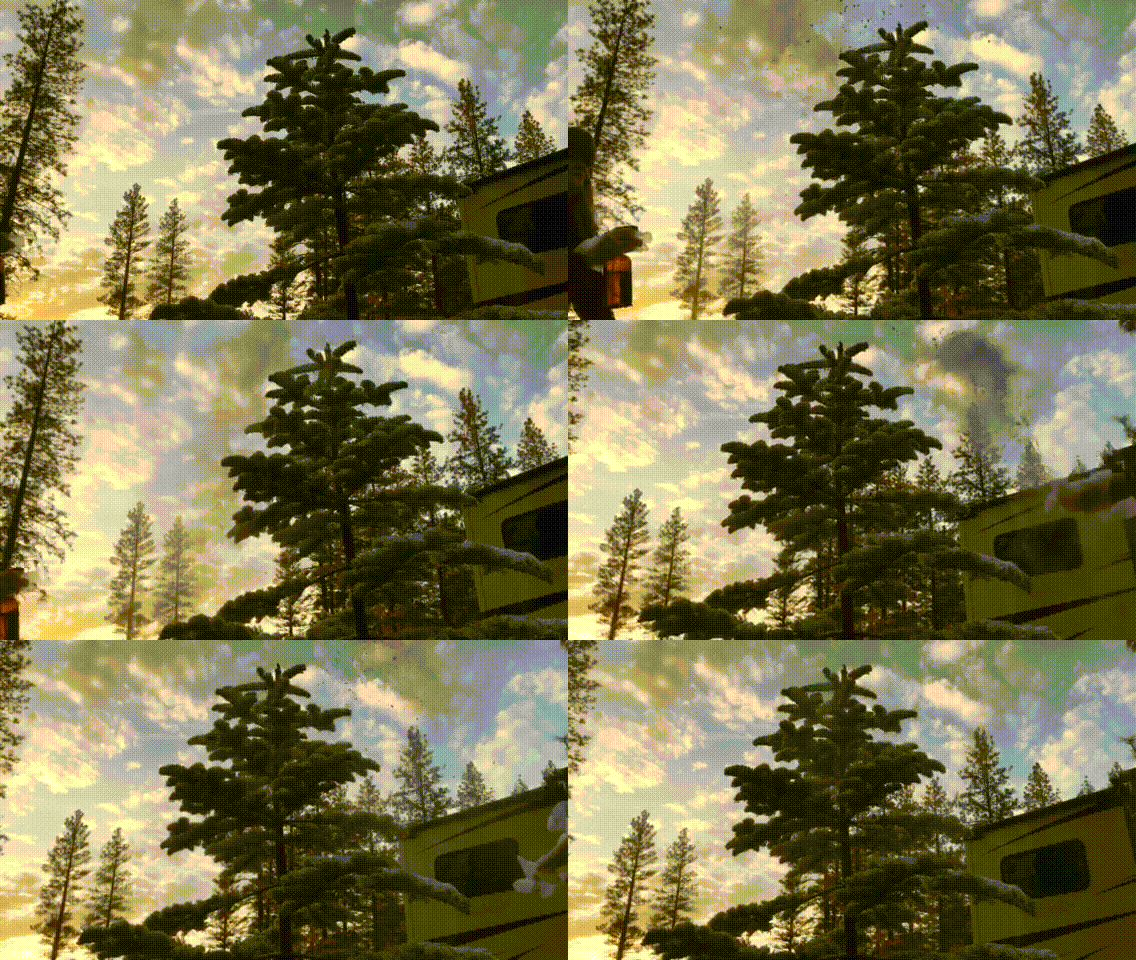
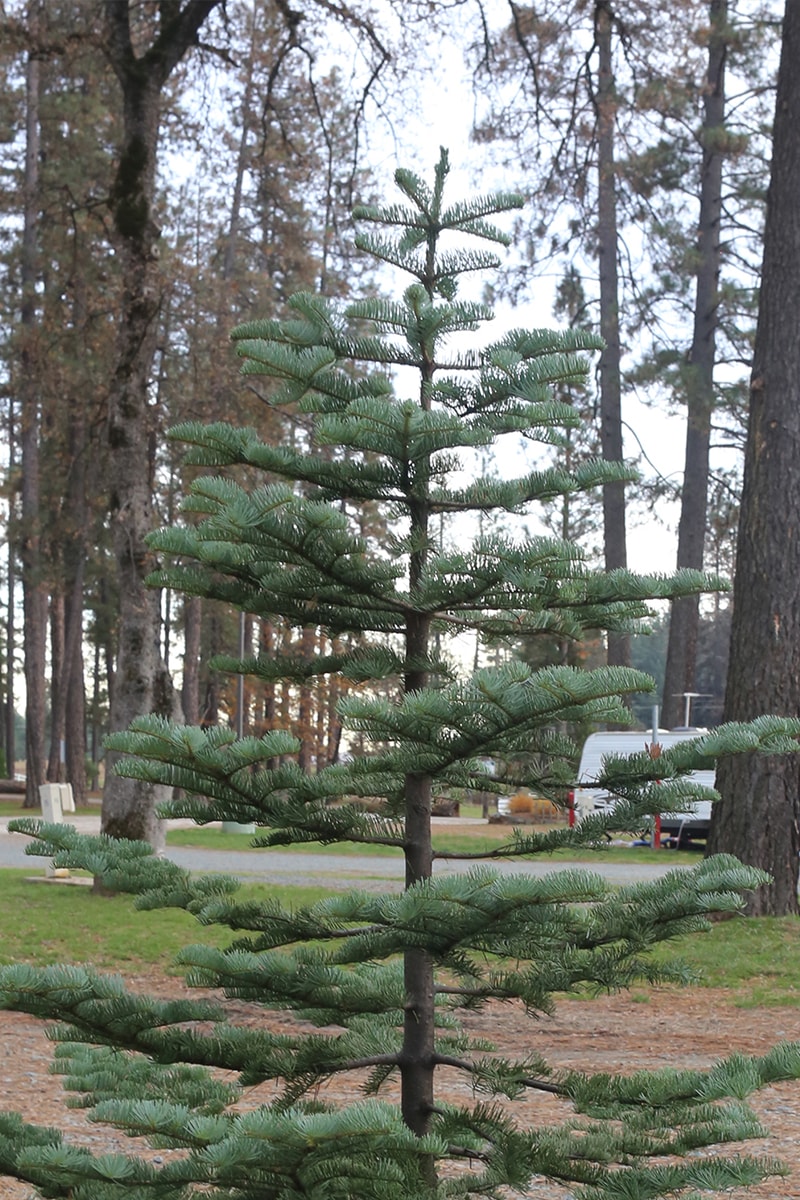
The Before…
Here’s what our tree looked like before adding the flocking – you can read about our first national forest tree hunting adventure here.
Watch the Video: How to Flock a Christmas Tree
You can see how easy it is to flock a Christmas tree in our video, but I’ll also outline the steps below it. You can also find the full directions over on Seasons Reflections (Sno-Flocks) Website, which are super detailed and easy to follow.
Step 1: Mist down the entire tree using a water bottle
You’ll want to mist down the entire tree, which will help the Sno-Flock adhere better. You want it nice and saturated but you don’t want it dripping wet.
Step 2: Add Flock to Sifter
I added my flock to a large bowl to make it easier to access and refill my sifter, but this is optional.
Step 3: Begin sifting flock onto the tree, starting with the top
You’ll want to begin sifting the flock onto the tree starting at the top of the tree and working your way down and around. You’ll want to mist the flock with water while in the air, just before it lands on the tree to help it stick.
After a couple of minutes, you’ll find your rhythm. Just remember to have fun with it!
Step 4: Repeat steps 1 -3 until you reach desired look
After you’ve gone around the entire tree to create a nice layer, you can then repeat the misting and sifting process to add a heavier flocking effect.
If you watched the video above you’ll notice I became impatient and sorta just sprayed the tree and then tossed the flocking onto certain sections with my hand. This worked well for me and was fun, but it was windy and I also wasted some of the flocking this way. Slowing down also would have helped. I tried to work fast since we were recording the process, but you’ll notice in the video that a lot of the flocking blew in the wind or fell to the ground.
Step 5: Seal the Flock with water
Once you have the tree looking how you want, you’ll want to spray the entire tree down with your water bottle so that it’s saturated, but not dripping wet. This will help seal the flock in place.
Step 6: Let it dry
Once finished you’ll want to let your tree stay put so it can fully dry. We gave ours 2 days but the amount of drying time will depend on the size of your tree and amount of flocking you add.
Tip:
If you have someone with you I’d recommend turning up the Christmas jams and have one person mist the tree while the other adds the flocking. While this process can be done by just one person (like I did in the video) it would definitely be easier and more fun to share the experience with someone else!
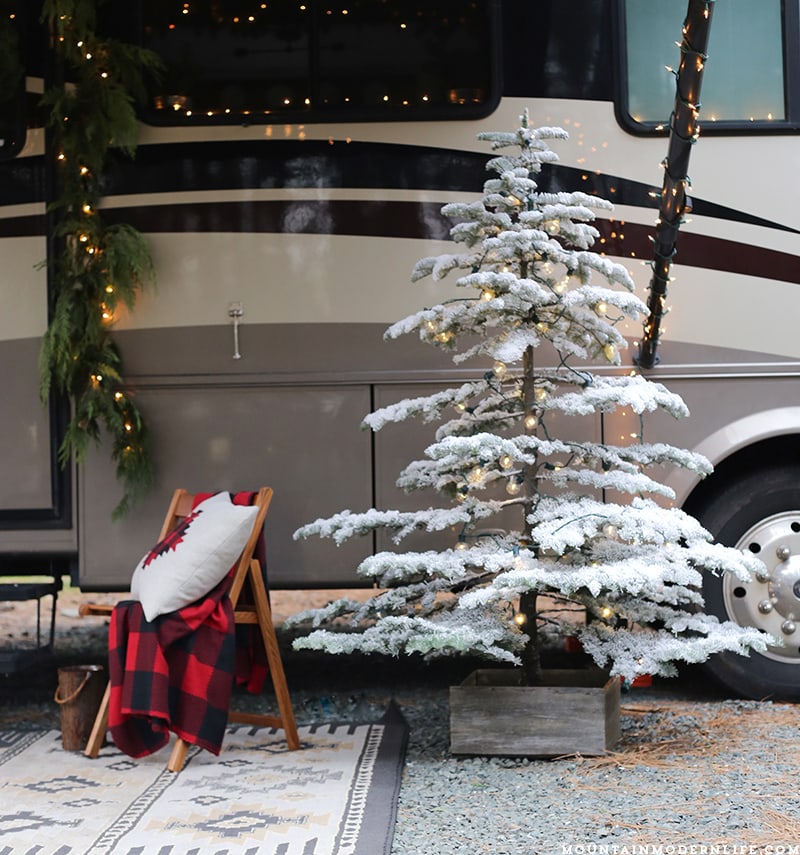
The Results: Our Flocked Christmas Tree
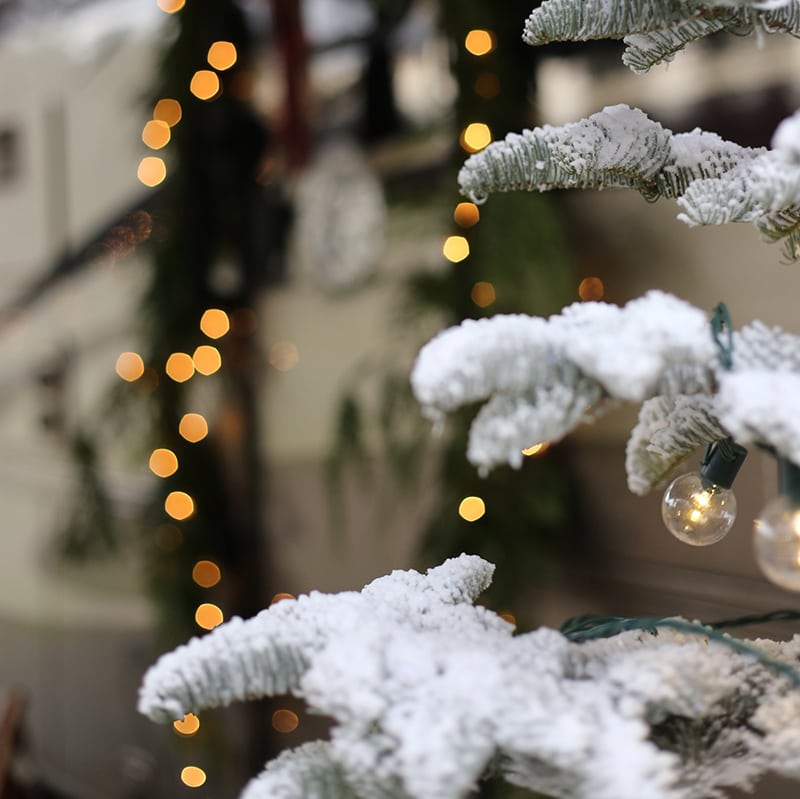
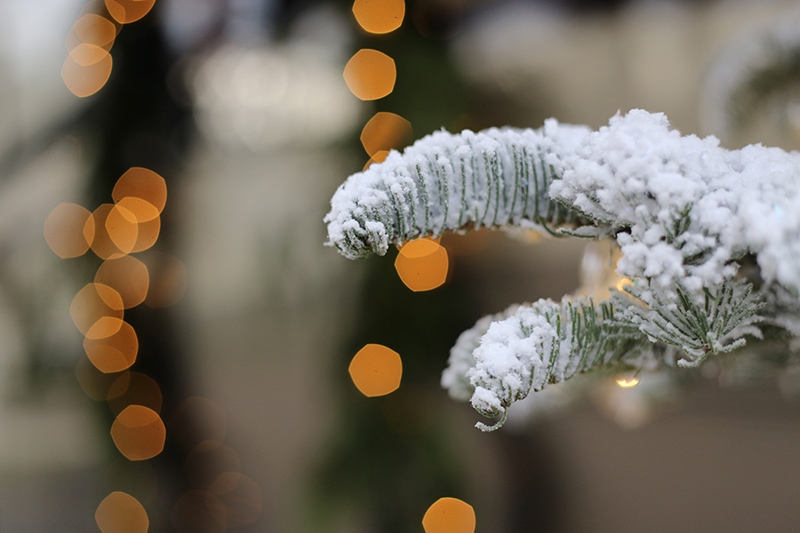
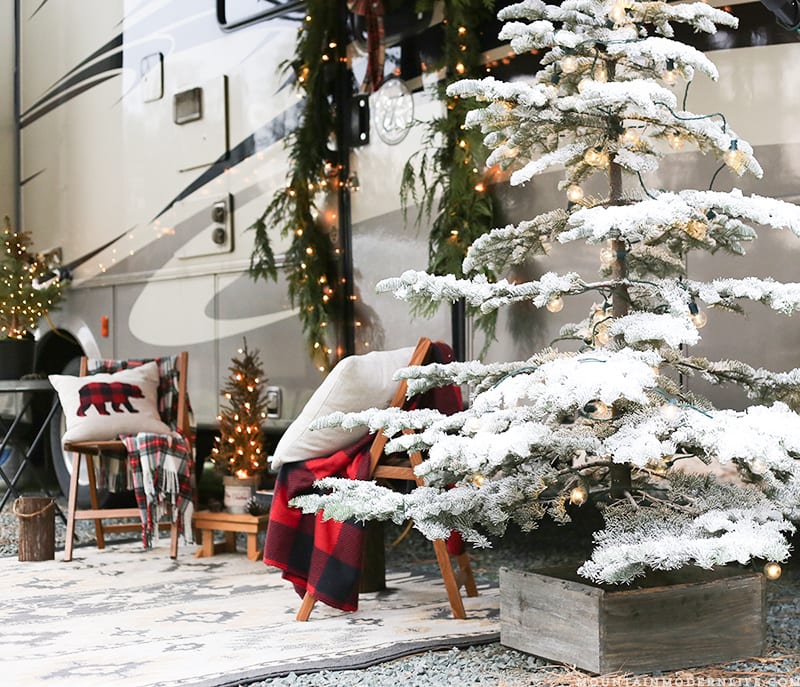
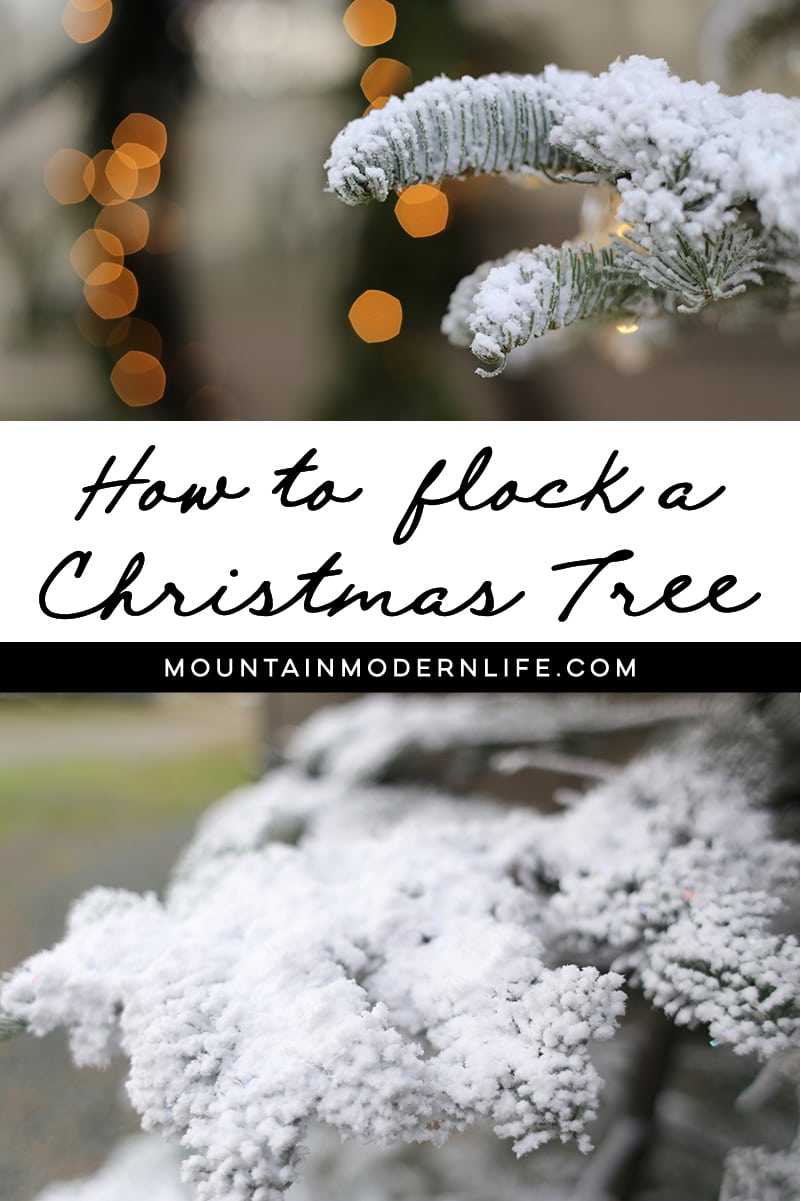
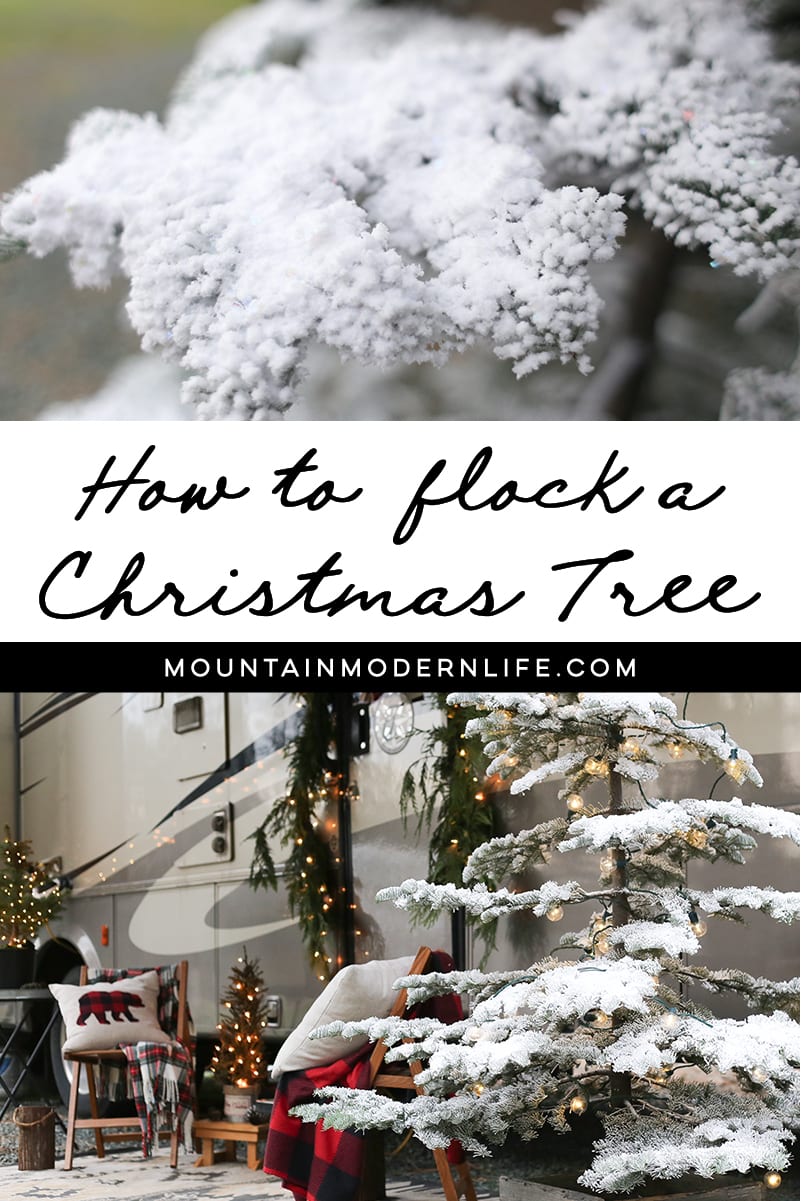
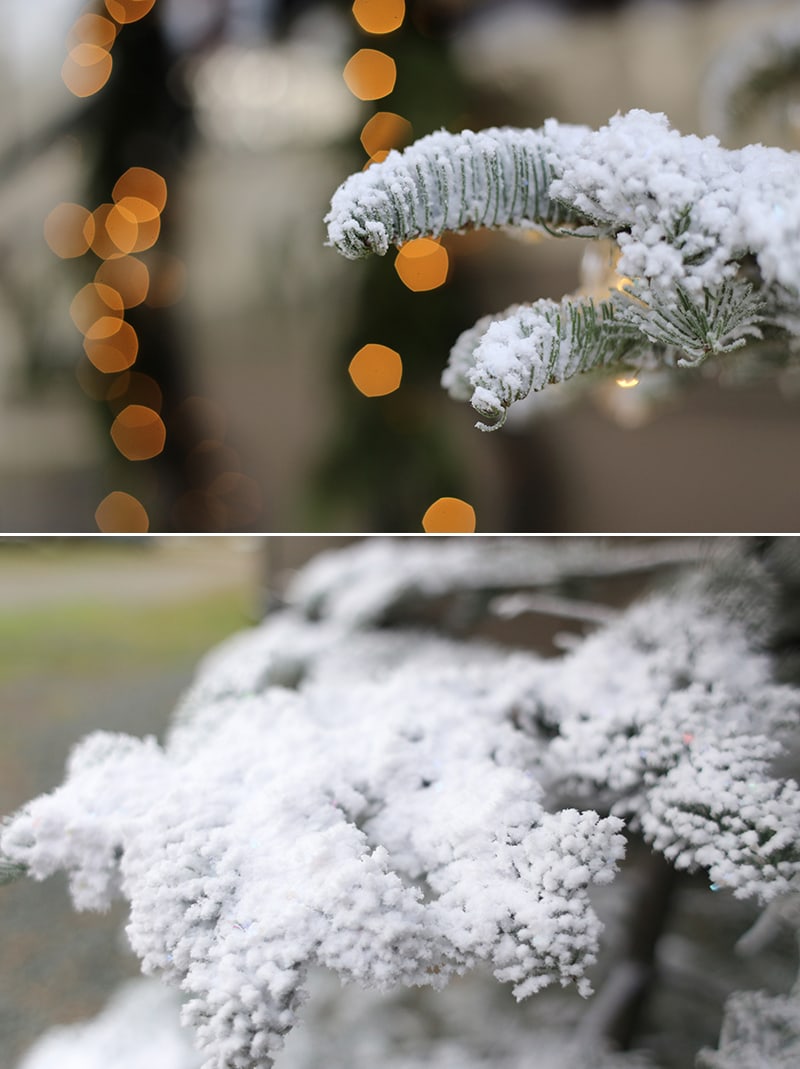
Here are a few photos of our flocked Christmas tree. You can see more photos over on last year’s Christmas in the Camper tour.
True confession: the tree I flocked was originally supposed to go inside the RV, but after flocking it outside and letting it dry for 2 days, we brought it inside only to realize it was a bit wide and we didn’t want to trim it… so back outside it went, ha! It didn’t lose much of the snow being pushed inside our RV door and then back out, which really surprised me.
It’s important to note that the product we used isn’t meant to be outside, because rain may ruin the flock. With that said, we kept it under our RV awning and luckily nothing happened. We just kept an eye on the weather, but since we were in California at the time the weather stayed pretty decent.
By the way, this is probably more cost-effective if you have an artificial tree since it should last a few seasons, but I think it turned out amazing on the tree we picked up from the El Dorado National Forest.
You may notice our lights look a bit rough so if you have a heavily flocked (and not super full) Christmas tree, you may want to consider using white cabled lights to help them blend in better.
That about sums up how to flock a Christmas tree! I definitely recommend using Sno-Flock and we may even make it a new tradition, where we have one green and one flocked tree.
Have you flocked a Christmas Tree before?
If you’ve flocked a Christmas tree and have any favorite recipes or products, we would love to hear about them in the comments below!


Well done. We have never flocked a tree before but just added it to our list of to do’s.
Your tree is absolutely Beautiful! You inspired me to do one myself. Thank you for sharing. Merry Christmas!
Does a lot of the flock fall off when you move the tree around. If someone bumps it does it make a mess? Thank you!
Once it was “set” it didn’t really come off much. We brought the tree inside and while some of the flock came off, it wasn’t nearly as bad as I thought from squeezing a big tree through a narrow RV door, haha. And then we ended up bringing it back outside and most of the flock stayed in place. I’d say a light bump probably wouldn’t do much, a few flakes may come off but it does stick pretty good 🙂
Growing up – we had a super obscure way of flocking our Christmas tree. My mom did not like the flocked trees you could buy because they were completely covered in white – her view was that snow fell and sat only on the top of the branches in nature. Note that she was born and raised in Louisiana – so I’m not sure how many times she actually saw real snow. The lights went on first. Then my mom would whip batches and batches and batches of Ivory Snow flaked detergent (not the powder) with water until it became the consistency of firmly whipped cream. We would then take a bowl and hand apply the “snow” to the tops of the branches. We then had to wait for the “snow” to dry and would usually hang the ornaments the next night. The tree did look very pretty and the dried soap mixture held the needles onto the branches.
Same issue – you would not want to put this tree outside….
That sounds like it would have been magical to watch as a kid! I love memories like that 🙂