UPDATE: All new featured RV tours will be posted on my other website, Wanderful RV Interiors. Existing tours will slowly be moved to the new website, and anything already moved will automatically redirect.
Disclaimer: This post may contain affiliate links, meaning, if you click through and make a purchase we (or those featured in this post) may earn a commission at no additional cost to you. View our full-disclosure here.
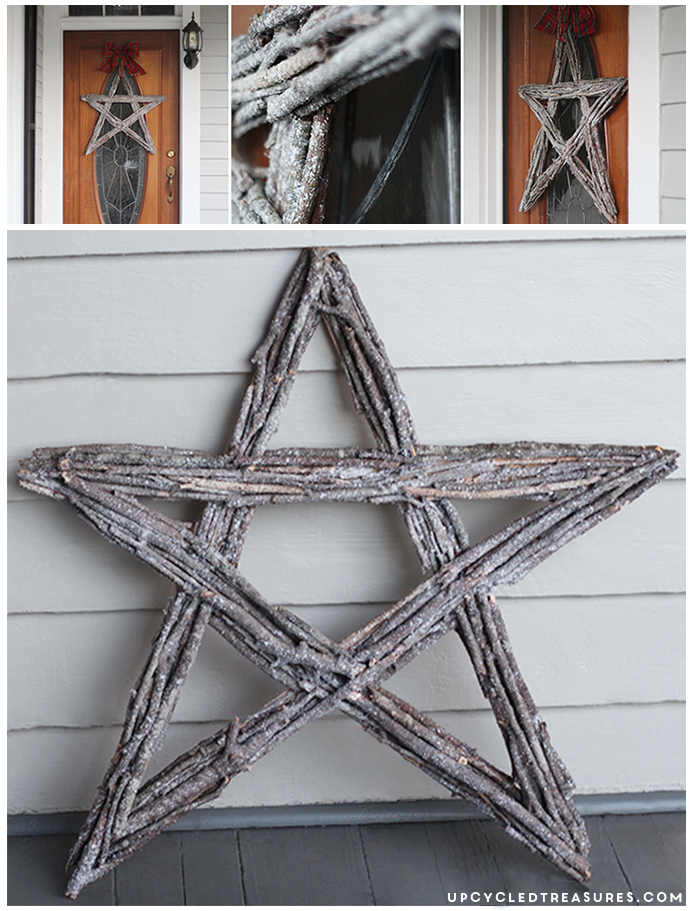
I originally shared this DIY Christmas Twig Star Wreath last year over at One Project Closer, but I wanted to share it here too just in case you missed it!
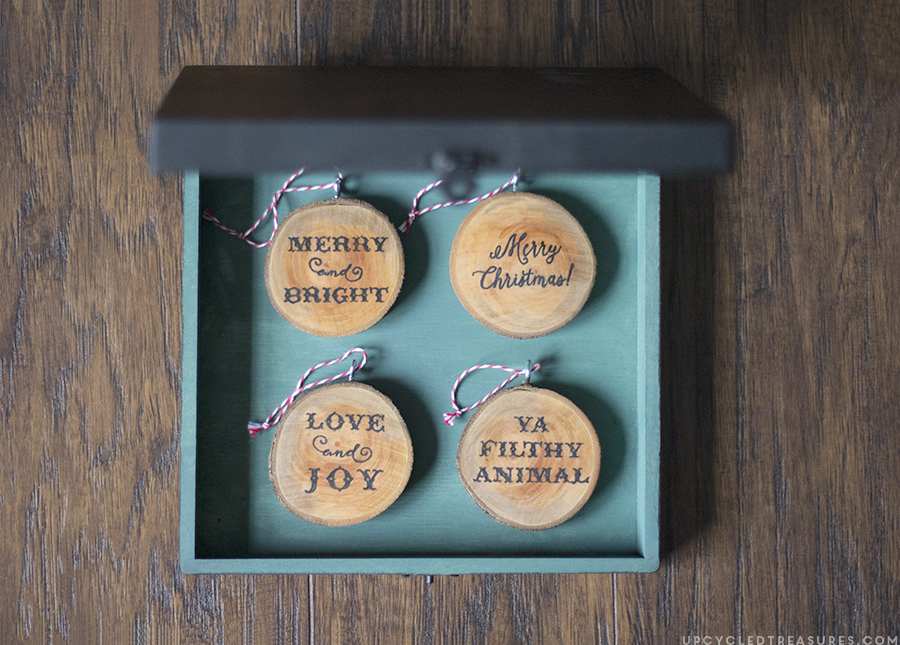
Being a fan of the great outdoors, it’s no wonder I am slightly obsessed with incorporating natural elements and rustic design into our home. A few of my favorites would have to be our Rustic Holiday Ornaments made out of wood slices, and wood slice art.
Modernizing rustic elements is not only a fun way to personalize your home, but it’s also inexpensive.
How to Make a Twig Star Wreath
This project is super easy and only requires a bit of patience.
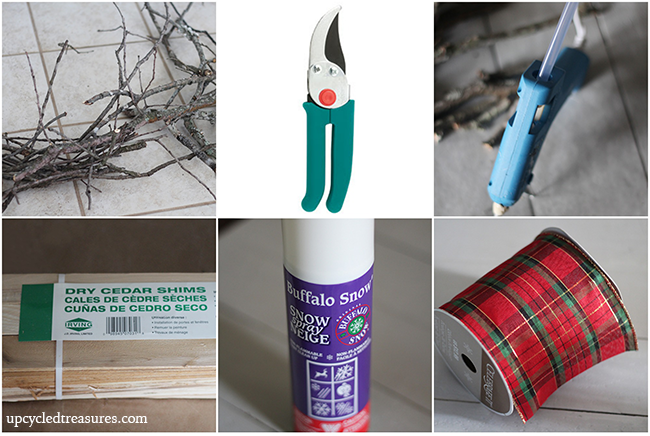
Wood Shims {paint sticks will also do}
Twigs/branches
Gardening Shears {optional}
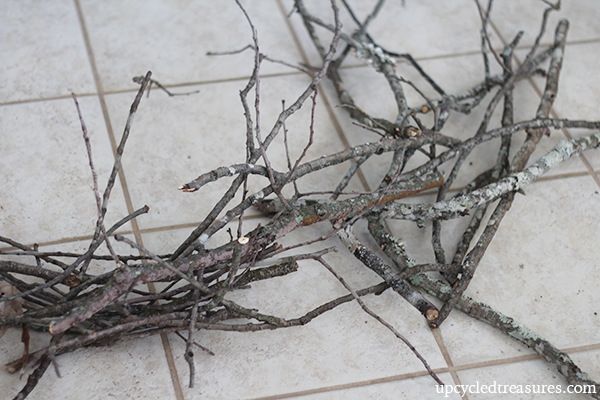
The first thing you will want to do is collect some branches/twigs from the ground in your yard. I actually had some leftover from my DIY Twig Tree Ornament. Side note: the photo below is just a small portion of the twigs I had collected.
Once the sticks were cooled off I broke them into different sizes and moved them off to the side. You could also use gardening shears for this part if you would like, especially for thicker branches/twigs.
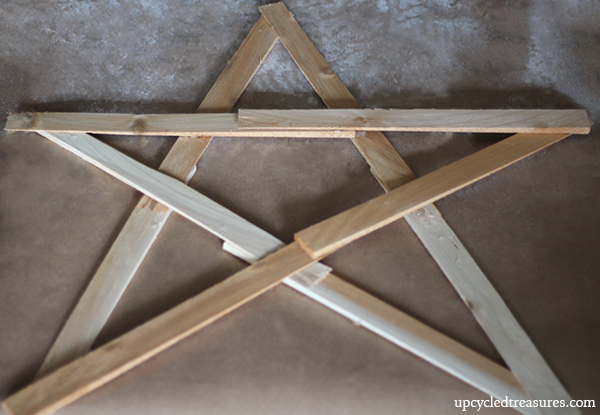
I then took 10 Wood Shims, which were leftover from my wood shim artwork, and made a star shape by overlapping the ends. I did this project on top of kraft paper which had some “fake snow” left on it from when I sprayed my nautical Christmas wreath.
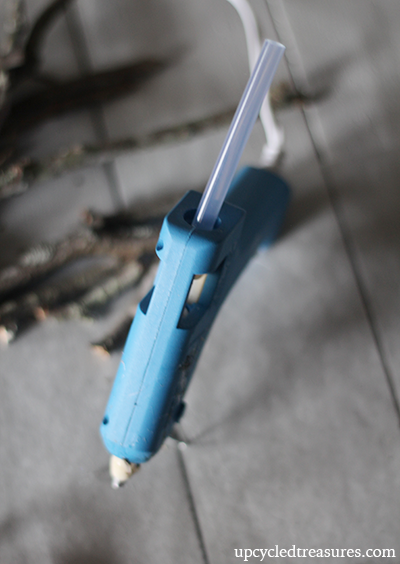
Once I had the star shape I liked, I used my glue gun to glue all of the ends together and hold the star shape in place.
Afterward, it was time to start gluing on the twigs, yay!
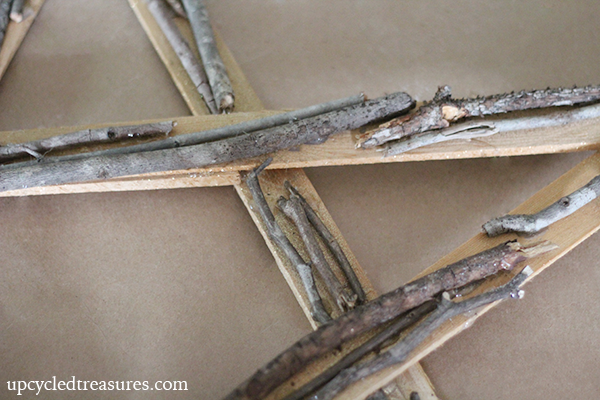
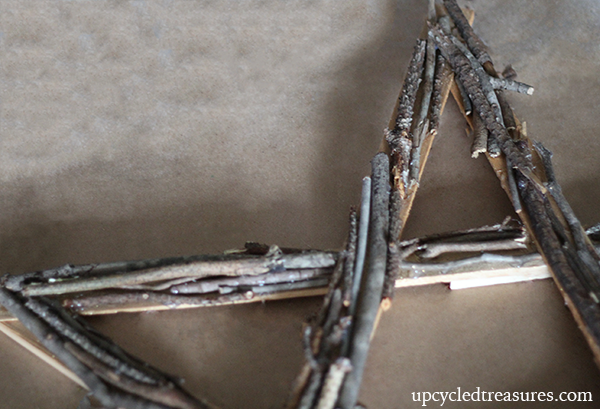
I simply started gluing twigs on top of the wood shims and overlapping one another. I used different sizes to create even more texture and interest. Once I filled the top of the wood shims, I went along the edges as well.
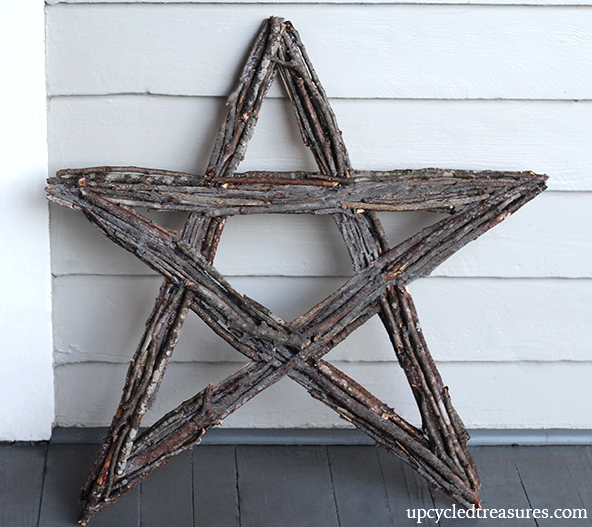
Here is what my star looked like several twigs and glue sticks later..
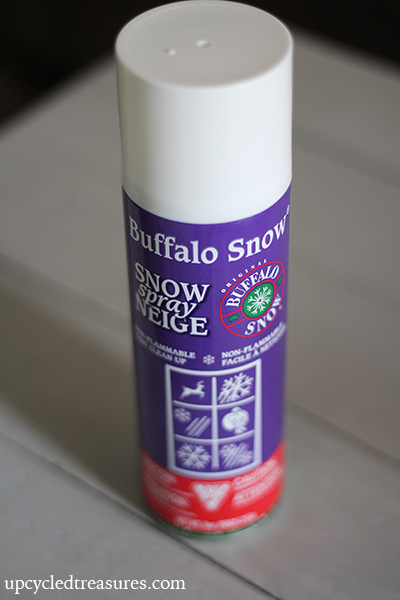
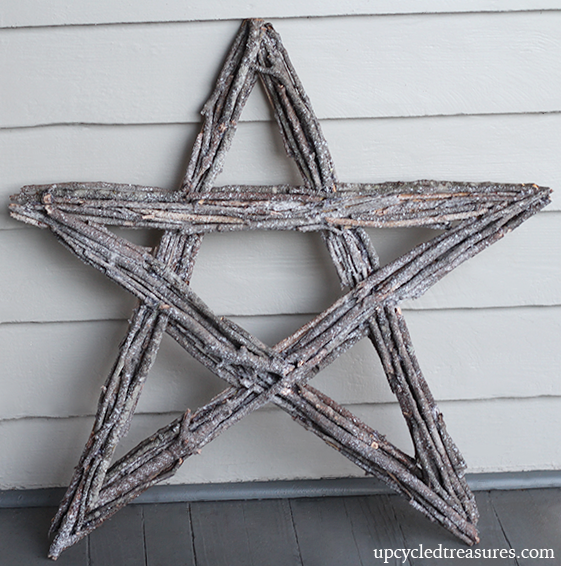
I then sprayed it with some “fake snow”.
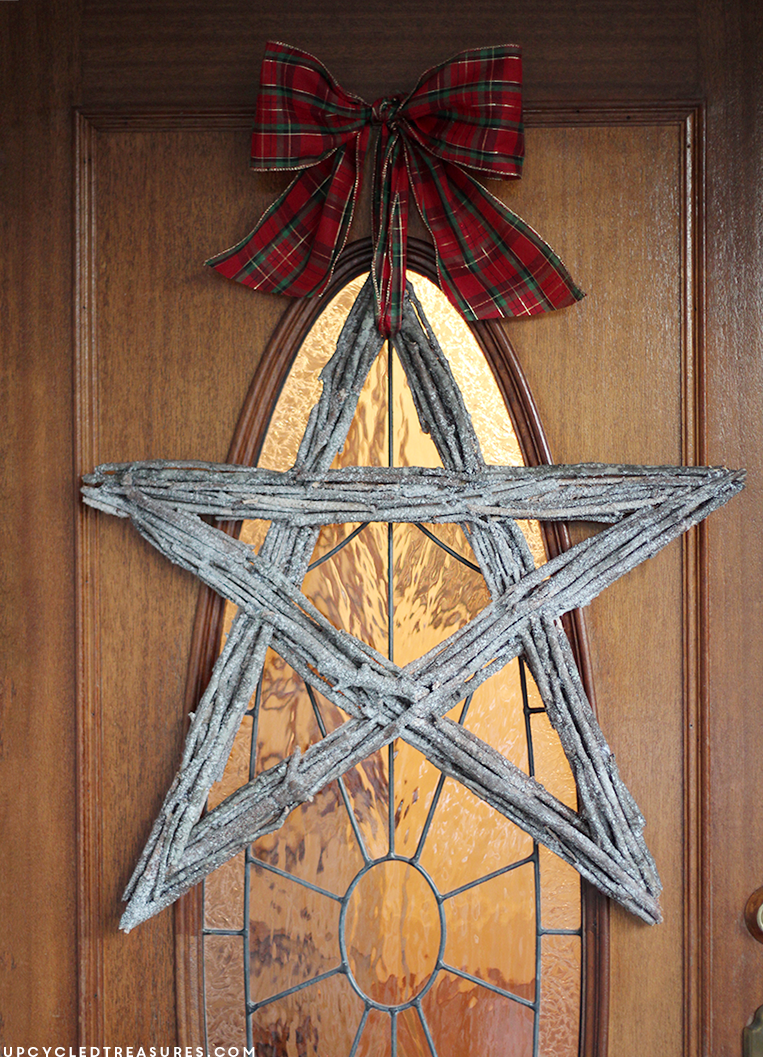
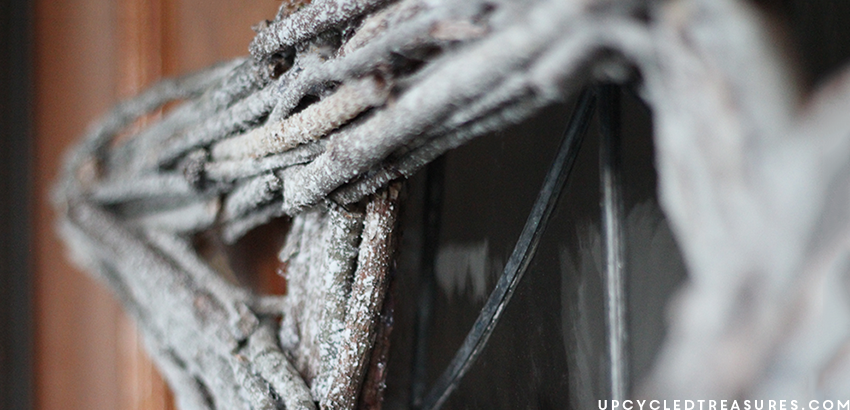
Rather than use a wreath holder, I attached some ribbon, a pretty bow and hung it from a nail on the door. Here is what she looked like all finished:
So if you are looking for a fun and affordable holiday wreath then this is a great option! Plus you can follow the same guidelines and make any other shape, a monogrammed letter, a snowflake, etc. The possibilities are endless!
My sister liked this twig star wreath so much she kept it last year, but since she recently moved and didn’t have space for it, she gave it back to me {woot-woot}.
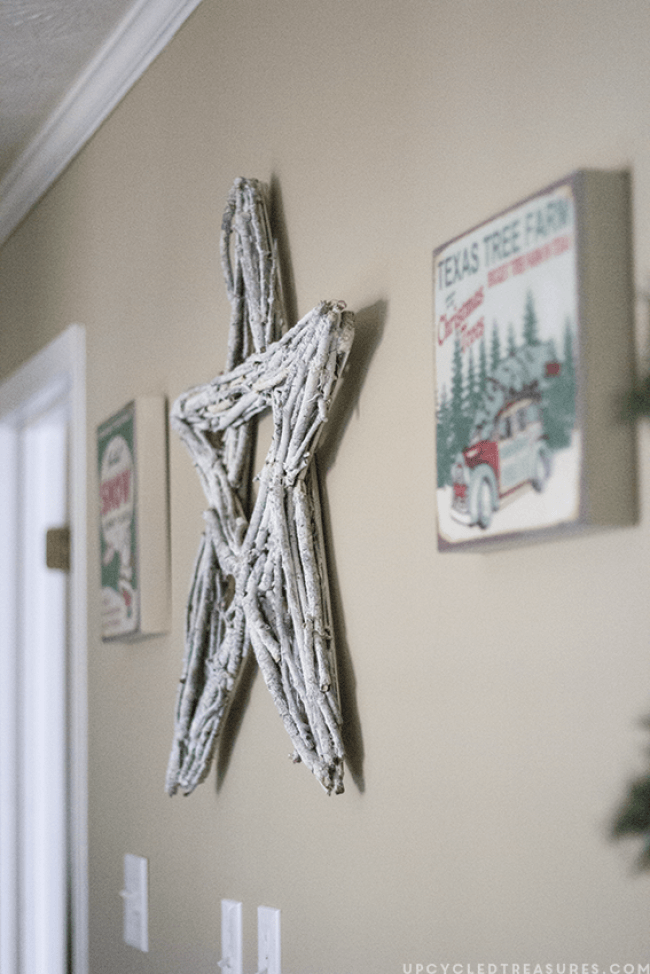
It’s currently hanging up on the wall across from our breakfast nook, and you can see more of our holiday home decor here.
How do you use natural elements in your home decor?
We hope you enjoyed our twig star wreath. We’d love to see any of your natural element decorations below.
Thanks for stopping by!


I love this project…thanks for sharing the tutorial! Pinning!
This turned out so great! I love it!
I love this Katie- such a great rustic and classic project…and could extend through other times of the year too!!
Love this! Such a great idea and so cute. Visiting from I Heart Naptime 🙂
http://life-love-craft.blogspot.ca/
Adorable! I made one similar last year and I just loved it. Pinned! 🙂
This is so cute! I love the natural look for Christmas decor! I am definitely making this! I would love if you would share this at my blog party, Celebrate It! It’s all about celebrating our wonderful, everyday lives! http://thefreshmancook.blogspot.com/2014/11/celebrate-it-blog-party-18.html
Reply