UPDATE: All new featured RV tours will be posted on my other website, Wanderful RV Interiors. Existing tours will slowly be moved to the new website, and anything already moved will automatically redirect.
Disclaimer: This post may contain affiliate links, meaning, if you click through and make a purchase we (or those featured in this post) may earn a commission at no additional cost to you. View our full-disclosure here.
You’ve just dumped your RV tanks and head over to your gauges, only to discover they read 2/3 full. How can this be when you just dumped your tanks? Or perhaps you go to empty your black and grey tanks only to be nearly knocked out by the horrendous smell creeping into your RV during the process?
If you’ve run into either of these situations, we hope the information below can help you get it figured out.
After going through these experiences ourselves we did what most people do… we hit the internet and asked Uncle Google for guidance. The first thing we found out was that many RV tanks are equipped with sensors inside the tanks themselves, this makes it easy for debris to snag on the sensors. This in turn can lead to the sensors saying your tank is full even though it was just emptied.
Maybe your sensors are working just fine but when you dump your tanks some of the smell creeps its way back into your RV. I know, not pleasant right? It’s not the most fun subject to talk about, but it’s definitely an important one.
Let’s go ahead and dive into how we keep our RV tanks clean, the sensors reading more accurately, and prevent smells from coming in. And while this method isn’t 100% fail-proof, we’ve found great success with it over the last 4 months.
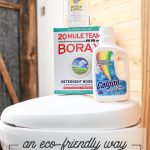
An Eco-Friendly Way to Keep RV Tanks Clean
We recently shared a video on how we use “The Geo Method” to keep RV tanks clean, which you can watch below, but we also share some updates throughout the post.

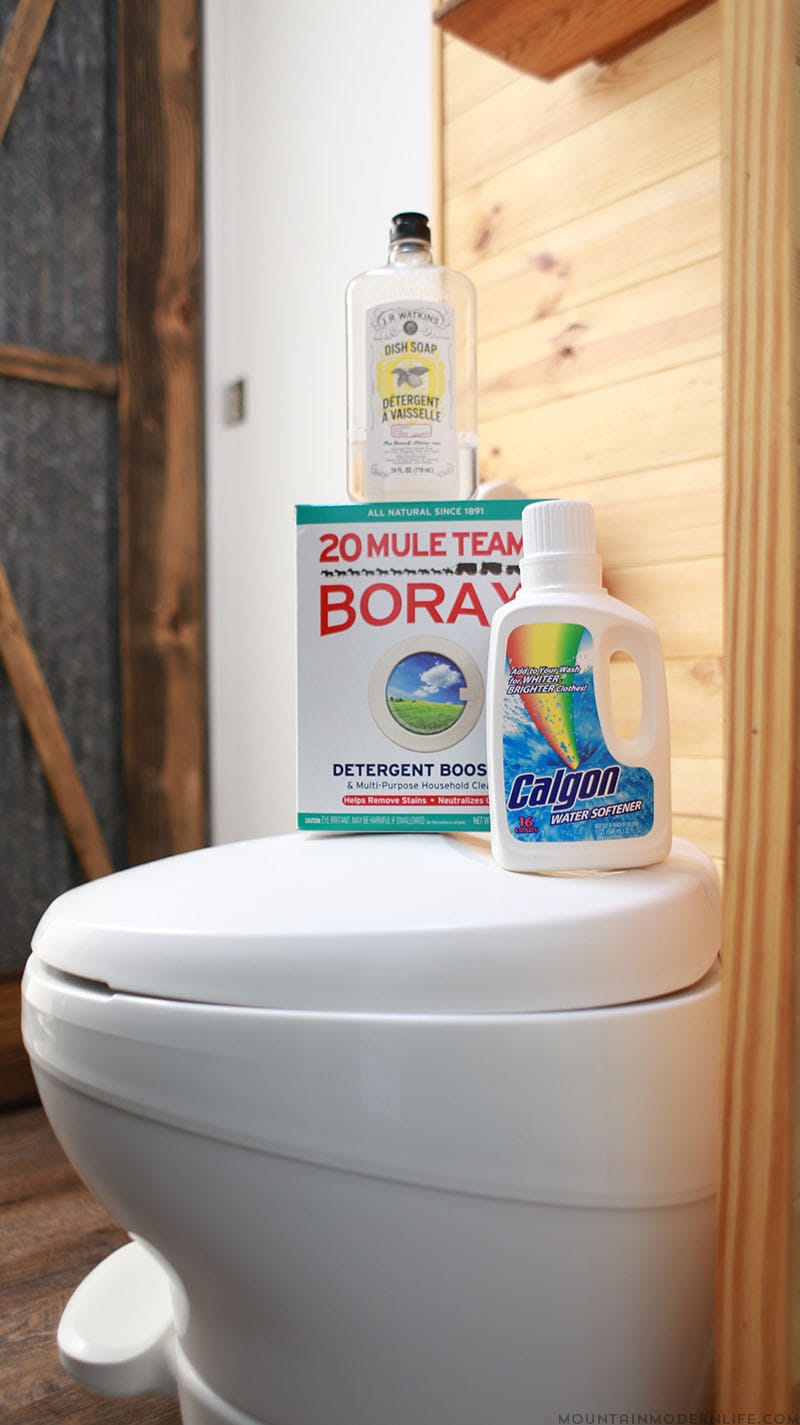
- Calgon Water Softener
- Dawn (blue dish soap) or Liquid Dish/Laundry Detergent
- Borax (when water softener isn’t available)
Additional Options:
Two brands we’ve used in the past that are formaldehyde-free are: TST RV Toilet Drop-in Pods and Walex Bio-Pak Pods
Happy Camper Organic Holding Tank Treatment – We haven’t tried this yet but have heard really great things about it, especially if you’re dry camping. We haven’t found it locally so we may need to go through Amazon to pick it up.
Black Tank Swivel Stick Cleaner – Another item we haven’t used but heard great things about and plan to get here in the future as a backup.

Step 1 – Add water to the tank
The first thing we do after dumping the black tank is to add water back into the toilet. The size of your black tank will determine how much water to add. We generally let the water flow down the toilet for about a minute.
The key here is to have a base of water in the tank when we add the rest of our cleaning supplies.
Step 2 – Add Water Softener
Based on what I’ve read, the water softener helps soften up and loosen anything that may be sitting in or sticking to the tank. This in turn helps by making it more likely that all of the solids in the black tank actually leave when you dump.
After we add water in the bottom of the tank we will fill up the toilet bowl with a little bit of water and add four cap full’s of Calgon liquid water softener. We used to add only two but heard adding more can’t hurt. It’s important to note that we fill the toilet bowl with a bit of water then add one cap then let that fall to the tank. After the first cap we repeat the process for caps 2-4.
Step 3 – Add Dawn (Blue dish soap) or Liquid Dish/Laundry Detergent
As with the water softener above we’ll fill the toilet bowl a bit, then pour in a cap full of our Laundry Detergent or dish soap. After adding the detergent or dish soap we’ll open the toilet and let it go to the tank.
From my understanding, this is the portion of “The Geo Method” that helps with smell and cuts down grime, though there are varying opinions out there. When we first started using this method we didn’t have Dawn dish soap on hand so we went with our Dish or Laundry detergent. Though in the future we’re going to use Dawn dish soap because it may be more cost effective and work just as well.

We no longer use Borax in addition to water softener
We had read that some people would use Borax when they didn’t have water softener on hand, but since we had a big box we figured we’d go ahead and use it along with the water softener. However, we recently found out from this post that Borax falls into the “precipitating group”, which means it doesn’t work as well as the Calgon water softener. While it doesn’t hurt the tank it really doesn’t add much value in order to keep RV tanks clean, so we see no point in adding it unless we’re out of the Calgon Water Softener. Technically if you use Borax you should also add it to a gallon of hot water first.
Using Dawn Blue Dish Soap in the future
Since posting our video we’ve decided to grab some Dawn dish soap. It seems as though it will be more cost-effective and work just as well. In the future, we’ll update this post with our experience in switching it up.
Still have a smell using this method?
If you tried this method and realize you’re still getting a smell when dumping you may want to try and rinse your tank. Every 2-4 times we dump our tank we completely fill it with water then drain the tank again. What we’ve found is that when we do this it helps pull any debris that may have stayed around on the first dump. If you find your tank is consistently smelly you may want to do the tank rinse every time you dump until the smell leaves. We’re thinking about getting this tool in case we run into a smelly black tank in the future. Also, keep in mind that water is your friend when it comes to the black tank and it’s always helpful to add a decent amount every time you flush.
Or…. just use Happy Campers Tank Treatment! <— this is what we now use.
It’s made a HUGE difference but it’s not guaranteed…
Keep in mind that while this method has worked wonders in helping us keep our RV tanks clean, our gauges reading more accurately, and nasty smells from creeping in while we dump, sometimes further steps are needed.

(Updated Post): Why we no longer use the Geo Method and use Happy Campers Tank Treatment instead!
The Geo Method – Seems like the most comprehensive post we could find
Wheeling It – We love this website and they talk about using this method in their RV
Do you have any tips or favorite methods for cleaning your RV tanks? If so, we’d love to hear about them in the comments below!
How much of Dawn dish soap do you Add since it doesn’t come with Measuring cap like CalGon or laundry detergent?
CURIOUS why blue dawn? Would
AnY other color work as well?
Thank you.
We didn’t really measure the soap back when we used this process – we would just squeeze some in – but think of a cap full of laundry detergent. And I don’t know if the brand of soap matters but I don’t think so. Dawn dish soap is the cheapest and was recommended so that’s why we used it. To be honest, we haven’t used this method in 2 years because Happy Campers tank treatment is sooooooooooo much easier, WAY more effective (the geo method doesn’t even come close!), and super cost-efficient. We wrote about it here:
https://mountainmodernlife.com/rv-tank-treatment/
Hope that helps 🙂
Katie