UPDATE: All new featured RV tours will be posted on my other website, Wanderful RV Interiors. Existing tours will slowly be moved to the new website, and anything already moved will automatically redirect.
Disclaimer: This post may contain affiliate links, meaning, if you click through and make a purchase we (or those featured in this post) may earn a commission at no additional cost to you. View our full-disclosure here.
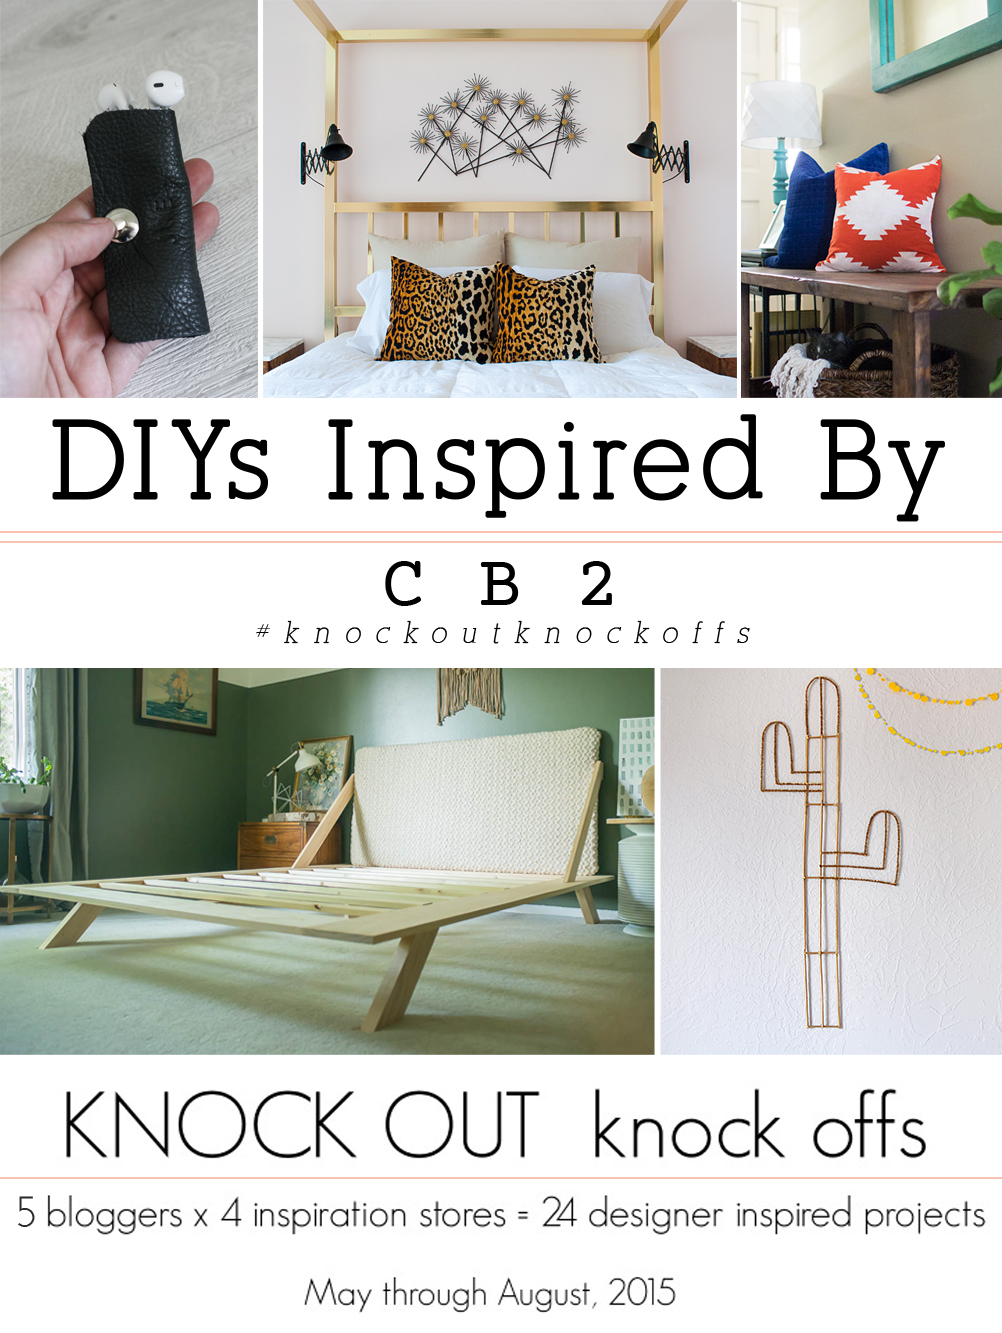
We’re back with another round of #knockoutknockoffs, and this week our DIY inspiration came from the shop, CB2.
In case you’re new here, I teamed up with some awesome DIY bloggers to bring you a fun summer series, where we share a knock off inspired DIY project from May-August. You can view all of the previous #knockoutknockoff projects HERE.
Have you seen the commercial with the woman who has a pillow obsession and they are stashed in all areas of her home and falling out of closets when she opens the doors? It’s for the ziplock space vacuum storage bags and I’m pretty sure I need some because I am definitely a pillow hoarder.
No Seriously. Every time I walk into HomeGoods it takes all I have not to walk out with a new pillow, and when I’m in Target I always have to check out their placemats because they make for the easiest DIY pillows. Please tell me I’m not alone!
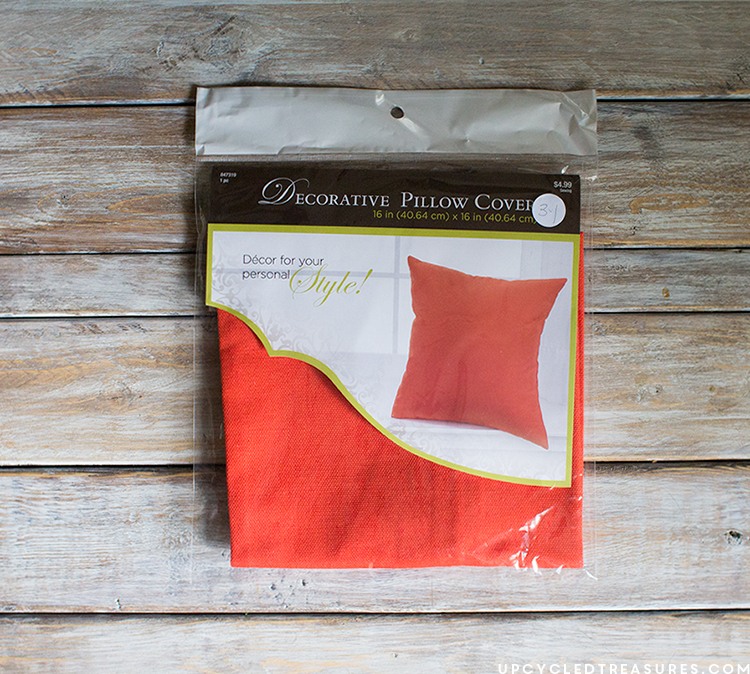
Yes, I love me some pillows and last month while browsing the aisles of Hobby Lobby I saw that their pillow covers were all 50% off. So naturally, I grabbed a bunch, because apparently I’m obsessed with pillow covers too. Ha. I had never purchased their pillow covers before, but how could I pass up $2.50 for some sunny orange pillow covers? I’ve been wanting to paint some pillows for a while now {I sometimes have difficulty finding the patterns I want at a price I’m willing to part with}, and this seemed like the perfect opportunity to do so.
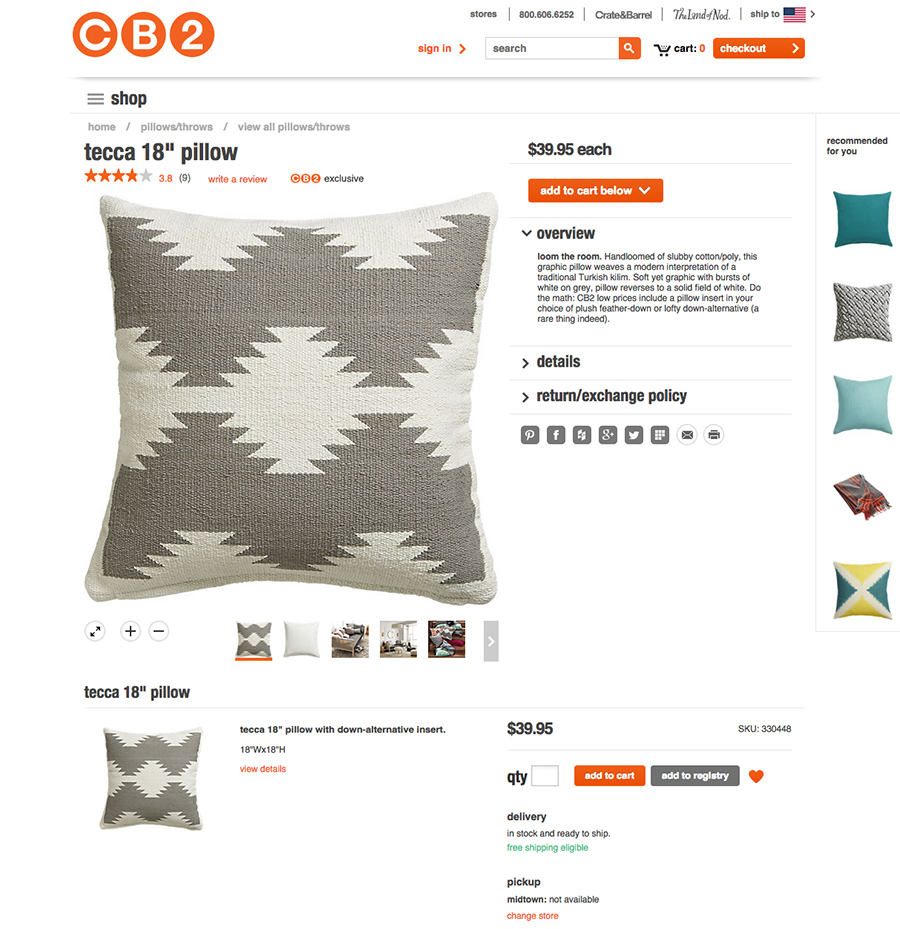
I knew I wanted some sort of kilim style pattern and then while browsing the CB2 website I was instantly inspired by their Tecca pillow!
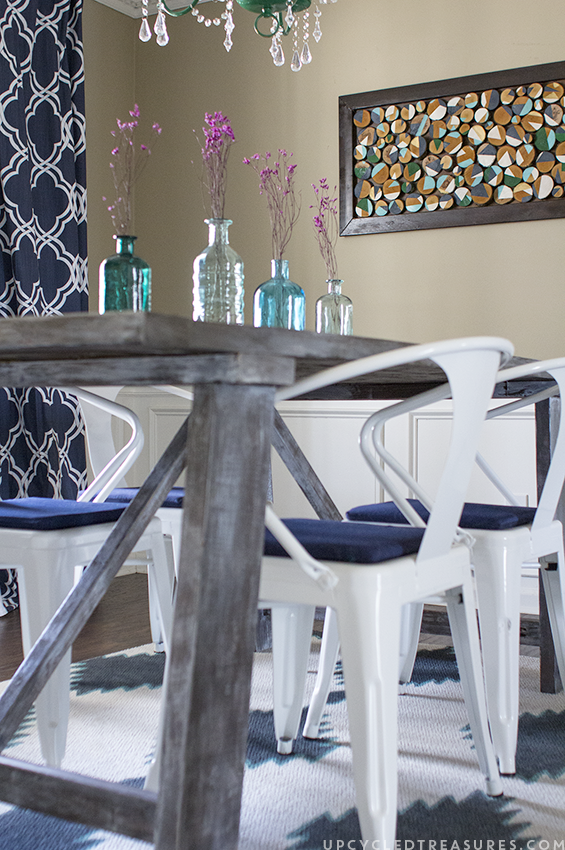
I love how graphic this pillow is and it seemed like the type of pattern I could attempt to paint onto one of my new pillow covers. I especially like how the pattern matches that on my painted rug and thought I may even use the same template I created for that project.
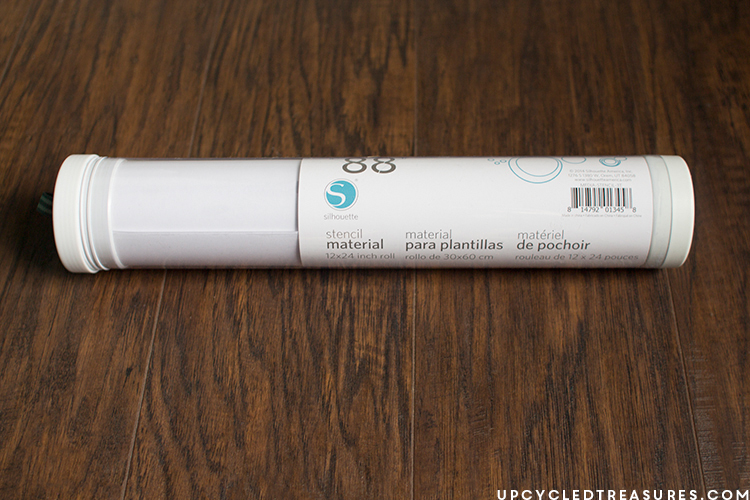
However, I then remembered that I had some stencil material for my Silhouette Machine that I’ve been wanting to play with and decided this was the perfect project to do so.
Paint
Container for paint and stir stick
Detailed Craft Brush
Dropcloth/Newspaper/Cardboard
Stencil/Design Template {this can even be made out of cardboard}
Optional – Silhouette Machine/Stencil Blank/Illustrator {for designing my own stencil}
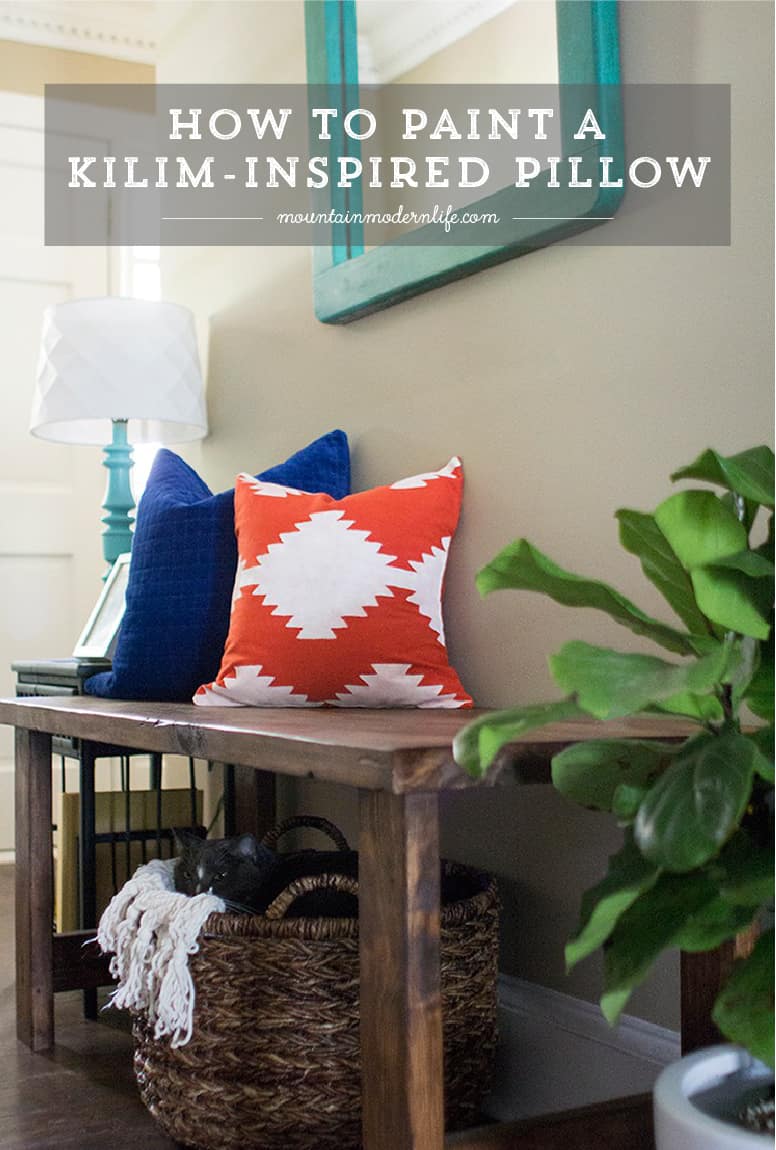
Kilim Inspired Painted Pillow
The first thing I did was wash my pillow cover and then iron it out. Then I opened up the design I had previously created for my rug and tweaked it just ever so slightly. I created a 16 x 16 template {the size of my pillow cover} and then added my design onto it in the pattern I wanted. I’m a very visual person so this helped me see how my stencil would work and how the pillow would {hopefully} turn out once I was finished.
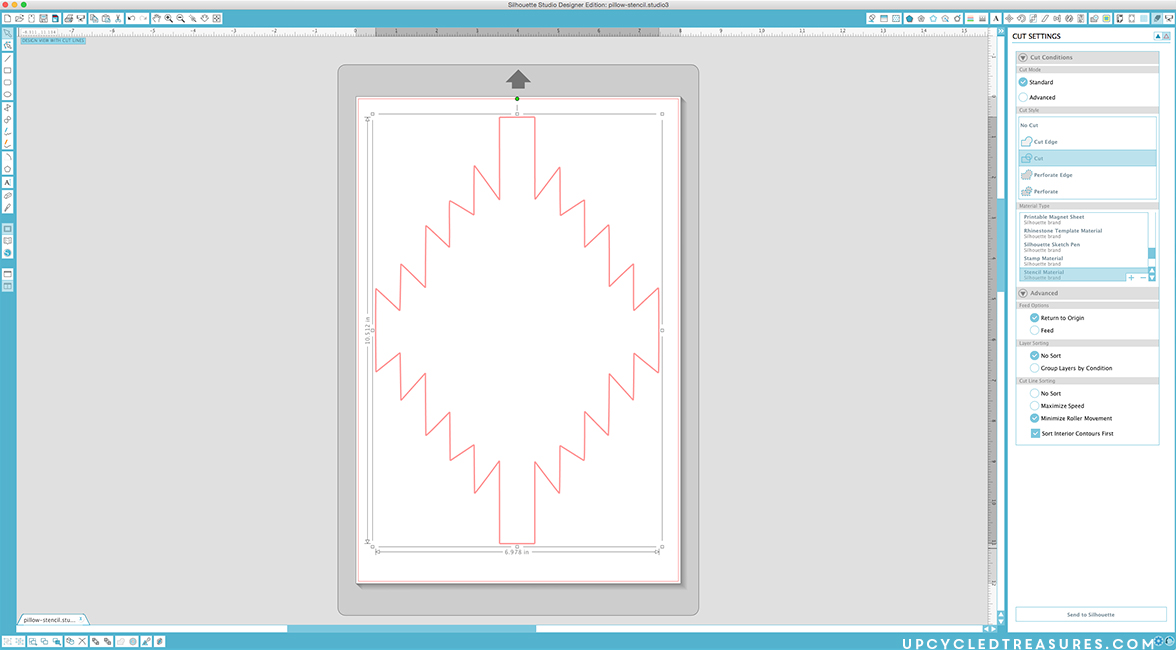
I then saved my stencil design in illustrator to a .svg file so that I could open it with my Silhouette machine. From there I traced the design and then had it cut from some of my stencil material.
By the way, you can generally find {non-Silhouette} Stencil blanks at craft stores for about $4 for a 3 pack, and if you use a coupon they will be even less 🙂
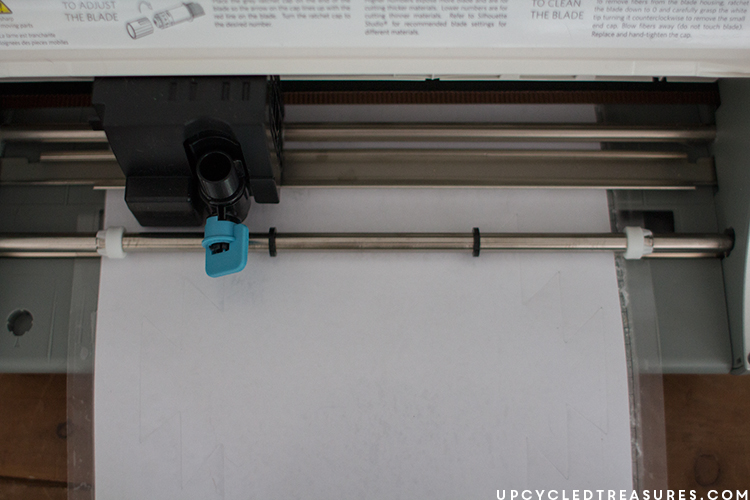
Then I sat back and watched the magic happen. It feels like Christmas every time I use my Silhouette and it always makes me wonder afterward “Why don’t I use this more often?!”.
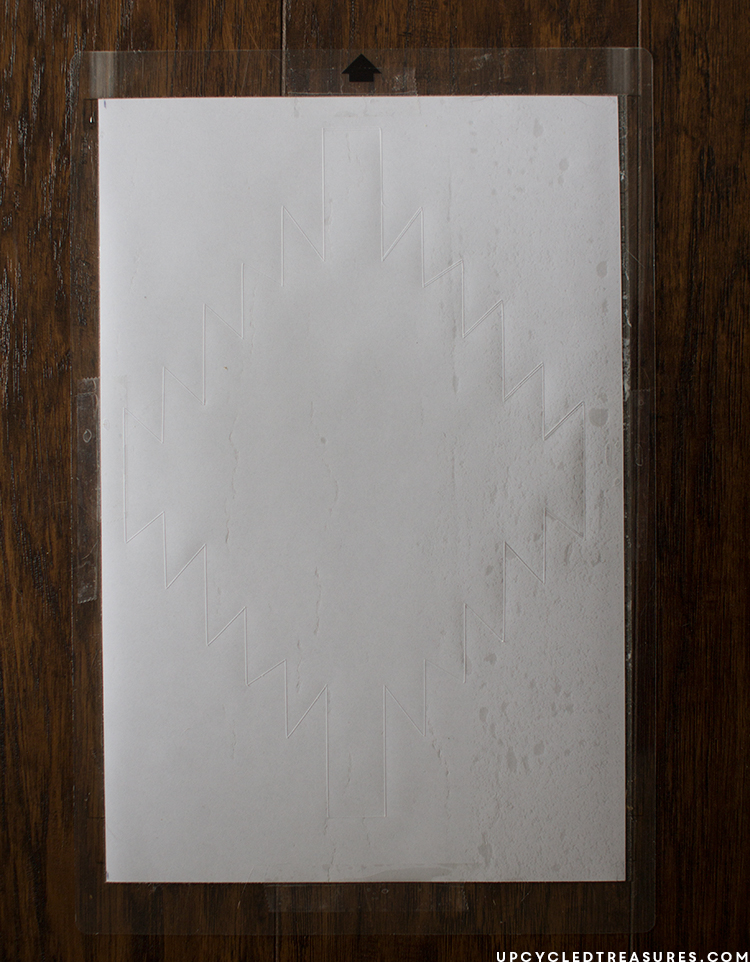
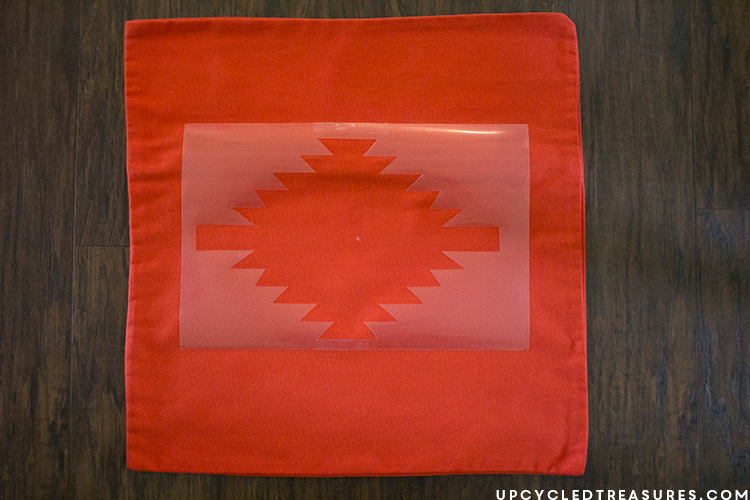
And here is what the stencil looked like once I peeled off the adhesive backing. How awesome is that? Sorry, but I may be a little giddy about just how easy it was to create my very own stencil. #lovemysilhouette
Oh and just so you know there are tons of patterns and shapes in the Silhouette store so you don’t have to create your own design if you don’t want to. You could also make one from an image you find online.
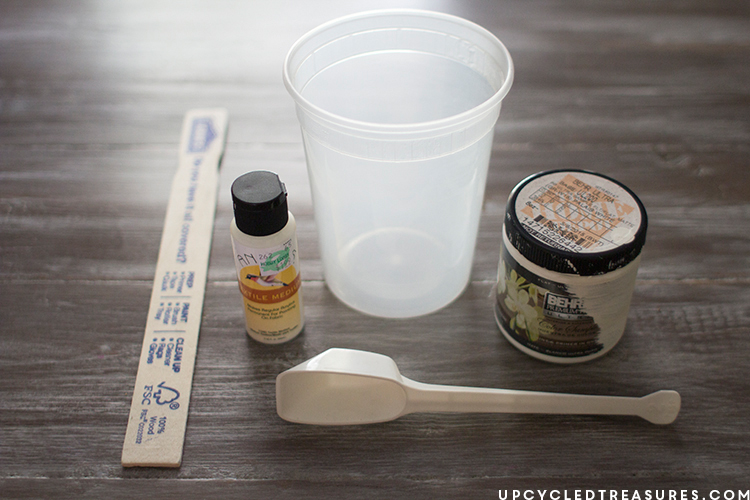
Rather than use fabric paint, I mixed some textile medium with some sample white paint I had on hand. The textile medium will basically transform any paint into fabric paint, and you can also wash it afterward too. It’s the same stuff I used on my painted rug. Just make sure you pre-wash the fabric before painting.
For this pillow, I wound up using 1 tablespoon of textile medium and 2 tablespoons of white paint.
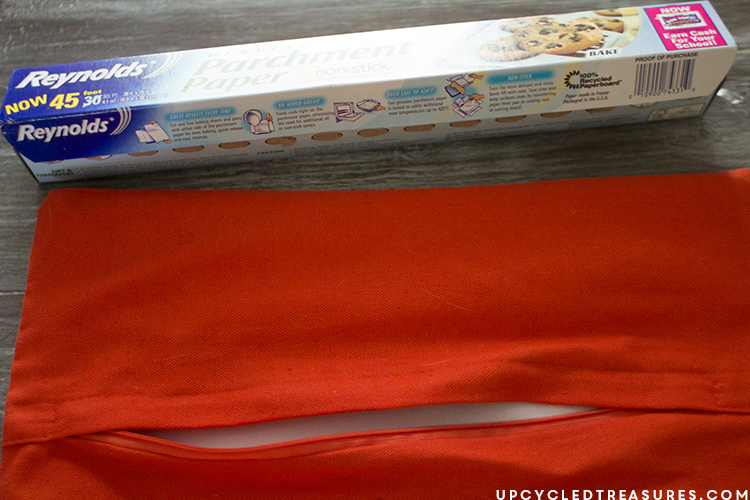
After I mixed the paint I lined the inside of the pillowcase with some parchment paper so that the paint wouldn’t bleed through. You could also use wax paper or some cardboard.
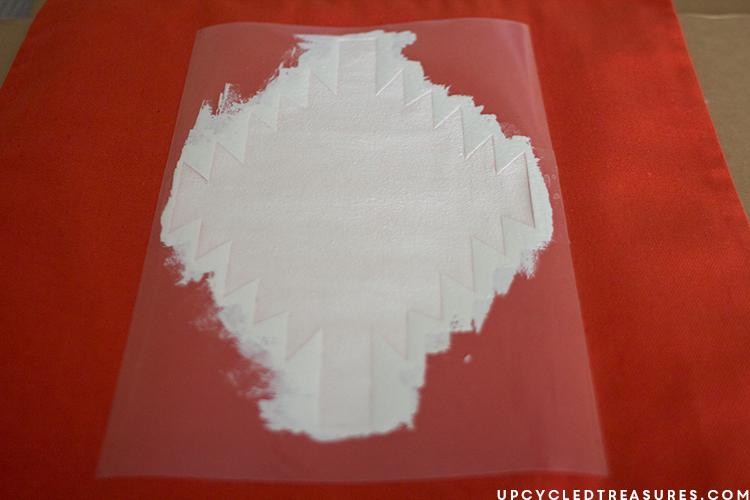
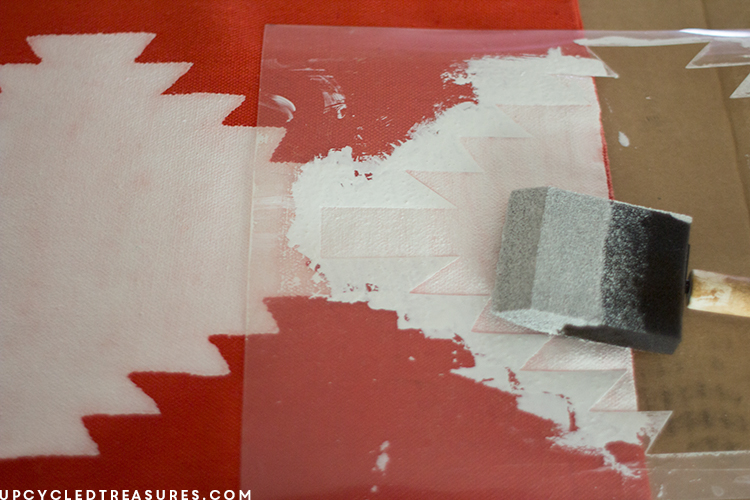
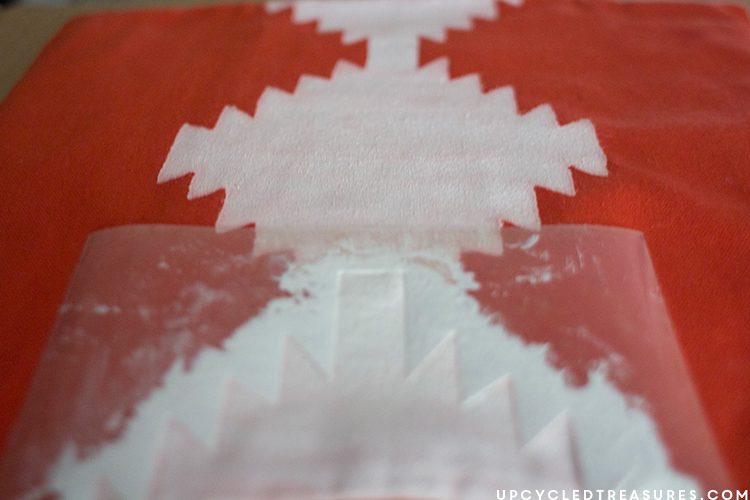
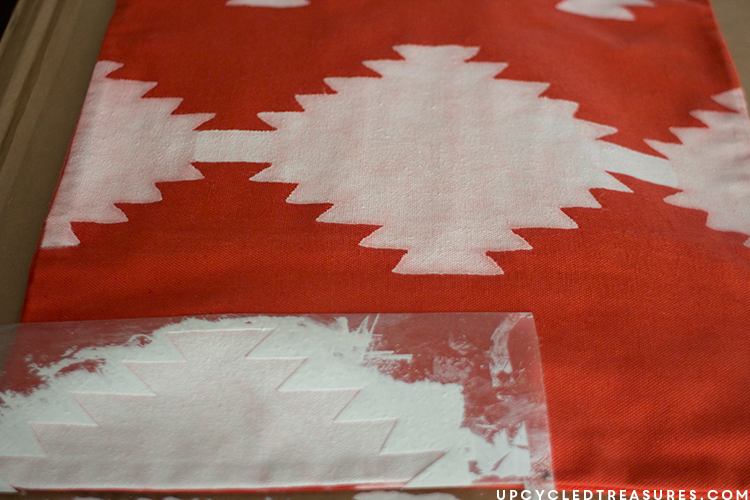
I then made sure my stencil was placed where I wanted it {in the center of the pillow case} and used a foam brush to add the paint in a dabbing motion. The back of the stencil is sticky so it stayed in place on the fabric which is nice.
After 1 coat I let the paint dry a bit and then added another coat of paint. I then carefully removed the stencil while the paint was still wet, and cleaned off any wet paint left on the stencil with a paper towel. I then set the stencil back down onto the next area and repeated the process.
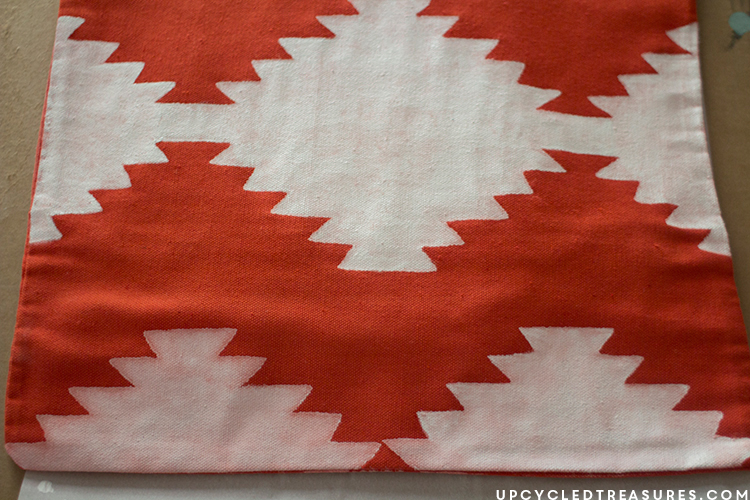
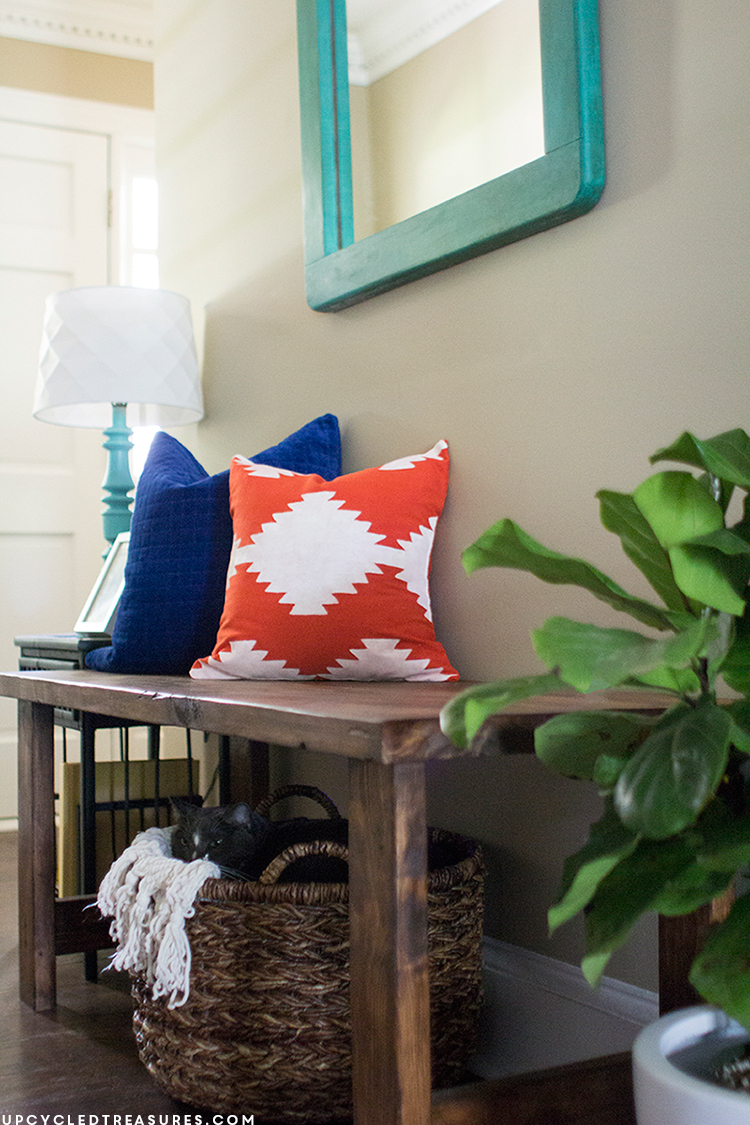
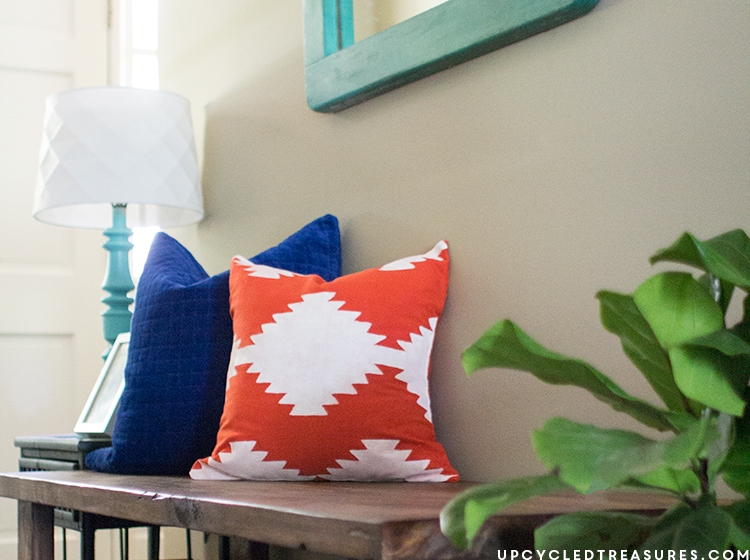
Yay, here is my Kilim inspired painted pillow all finished! As you can see I sorta messed up the pattern at the bottom and they don’t match up completely. Woops. I actually did go over the pattern with a small detail brush afterward in an attempt to straighten out any lines and fill the color out better. Painting white on top of orange required a few extra coats of paint.
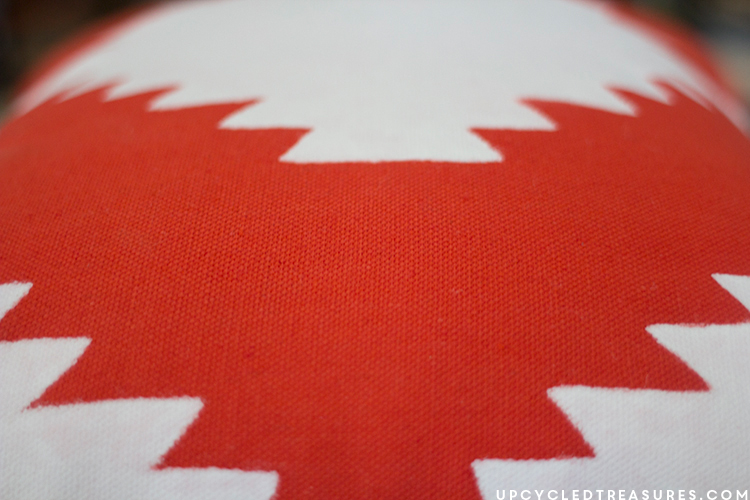
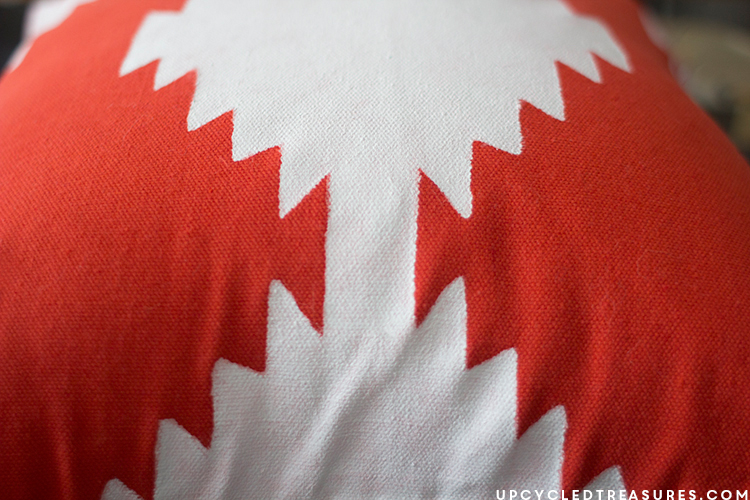
Once the paint was dry I added a pillow insert into the cover and voila, I now have a kilim inspired painted pillow that cost me about $5 to make! Here are a couple of close ups:
I love the added punch of color it brings to our entryway. This is also Duckie’s favorite sleeping hideaway.
So what do you think Kilim inspired painted pillow?
I know that the quality of my pillow isn’t nearly as nice as the one sold at CB2, but this is an inexpensive and fun way to add some personality to your home. And if you want to add some painted pillows to your outdoor space, all you would have to do is spray on some water sealant and that would make them weatherproof.
Have you painted pillows before and if so what’s your favorite technique? I’d love to hear about it in the comments.
Update: I’ve had this Kilim inspired painted pillow for about a month now and can say I probably should have added more fabric textile medium. It looks cute but isn’t exactly the softest thing, ha. It’s okay for looks but I guess not in a place where you want to lounge on it.
Don’t forget to check out the other fantastical DIY projects created by my friends!
CB2 Inspired Projects:
Earbud Holder from Designer Trapped in a Lawyer’s Body
DIY Metal Flower Wall Hanging from The Gathered Home




It turned out great! I’m not so sure my attempt would be as successful, but I’d try it before spending 39 bucks on a pillow. Lol. Beautiful job!
Thank you! I was honestly surprised at how well it turned out too! It’s not super soft {more textile medium may have helped} but it sure looks pretty in our entryway 🙂
Katie, it turned out perfectly! I can’t believe how well that white paint covered over the red pillow. I’ll take three! =)
Thanks Amy! It took a few extra coats, but I am equally as impressed 🙂
I love how this turned out, Katie! Just gorgeous! The bold pop of orange was such a great choice!
Thank you Brynne! I’m a big fan of the pop of orange, especially since we have so much turquoise and navy in our home.
This is so perfect! Seriously love it and if you can’t find a spot for it on the RV.. you can send it my way. =)
Haha, well I’ve already told the hubs that we have to get one {or more} of those ziplock vacuum bags so I can bring more pillows than I probably should.
This is absolutely gorgeous. I love Killim myself and this pillow is super cute.
Thanks Anam! Now I want to incorporate that template into more items in our home… or maybe for the RV 🙂
I love it, Katie! The color is one of my favorites and I love that you used a similar design to your awesome rug (which I still drool over)! Yours is so much better than the original!
Aww thank you so much Tasha!
It turned out so good, Katie! I love it in your space too.
Thanks Alexis! Eric built that bench for our bedroom but it has since been moved to the entry way and it feels like it was made for that spot. 🙂
Katie, I am dying over this painted pillow! It is absolutely gorgeous and I am now imagining all sorts of color combos and patterns. Need to make ASAP, obviously 🙂
Thank you so much Amy and I totally agree! I can’t believe I’ve had the Silhouette for 7 months and just now finally made my first stencil! I love that thing 🙂
I love a good knock off and this one is fabulous!
Thanks Katie! It was fun to make too 🙂
This turned out great! I’m working on decorating my new house now. Sometimes I forget to check out the solid colors when I can’t find the prints I’m looking for. This is nice way to add simple designs to plain fabric!
Thanks Sara! I’ve had this pillow for about a month now and can say I probably should have added more fabric textile medium. It looks cute but isn’t exactly the softest thing, ha. It’s okay for looks but I guess not in a place where you want to lounge on it.
Your pillow turned out so great! I love that you are up for painting anything! I chose your pillow as one of my features at The Creative Circle this week! I hope you’ll come and party with us again so we can see what else you’ve been up to!
I was out of town the week you left this and I just saw it. Thank you so much Angela!
Great method to get kilim patterned pillows.