UPDATE: All new featured RV tours will be posted on my other website, Wanderful RV Interiors. Existing tours will slowly be moved to the new website, and anything already moved will automatically redirect.
Disclaimer: This post may contain affiliate links, meaning, if you click through and make a purchase we (or those featured in this post) may earn a commission at no additional cost to you. View our full-disclosure here.
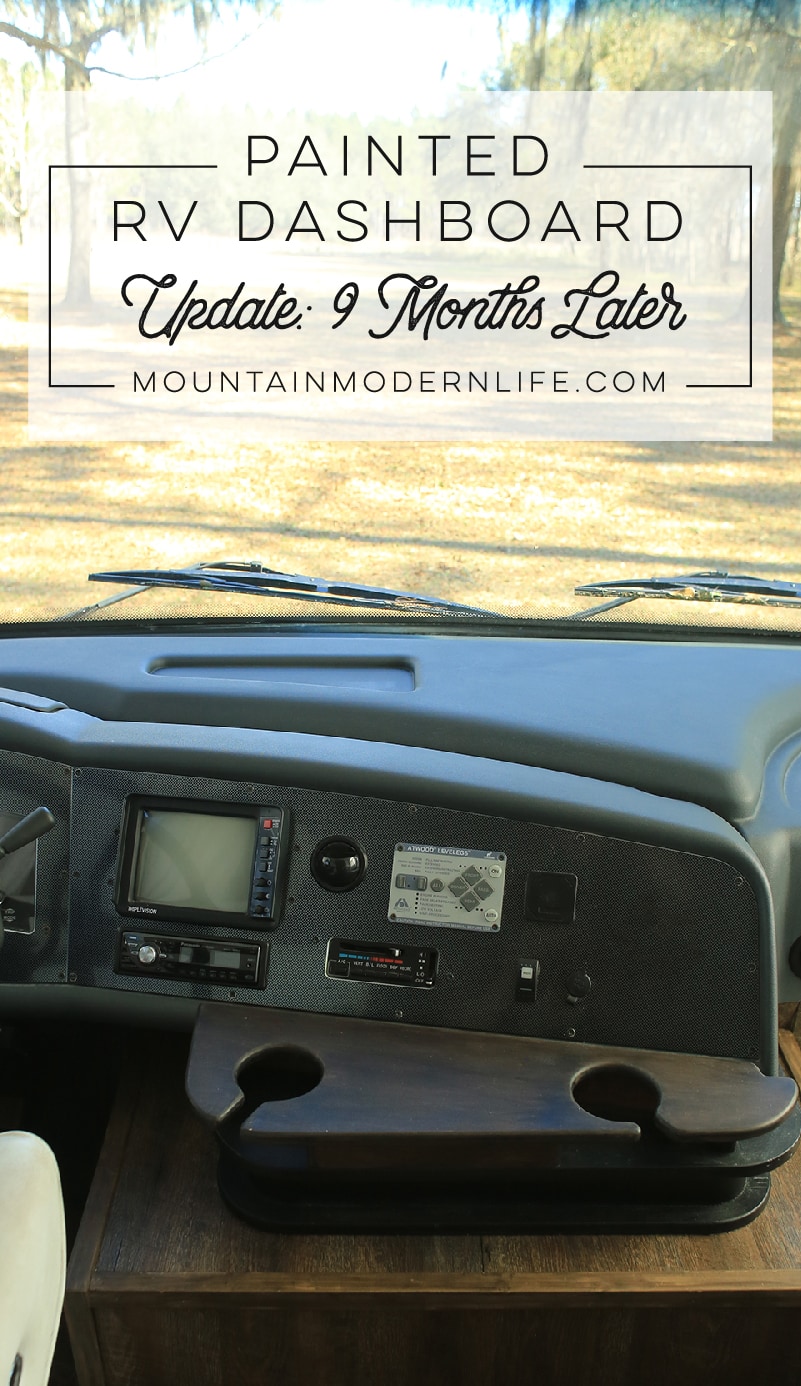
So you’re thinking about updating the dashboard in your RV or your car. But in the back of your mind, you keep wondering how well it’s going to hold up. Well, you can stop wondering because we’re going to give you a 9-month update on our painted RV dashboard.
If you’re trying to figure out how to get the job done you can check out our post on how to paint your RV dashboard.
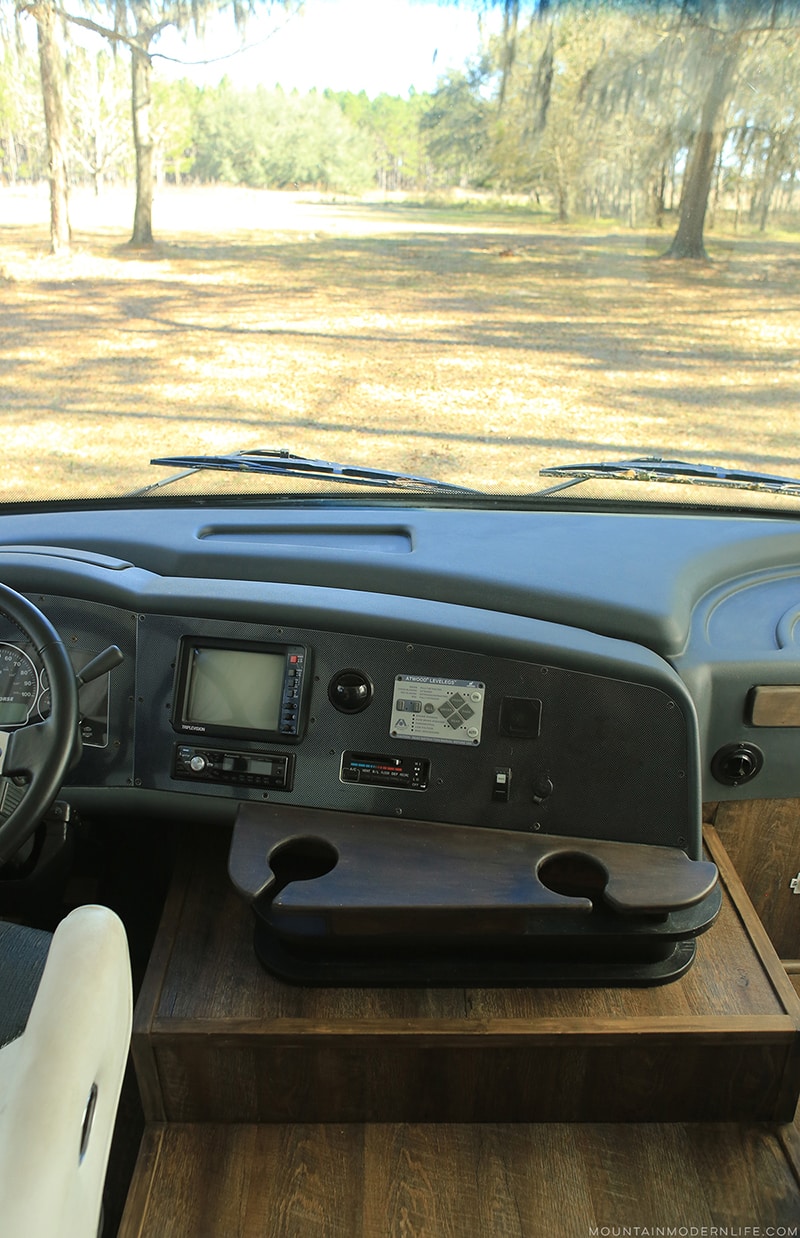
As a refresh, here’s what the front of our RV looked like when we first purchased it:

Painted RV Dashboard Update: 9 Months Later
Watch our video update below:

Problems with our Painted RV Dashboard
There are a couple of concerns with our dashboard, but as you’ll see moving forward both of them were a result of us having pets. The good news is you can learn from our mistakes, which we’ll share below.
Problem One
The first is a spot where the paint has peeled, you can see it below.

How did this happen you may ask? Duckie, one of our cats, loves eating plants. This is a pain because we love keeping plants in the RV, but have to be extra careful about where we place them. We even try to move the plants we keep behind the sofa before we go to bed, but sometimes we forget.
Duckie is great at ignoring the plants during the day, or whenever we’re around, but as soon as we’re asleep he finds the plants, nibbles away… and then gets sick.
One day I go up to the dashboard to see Duckie had taken a few bites from one of our plants and left the evidence behind. As I began cleaning it up the paint began to peel.
At first, I thought it was the cleaning solution but then realized I’d cleaned the dashboard with the same solution many times before. I’m convinced it was the acid from Duckie’s stomach that did the real damage.
Yeah, pretty gross.
Problem Two
Problem two isn’t necessarily the cat’s fault, but again it involves them.
If you look at the picture below you can see a dusty, hazy residue that seems to be covering the right side of the dashboard.

For the first four months, we kept the cat’s litter box in front of the passenger seat. We originally planned to keep it inside one of our storage bays, but that idea fell through due to a large steel beam going underneath the RV.
We stopped buying litter boxes a few years ago, and instead have made them out of storage bins. We generally keep the lid on top too, with a hole cut out for them to jump through. This tends to prevent any leakage and keeps the majority of the litter and dust inside the box. It’s affordable and functional, and I highly recommend it for anyone looking for a top-entry litter box. I just realized we’ve never posted about it before, but here’s a similar DIY litter box or you can purchase a similar one here, or more “stylish” versions here and here.
Anyway, once we moved into the RV we decided to keep the lid off the litterbox… bad idea.
Let’s face it, I was lazy and it was easier to clean the litter box every day without removing the lid, especially with it being a little awkward to access.
Unfortunately, without the lid, the litter dust would rise into the air landing on the right side of the dashboard (and the passenger chair). Gross.
No matter how many times we’ve cleaned it we’ve been unable to remove all of the dusty haze, and now there seems to be a permanent hazy residue. We’re not giving up on cleaning it so if you have any suggestions, we’d love to hear about them.
We’ve tried warm water on a washcloth, water, and soap, water and alcohol, alcohol and dryer sheets, vinegar, Mrs. Meyer’s natural cleaner, 7th Generation all-purpose cleaner, vehicle dashboard cleaner, Clorox wipes, and even TSP.
Nothing seems to work.

It may even be that in the beginning, I was cleaning the dashboard with paper towels (not the best idea), but we only use microfiber cloths now and that still hasn’t helped.
Although I can say that if the sun isn’t hitting the dashboard directly, or you’re not up close, you don’t notice the hazy residue as much.

And right after you clean the dashboard (and it’s still wet), it looks pretty good… then it dries and the residue returns.
We’ve since moved our litter box to a different location which we’ll touch on in a future post, but we’re convinced that if we hadn’t kept the litter box upfront, the dashboard would look much better. We’re pretty sure the litter is the culprit because the left side of the dashboard is in much better condition than the right.
Here’s a photo showing the before, after, and update photos.
Side note: The coloring in some of these photos may seem a bit off but that’s only because the lighting outside was different when we took the photos.

Possible Solutions
If we were to do it all again we’d use a clear coat sealer over top of the Dupli-Color Dashboard Spray Paint. This would help us by giving an extra layer of protection against dust, and yes the sickness too. If you have cats you know they can get sick so it’s best to keep things protected when possible.
We also wouldn’t have kept our litter box upfront. Then again we know living in an RV can be tight, so if you have to keep your litter box upfront we’d suggest using a clear sealer… and probably using a litter box with the lid.
After doing a bit of research on clear sealers I’d go with the Rust-oleum Crystal Clear Enamel or something similar. It can be found near the Dupli-Color spray paint at Autozone or online. I do want to say that we haven’t used this product in this particular situation, so I’d test it on a small inconspicuous area before spraying your entire surface. If you have experience putting a clear coat over your painted dashboard we’d love it if you shared your results in the comments to help anyone else thinking about tackling this project.

Would we do it again?
Overall we’re pretty happy with how our RV dashboard looks and has held up over the last 9 months. Is it flawless? No, but we think our main concerns could have been avoided had we used a clear coat, and not kept the litter box right next to the dashboard.
Would we do it again? Probably, although it’s debatable whether the beige dashboard would have blended in nicely after we finished up the bulk of our RV renovations. We still prefer the grey, but if you’re planning to update your rig, you may want to leave painting your RV dashboard as one of your last projects, just so you can better determine if it’s going to be worth it for you.
Still, thinking about painting your RV Dashboard?
See how we did it in the videos below:
