UPDATE: All new featured RV tours will be posted on my other website, Wanderful RV Interiors. Existing tours will slowly be moved to the new website, and anything already moved will automatically redirect.
Disclaimer: This post may contain affiliate links, meaning, if you click through and make a purchase we (or those featured in this post) may earn a commission at no additional cost to you. View our full-disclosure here.
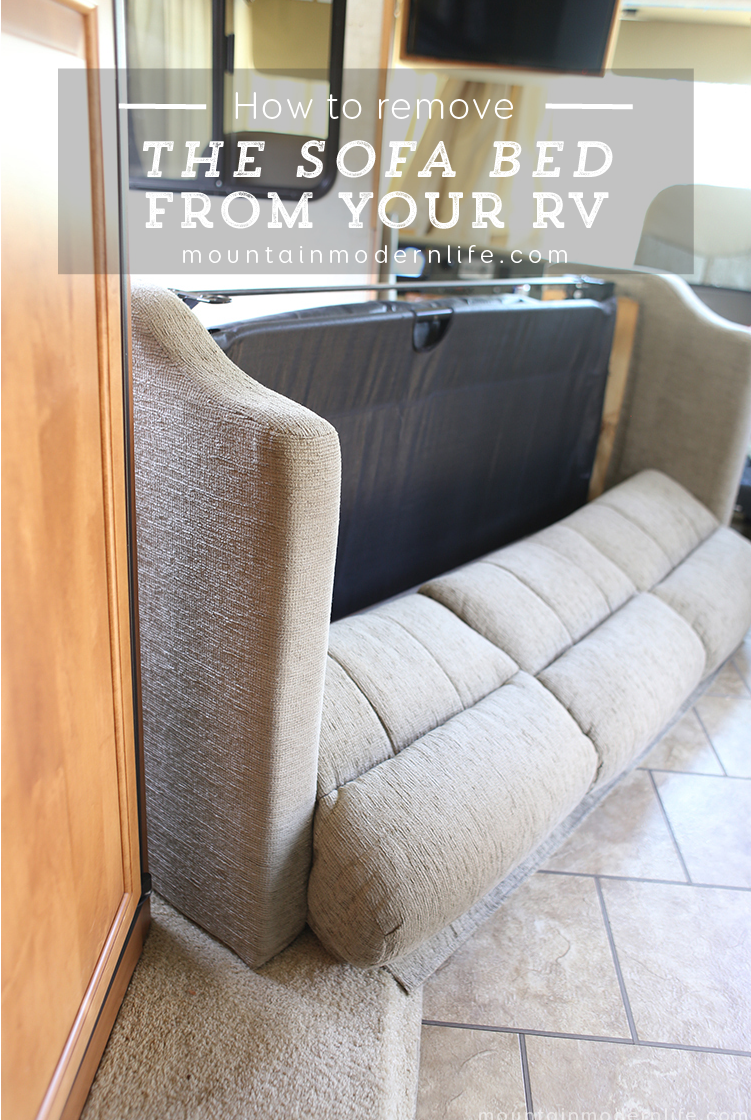
There are many reasons as to why you would want to remove the sofa from your RV. For us, we needed it out in order to begin on the flooring. We also have plans to build a custom sofa for the RV, so ours needed to come out regardless. Whatever your reasoning behind needing to remove the sofa from your motorhome I hope the information below is helpful.
How to Remove the Sofa from Your RV
This post will highlight how we removed the sofa from our RV, a 2008 Tiffin Allegro Open Road 32la. Almost every RV is different so please use what you can from below to complete your task, but understand that some steps may be different depending on your specific model.
Optional: Ziplock Bags and Sharpie
Sure removing your sofa from your motorhome may seem like a simple task, and for the most part it is, but unfortunately for us, it took some disassembling first in order to fit out the door.
What we have come to find out is that most RVs are completely built and decorated BEFORE the exterior walls are put up. This is why removing some of the items can prove to be a bit more challenging than originally anticipated. On top of that, nearly everything is bolted or screwed down for safety reasons when driving down the road.
We brought up the question about how to remove the sofa from your RV in one of our RV Facebook groups to see if there was any other way to get the sleeper sofa out of our motorhome. However, once we realized it wouldn’t fit through the door or windows we knew to disassemble it was our only option.
If you don’t believe your sofa will fit out of the door of your RV then you may want to remove the heel plate and arms before disconnecting the sofa from the RV floor. Having the sofa still attached to the floor may make it easier on you as far as removing the heel plate and arms.
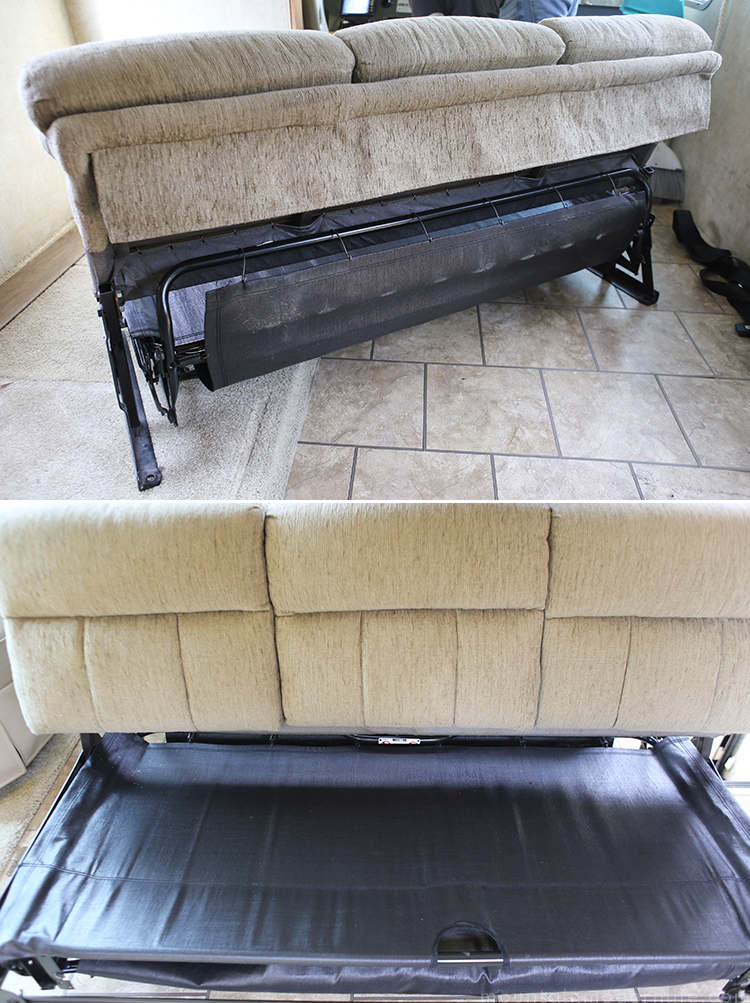
If you have a sofa bed in your motorhome then you will quickly learn there are A TON of bolts that go to it. The good news is that you don’t need to remove them all. You only need to focus on the ones that attach it to the RV itself, as well as the ones that will remove the arms and front heel plate.
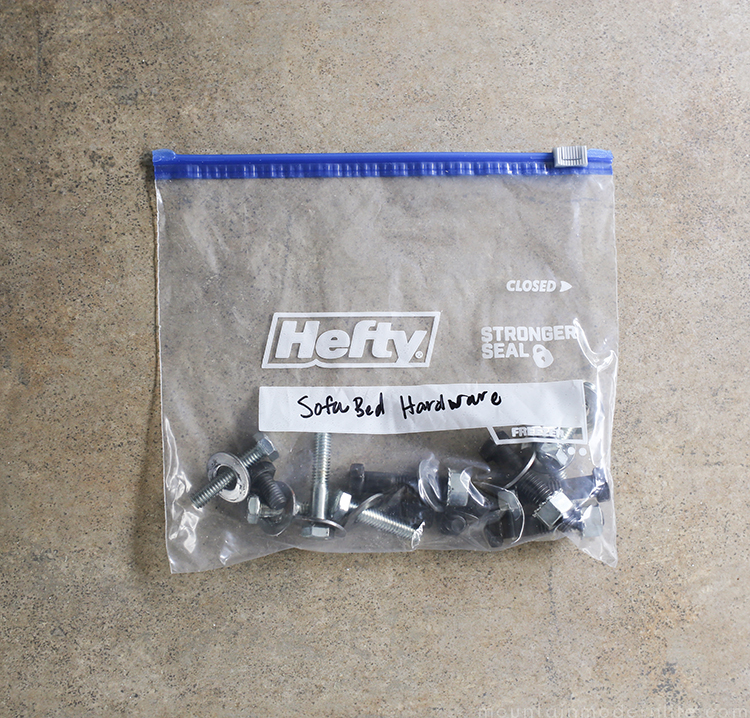
When removing the nuts and bolts that hold the sofa together we always label a plastic baggy in order to ensure we don’t lose any of the pieces we will need to put it back together.
First things first, you need to grab your ratchet and socket set. In order to remove the pullout sofa from your RV, you will need to have both a 14mm and 13mm socket (though sofas could be different based on your coach, so best to bring the whole set).
Remove the Sofa from Your RV Floor
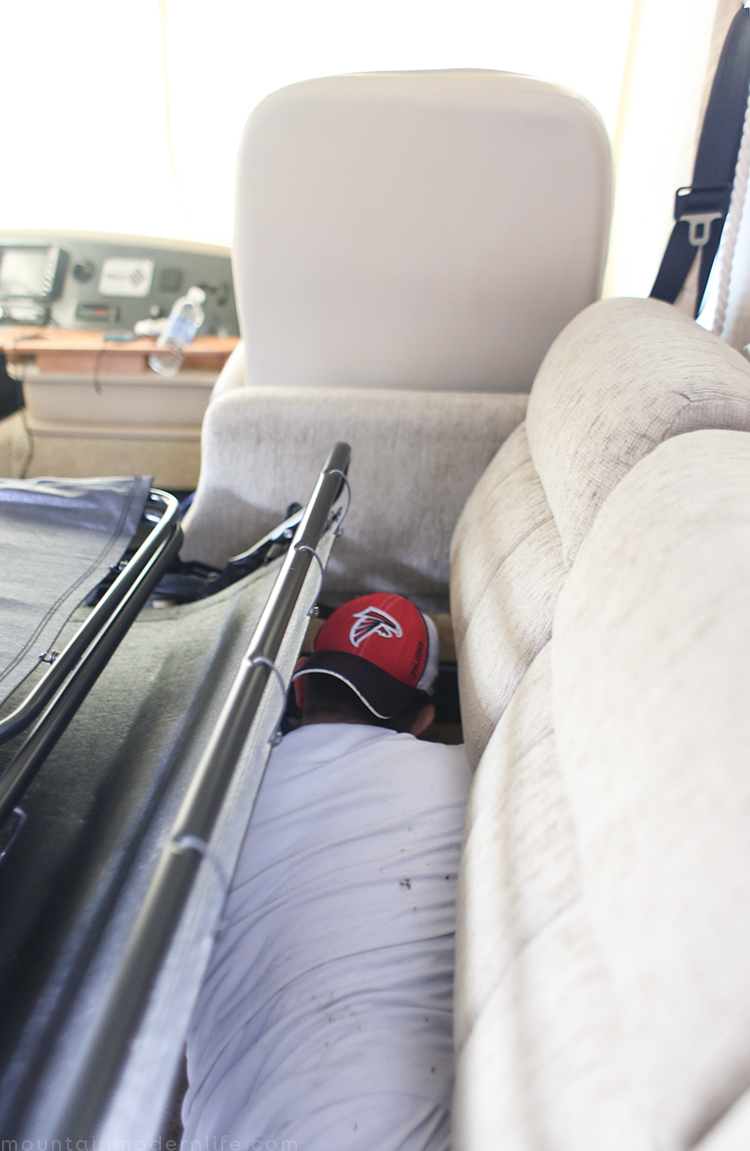
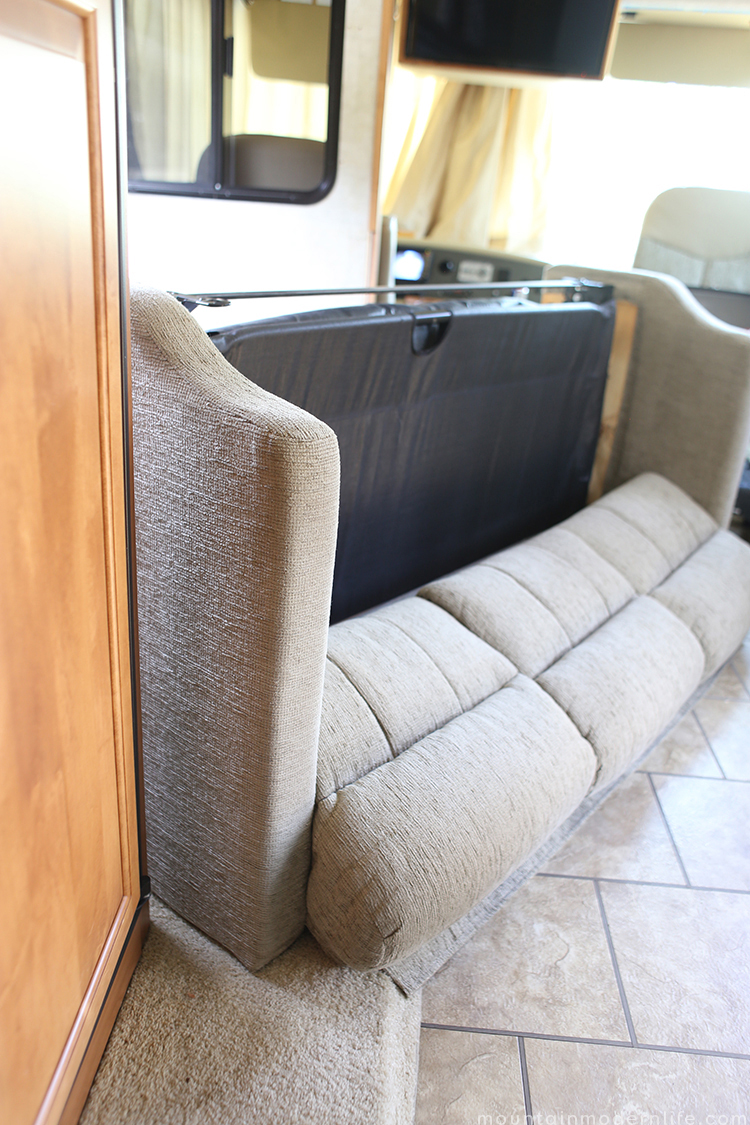
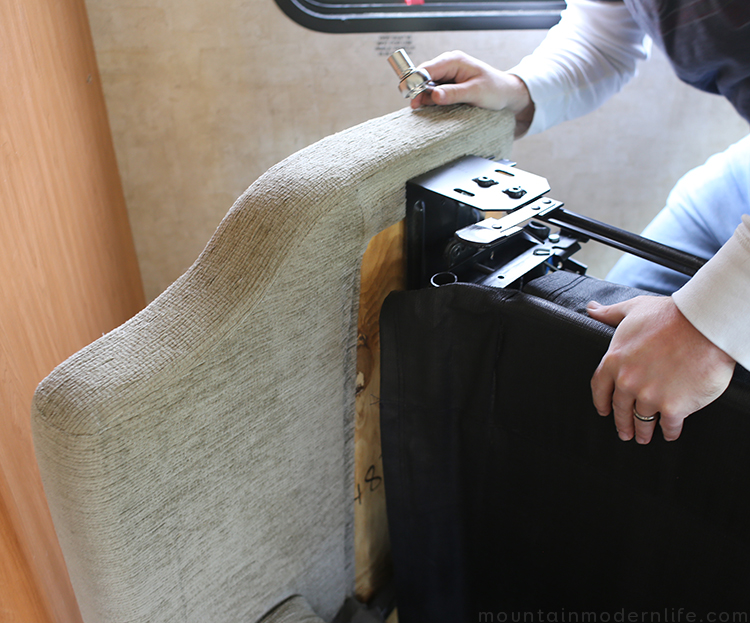
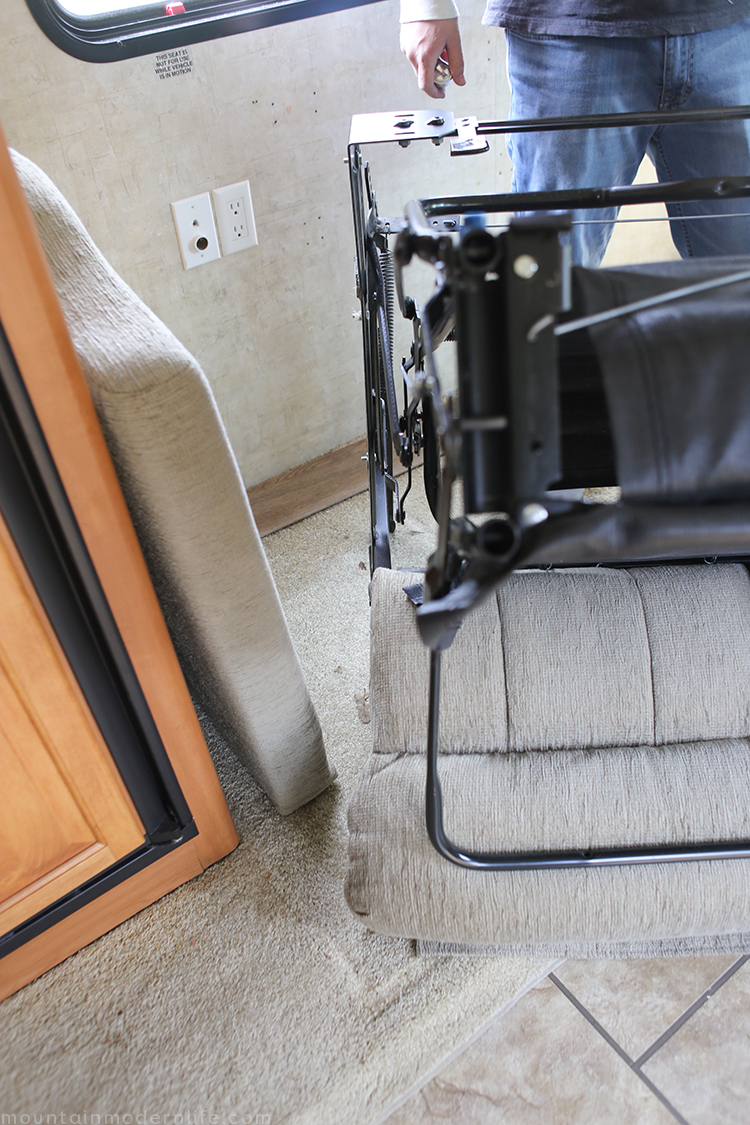
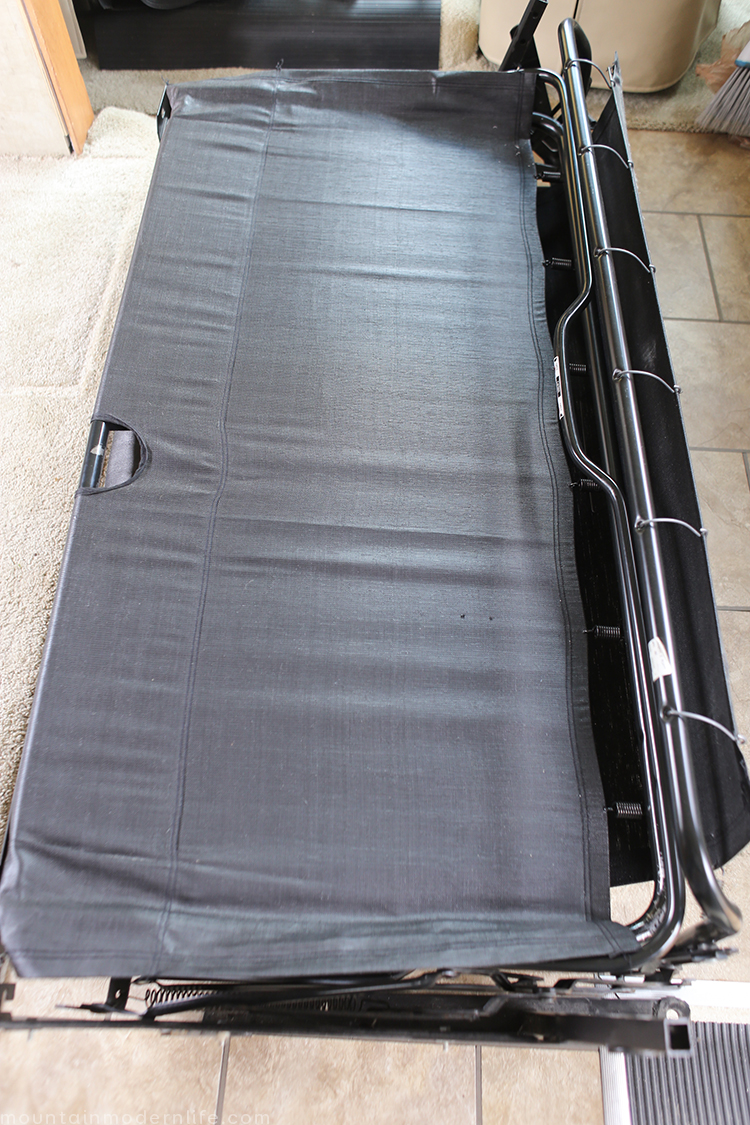
After we had the tools we would need we folded the bed of the sofa out and leaned the sofa headrest as forward as it would go (as highlighted in the picture below).
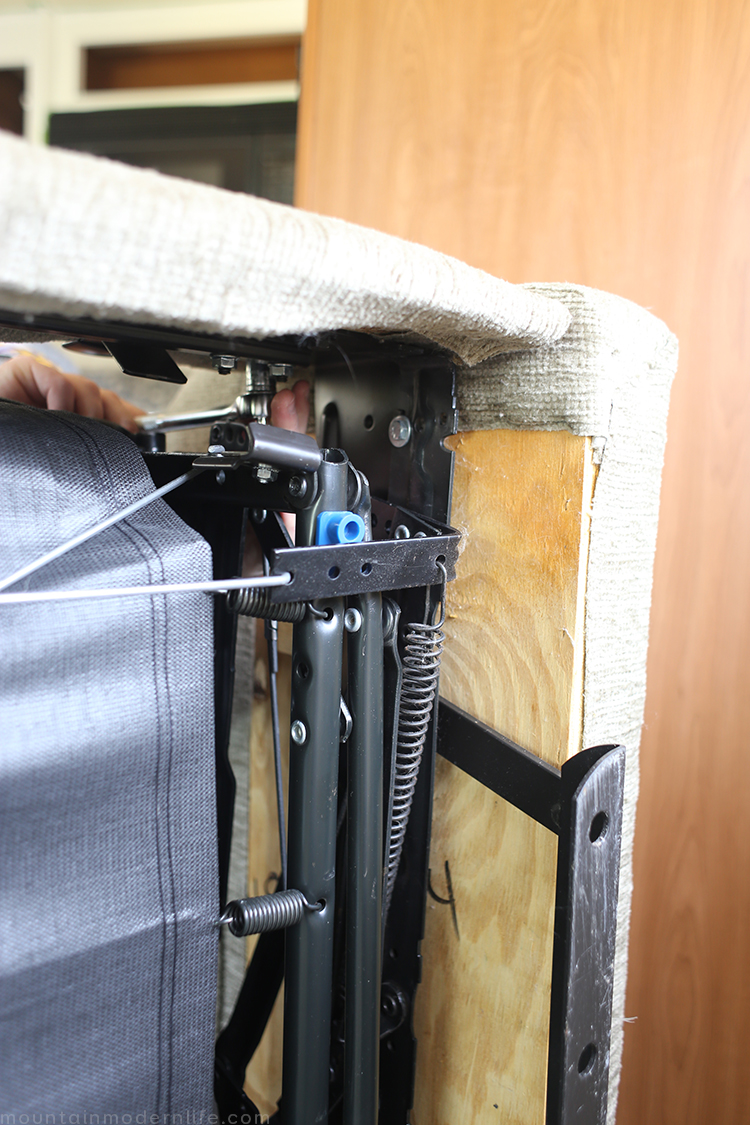
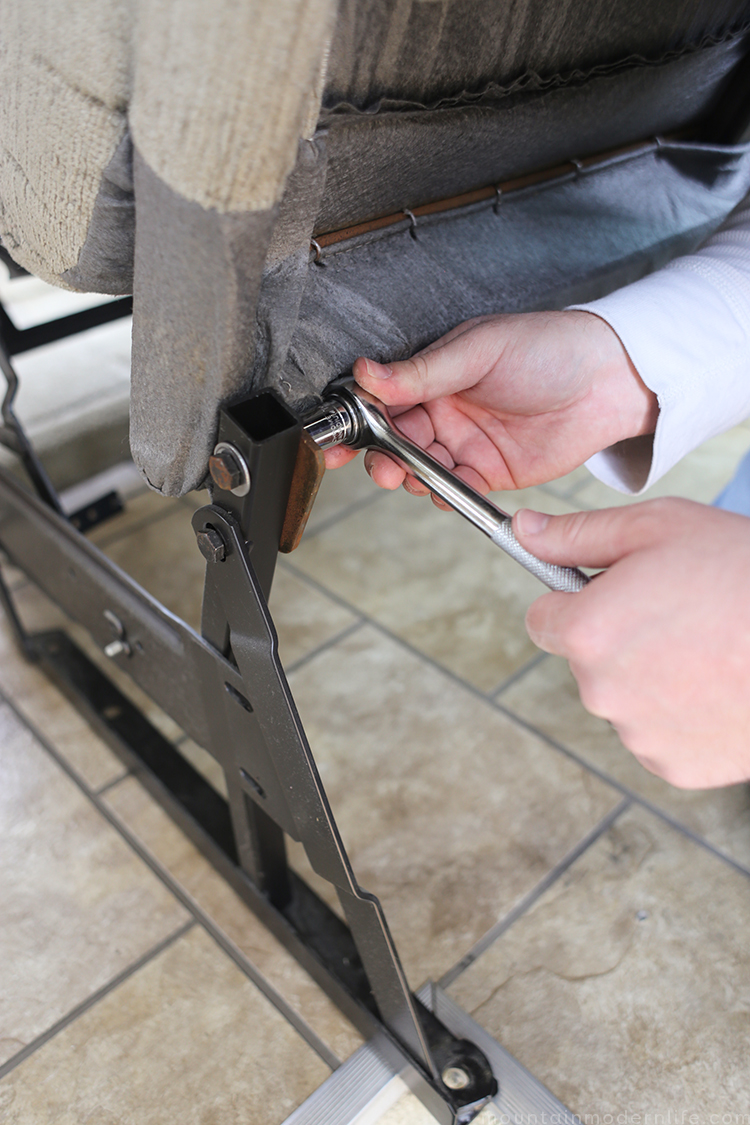
At this point, I climbed right into where the bed portion of the sofa would generally be, then loosened all of the bolts. With our sofa, this was the point where we needed the 14mm socket. After loosening all of the bolts that attached the sofa to the floor of the RV I climbed my way out trying not to scratch myself on the wire from the bed.
This is the point when we realized the sofa had seat belts since they were hidden below the sofa. Luckily, we have only traveled by ourselves and haven’t sat on the sofa while driving the RV down the road.
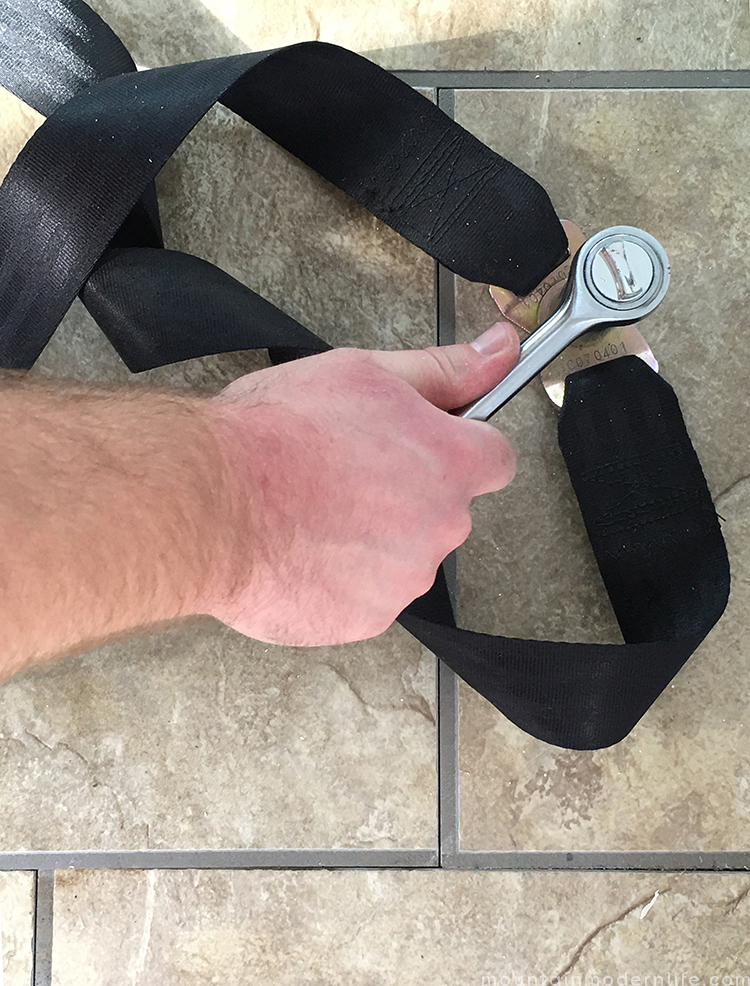
You can remove the seat belts by loosening the bolt on the floor then going to the storage compartment below and removing the nut the rest of the way.
Detaching the Arms and Heel Plate from the Sofa
When it came to removing the heel plate and arms from our sofa all of the bolts were 13mm (meaning you should grab that 13mm socket, or whichever one fits for your sofa).
The heel plate is the easiest part of the sofa to remove, so if you know your sofa won’t fit out of the door I would start here. With the bed still fully within the sofa, look down along the inside between the front of the hidden bed and the heel plate that sits inches further out.
There should be four bolts, two in each corner, you can tell they are for the heel plate by noticing they are the only ones that attach to it.
Using your ratchet and 13mm socket, go ahead and remove all of the bolts. Once removed the heel plate should easily lift up.
Removing the arms is a bit trickier. I found it was easiest to have the sofa pulled out when performing this action. With every sofa more than likely being different, it is important that you pay close attention to what each bolt is attached too.
You will see a ton of bolts because the metal frame of the bed is held together by them as well. If you look in between where the sofa is attached to the wood of the arms you will see which bolts are attached and which are not. You will want to loosen and remove all bolts that connect to the wood of the arms.
When we removed the arms of our sofa there were a total of six bolts, three for each arm.
Now that you have the arms, heel plate, and seat belts removed you can take them to where you intend to store them.
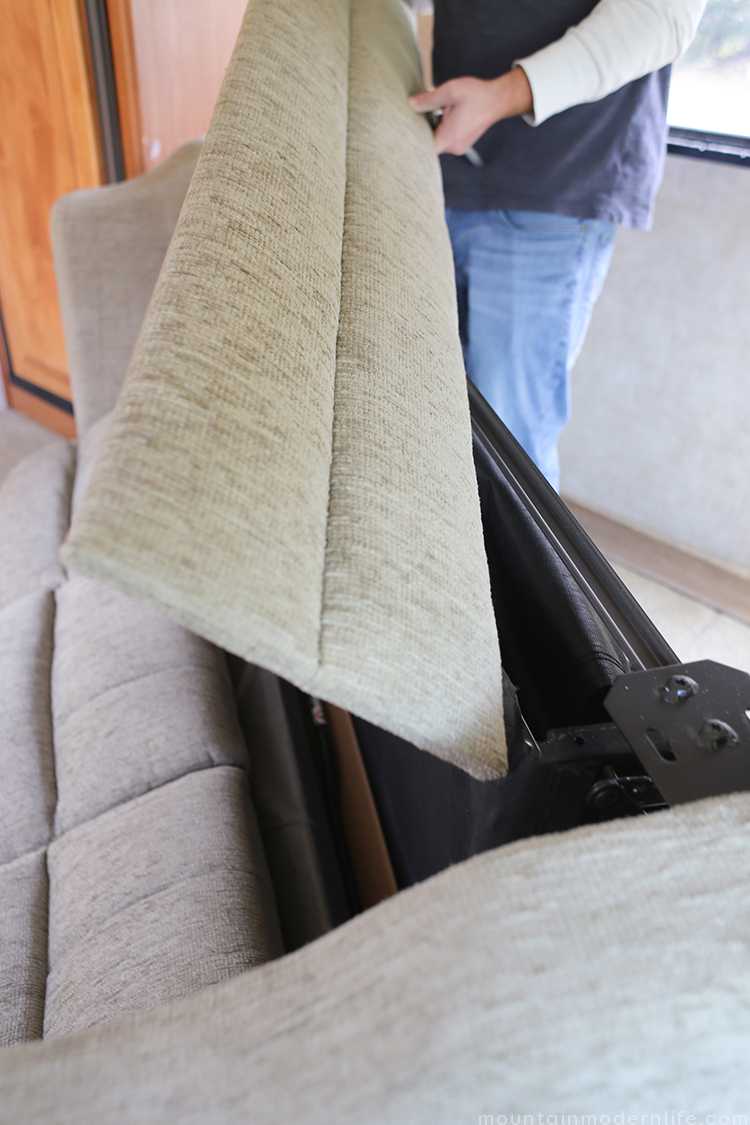
Next, we focused on removing the backrest of the sofa. Which is as simple as removing the nuts that hold it to the back of the hideaway bed.
Once the wood pieces were separated from the bed mechanism we were able to successfully remove the sofa from your RV. It was pretty heavy so you may need help getting it out the door.
I hope your sofa fits out the door as-is, but if not I hope showing you the process of how we disassembled ours was helpful. If you have any comments or questions about how to remove the sofa from your RV please do not hesitate to leave them below?
We are happy to report that our sofa bed found a new home in someone else’s camper.
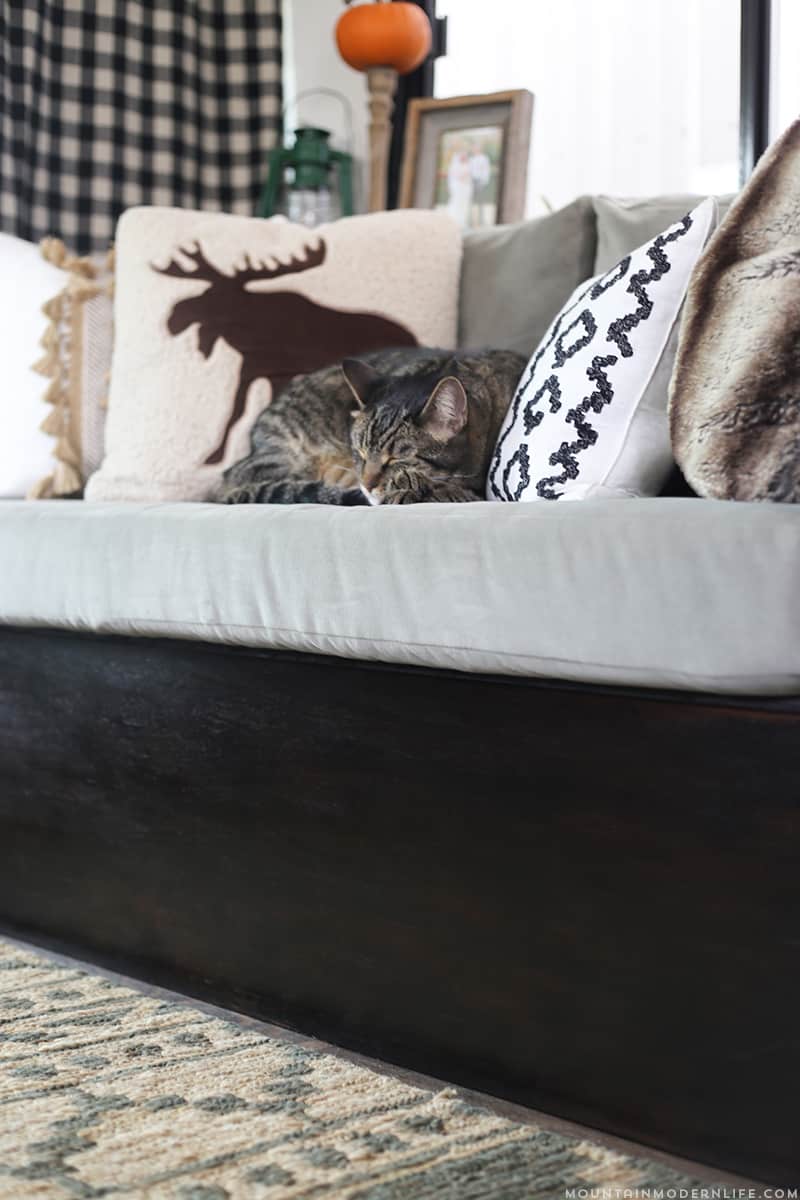
UPDATE: We built our own custom sofa which you can read more about here and here, or see what inspired us here.

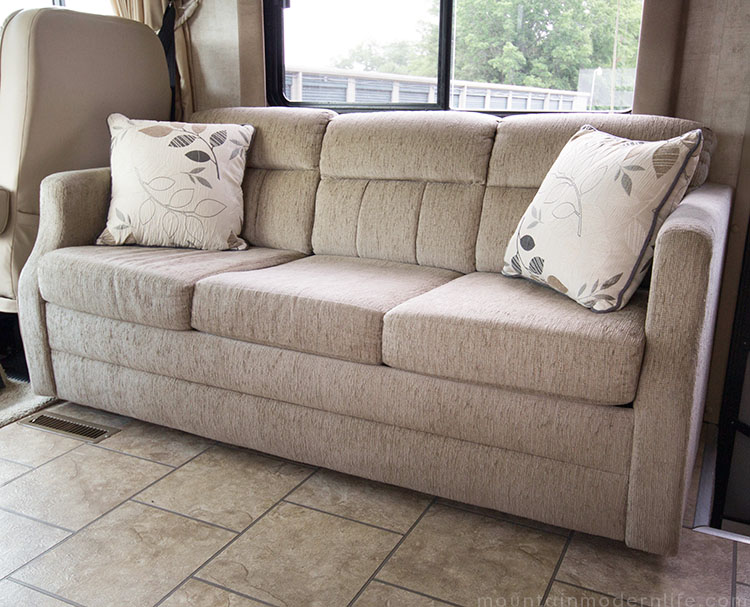

I would like to remove our uncomfortable sofa and replace it with 2 recliners. They would be a lot more comfy for those nights when you watch a movie because of bad weather or just watching the news. We have a 2014 Coachman Freedom Express 26RKS.
Our Coachman is a Freedom Express 246RKS. I always make that mistake with the model number. Just put that in my email in case you’d like to look up the floorplan. Do you think it could be done?
Hey Joan, thanks for reaching out. I had a minute to check out the floor plan for your model RV. It looks as though your sofa is positioned on a raised platform on the slide-out. Unfortunately I haven’t dealt with a situation similar to this as of yet, so am not sure how to guide you moving forward. One thing I would suggest is checking out the two Facebook groups I list below. A lot of people have made changes to a variety of different RVs, and there may be someone who has made similar changes to what you are looking to do.
https://www.facebook.com/groups/rvinteriorideas/
https://www.facebook.com/groups/371164549760394/
I hope these help, and please feel free to reach out if you have any further questions.
Was the floor more or less intact underneath? We are considering buying a class C but want to take out the sofa to make room for our music equipment – a rack mount unit about 2x2x4 ft and 100lb, a keyboard stand and a computer. Do you think we could use the floor bolt points to secure the rack mount unit?
Hey William, great question! In our unit the floor was fully intact underneath. It had the same tile running underneath as the rest of the rig, once we pulled up the tile there was a thick (i’d say 3/4″ or an inch) layer of plywood with the bolts coming up. If you plan to replace the flooring I’d suggest leaving the bolts in place while you match the flooring around them, otherwise it may be difficult to get the holes through the new flooring. As far as securing the racks it is going to depend on where the bolts are located (how far from the wall and far apart they are), but I think as long as you have the bolts in place you should be able to use them to secure the rack. You may need to get creative but I think it can be done.
Side note, if the sofa you take out has a metal pull out bed you may actually be saving weight by adding the 100lb setup you are talking about. If for some reason the bolts don’t line up in good spots to secure your rack, you could probably try to build little braces out of wood to place in position over the rack and screw them into the floor (ya know getting creative haha). Sorry for rambling on it is hard to truly know how to work it without seeing the specific bolt set up and rack but I think you could get it done. I hope this helped somewhat, let me know if there is anything else I can help with. Best Wishes, Eric.
appreciate your posts as a new rv’r. you’re instructions are thorough, encouraging and realistic. watched the ‘couch removal’ to prepare for what might be ahead. fortunately, my couch wasn’t bolted in and with the removal of the legs and some previous ‘moving’ experience ( knowing how to turn a chair/couch to allow it to move out a door way ) allowed a less than 15 min. removal.. the new one is not considered an ‘rv’ couch and has different/larger measurements. it will be a ‘new’ adventure that i’m hoping will be successful with patience and creative thinking.
Thank you much L.! You have the right approach for sure, if you approach anything with patience and creative thinking you will conquer it 🙂
We, too, have a 2008 Tiffin Open Road with similar sofa. We found sofa so uncomfortable so we dismantled it and added new firmer foam and plywood….result is a better sitting sofa. By chance did you remove dinette? We were wondering if there was wallpaper behind that…..would love table and chairs instead and narrow cabinets against part of wall for canned goods that we put into the large drawers that are in dinette.
Love your new sofa.
Oh that’s awesome that you also have a 2008 Tiffin! We did remove our dinette and while there wasn’t wallpaper behind it, we did paint over the textured walls. I love your idea for adding cabinets for canned goods. If you’re curious about how we removed the dinette booth we have a post here:
https://mountainmodernlife.com/remove-the-dinette-booth/
I hope that helps and keep us posted on your updates!
Katie
We are currently in the removal part of our RV renovation and are having trouble with two parts that I would love to get your thoughts on! We got most of the seat-belt bolts out. Do you all fill in these holes (we had some in our slide too from a second couch and the dinette that we removed) since they went through the whole frame? Also, we have a few that are totally stuck and we have no clue how to approach getting them out. The bolts just twist in place as we try to loosen them, and they are carriage bolts on one end, so it is impossible to grip and hold still!
Hey Tyler, side note, I checked out your website and you and your wife do amazing work! Anyway, on to the question at hand. The seat belt bolts we had to remove left pretty small holes so we did not fill them in. As far as the bolts that are stuck that’s a rough situation, we had one bolt we couldn’t remove but luckily it only came up about 1/16 or a 1/8 of an inch. So we actually cut a small circular hole in the bottom of that piece of flooring so the bolt top could rest inside without creating a bump. I’m not sure this approach is ideal for your situation but that’s how we handled it with ours. You could also try to use a grinder to cut through the bolt, I believe there are a couple of Dremel bits that could get this done. You may also be able to use a pair of vise grips to latch on the circular part of the carriage bolt, I’ve had a few situations where using vise grips totally surprised me and worked. Anyway, I hope this was helpful but please let me know if I can clarify something a little better. Best Wishes, Eric
Awesome post!! I have a front living 5er with two slides in the living area, each with a sleeper sofa. i have been pondering the idea of removing one of the sofas and building a desk/storage spaces in that slide area. i think my only challenge will be the fact that it is raised but you have definitely inspired me to at least get the sofa out and then I can go from there. Thank you!
That’s awesome James, I’m glad we were able to give you a bit of inspiration! Let us know if you have any questions and we’ll do our best to help 🙂