UPDATE: All new featured RV tours will be posted on my other website, Wanderful RV Interiors. Existing tours will slowly be moved to the new website, and anything already moved will automatically redirect.
Disclaimer: This post may contain affiliate links, meaning, if you click through and make a purchase we (or those featured in this post) may earn a commission at no additional cost to you. View our full-disclosure here.
Are you looking for some easy place setting ideas for Thanksgiving? Here is an idea that’s not only super easy but super affordable too!
Simple & Rustic Give Thanks Place Setting
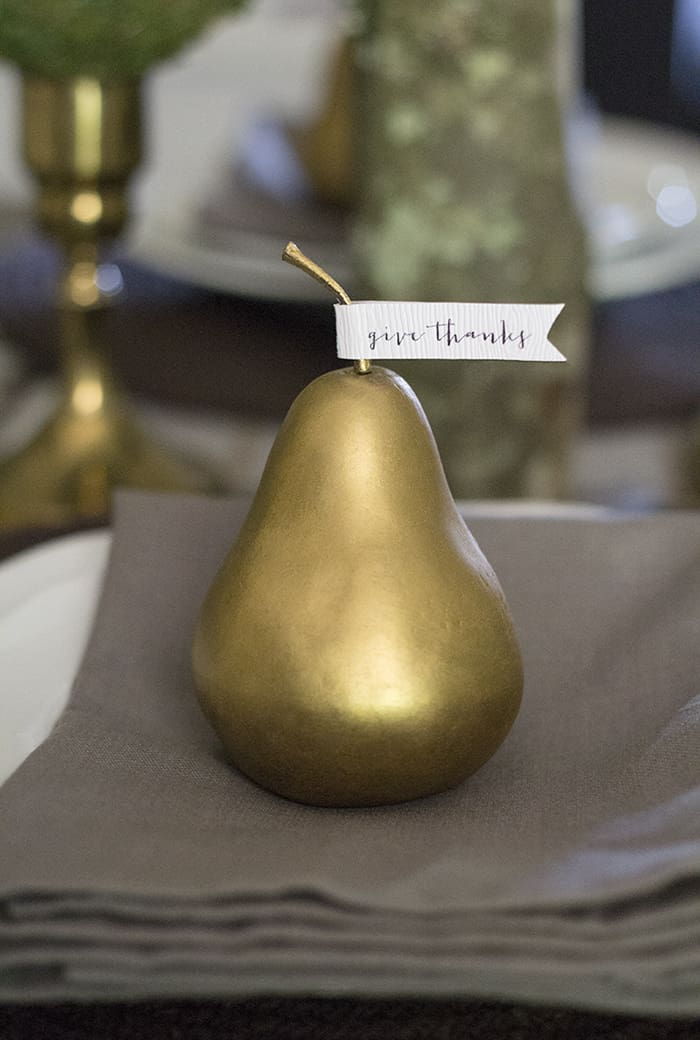
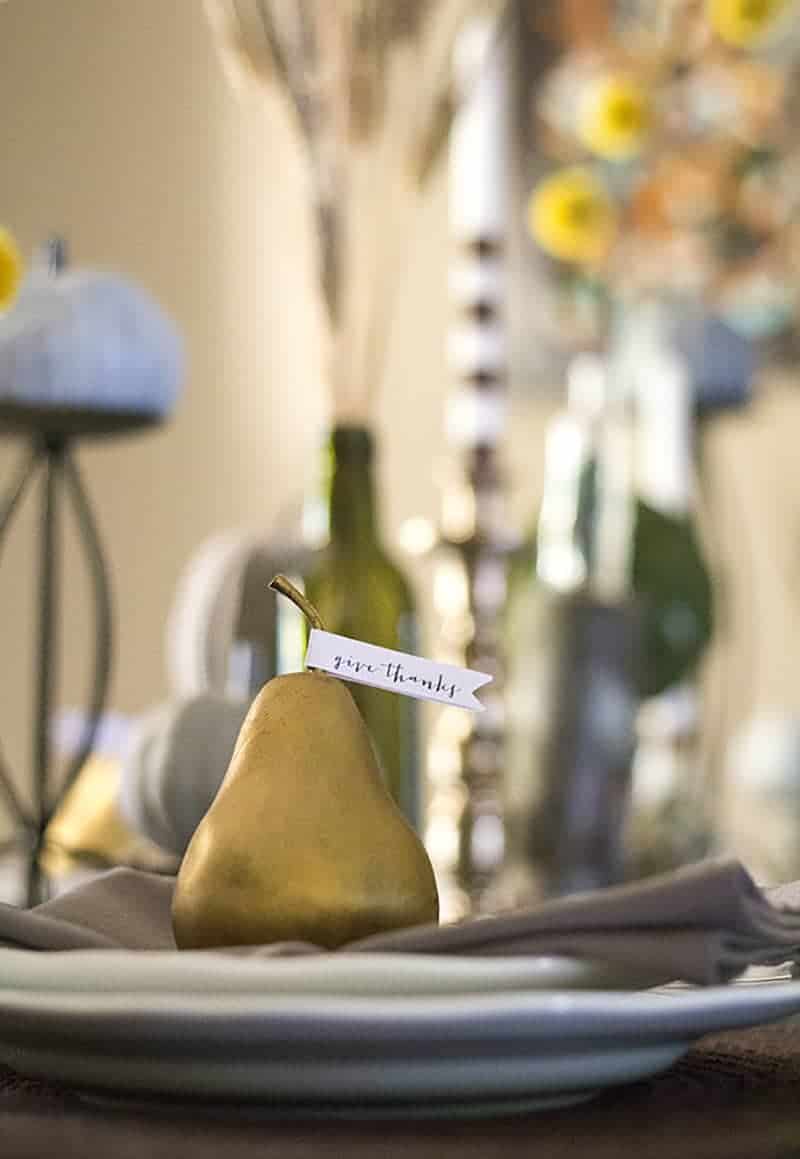
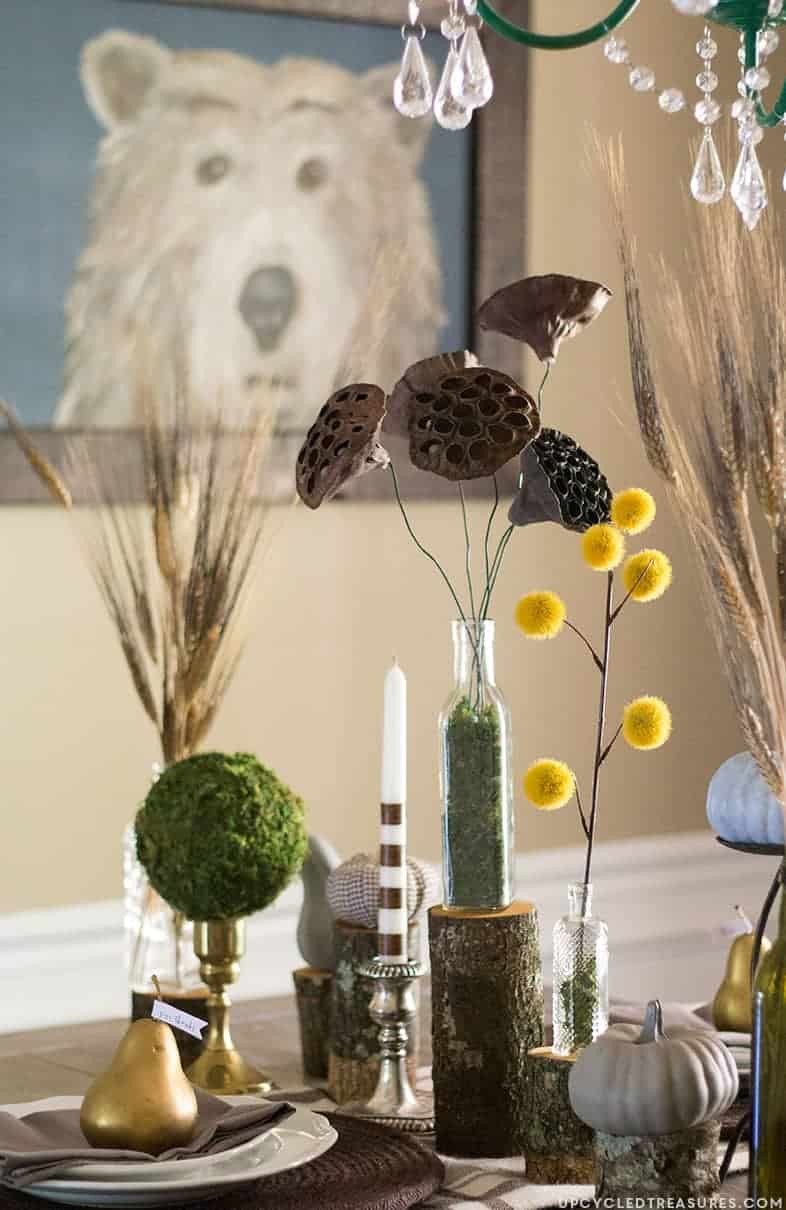
This year I wanted to create an enchanting, woodland-inspired, rustic give thanks place setting filled with earthy colors and pops of gold. I also wanted to find an easy way to incorporate “Give Thanks” into the name place settings.


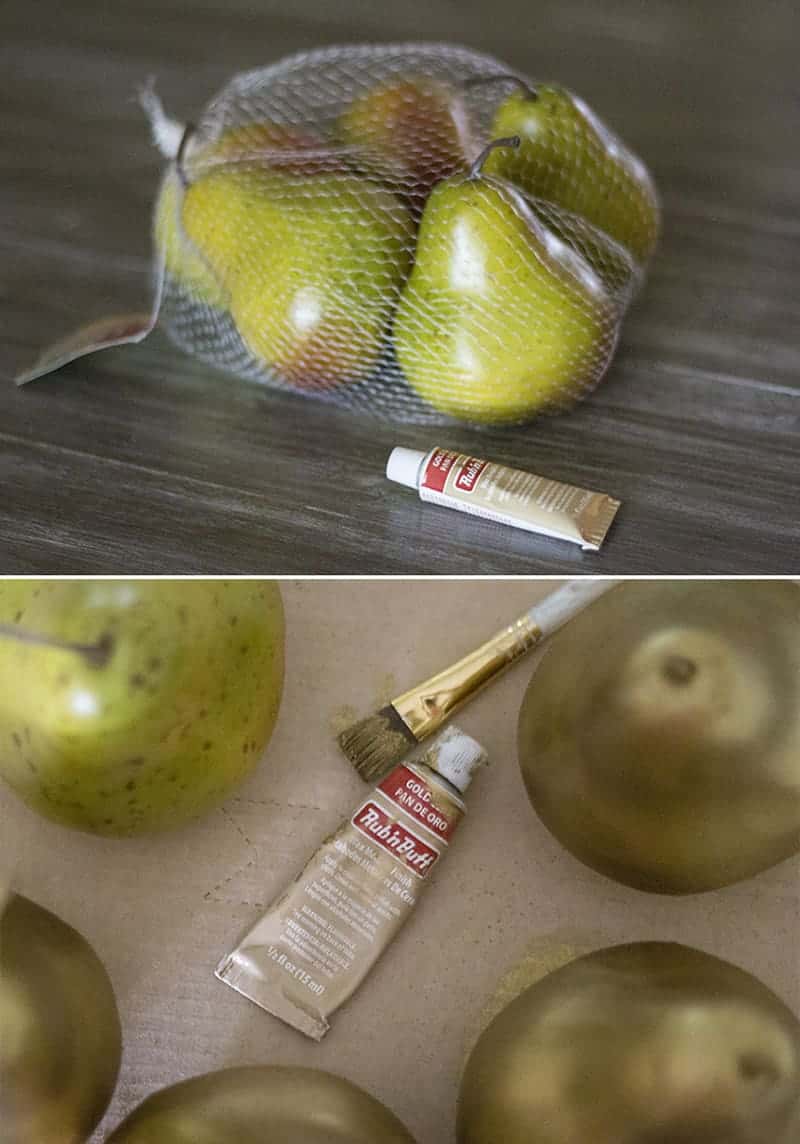
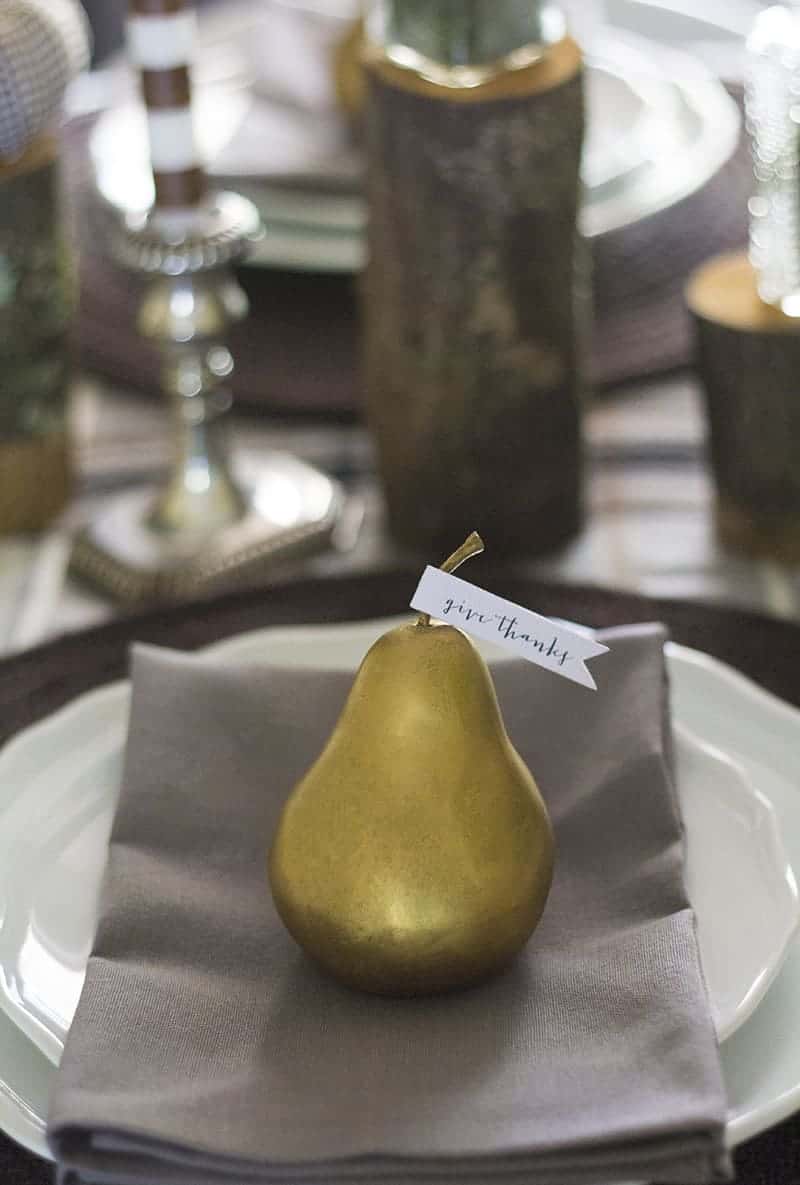
The faux pears were purchased at JoAnn’s using a 50% off coupon, but everything else I already had on hand.
The first thing I did was gild the pears using some Gold Leaf Rub’n Buff. You could use a rag, small paintbrush, cotton ball, etc. to apply the Rub’n’Buff. You could also just use your finger but it can sometimes be a pain to take off, and yes I’m speaking from experience. I used the rub-n-buff because I had it available, but you could also just spray paint them gold, or any color you prefer.
Once my pears were all dressed up in gold I created paper flags using some wood grain paper I had purchased in a sample pack a while back from Paper and More. I created a super easy template in illustrator (you could use Word), that said “Give Thanks” on one side of the box and a name on the other side. I then cut the boxes out, folded them in half, and cut the triangle out from the edge to create the flag shape. The font I used is Jacques & Gilles, which is a paid font from Emily Lime Designs. I <3 all of her fonts!
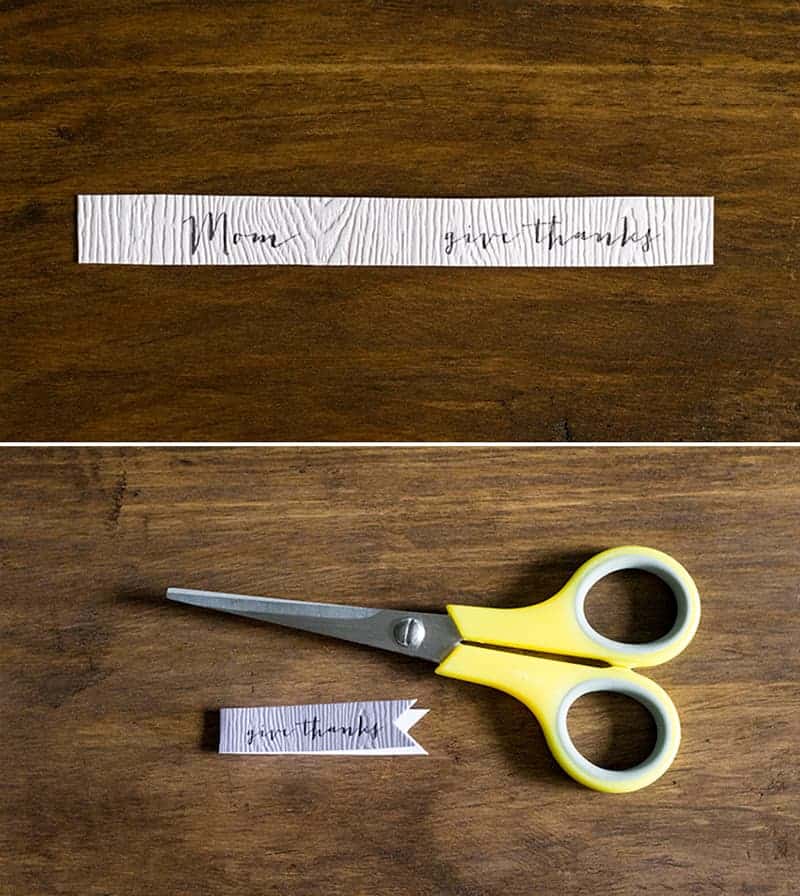
You can then use double-sided tape to tape the sides together and slide it onto the pear stem. I couldn’t find double-sided tape so I just folded over some regular scotch tape.
Super easy and I think they look so adorable! You could use any kind of cardstock paper for the flags or what about printing on fabric?
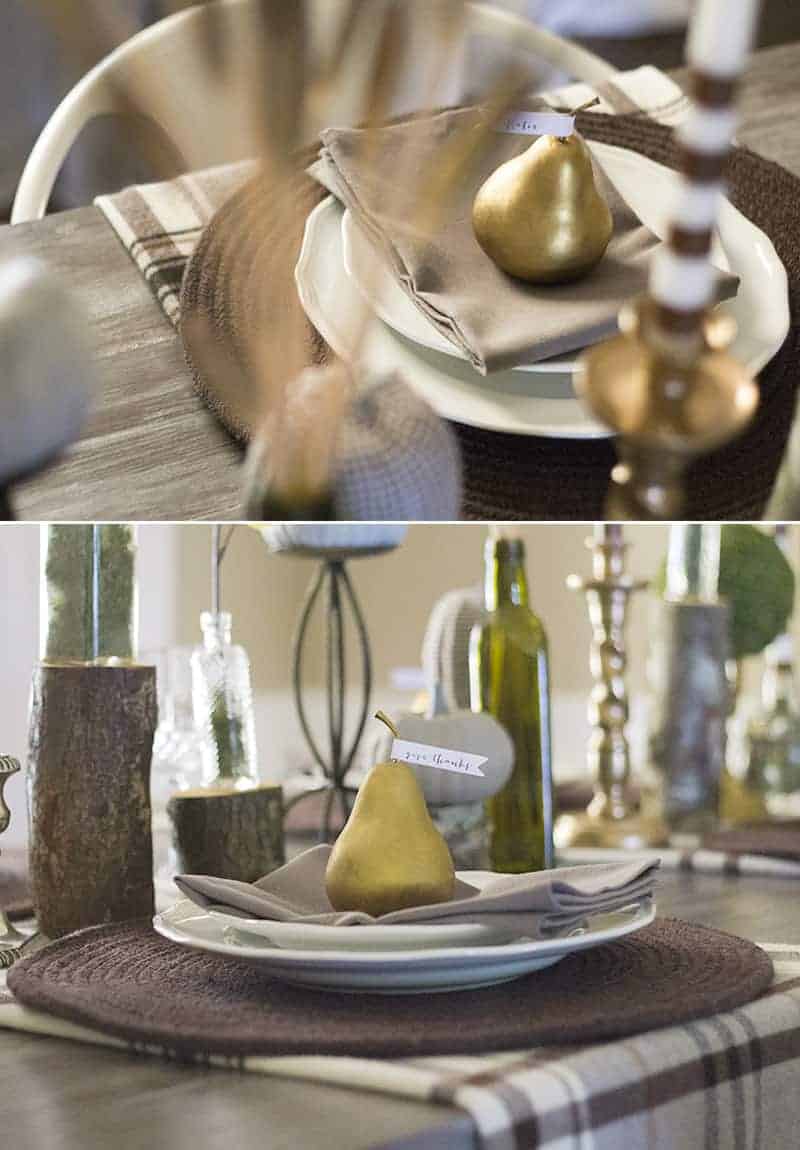
You may have caught a glimpse of these over on my Fall Home Tour, but here are some more photos:
Will you be making your own name place settings this year? If so I’d love to hear about your plans in the comments! Or you can share a link to your post so we can all check it out.
I don’t even havhave a dining room right now so I won’t be putting together a place setting. But, I adore the gold pears with wood grain tags. So simple but so beautiful!
I was using our dining room as my office last year, so this year I may have gone a little crazy filling up the table, haha.
Katie, this is out of control beautiful! I love how you updated the pears and that textured paper is the dreamiest 🙂
Thanks Amy! I held onto that paper for a little too long waiting for the perfect opportunity to use it, and love how the little flags turned out!
So so pretty! I was looking at the gold pears at Target and thinking how easy they’d be to DIY, and of course you’ve already done it beautifully. The flags go so perfectly with them- love that font!
I’m not sure if my last comment came thru, so I’m going to try again =) I LOVE THESE TAGS! So cute!!! Thanks for sharing! Also wanted to let you know about a new linky party starting this Saturday at 8pm called “Found & Foraged” Can’t wait to party with you at http://www.houseofhipsters.com