UPDATE: All new featured RV tours will be posted on my other website, Wanderful RV Interiors. Existing tours will slowly be moved to the new website, and anything already moved will automatically redirect.
Disclaimer: This post may contain affiliate links, meaning, if you click through and make a purchase we (or those featured in this post) may earn a commission at no additional cost to you. View our full-disclosure here.
Thank you so much to BEHR for sponsoring this post! As always, all opinions are 100% my own.
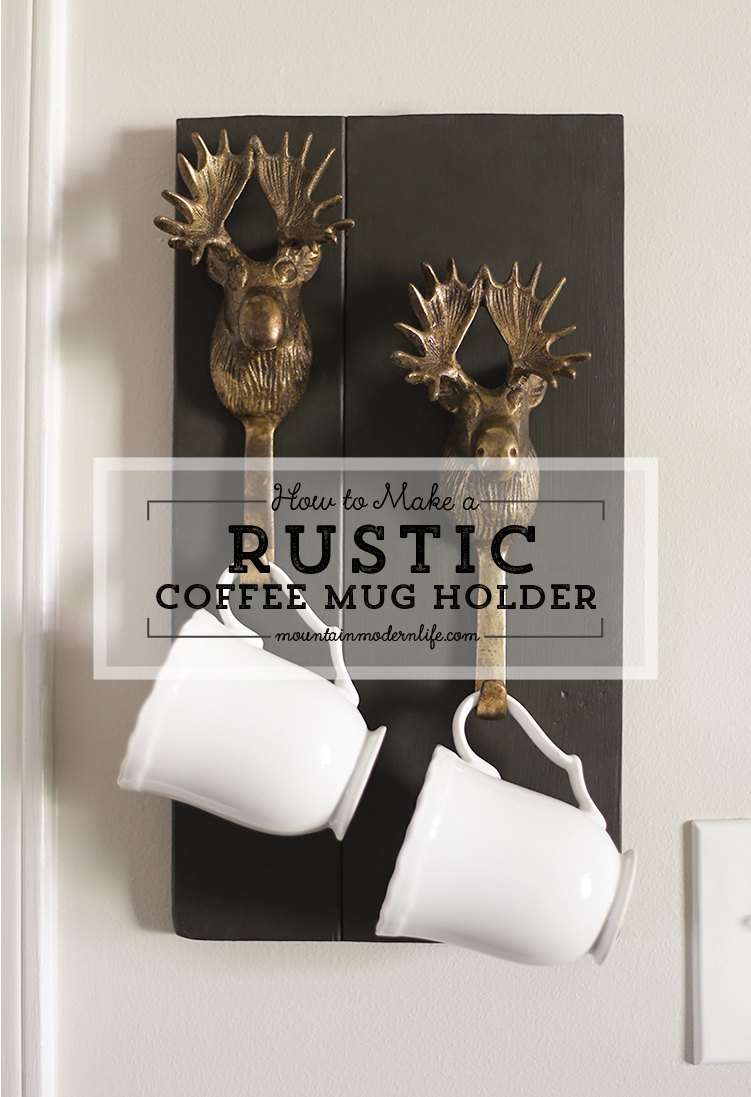
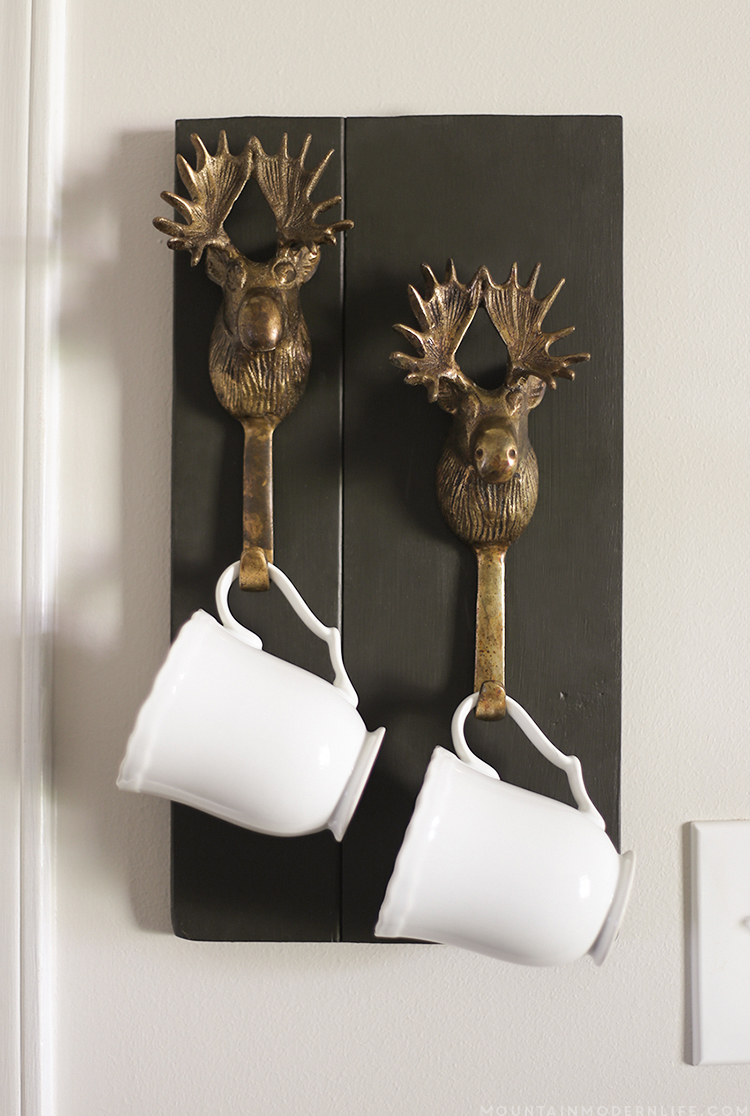
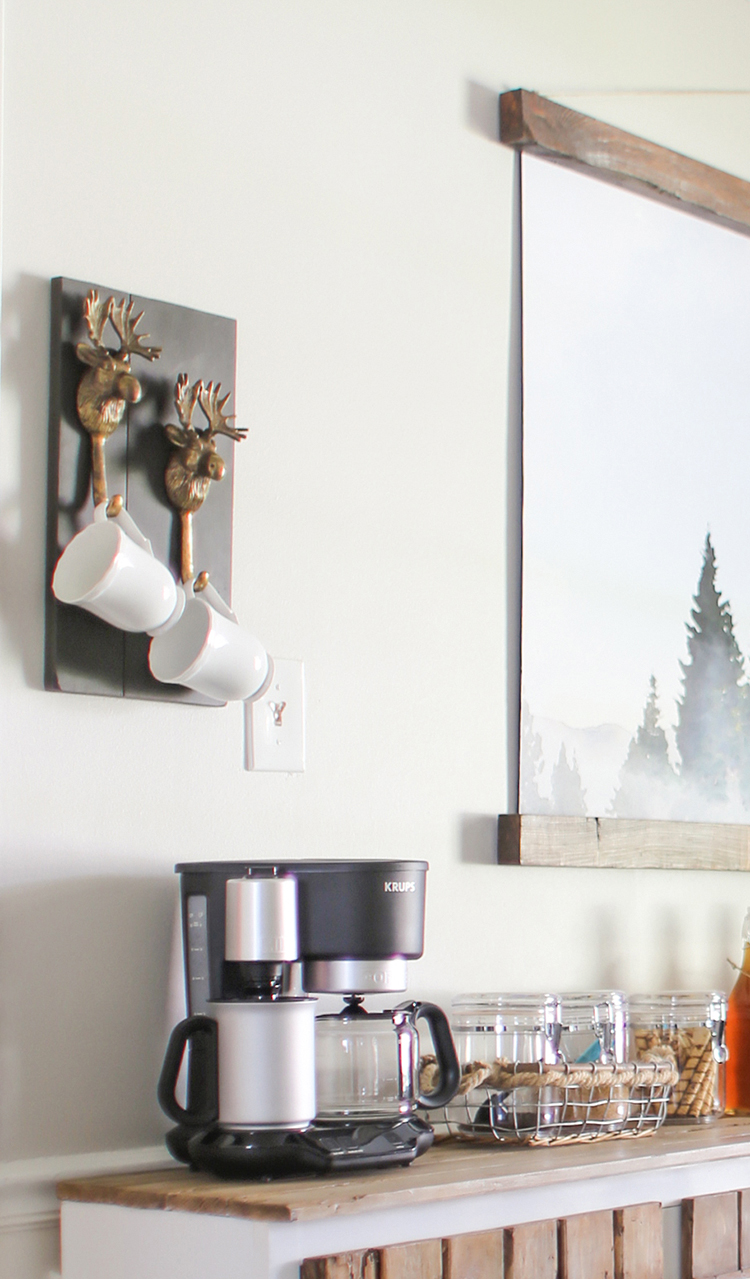
Isn’t it funny how the easiest projects sometimes turn out to be our favorite? At least, that’s the case when it comes to this rustic mug holder I created for the coffee bar in our dining room.
This project is easy on you and your wallet and with Christmas around the corner, I think this would make a great gift idea too!
How to Make a Rustic Mug Holder
Scrap Wood or wood cut to size
Paint
Paint Brush
Sealer
Hooks (here are some similar ones)
Hanging Hardware/Hanging Strips
Step 1: Gather Your Supplies.
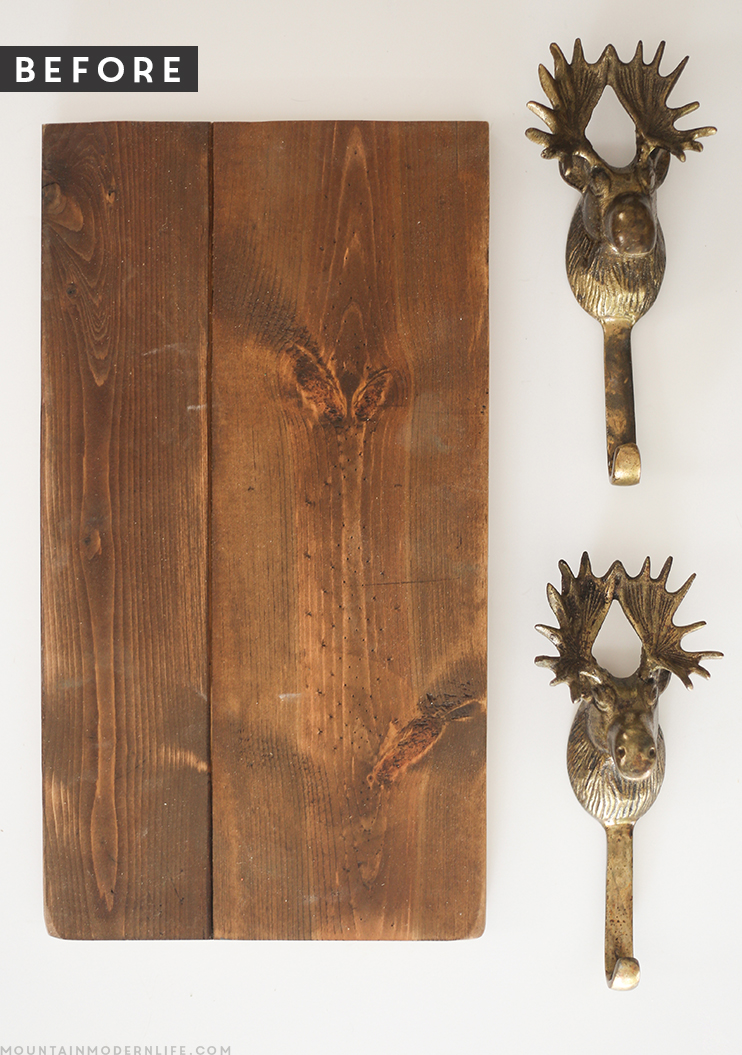
My moose hooks were purchased at HomeGoods although they are made from Broyhill. They only had two available at the time and I quickly snatched them up. If you are unable to find any locally I did find some similar moose hooks here that you may want to check out.
Step 2: Cut your wood to size and prep for painting.
We just so happened to have scrap wood leftover from our dining room shelves, which were actually made from a desk we previously built. The scrap wood was 2 pieces of wood that were previously joined together with our keg jig and it was the perfect size for my two hooks. At first, I wasn’t sure how I felt about the two pieces being different widths and not centered, but I actually love the imperfect asymmetry of it now. You could use one piece of wood or multiple pieces attached to one another.
All I did to prep my scrap wood was some very light sanding to smooth it out a bit for the paint to go on, but I left the imperfections for added character.
Step 3: Paint the wood
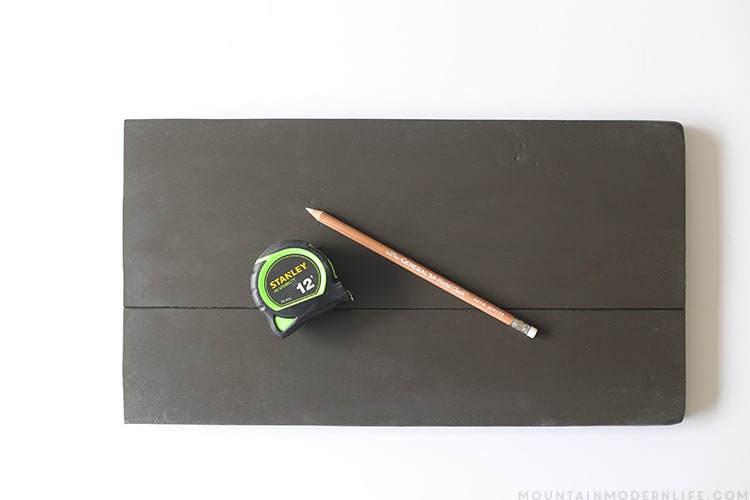
Don’t get me wrong, I love me some wood but we have a decent amount of it in the dining room so I wanted to break it up with some paint. I used one of the BEHR Color Trends called Black Pearl, and I love how earthy it is! I only did one coat because the coverage is awesome! You can read more about the 2016 Color Trends here.
Step 4: Seal the wood
Once the paint is dry you can seal it. I used wax but you can use any sealer you want like spray sealer or a wipe on poly.
Step 5: Add your hanging hardware
Unless you plan to use hanging strips, I would recommend adding the hanging hardware to the back at this point, while the wood can still lay flat when you attach it.
Step 6: Mark where you want to hang the hooks
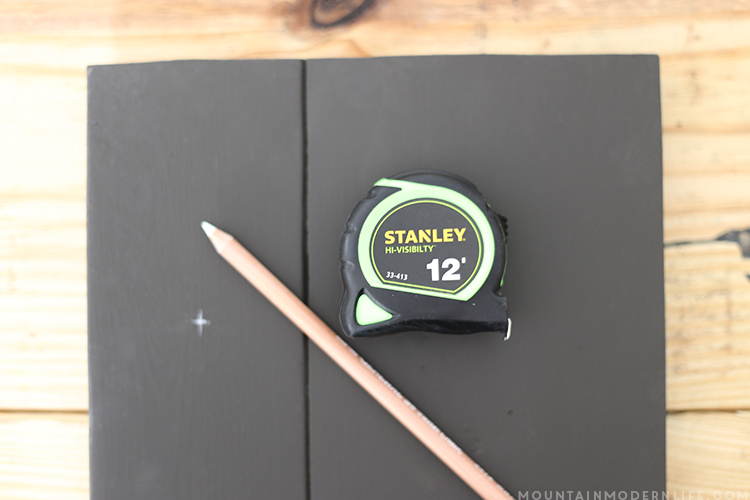
I placed my moose hooks down on the wood to figure out the placement and then used a chalk pencil to mark where to attach the hardware.
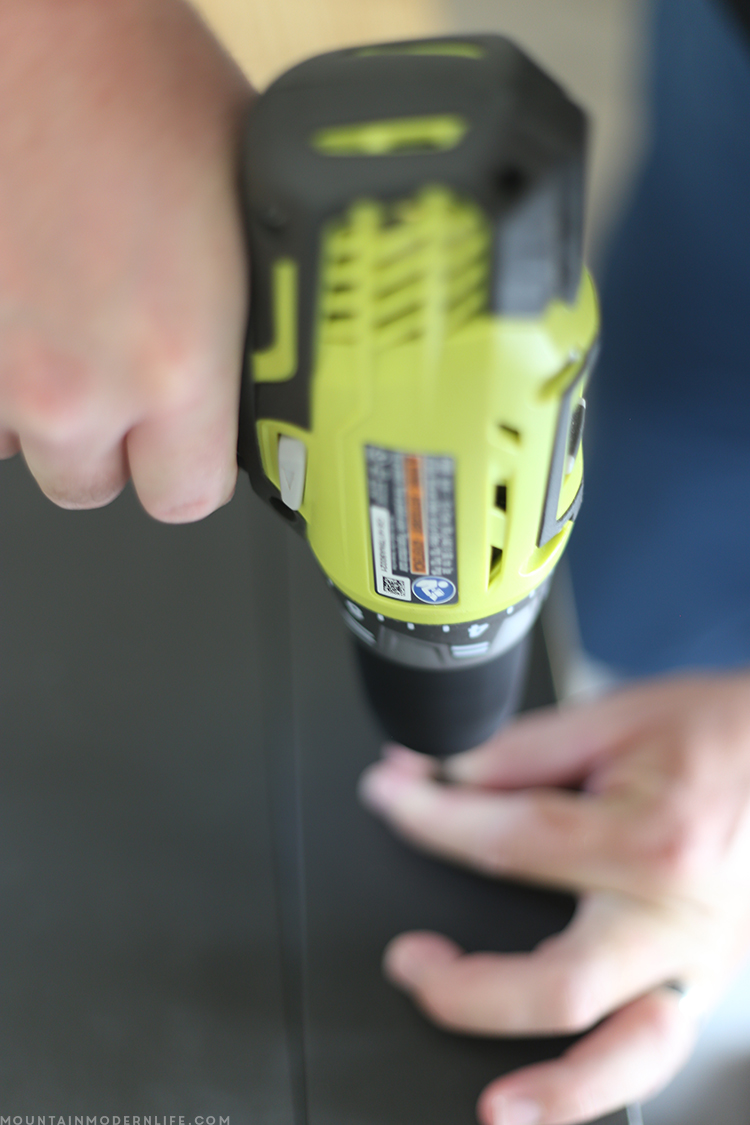
Step 7: Attach your hook hardware to the wood
Our hooks came with the hardware to hang them so we attached those to the front of the painted wood, and then hung the moose hooks from them. Easy peasy.
You’re finished! Attach your mugs, coats, keys, jewelry, or whatever you desire, and admire your new rustic mug holder!
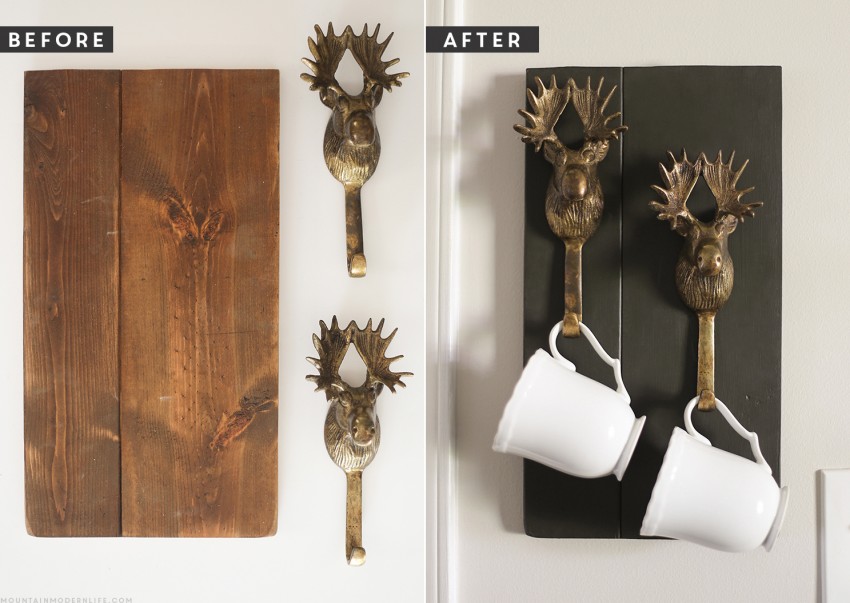
Here is the before and after:
I love how the rustic mug holder looks in our dining room and it’s the perfect addition to our coffee bar. You betcha these will be making their way into our RV once we hit the road full time.
So what do you think?
Paint Color used:
BEHR Premium Plus Ultra in Satin: Black Pearl – T16-01
You can view all of our previous BEHR projects here.



Love it! I love the paint color too. Not quite black and not quite grey. It looks grear hanging by your coffee maker!
Love that you hang your mugs! Great idea.
Very cute project – I love having things in my kitchen hung up off the counters.