UPDATE: All new featured RV tours will be posted on my other website, Wanderful RV Interiors. Existing tours will slowly be moved to the new website, and anything already moved will automatically redirect.
Disclaimer: This post may contain affiliate links, meaning, if you click through and make a purchase we (or those featured in this post) may earn a commission at no additional cost to you. View our full-disclosure here.
Whether you have an RV, tiny house, or a tiny nook to fill, you should know that even a tiny sofa can have style and function.
We recently shared our sofa design inspiration along with how we built our own small DIY sofa, and now we’re showing how it looks all finished up and lived-in after a couple of months on the road.
I’ll admit that building a sofa was low on our priority list. It’s not like it was super cheap, and it definitely required some time and patience. The problem was finding exactly what we wanted, in the dimensions we needed, at a price we were willing to pay. When we couldn’t find what we wanted, we decided to build our own.
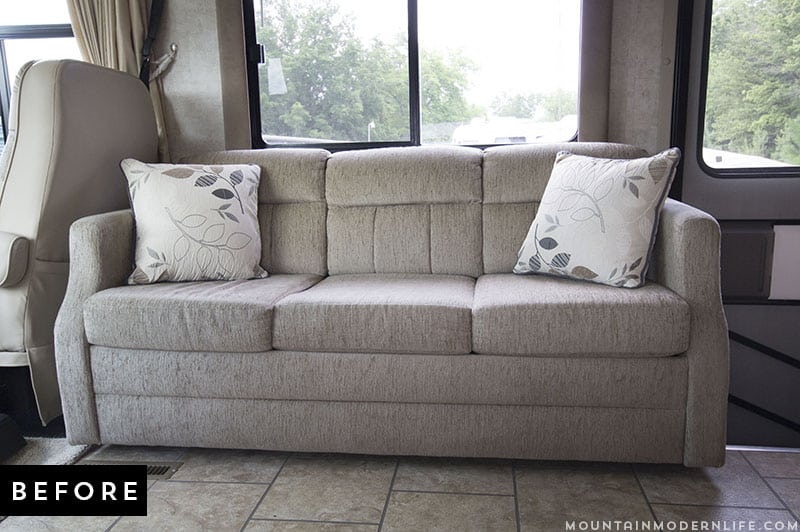
When we removed the sofa from our RV we wanted to make sure to replace it with something more functional for us. Here’s the sofa that was in the RV when we purchased it:
Small DIY Sofa with Storage for our RV
In the beginning, we considered making a sofa complete with a pull-out bed, storage, pop-up footrests, and folding side tables. Then we looked at our project list, our time, and our sofa building skills and ultimately decided to simplify our sofa design and focus on what we really needed: comfort and storage.
We don’t plan to have many overnight guests so although a pull-out bed would be nice and may come in handy once in a while, we decided it wasn’t something we really needed. We figured the sofa can be used as a bed as-is, or a blowup mattress could even fit in front of it.
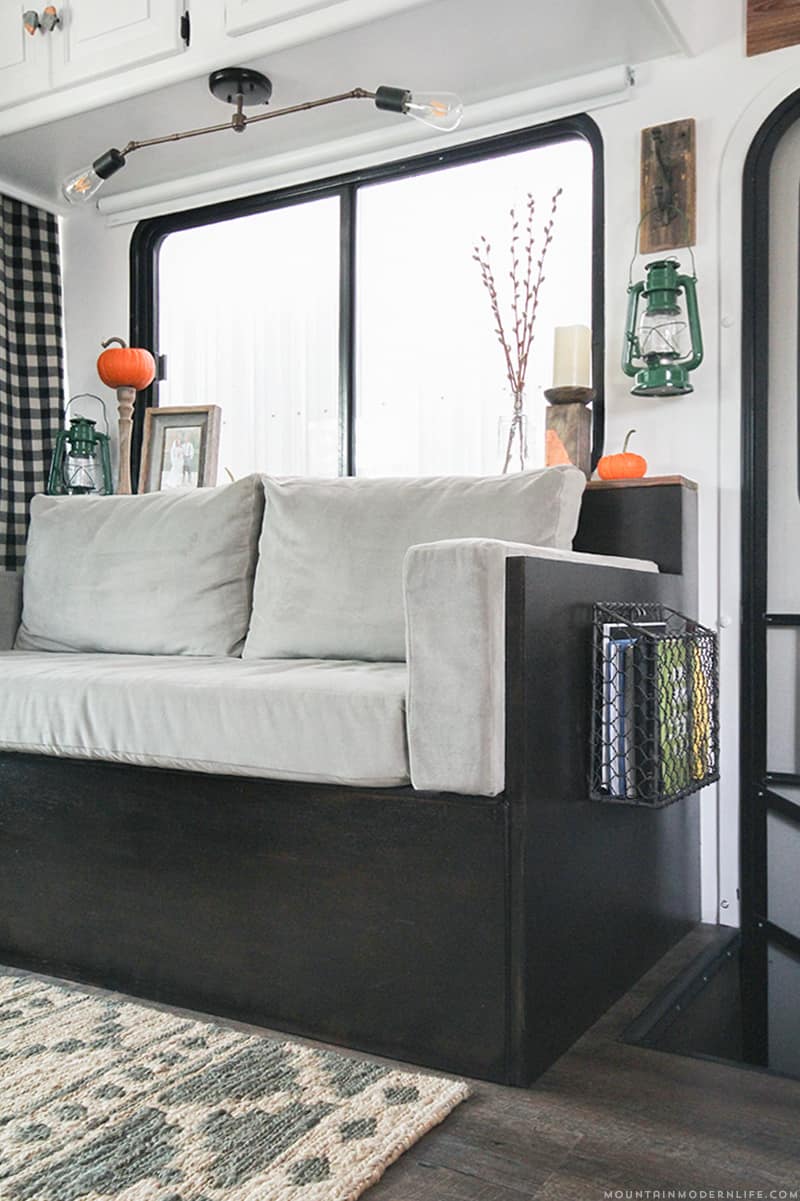
In the end, we created comfortable seating for two with extra storage underneath. We also built-in a sofa table that doubles as a ledge and additional storage space.
A Closer Look at our Small DIY Sofa
You can watch Eric showing our sofa and the storage underneath in the video below:
We were inspired by outdoor, rustic, and mid-century modern sofas designs, as well as those built with plywood. You can see some of our favorite rustic modern sofa designs here.
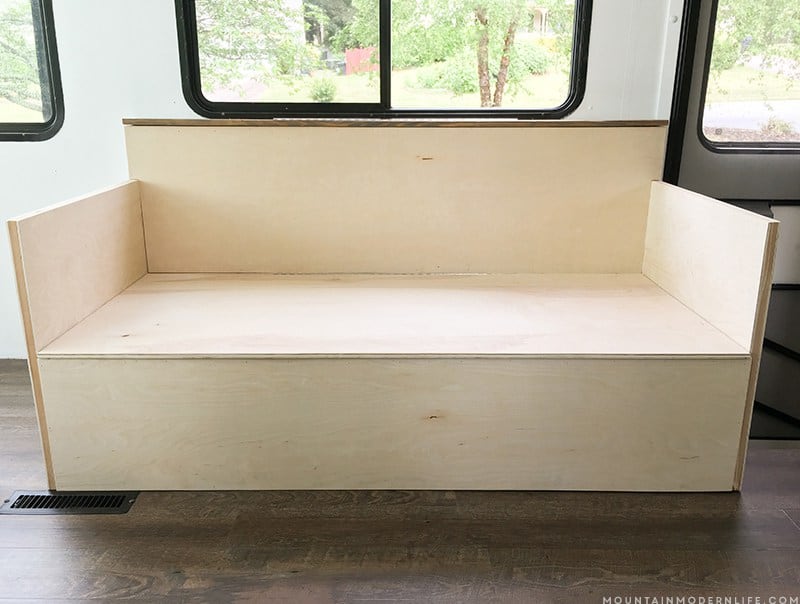
DIY Plywood Sofa – Pre-Stain
Here’s what our sofa looked like pre-stain and pre-cushions:
Staining Plywood – My Worst Stain Job EVER
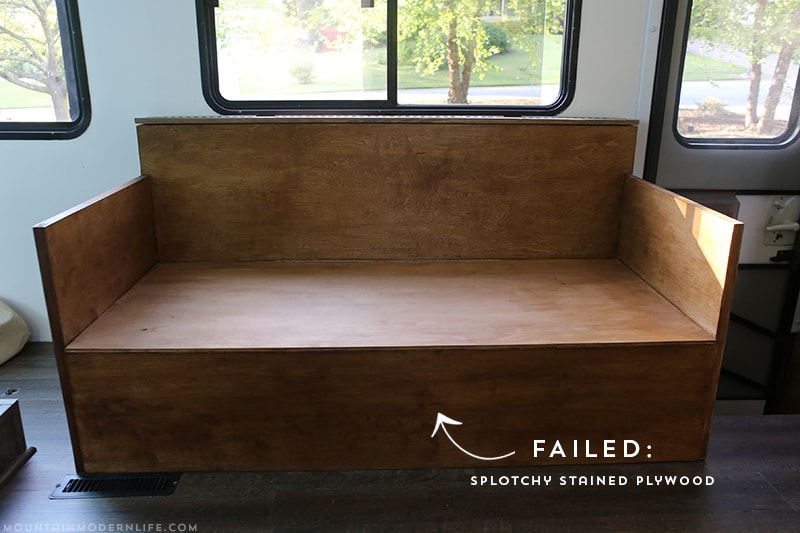
Since the outside of our sofa was made of plywood I looked into different ways to finish and seal it. I considered leaving it natural birch but it felt a bit off once it was finished in the RV. I read up on staining plywood and quickly discovered that it can be a real pain and tends to stain pretty blotchy.
Even so, I was determined to give it a go.
It turned out… BAD. At first, I tried CeCe Caldwell’s stain in walnut and while the color was nice and warm without being too dark, it was super blotchy, booooooooo. Had this been on any other wood I’m sure it would have been beautiful, on plywood…not so much.
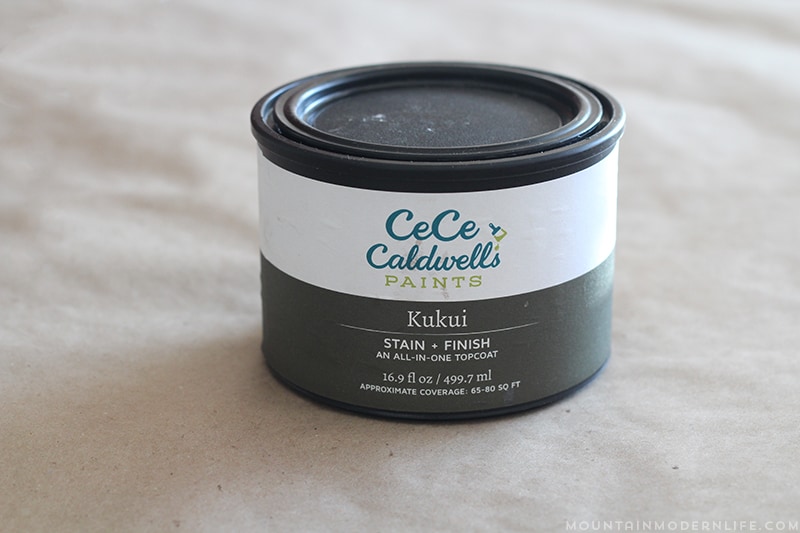
My first thought was to go darker and use the same stain color we had used on our slide-out trim, Kukui. The main reason I wanted to use the CeCe Caldwell stain is that it’s water-based, environmentally friendly and low-VOC.
However, the only store that sold it locally was closed for the day, and being Mrs. Impatient I decided to find another solution.
2nd Attempt…not any better
I had read about gel stains working well with plywood so I decided to give that a go. Yeah, I pretty much threw the whole low-VOC thing out the window.
Have you worked with gel stains before? I hadn’t and both stores I went to had a limited selection so I bought it in “hickory”, not my ideal stain color. I was impatient and hopeful it would look rustic and warm.
It looked REALLY Bad. Well, it looked okay I guess, but it was WAY redder than I wanted and true confession, I did a sloppy job. I blame it on being tired and frustrated and having a mini, or not so mini, panic attack. Not my finest hour.
Sorry, I didn’t get any photos of it at this point, or if I did I can’t find them. And within a couple of hours of re-staining it, I actually went over the entire sofa with rags (and some mineral spirits, I think) and was able to mostly wipe off the stain I had added. Probably because I hadn’t sanded prior, and probably because it was super humid and not the best staining conditions. Whatever the case, I was A-okay with it.
3rd Attempt…
The next day I went to the shop that sold the CeCe Caldwell stain in Kukui and brought it home. I should have just waited and done this, to begin with. When will I learn?
I love that this stain isn’t sticky or smelly and I can actually wash it off if I accidentally get it on my arm or something. I’m not affiliated with them, I just really prefer water-based stains and sealers.
Although this stain is dark, it’s normally not nearly as dark as it turned out. This is because I was going over a previous stain job on the sofa.
It’s definitely not my best stain job and again it’s WAY darker than I anticipated, but at least the darker color hides some of the imperfections.
And yes, it may look like I actually painted it vs. staining, but close up you can ever-so-slightly see some wood grain. Small Victory I suppose.
DIY Sofa Cushions
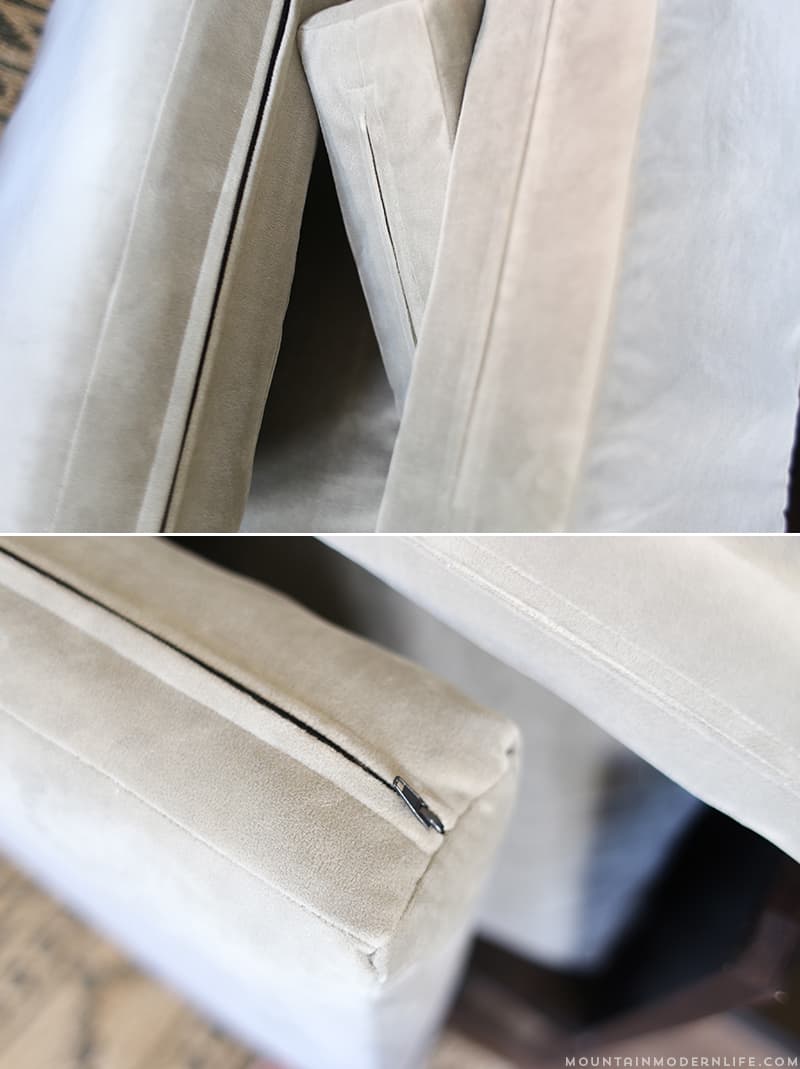
And if you’re wondering about the cushions, we really lucked out there. I am no seamstress, as I’ve previously mentioned when I shared our no-sew DIY boho pillows. However, my mom really loves sewing and offered to upholster the cushions for us (thanks mom!).
If she hadn’t made them we would have searched for pre-made cushions or had some made for us. I think the cushions definitely take the sofa to the next level, something we wouldn’t have been able to do on our own.
After looking through our design inspiration, Eric and I drew up a sofa plan along with the dimensions we needed and my mom then brought our vision to life.
What’s funny is I ordered the 4″ foam cushion and poly-fil nearly 5 months before I even ordered the fabric. It was a great price for the size and had good reviews so I wanted to get it, unsure when we would actually get around to building the sofa. There are tons of options and better quality foam cushions, but for the price, I’m happy with it 🙂
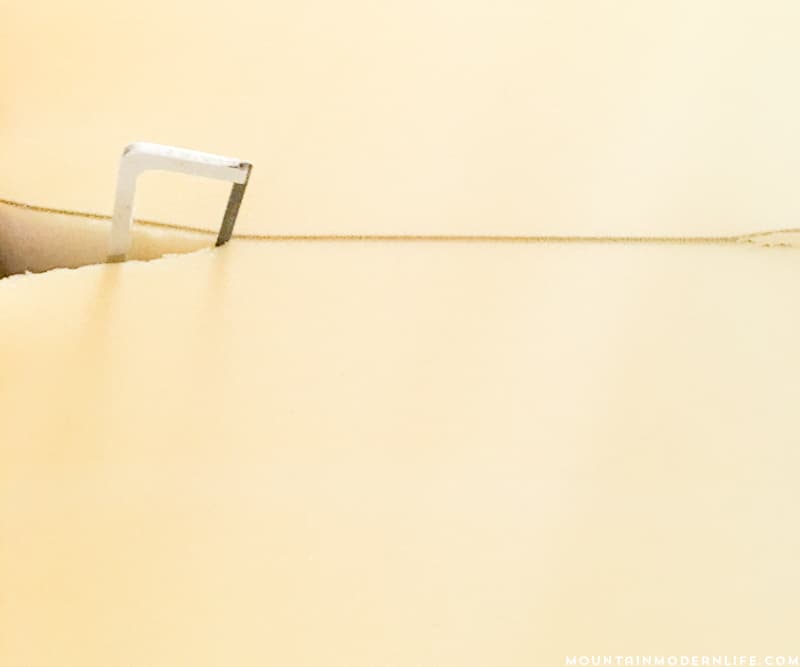
However, one thing I should mention is that the foam wound up being yellow once we actually got around to using it some 5 months after I opened the box. It was weird because it was white when I first opened the box but apparently the air made it yellow over time. It still worked great, but just a heads up for anyone that buys the same type of foam.
This foam was used for the bottom and side sofa cushions. We measured, marked and then cut it to size with a hack saw.
Unfortunately, I don’t have any other photos of this process because they were lost when my computer crashed last May, boooo. All I know is that my mom used the 4″ foam and some batting for the bottom and side cushions, and then some sort of liner and poly-fil for the two back cushions.
Finding the Perfect Fabric
As for the fabric, I knew we should go with microsuede since that’s what our last two sofas were made of, and I find it to be the most pet-friendly fabric. If we didn’t have pets (and I wasn’t messy) I would have loved to go with a lighter fabric color, but felt a medium gray would be more practical for us. Plus I wanted to keep it neutral and warm so it could go with pretty much anything.
After browsing fabric stores and searching online, my favorite options were at Online Fabric Store so I reached out to them and they provided me with 10 yards of fabric to use for the cushions, yay!
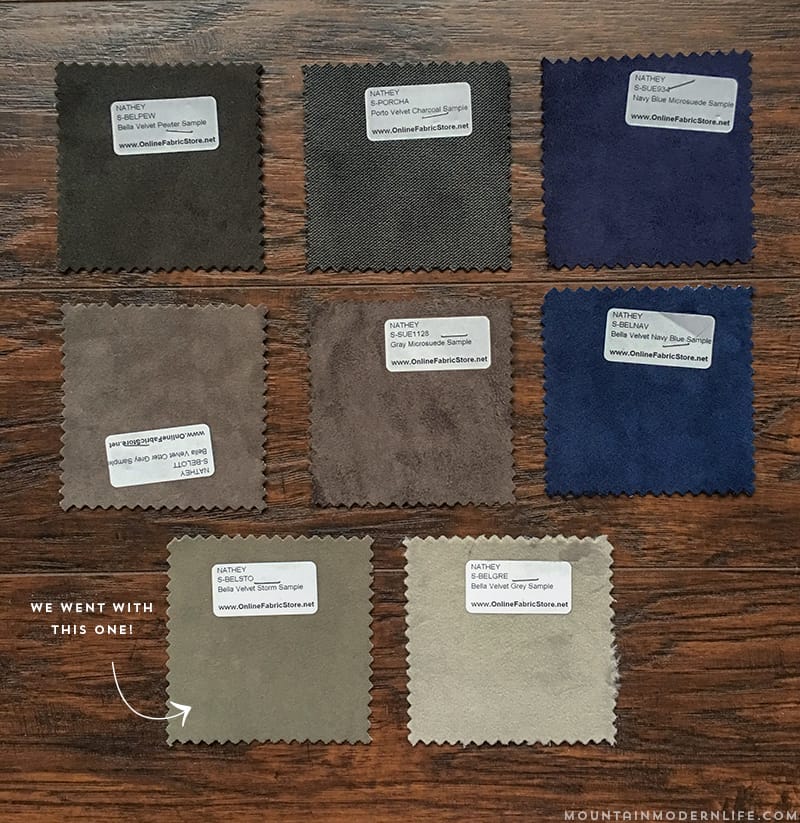
I ordered a few sample swatches and looked at them in different lights and at various times of the day so I could get a better feel of how the color would look.
If you’re going to order fabric online definitely order samples!!! Some of the grays were much browner or had tints of purple or green. I also got a couple of samples in navy because I wasn’t sure if I would want to use that color somewhere else later on.
This photo isn’t the best because it was taken with my phone, and it’s funny how light can really change the color because in this photo it looks like we went with the Bella Velvet Grey.
I went back and forth with the colors because I really liked the velvet charcoal but felt it would be too dark in our RV, especially with our black kitchen cabinets and the darker stain on the sofa. The Bella Velvet grey was pretty but almost a tad too light for what I wanted, and the Velvet Pewter was darker than I wanted to use.
I had been looking at the swatches in our sticks and bricks home though, which didn’t get a lot of natural light, so I brought them over to the RV and that’s when the decision was clear.
Bella Velvet Storm was warm and I liked how it looked in the daytime, as well as at night. It was similar to the sofa color we had in our home, only slightly lighter, so I knew I’d love it.
The material is so soft and pretty and I love that it adds texture and warmth without being too dark or trendy.
If we knew then, what we know now
We built this sofa towards the end of the ORC challenge we participated in back in May, and we were definitely in over our heads. Needless to say, we were on a time crunch and scrambling to get this sofa built and ready. As a result, I made some decisions on the fly that I later realized should have been thought out a bit more.
If we knew then what we know now….we would make the side cushions skinnier and sit on top of the bottom cushion, vs. beside it. We would make the back cushions a little taller so that they are a couple of inches above the sofa table (so they don’t sink down below it when you lean back). Then make them wider so that they extend to the wooden side of the sofa, vs stopping at the side cushions.
Then the side cushions would only go as deep as the back cushions vs. hitting the wooden back of the sofa. This way there could be more sitting room on the sofa by removing the side cushions, or more foot room if being used as an extra bed because the bottom cushion would be about 8 inches wider.
You also wouldn’t be able to see the sofa table in the back when there are no throw pillows, giving a more streamlined look.
Live and learn, right?
Side note: I took these photos on a rainy day but this space normally gets a decent amount of light. We’re currently parked next to one of the shops on Eric’s Family’s farm, so that’s what you see outside the window.
Making our RV a Home
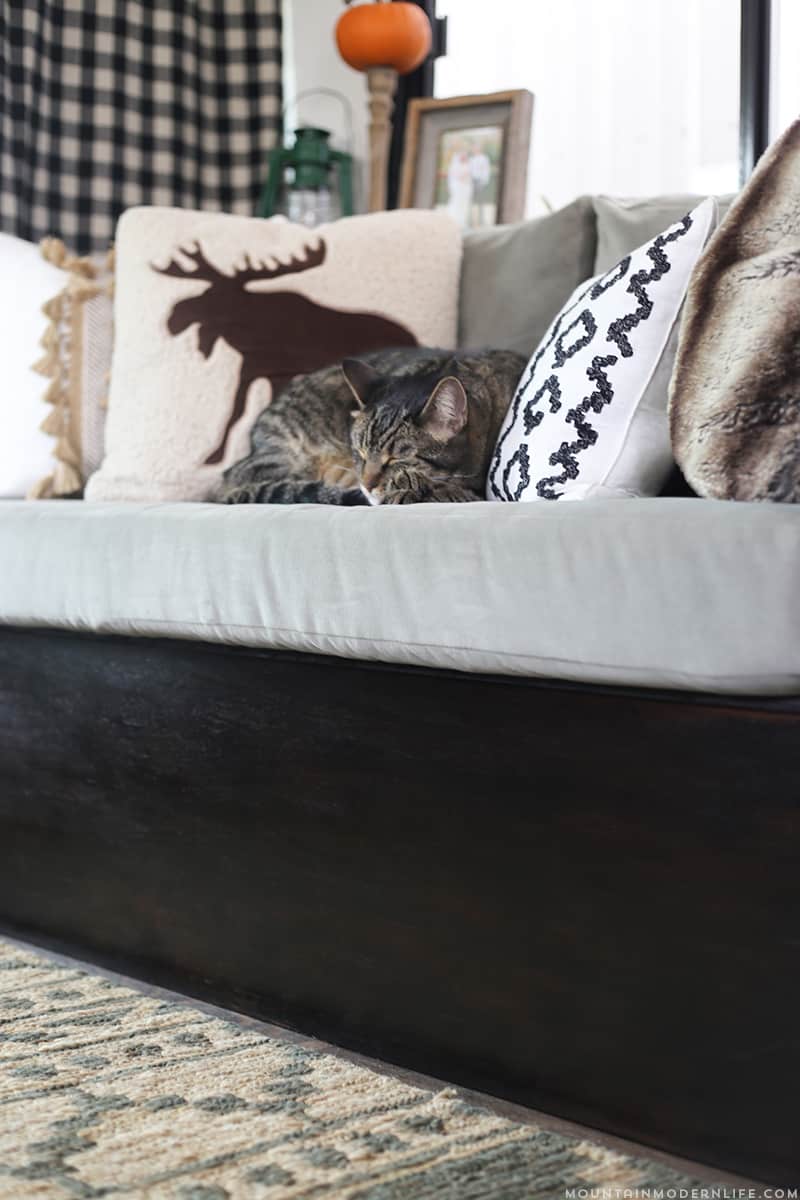
With that said, this sofa has made being in the RV all that more enjoyable. It feels like home. It’s nice to snuggle up and watch a movie with the fireplace on, especially as the fall nights are getting chillier.
Eric recently had to head out of town for a day and I even slept on the sofa with both cats! Well, one slept on the ottoman next to it, but we were all super comfy. Then again, I’m like 5 foot.
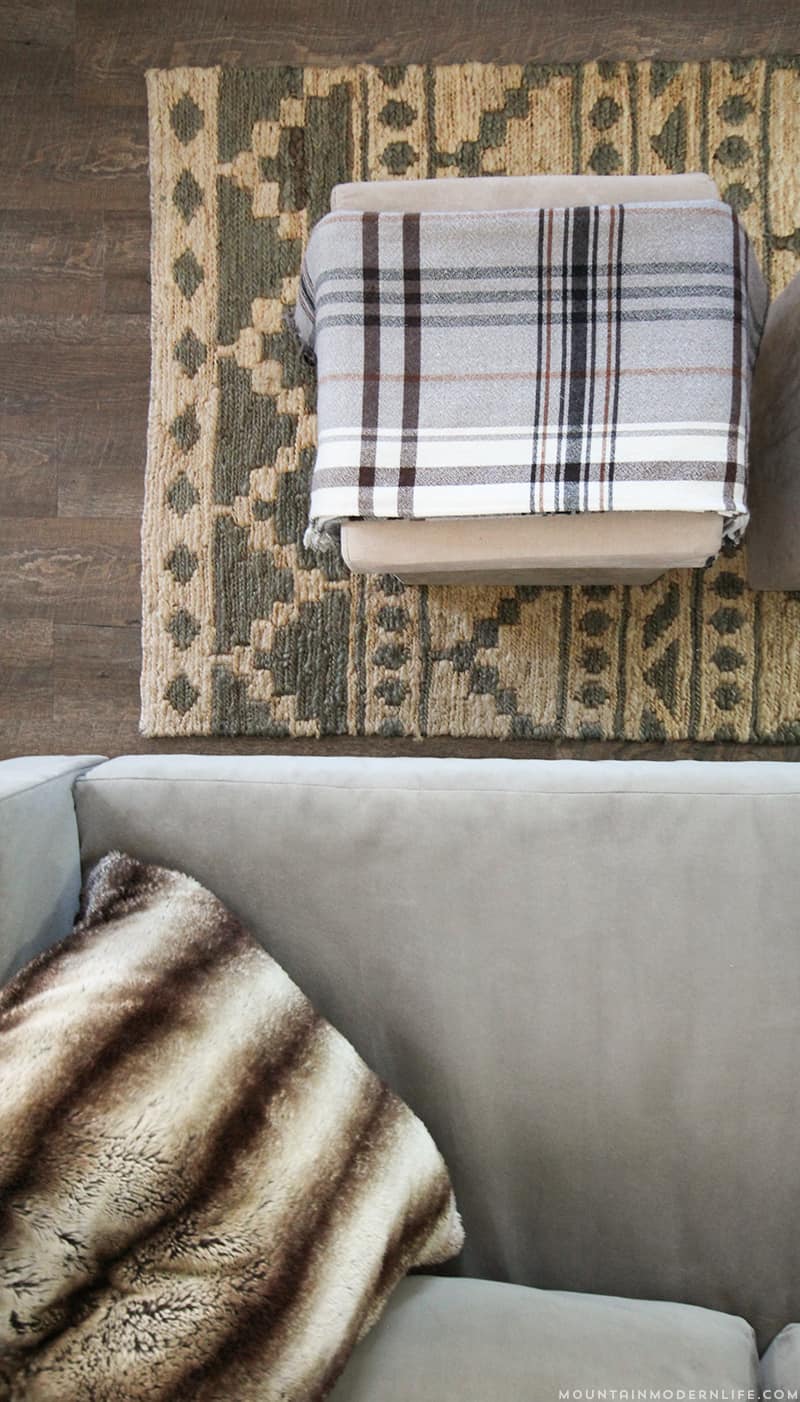
I love that I can easily change out the blankets and throw pillows because it’s a nice, neutral color that lends itself as the perfect backdrop to any season.
Side note about the ottomans: I bought the microsuede ottomans/folding chairs nearly a year ago, and although I wasn’t too big on the actual style, I liked that they could hold storage, fold flat, be used as ottomans, or flip up and be used as extra seating. They were also super affordable so I figured they were worth a shot. I can say that although they look a little odd in the “chair” position, they are pretty comfy and very functional. I plan to upgrade them in the future, but for now, they’re coming in handy.
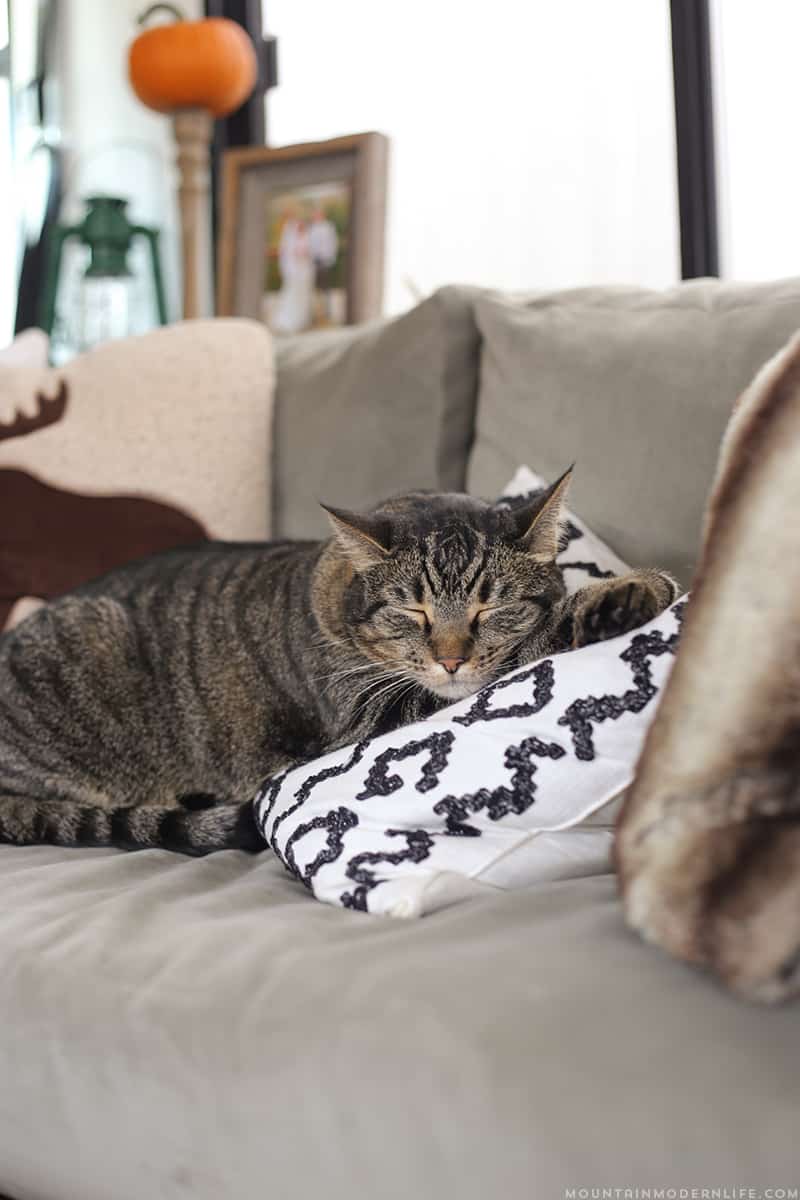
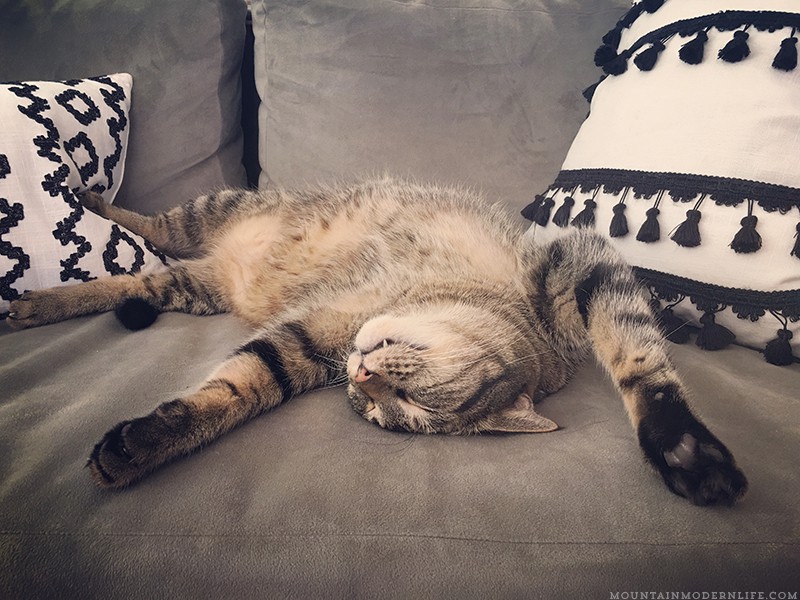
And it’s most certainly #catapproved, which you may have noticed if you follow us on Instagram. Kobe spends a lot more time on the sofa than we do…
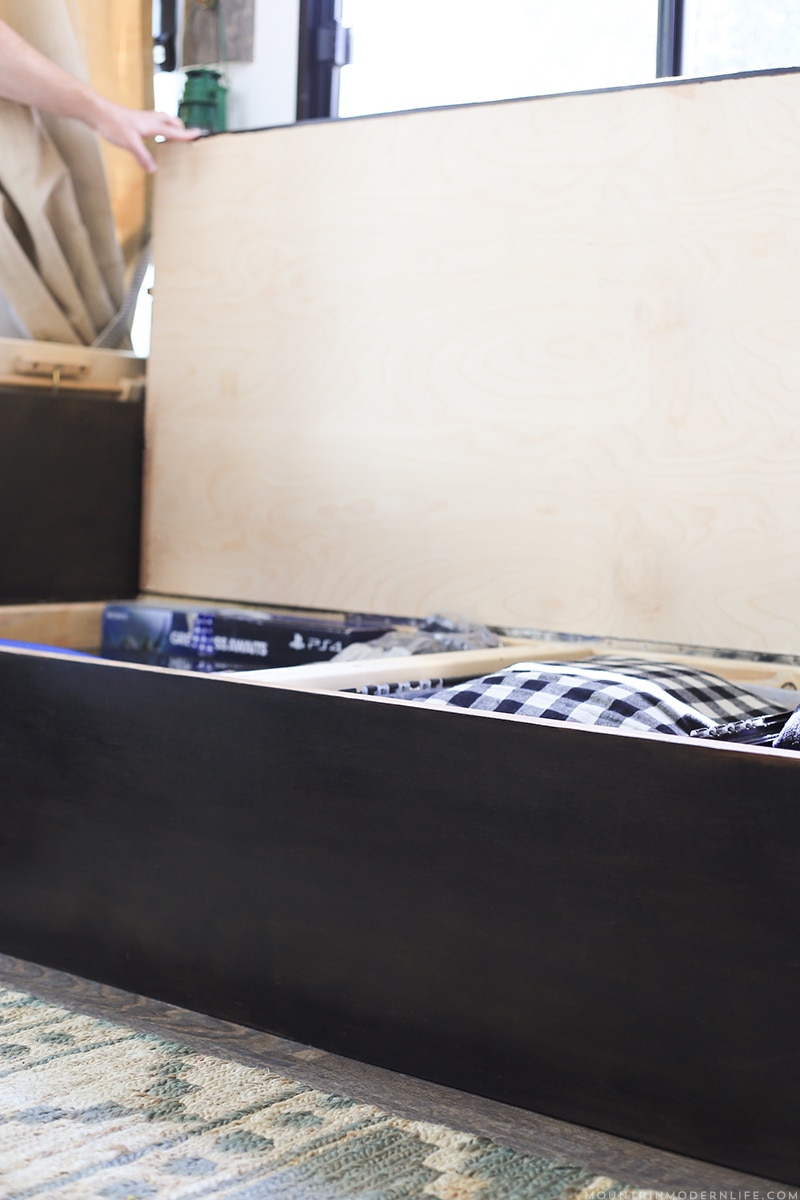
Don’t forget to watch the video showing the storage we have underneath the sofa, although we still plan to install soft closing lid hinges someday.
Also, we can access the storage underneath the sofa with the cushions on, but mainly only items towards the front. It’s a lot easier to remove all the cushions first, especially if we need to look for something under there, but that’s why we generally only store things underneath that we don’t need access to regularly.
Update:
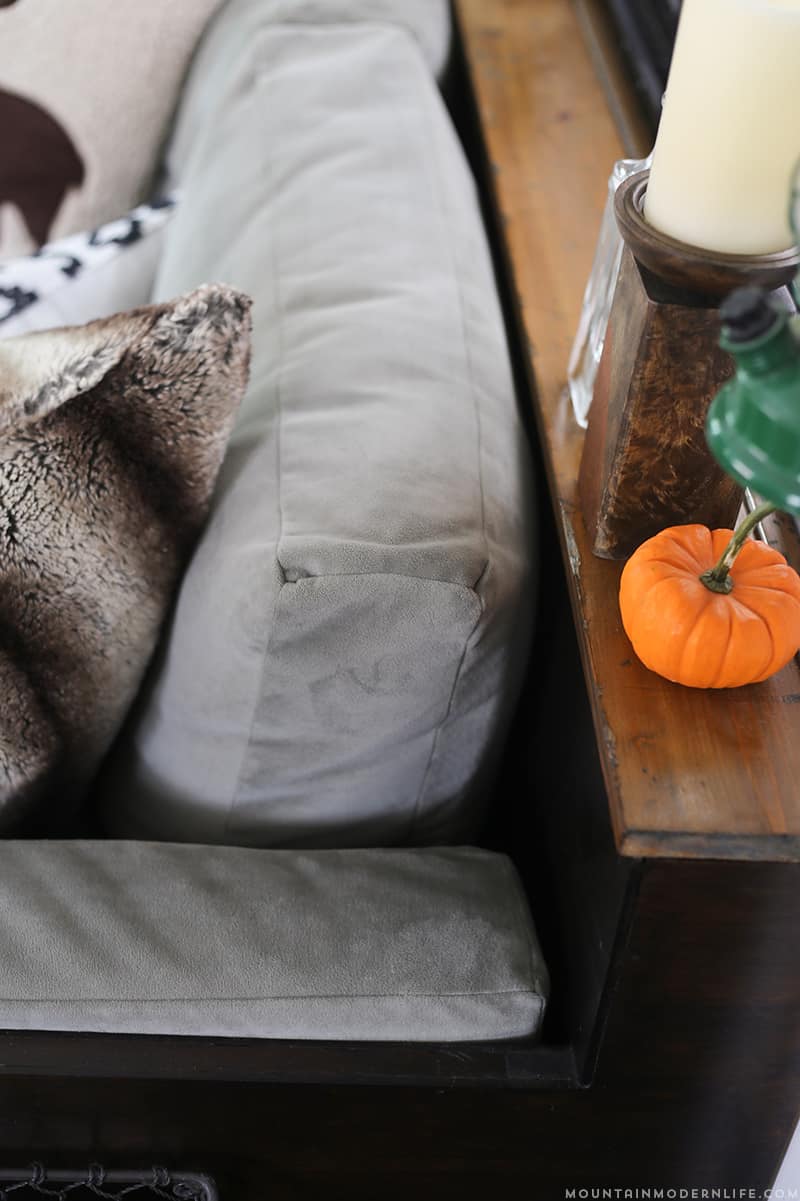
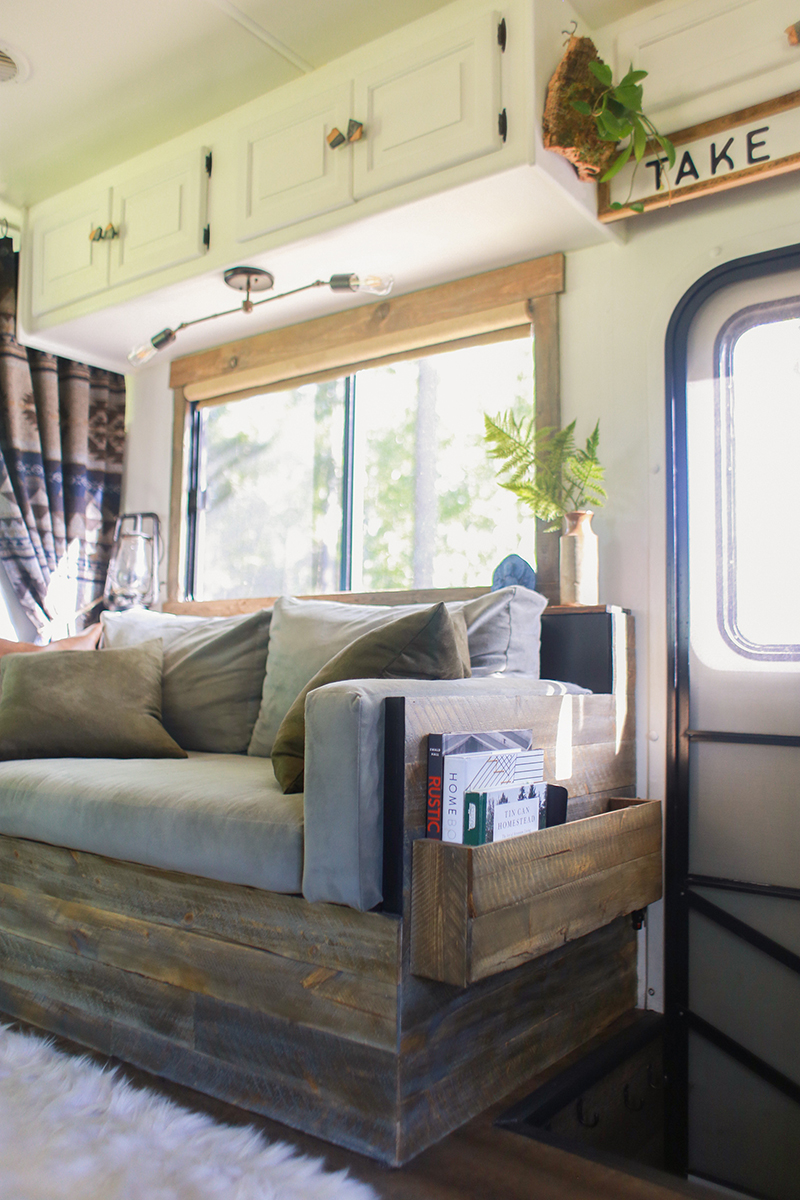
We eventually added some planked wood to the outside of the sofa, which is something I wanted to do from the beginning. At the time I was worried about weight, plus we didn’t have the right wood so it just went on the “someday” list. I’m so happy we finally added the wood because it now looks more like the sofa I envisioned. We also built a custom storage compartment for books and our dog leash.
Here’s an updated photo:
You can see the video about the storage compartment we added below:
Have you created any custom seating in your RV or tiny house? Or have a favorite store to shop at when it comes to finding furniture for smaller spaces? If so we would love to hear about it in the comments below!

It looks great! We’re planning to rip out our trailer’s existing dinette and sofa and build our own this winter, so this is really helpful for me 🙂
Very nice. You’ve inspired me to consider doing this. Thank you
I’m very impressed! Your wood looks great and the cushions are amazing, your mom is very talented. They look professionally done!
Cindy
Love it…have been researching also. Now I have something concrete to show hubby I have been trying to explain….
Hi
Can the seatbelt still be used ?
Thanks
We removed the seatbelts since we won’t be using them, but we did store them. I would think you could reuse the seatbelts that come with the sofa in the RV. Ours were bolted to the floor.
Just purchased our first rv, a 2010 C class, and I’m really excited to update it! Thanks for the inspiration!
Yay, that’s awesome! We really didn’t know what we were doing and sort of just learned along the way, but if there’s anything we can help with, just let us know 🙂
Katie
Love it! I’m going to use this idea to make one for our RV. Did you bolt it down?
Thanks Patricia! We did bolt it down just as an extra precaution. I think we may talk about or show photos of that in our first post about the sofa:
https://mountainmodernlife.com/custom-rv-sofa/
Katie
While looking for ideas on organization I found your blog. All I can say is OMG I love your style. I could move in and not change a thing. Thank you for sharing.
Hey there.
very nice design. There’s just one thing I would HIGHLY recommend tweeking and that’s the front corners of the arm rests.
That pointy edge can cause a lot of problem lands on it. sharp edges like that can cause a lot of damage to a person. I know because my son was hospitalized after splitting his head on a sharp edge Ikea desk!
You can easily round the corner with a rotor then apply a bit of stain!
We’ve never had an issue (knock on wood) but that’s a great point, especially for anyone with kids. That’s terrible to hear about your son, I hope all is well now and really appreciate the tip!
Yeah. I finally found the couch I want for our rv and how to build it. Thanks so much for all your detailed information. 😊
That’s awesome Jenny, we’re glad the information was helpful! If you have any questions feel free to let us know and we’ll try our best to help 🙂
Thanks so much for he inspiration! We are about to replace our less than beautiful JACK knIFE sofa. I especially appreciate hearing what you would do differently next time. You guys are amazing!
Replacing Jack knife sofa too love this so much!!
Awesome! Let us know what you end up replacing it with!