UPDATE: All new featured RV tours will be posted on my other website, Wanderful RV Interiors. Existing tours will slowly be moved to the new website, and anything already moved will automatically redirect.
Disclaimer: This post may contain affiliate links, meaning, if you click through and make a purchase we (or those featured in this post) may earn a commission at no additional cost to you. View our full-disclosure here.
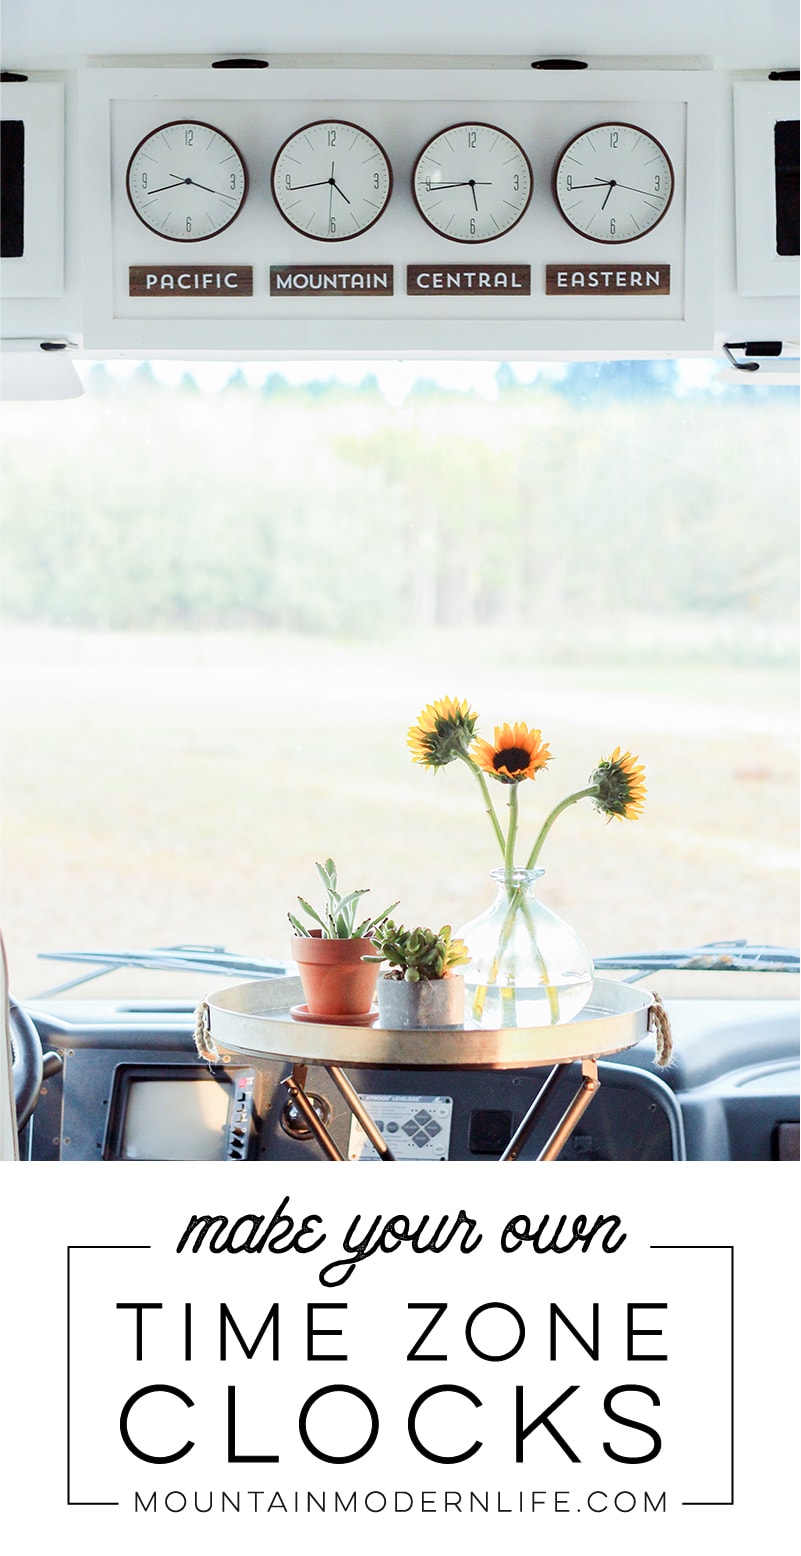
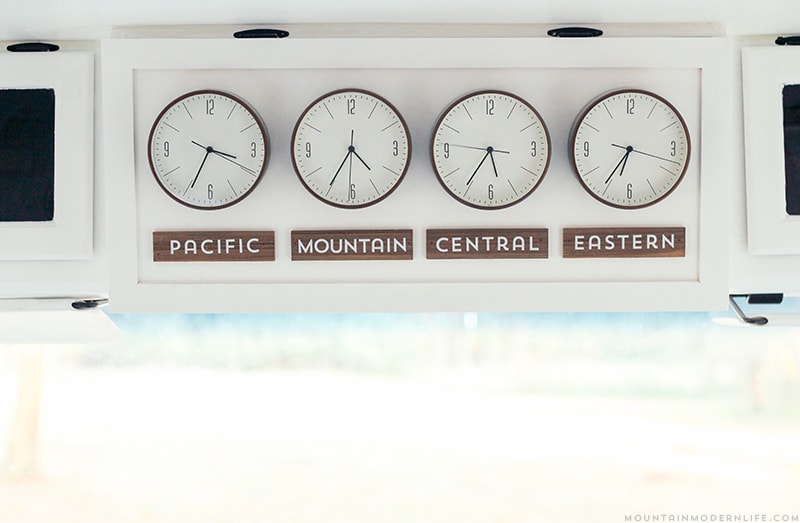
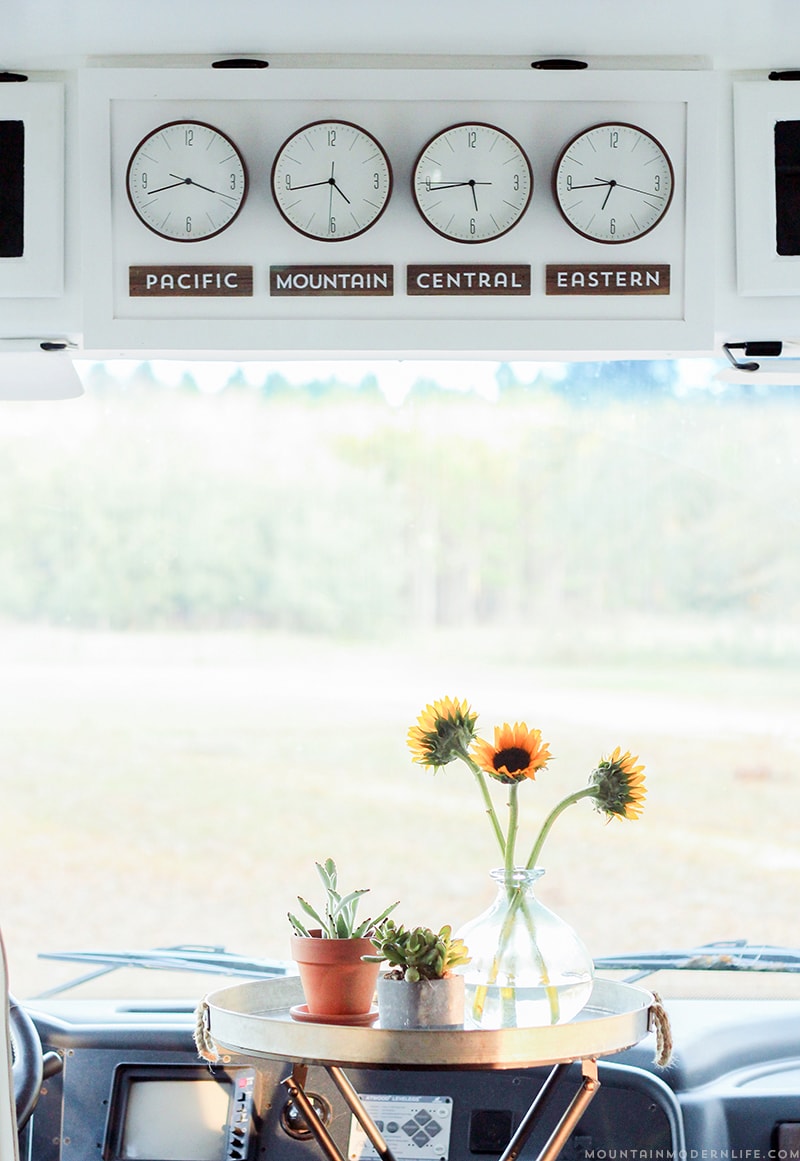
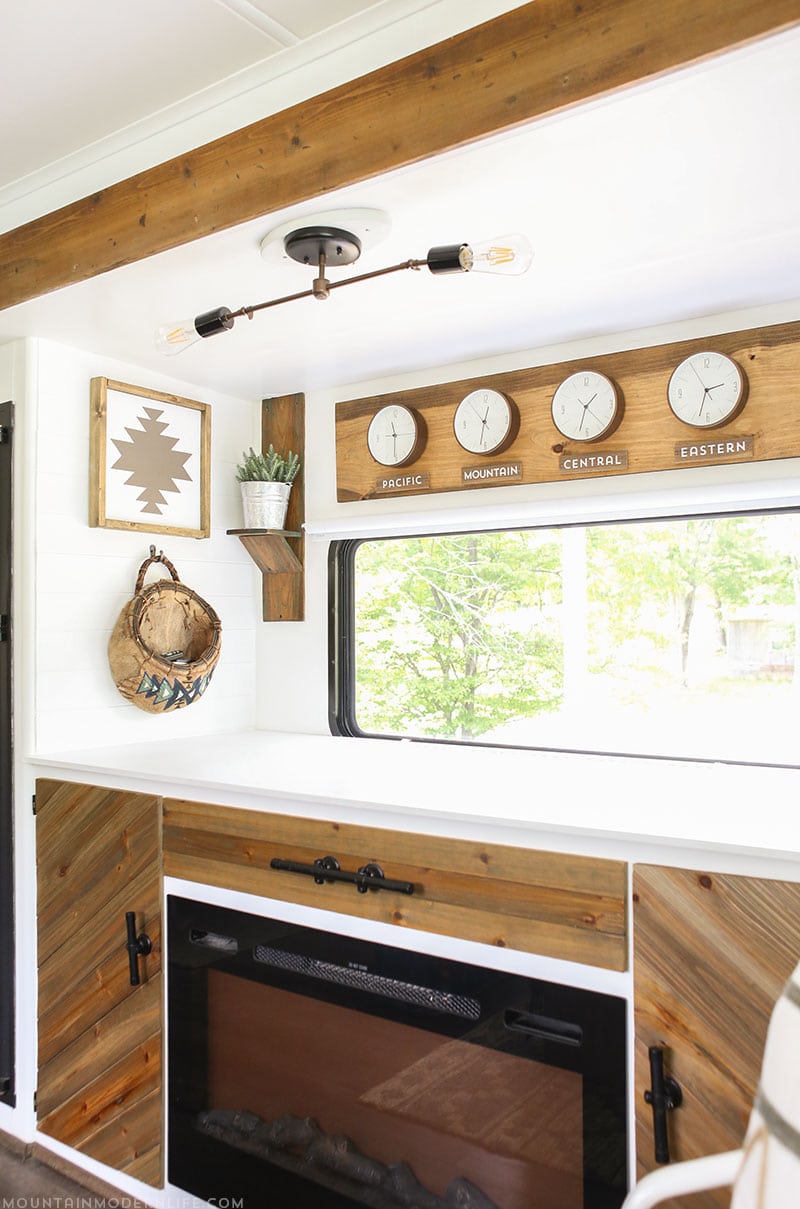
One of the first things people comment on when they walk into our RV, is our time zone clocks. Since we’ll be traveling for at least a year we figured it would be fun to have the different time zones handy in case we need a reminder for where we’re at, where we’re headed, or the time zone of those we call.
If you want to add a little wanderlust to your home, whether it be on wheels or not, these time zone clocks are a great way to achieve just that.
How to Make Time Zone Clocks
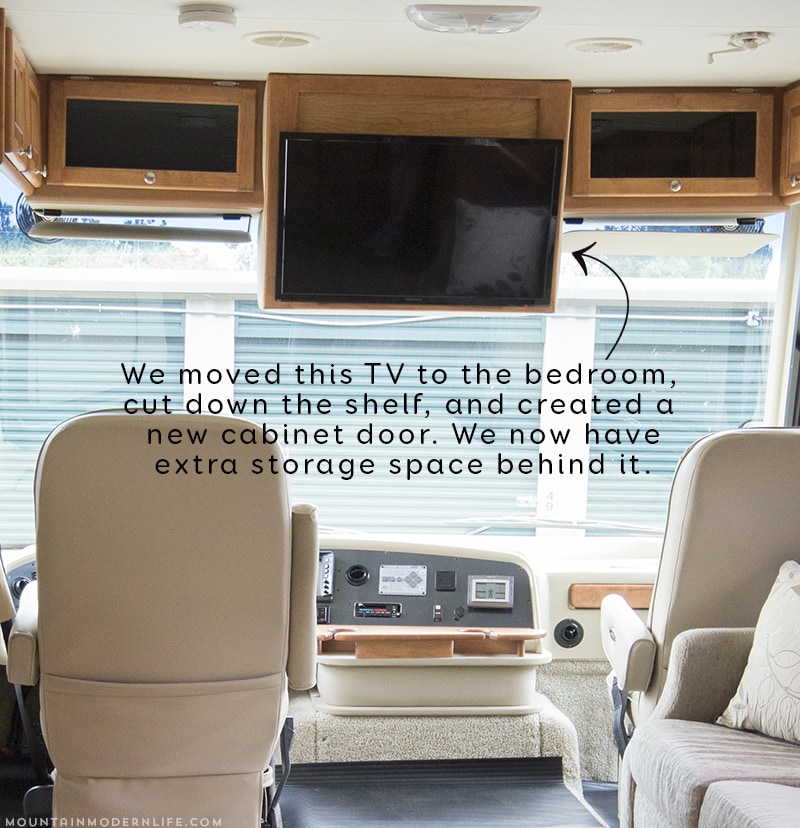
Let’s back up for a minute and show you what the front of our RV used to look like…
Watch the video on our Time Zone Clocks:
My original plan was to use wood slabs and create my own clocks. Then one day while cruising the aisles of Target for things not on my list, a few copper clocks accidentally ended up in my cart. Oops. Then I realized they only had 3 in stock, and I needed 4. Boooooo.
I stood there in the aisle trying to decide if I should buy them anyway and then head over to another Target to see if they had one more in stock?
I think I moved the clocks from my cart to the shelf at least three times. After finally taking a minute to breathe I realized my excitement got the best of me.
You see, the copper drew me in but other than that, I didn’t really care for them all that much. They didn’t have numbers, and call me a weirdo but when I’m trying to figure out time with a quick glance those don’t cut it for me.
There was another option I liked, and they had 4 in stock but they were brass. I thought they were pretty but didn’t think Eric would be too crazy about the color. With that said I loved the clean lines and modern style and knew I could spray paint them. Honestly, the idea of not having to create 4 clocks from scratch when we already had a crazy to-do list was pretty appealing at this point so I snagged them up. They were on sale so I think I paid around $35 for all 4. Not too shabby.
- 4 Matching Clocks
- Measuring Tape
- Hanging Hardware
- 4 small pieces of wood to use for the signs
- Stain/Paint
- Clear Sealer
- *Sandpaper & Spray Paint (only needed if you plan to paint your clocks)
- *Silhouette Machine – Or you can hand paint the signs, use stencils, or stickers
- *Nailgun + Miter Saw (optional)
Painting the Clocks
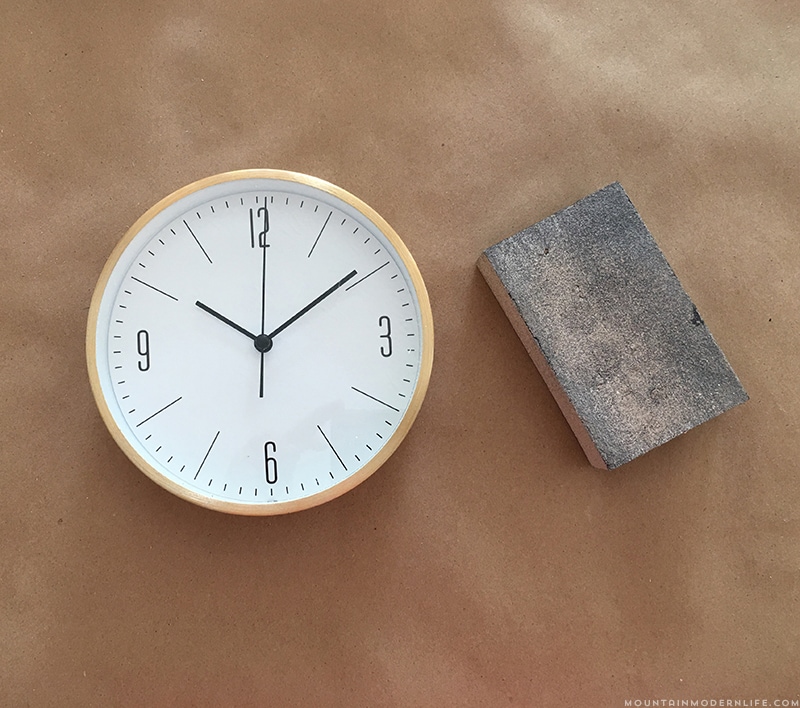
If you plan to spray paint your clocks, you’ll want to roughen up the edges first with sandpaper to help the paint stick. If you don’t need to paint your clocks then you can skip this step.
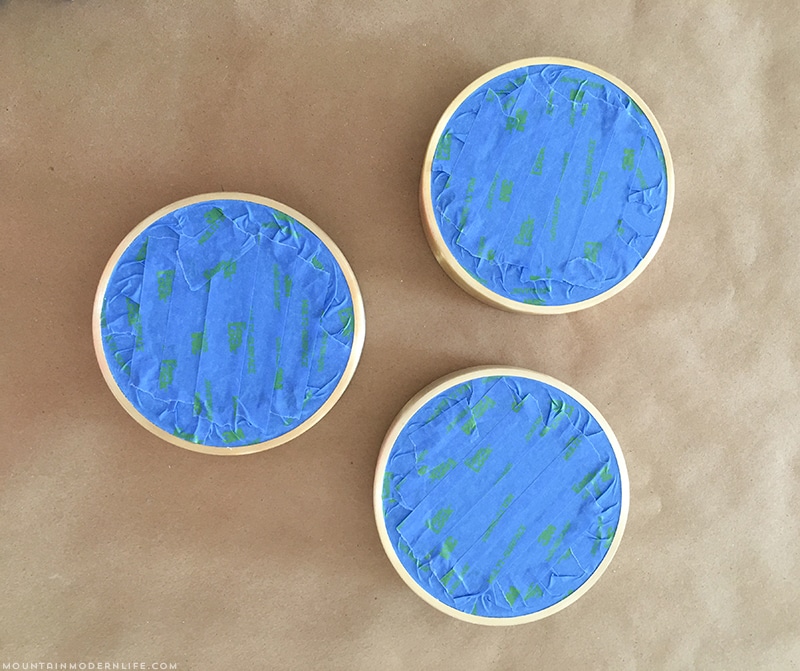
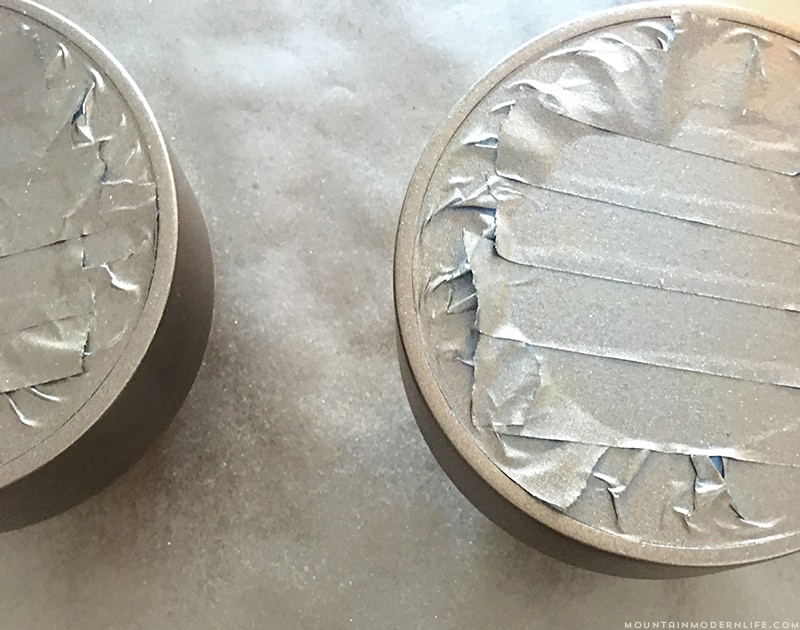
After lightly sanding the brass color of the clock I taped the front of the clocks with painter’s tape.
I don’t have a photo of the spray paint I used, but it was Rustoleum’s Aged Copper, and I also used my grip sprayer with it. I think I sprayed maybe 3-4 light coats, allowing the paint to dry in between.
I also used one coat of clear spray sealer. Afterwards I removed the tape.
Tip: If you accidentally get spray paint on the glass/plastic face of your clock you should be able to clean it off using a magic eraser.
Creating the Time Zone Signs
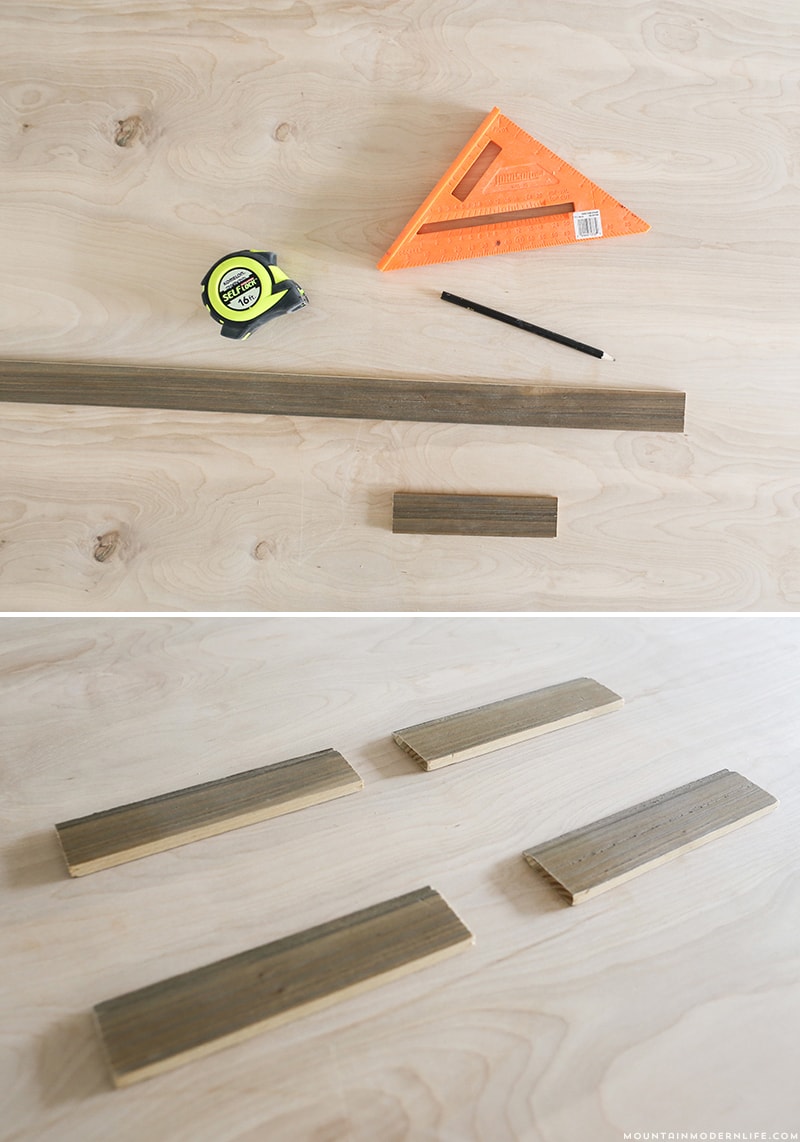
For the signs we used a piece of scrap wood leftover from our media cabinet, which was pre-stained. You can use any wood you have, get some cut down at the hardwood store, or buy small pieces of wood from a craft supply shop. You could even make them from wood shims, similar to how I made these chalkboard beverage tags for our wedding.
Since we cut pre-stained wood, I did end up staining the raw edges afterwards.
The Time Zone Labels
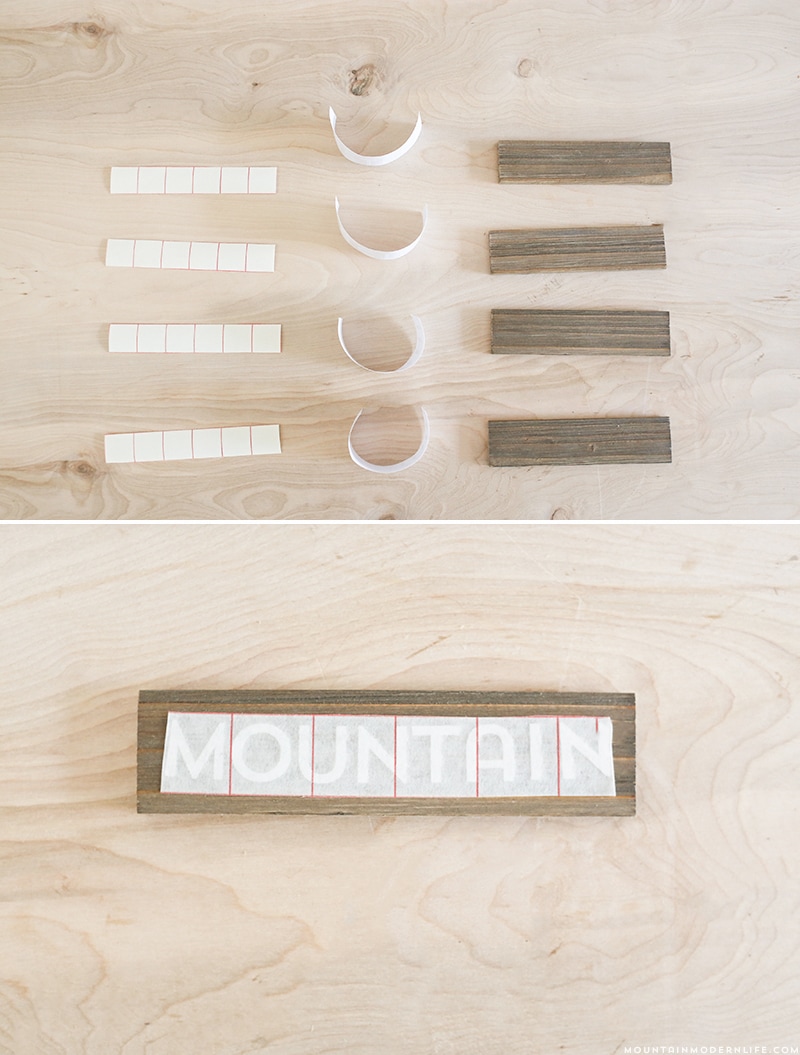
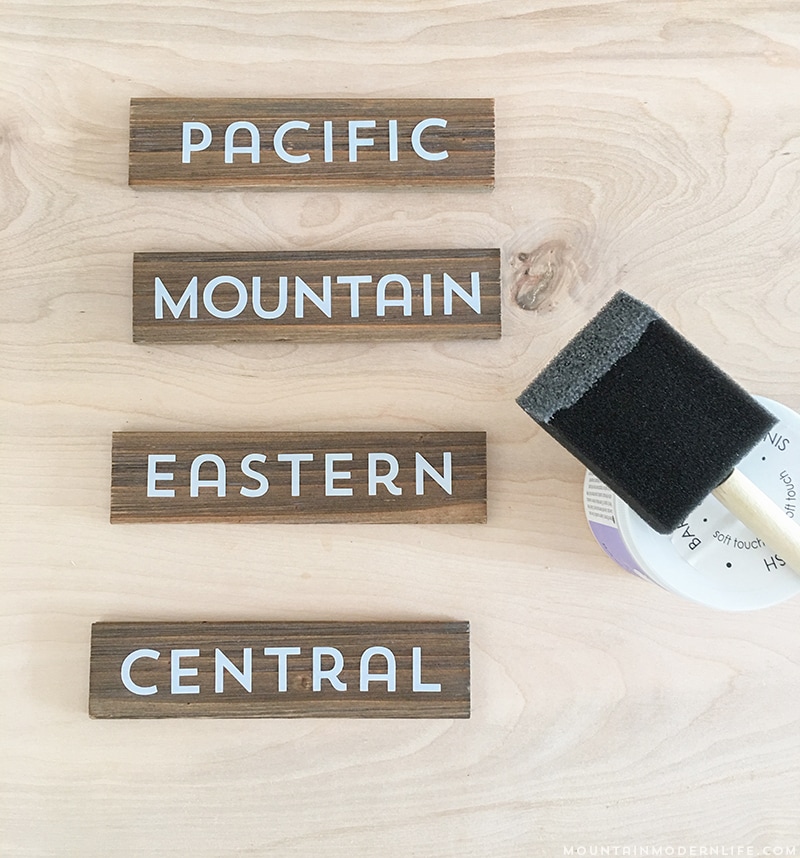
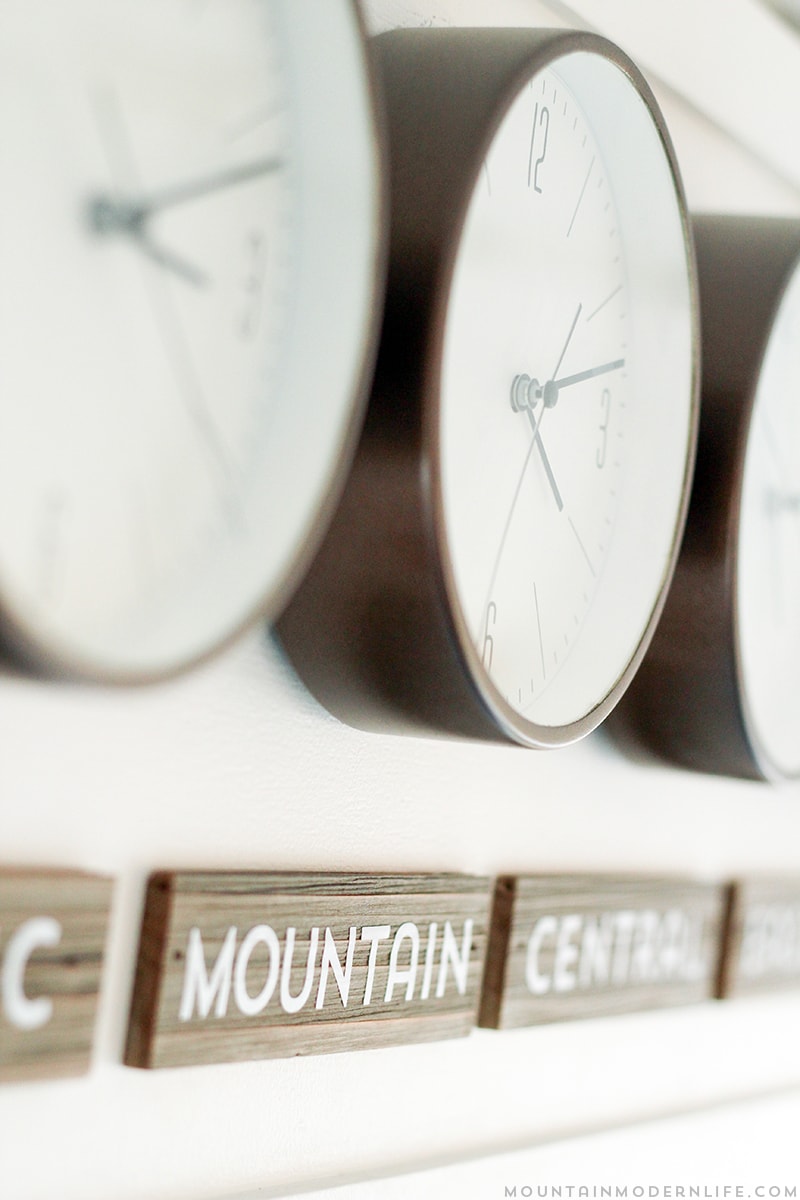
I used my Silhouette machine to create the simple time zone labels, but you can paint them on, use a stencil, or even use stickers.
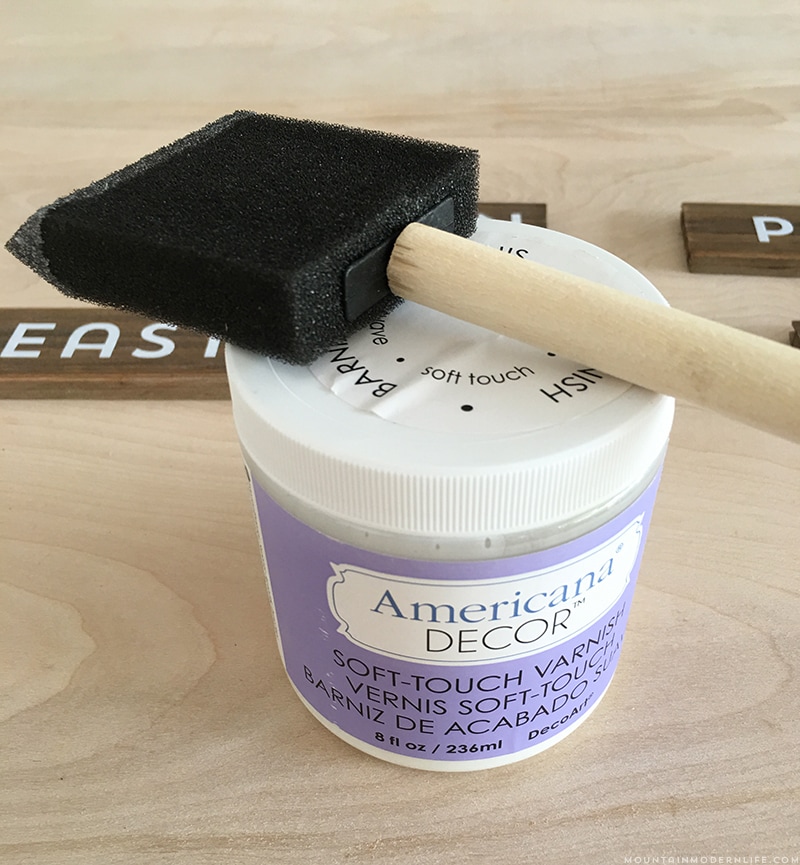
After I transferred the labels to each piece of wood I brushed on some clear varnish with a foam brush. I figured this would help keep the labels in place, and being that we’ve had these clocks up for over 8 months now, it seems to be doing the job.
Installing the Clocks in our RV
Once our mini wooden signs and clocks were dry we were ready to hang them up. We decided to hang our signs below the clocks, but you can hang yours above them if you’d like.
Don’t forget to install the batteries and set the time for each zone!
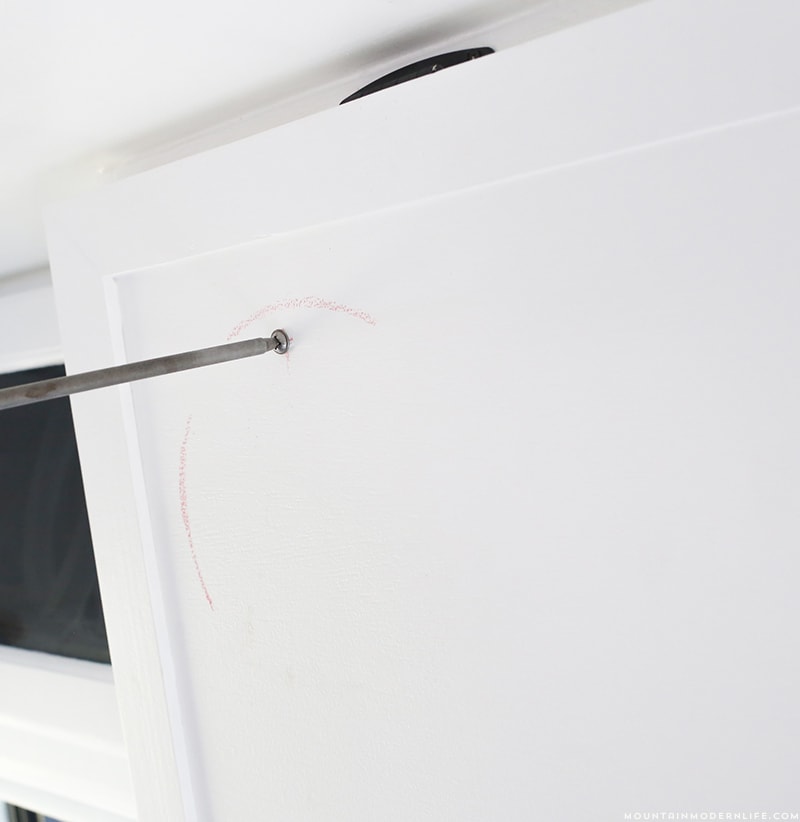
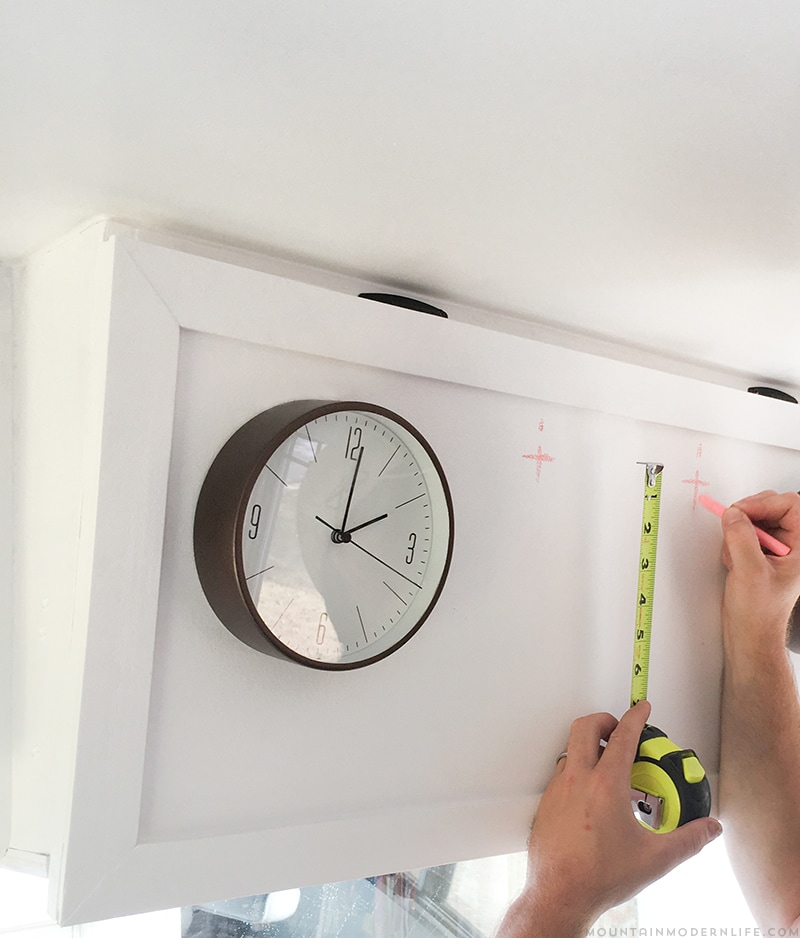
We used our measuring tape, level and chalk to figure out where to place them on the cabinet door we had built. We marked where we wanted the clocks, added screws and then hung the clocks on the screws.
The time zone signs were nailed into the cabinet door, but you could also use command hanging strips. We wanted to make sure they were extra secure since this is near the driver area of our RV.
That’s it! Here are a couple more photos of our time zone clocks installed inside our RV:
We’ve mostly referenced the Eastern and Central time zone clocks so far, but can’t wait to get into the Pacific and Mountain time zones as we continue to travel this year. Even without using them, the ticking sound is actually pretty soothing.
Updated Video from 6/2017:
We recently made a quick update to these clocks and love them even more now! Check them out in the video below:



What a fun clock idea!
Thanks Tara! We love how this project turned out 🙂
I collect clocks, so this idea is right up my alley. Thank you from the bottom of my heart. I am about to leave the house now and get these items I need to create this fanstatic zone and draw pulls .
I love the color of the stain you used. Is this the same stain you used for the beams on the slide out and what color is that. We just bought a 2015 26ft trailer and can’t wait to reburbish. You have such wonderful ideas thank you for the inspiration
How did you attach the clock board to the wall?
Did you also hang the clocks with screws and velcro?
Thanks.
Hi Kate! We added some screws into the board and then hooked the clock onto the screws (there are holes in the back of the clocks for this). We did also add a small piece of velcro as an extra precaution, and then the time zone wood labels were nailed in place. As for attaching the board to the wall we just have it hanging on a couple of screws. To be honest, I just had to go look at how we did it because I couldn’t remember, haha. It’s been a couple of years and has held up great! Although I think it’s about time to change the clock batteries…