UPDATE: All new featured RV tours will be posted on my other website, Wanderful RV Interiors. Existing tours will slowly be moved to the new website, and anything already moved will automatically redirect.
Disclaimer: This post may contain affiliate links, meaning, if you click through and make a purchase we (or those featured in this post) may earn a commission at no additional cost to you. View our full-disclosure here.
I don’t know about you, but when Katie and I bought our RV one of the first things we thought was the television in the front of the coach needed to go. Not only was it blocking a lot of top-notch window real estate, but we wanted a more living room vibe, where we could comfortably watch TV without turning our neck sideways to see it from the couch.
We knew we were going to replace our dinette booth with a custom media cabinet to house our tv on a lift so that it could be hidden when not in use. With plans of our new tv area in the works, we decided it was time to get the one above our windshield down and out of the way.
How to Remove the TV from the Front of RV
Below I’ll walk through the process of how we removed the tv from the front of our RV, a 2008 Tiffin Allegro Openroad 32LA. However, keep in mind that every motorhome is different, so the process could vary for your specific coach. With that said, if you’re thinking about removing the TV in the front of your RV, or maybe just want to replace it with a newer one, then we hope this post will help guide you along the way.
Unfortunately, all of the photos we took during this process were lost when Katie’s computer crashed a few months ago. However, I do have a short video showing how I went about removing the TV from the front of our RV, which you can watch below:

- Drill
- Torx Bit
- An Extra Set of Hands
- Nail Gun
- Wood Filler
- Square Head Bit
- Phillips Head Bit

Naturally, I started looking around the tv for the easiest way to remove it from the cabinet. The thinking here was that it would be similar to a situation in a home, where the tv is attached to a wall-mount and you need to detach it from the mount then remove the mount from the wall. Unfortunately, that wasn’t the case.
As we’ve learned over time, most projects though similar in an RV, rarely ever end up working out the same way as they would in a house. After trying to get the TV off the mount without success, Katie headed online to see what she could figure out.
If you have an RV or are planning to buy one, RV forums and Facebook groups offer an immense amount of information and helpful tips worth checking out.
Katie had read in one of the RV forums that in some motorhomes there are four main screws that hold the front of the TV cabinet in place (including the TV). I headed back out to the RV and was able to locate the screws in the side cabinets. They were located on the inside of the cabinets to the right and left of the TV, just as the comments in the forum suggested.
In my situation, the four screws I found were Torx head, but it is important for you to look for your screws first because every RV is constructed differently and it may be a different type for you.
I began to unscrew the first one and realized the screws were extremely long, I would say at least 8 inches. I also noticed as I undid the first one that the entire front of the tv cabinet began to loosen up. That’s when I called Katie to come help, and it is a good thing I did because the only thing holding the TV and the front of the cabinet up was these four screws.
Katie was easily able to hold the TV in place while I finished up with the rest of the screws, then we switched spots, with me now holding the tv. Since we weren’t able to get to the cables behind the TV without getting to the point we were at, I needed to hold the TV up while Katie disconnected all of the cables from the back of the TV.
Once she had them removed I lowered it to the ground.
At this point, we have the tv out, along with the front of the cabinet that it was mounted to. However, we didn’t just want to remove the television, we wanted to remove the entire center cabinet since it was blocking a lot of the windshield.

It was a matter of getting my square and Phillips head bits and finding all of the screws they had put in place.
There were a ton of screws going into the side cabinets, the ceiling, and even into the back wall. It was a pain to remove them all, but it’s good to know that sucker was secure considering it was above our heads while we drove down the road.
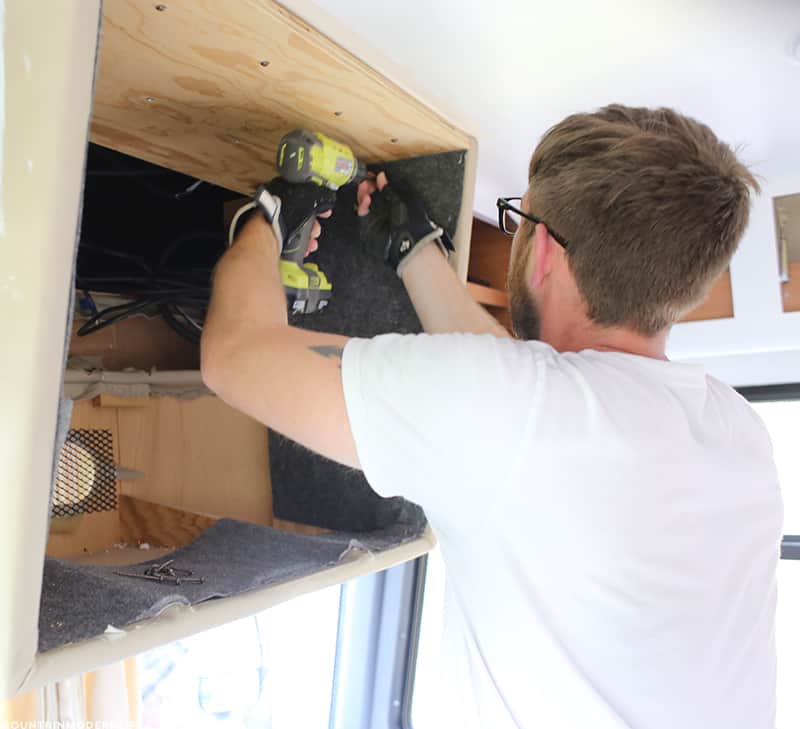
I finally found all of the screws, and we had the full cabinet down along with the TV.
It was a great feeling to finally have the TV removed from the front of our RV along with the large middle cabinet. Now it was onto filling the void that was created.
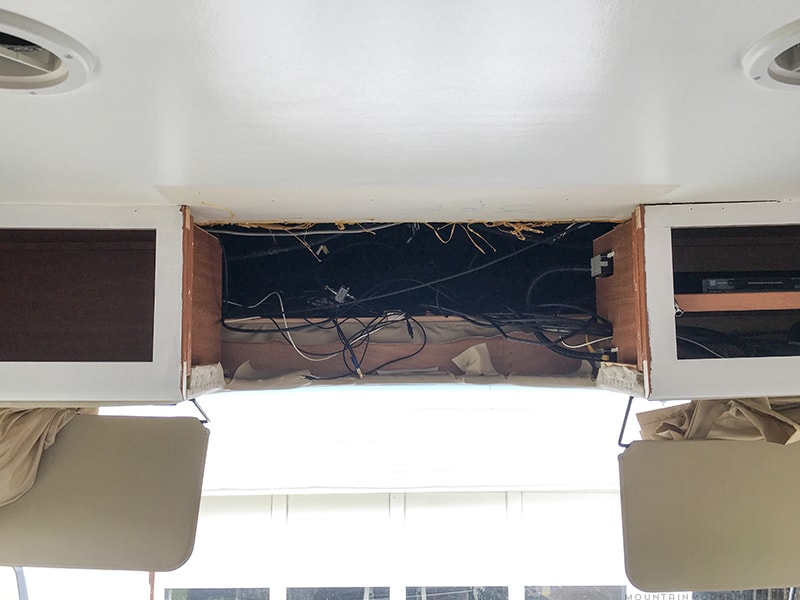
A million ideas rushed through our heads as we thought about how to fill the void, but once the tv and cabinet holding it were down what we were going to do became clear. We were going to re-use the same cabinet materials and build extra storage.
The first step, take apart the TV cabinet.

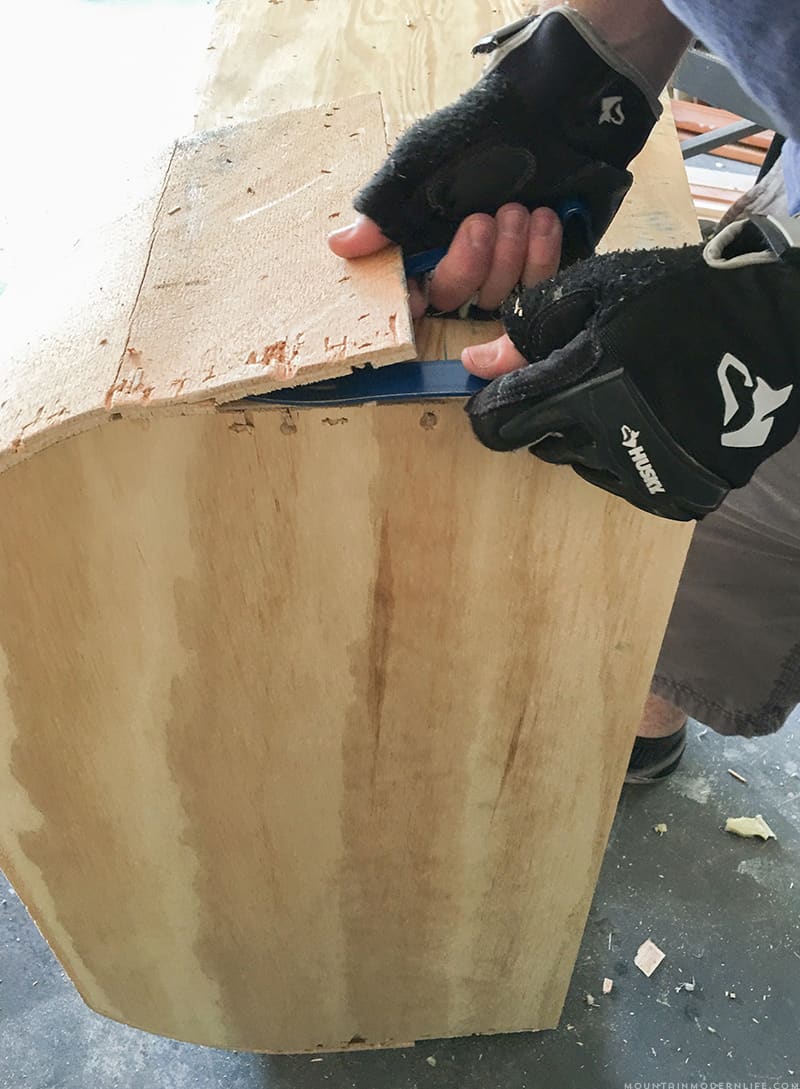
Needless to say, it took a lot of gentle prying in order to get it apart in such a way that we could put it back together. If you find that you have broken a piece of your old cabinet you can always replace it with a new piece of wood, we actually had to do this with the bottom piece.
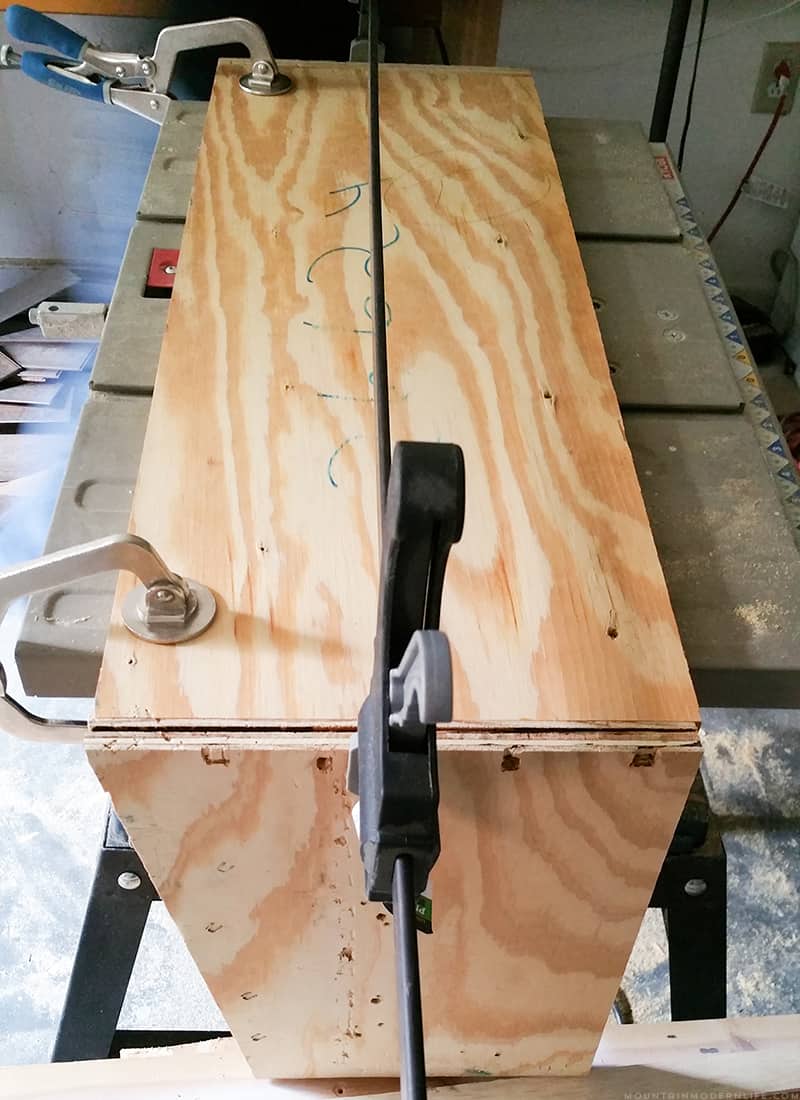
Once we had everything taken apart I measured the height of the gap left behind by the TV so that I could find how tall our new version of the cabinet needed to be. I then cut the two vertical pieces to my measured height minus 1/2 an inch because my bottom extended the cabinet height by 1/2 an inch.
Side Note: For this step, it is important to know how the bottom and top of your cabinet attaches, for example, our vertical pieces rested on top of the bottom piece. This, in turn, created an extra 1/2 that needed to be accounted for. I cut my two vertical pieces 1/2 shorter than my decided upon height.
In the picture below you can see the reattaching of the top piece to both the vertical pieces.
The bottom piece ended up being a bit trickier because it had a half-circle for the back.
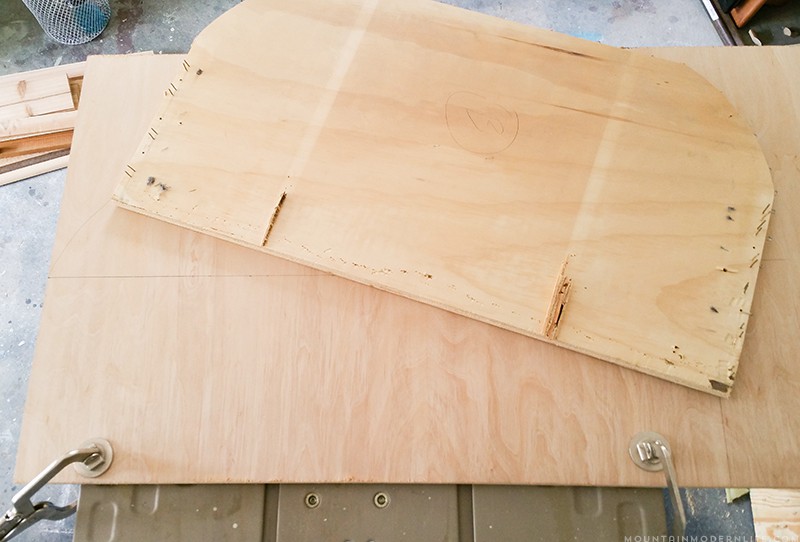
On top of needing to cut out the circle pattern, it was also not the right size because we were bringing it up flush with the other cabinets. Before it had hung down below them by about 10 inches while getting smaller the farther down it went. To create the right size half-circle I needed to measure the change in distance.
Once that was cut to the right size we added it to the top and sides we had already put together, and could now see a miniature version of what we had started with. The only problem being that the TV wasn’t going back, so we needed something new to cover the front.
We decided to build a cabinet using some plywood and lath wood we had lying around.
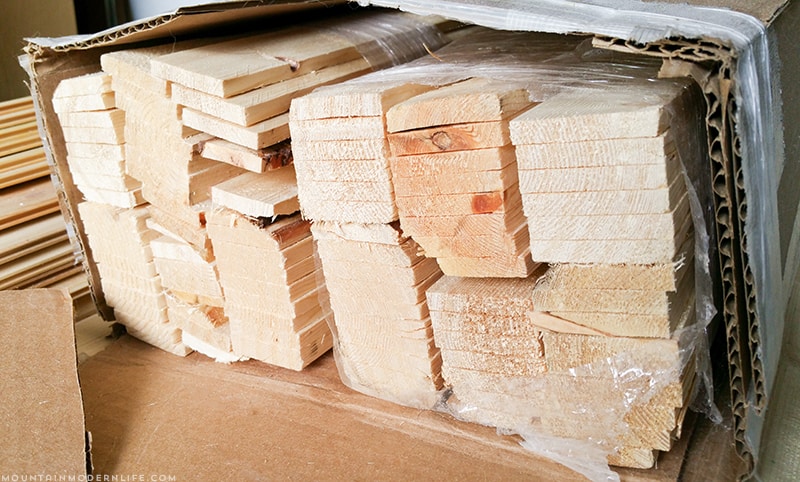 Above you can see the bundle of lath wood we had. Below you can see that we cut a few pieces to frame the plywood we had cut to size.
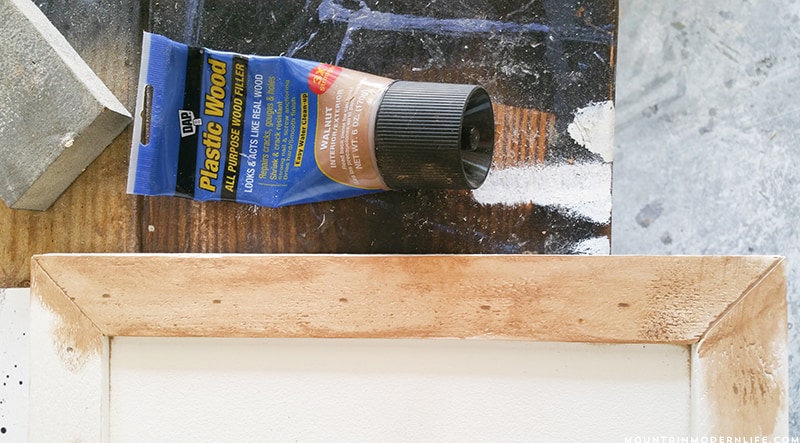
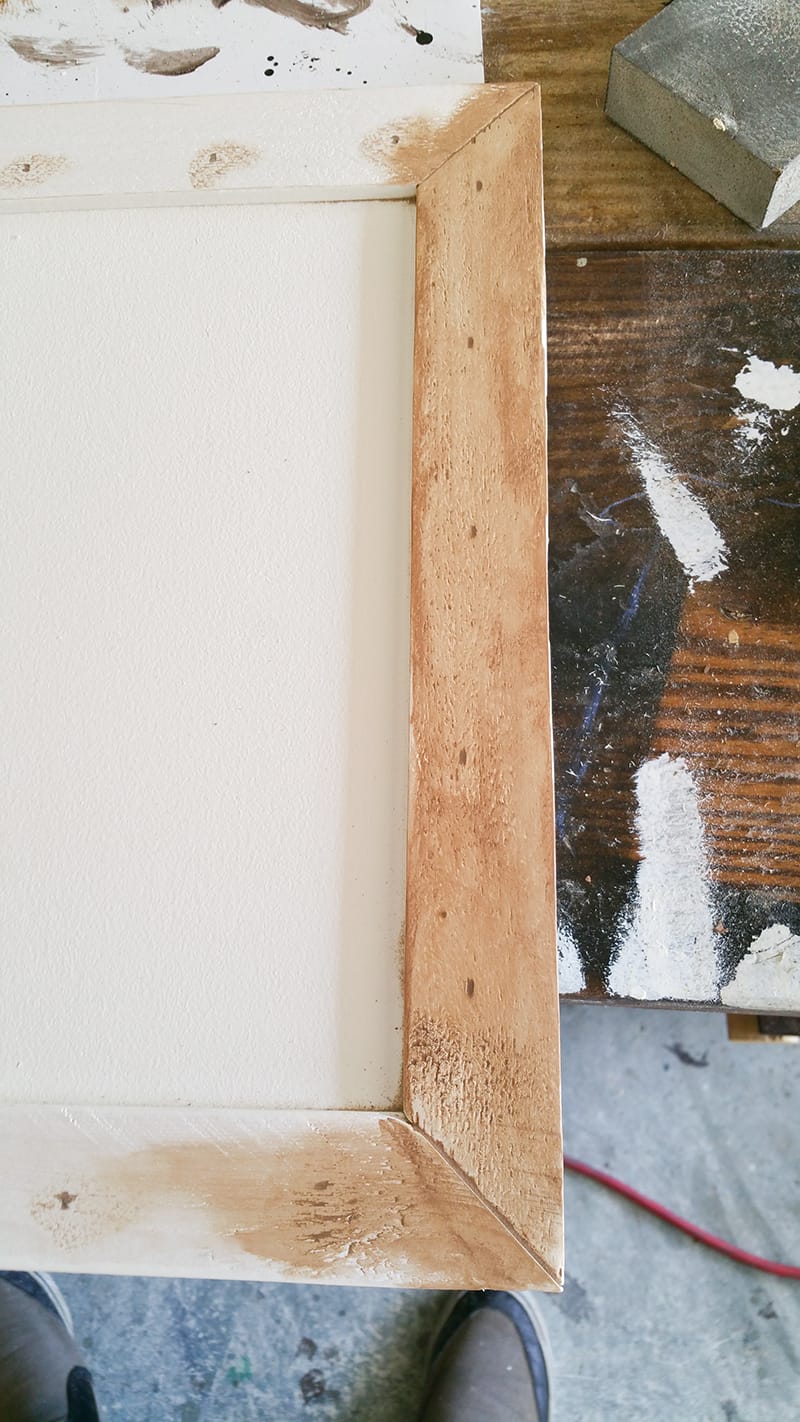
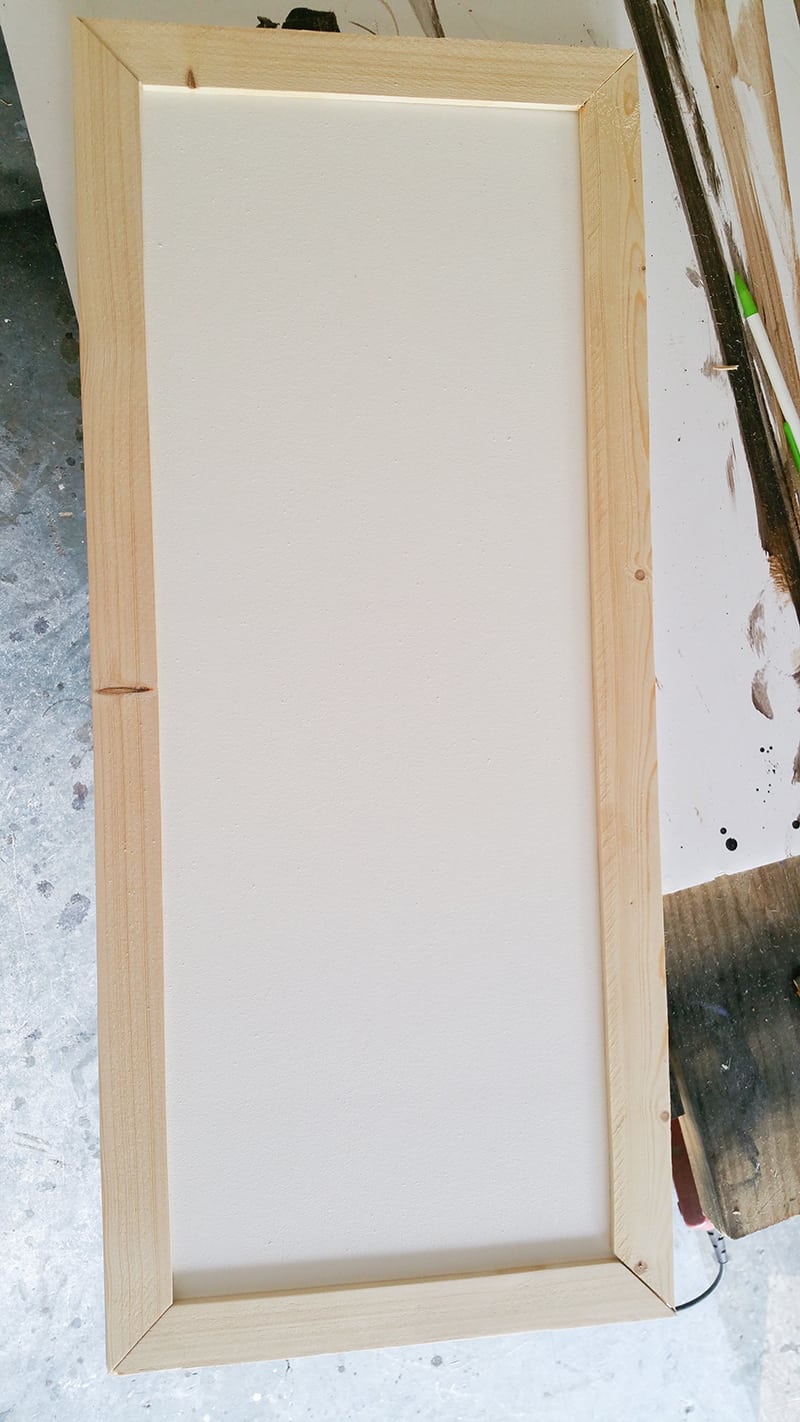 Our nail gun came in handy for attaching the lath wood. But it did leave a few tiny nail holes, so before we painted it we filled it in with wood filler then gave it a light sanding.
At this point, we had the cabinet completely re-made, and since we were using the same materials, for the most part, I was able to take it back over to the RV and put all the screws back in the same places. Next, we added a couple of hinges to the cabinet door we just made and attached it.
We had a pretty great view out of the windshield before, but it’s amazing what a difference removing the TV has made. Here’s another before and after photo of the front of our RV (with our roller shades down), but we’ll have to take an updated photo so you can actually see the view from the windshield.

Relocating our TV in the RV:
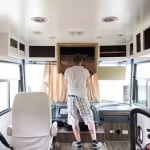
We relocated our RV into a custom media cabinet that we built, which also includes a transforming hideaway table. Click here to read more about it!

If you’re looking to remove the TV from the front of your RV, we hope you found this post helpful in some way. And if you’ve removed the TV from your motorhome or camper and have any tips to share we would love to hear about it in the comments below!
We have a 01 Tiffen allegro 31ds, I was able to unplug most of the cords before pulling out the tv. Ours was an old analog so dang heavy . Our plan is to mount our new flat screen on a door that flips up with a open space so we can access the back of the tv. That way we will have some additional storage and hopefully a shelf for the DVDs player. We are updating a few things but nothing as radical as yours. Because we still have a stick built home and lots of toys. We also removed the tv in the bedroom, one seems to be enough.
That is awesome Colleen! Looking back at the older TVs I just can’t believe how heavy they used to be, you almost needed to be a power lifter in order to move them :). I agree with the one TV being enough, we have two but find ourselves using one much more than the other. Also having the extra space behind the TV does add a lot of extra space, well for an RV.
Where and how did you relocate your TV in the living area? We have a Class C and our flat screen tv is off to the side of the cab top at bunk level. It is held up by a full length hinge and a locking mechanism for travel. The problem is we can’t see it at that angle from the couch. We’ve had 2 techs install a tilting mount and both pulled out. So, I’m hoping whatever you did might help us to fnd a solution. Thanks.!
Hi Eileen, We actually relocated the TV that was up front to our bedroom and then added a larger TV to a custom media cabinet that we built across from our sofa. We actually chose our floorpan specifically so we could watch TV from the sofa, haha. I added the link to the post but will include it below as well. I don’t know if it will help your current situation but maybe it will help give you some ideas:
https://mountainmodernlife.com/hide-your-tv/
Katie
Hi guys,
Did you replace the vinyl that covered the bottom and sides of that cabinet? If not did you remove it from the others?
Hey Cristine, we did remove the vinyl from the bottom and sides of the front cabinet, and then sanded it and painted it to give it a finished look. That cabinet where the tv was, was actually the only one we had covered in vinyl. I have to admit it was a major pain to get all the staples out but I’m happy we did remove it. Anyway I hope this helps!