UPDATE: All new featured RV tours will be posted on my other website, Wanderful RV Interiors. Existing tours will slowly be moved to the new website, and anything already moved will automatically redirect.
Disclaimer: This post may contain affiliate links, meaning, if you click through and make a purchase we (or those featured in this post) may earn a commission at no additional cost to you. View our full-disclosure here.
The right tools can make your projects easier, faster, more efficient, and best of all more fun to create.
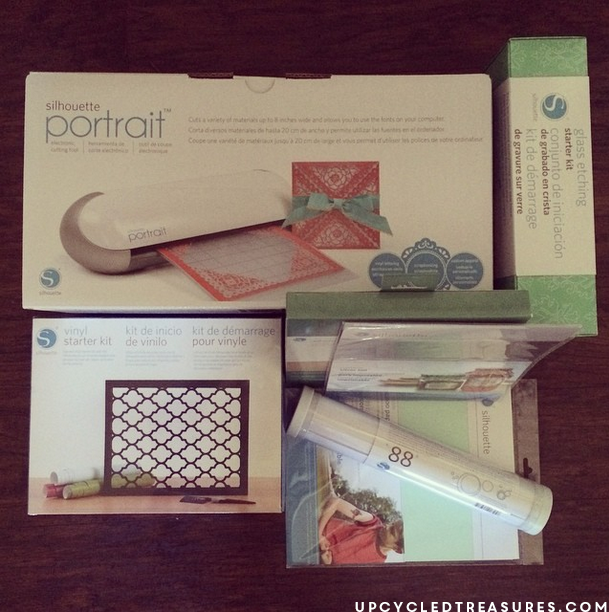
With that said, my absolute favorite crafting tool to date is hands down my Silhouette machine! As soon as this beauty showed up on my doorstep I was beyond excited, but I had no idea just how amazing it actually was.
I’ll admit that at first, I was a bit intimidated by the possibilities and with all of the ideas running around in my head, I didn’t know where to start. However, it didn’t take long for me to declare the Silhouette Portrait my new bestie.
For those of you not familiar, here’s a little info:
“The Silhouette Portrait® is an electronic cutting machine for personal use. Like a home printer, it plugs into your PC or Mac® with a simple USB cable. However, instead of printing, it uses a small blade to cut paper, cardstock, vinyl, fabric, and other material up to 8 inches wide and 10 feet long. The machine also has the ability to register and cut printed materials and is PixScan™ compatible.”
It’s basically a smaller version of the cutting machine you see from the show Fixer Upper when Jimmy Don Holmes creates his metal signs. At least that’s what it reminds me of anyway…minus the metal cutting.
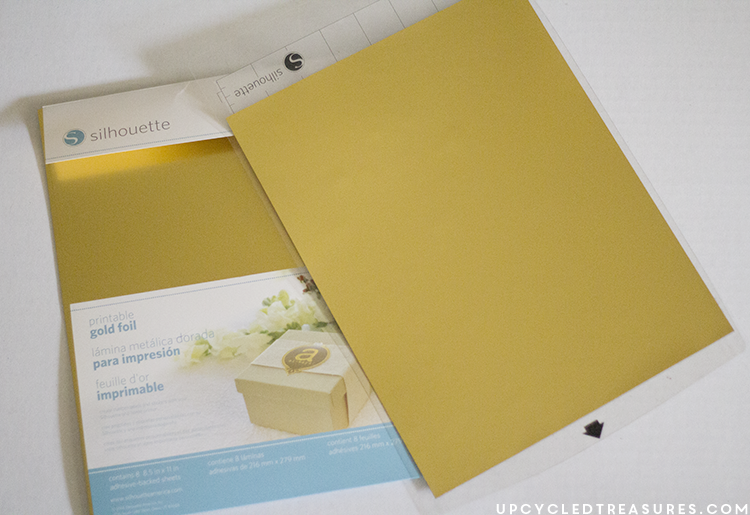
There are so many goodies that play along with the Silhouette that the design possibilities are endless. One of my favorites, which you may have noticed on Instagram or in my creative workspace tour, is this printable gold foil. It’s AH-MAZING! I wasn’t able to find it in stock at any local shops, so I ordered a couple of packages off Amazon.
DIY Gold Foil Wall Art
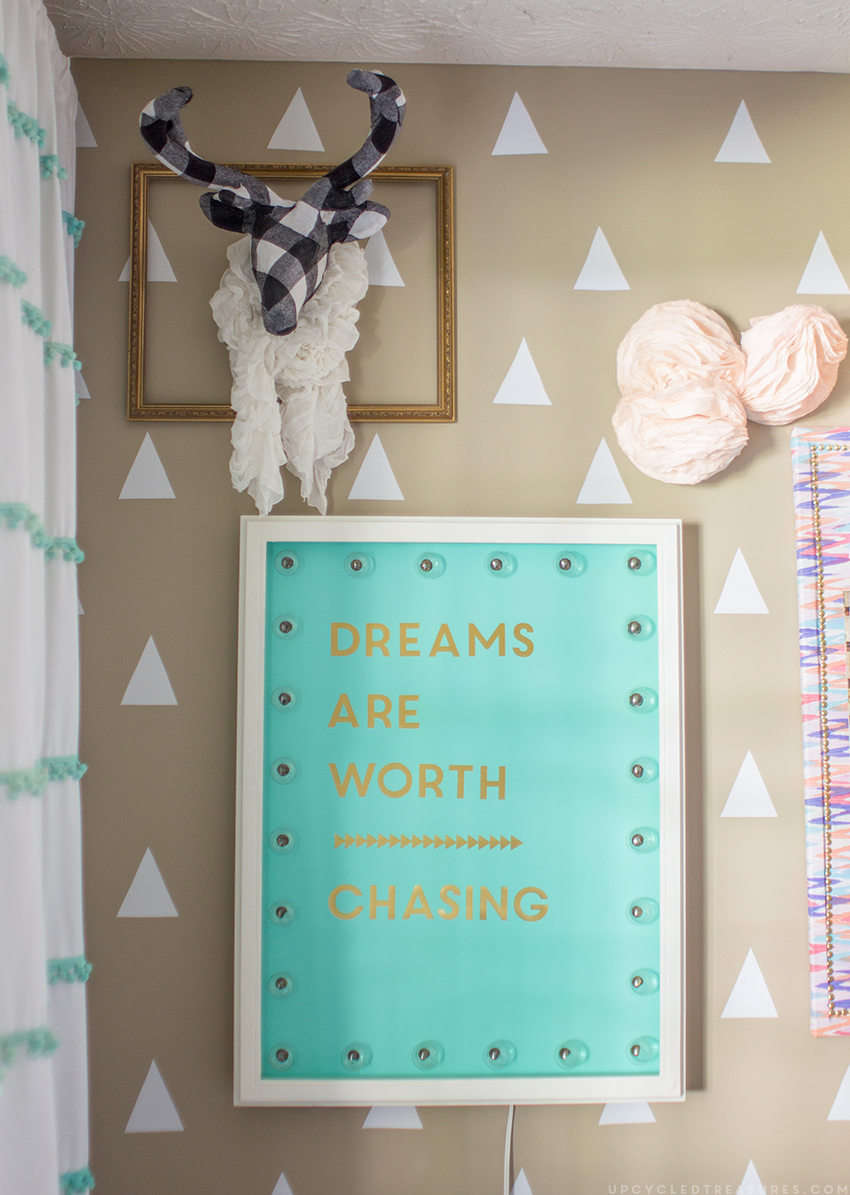
The first project I ever created was my “Dreams are Worth Chasing” marquee sign, which I LOVE. I decided to stick to large simple letters to keep things easy the first time around.
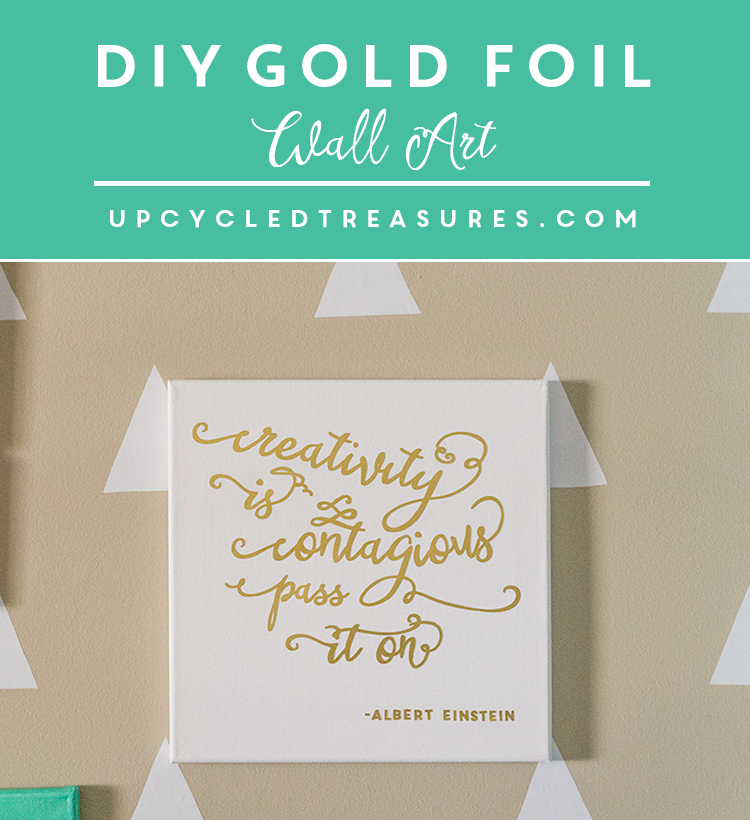
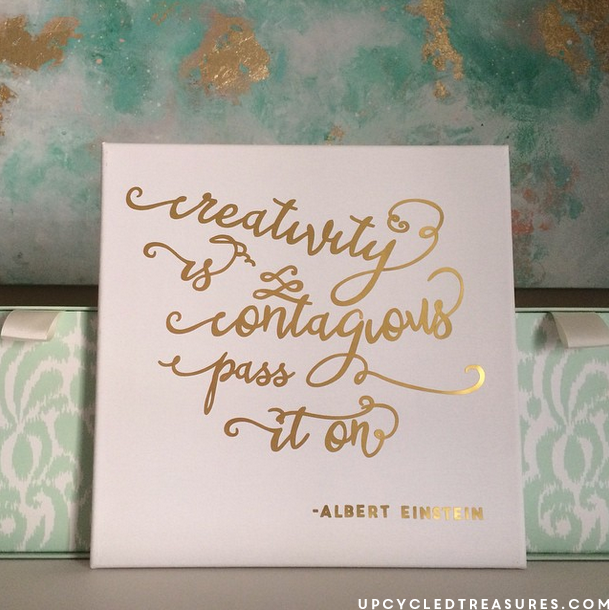
Afterward, I created 2 smaller gold foil prints which I transferred onto canvas. You may recall seeing this one on Instagram:
Silhouette Portrait {Or Cameo}
12 x 12 Canvas – You could also use wood, cardstock, etc.
White Paint and paintbrush
The paid font I used was Rushistly with some custom add-ons.
“Creativity is Contagious, Pass it on”.- Albert Einstein
I love this quote by Albert Einstein and thought it would make the perfect addition to my home office.
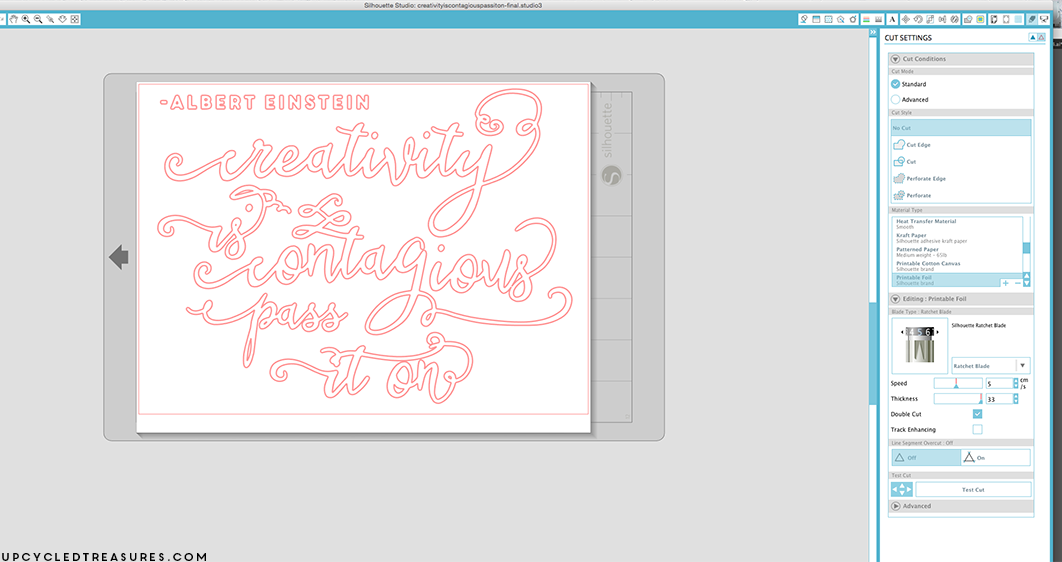
At the time I hadn’t quite figured out how to convert a file from Illustrator so I just created the design inside Silhouette Studio. {Side note: Here is a great tutorial showing how to do this}.
The first time I had the file cut for the DIY gold foil wall art I realized the font was still a bit thin which made it difficult to remove the cutouts inside of the letters, so I wound up making the text thicker.
The Portrait is the smallest machine, so I did have to adjust my letters in the Silhouette Studio so that it would fit on my cutting mat. However, the Silhouette Cameo is larger so depending on the size of the design you are creating you may not have to smush the words so close together if you have that machine. I just figured I would space them out on my canvas after I cut them out.
By the way, I can’t even begin to tell you how excited I am about the Silhouette Curio coming out in the fall! {Santa, are you listening?} 🙂
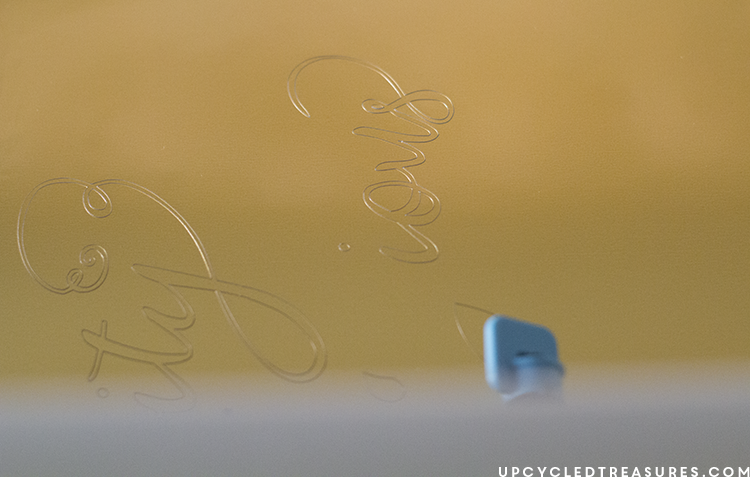
The cutting action can be mesmerizing to watch.
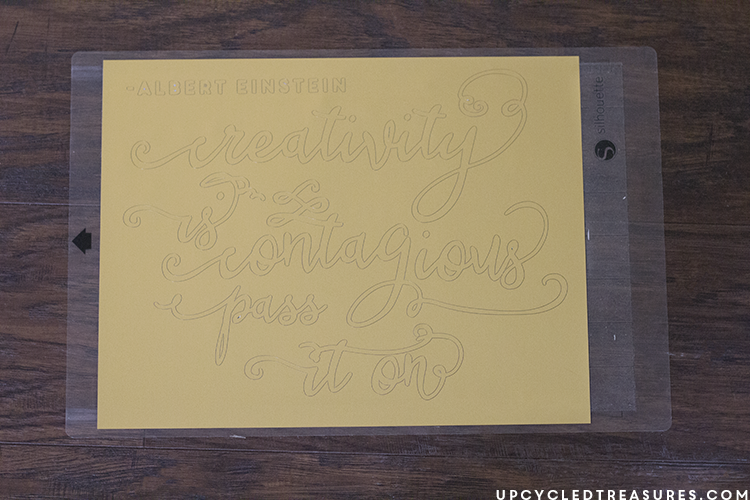
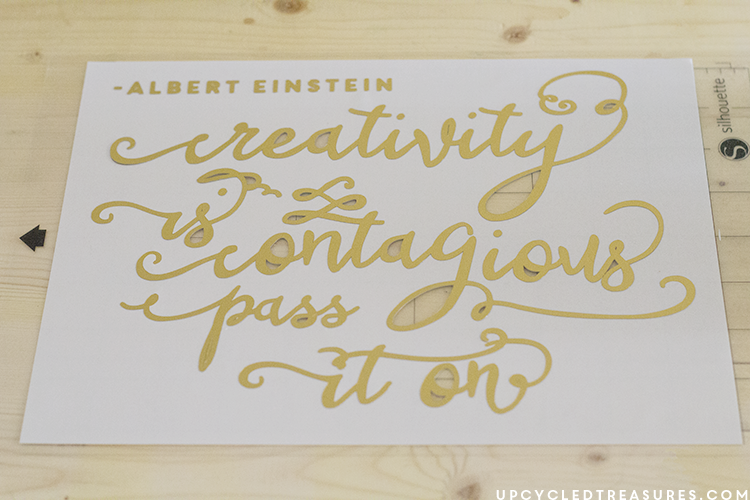
This is what it looked like after it was run through the machine.
I then used my hook to remove any of the excess foil from the letters.
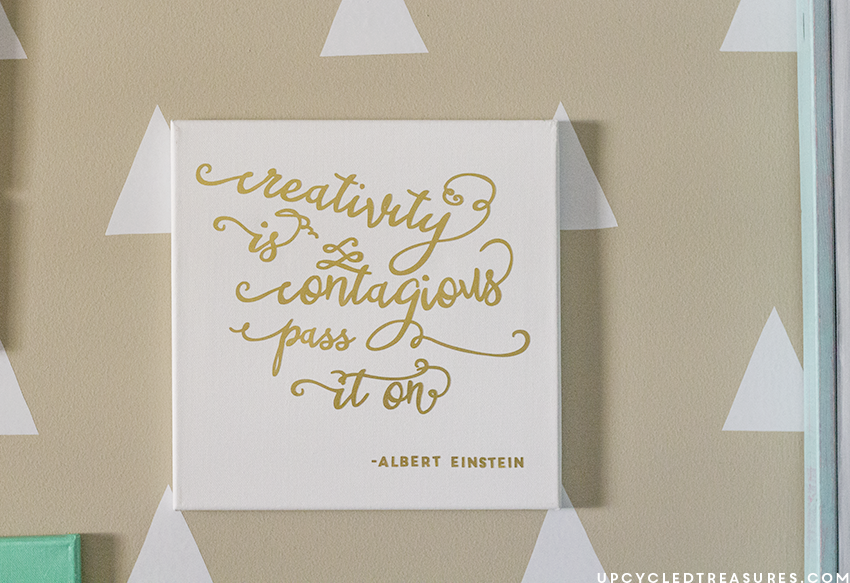
And then I simply stuck it onto a small white canvas I had. You will want to paint the canvas first to help the letters adhere better.
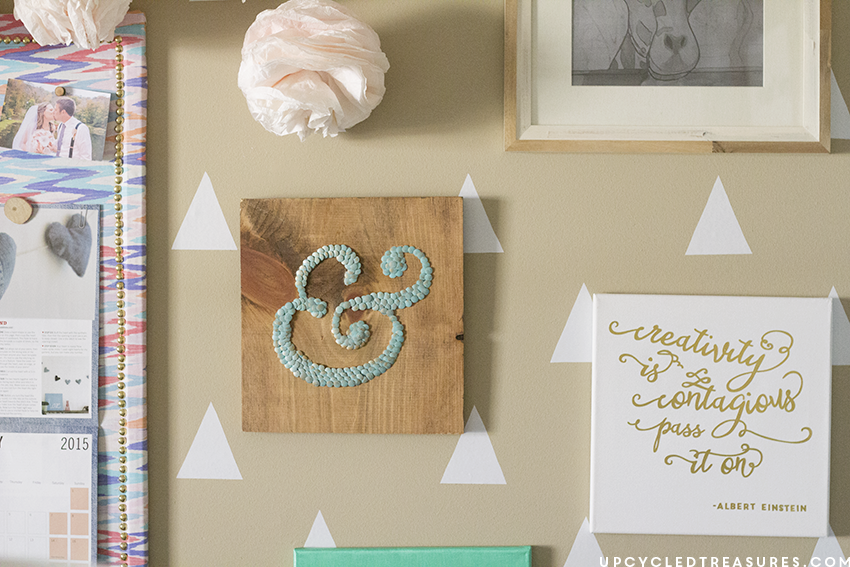
Below are finished pictures of the DIY gold foil wall art hanging on the wall.
I <3 my Silhouette machine and yet I have so much more to learn and experiment with. I hope to share tutorials in the future as I become more acclimated with what I’m doing.
It definitely made creating several pieces of DIY wall decor super simple and you are only limited by your imagination. Not to mention I could have finished my Adventurer’s sign in several LESS hours, if I had this machine back then, rather than hand painting it. So if you enjoy creating signs, labels, scrapbooking, etc. I definitely recommend checking out the variety of Silhouette Machines.
What do you think of the DIY gold foil wall art? Can you see yourself adding something similar to your home?
Thank you so much to Silhouette America for sponsoring this post! As always, all opinions are 100% my own.


Thanks for sharing!!!
This is so beautiful! Now I want a Silhouette machine just to make this! Thanks for sharing at Creative Spark link party!
I really love it, and I just need to spend more time messing around with it 🙂
Oh how I love this project! I have to admit my Silhouette has been sitting in the box. Unopened. Since November.
Thanks so much for the encouragement to open that box!
I think I had it for 2 months before I finally played around with it, haha. I just wasn’t sure where to start, but oh my gosh once you see all that it can do you won’t believe you didn’t take it out sooner. Not to mention I can’t wait to see what you will create with it!
So cute. It reminds me of the Minc. I have a Silhouette but am intimidated as well. I just need to try.
Did you just glue the entire printed paper onto the canvas? How did you get just the letters on there? Did you cut out each word?
Thanks,
Ashley
Hi Ashley,
The silhouette machine actually cuts out of material, so the letters were cut out of a metallic vinyl that is sticky on the back – think of it like stickers. So I basically just peeled the letters off the backing and stuck them onto the canvas. Hope that makes sense 🙂
~Katie
Ah I see, thanks! I’m not in a place where I can afford a machine like that so I’ll have to find a different way to get the words on canvas.
Thank you!
This is the most amazing blog! I hope you two plan on a very successful career. I would also like to thank you for your very informative tutorials. You have answered some of my questions. Merry Christmas! donna
Beautiful and inspirational! Thanks for the share.