UPDATE: All new featured RV tours will be posted on my other website, Wanderful RV Interiors. Existing tours will slowly be moved to the new website, and anything already moved will automatically redirect.
Disclaimer: This post may contain affiliate links, meaning, if you click through and make a purchase we (or those featured in this post) may earn a commission at no additional cost to you. View our full-disclosure here.
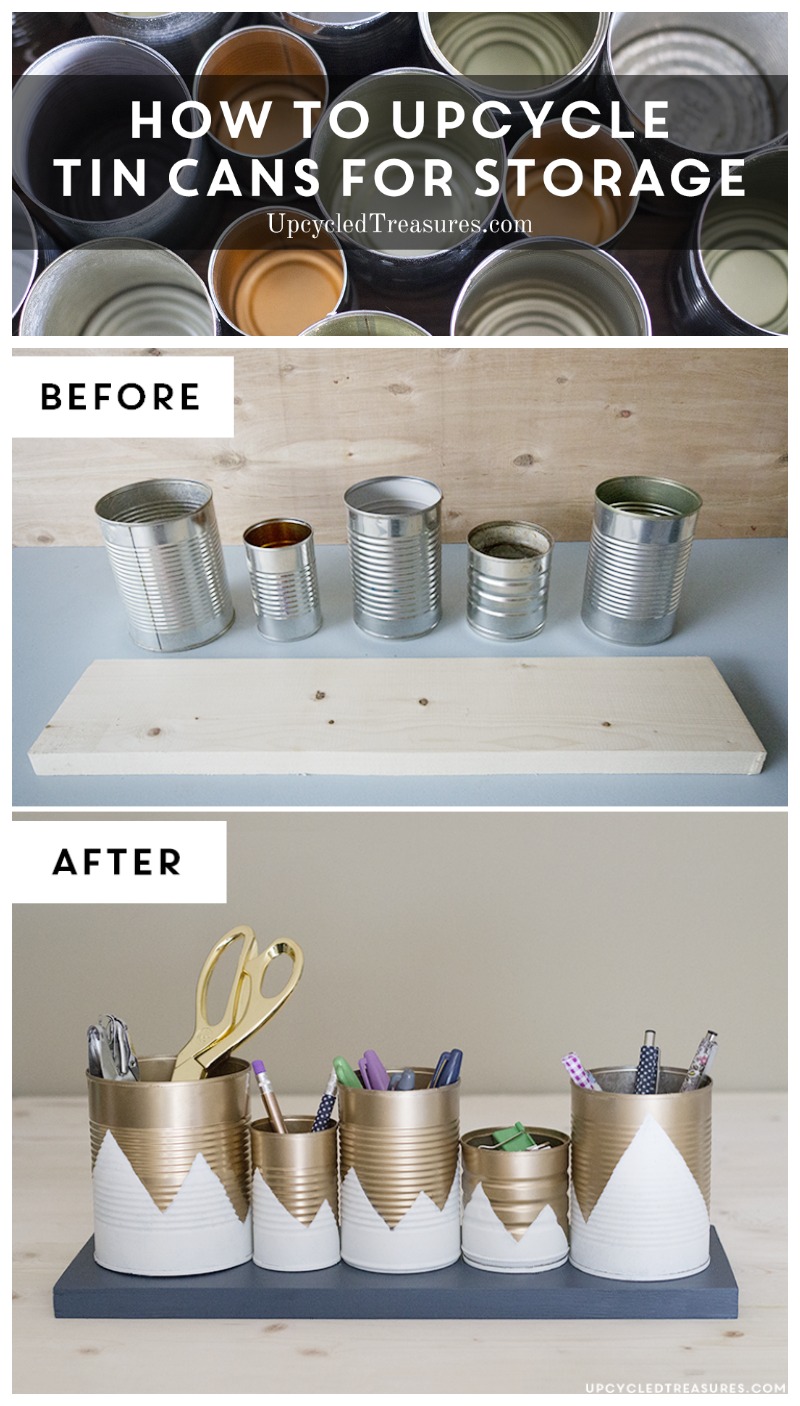
Upcycled Tin Can Organizer
I have a true confession. I’m a hoarder of tin cans. The worst part? I haven’t done anything with them…. well until now. I’ve been wanting to create some easy {and free} storage organizers for a while, and after building our new copper pipe desk I figured it was about time I made a new organizer to go on it. I guess building a new desk was just the motivation I needed.
You can create some great organizers with tin cans and customize them to be different lengths, using a variety of can sizes and even place them vertically or horizontally on wood. I’m gonna warn you now that you may see more of these babies popping up in other spots of our home.
Tin Cans
Piece of Scrap Wood
Paint
Small foam or detail Brush {if using anything other than spray paint}
I worked on this project late at night for the most part so some photos are lacking, but it’s a pretty straight forward project so hopefully, the photos will do most of the talking.
Step 1:
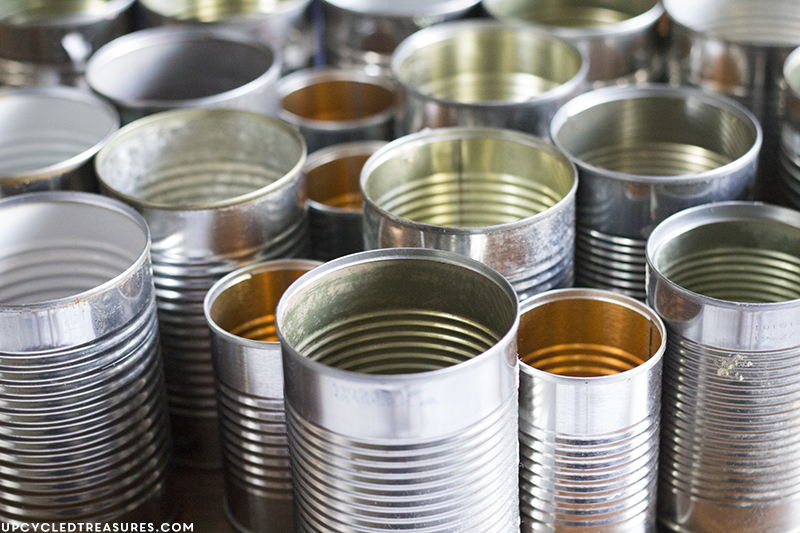
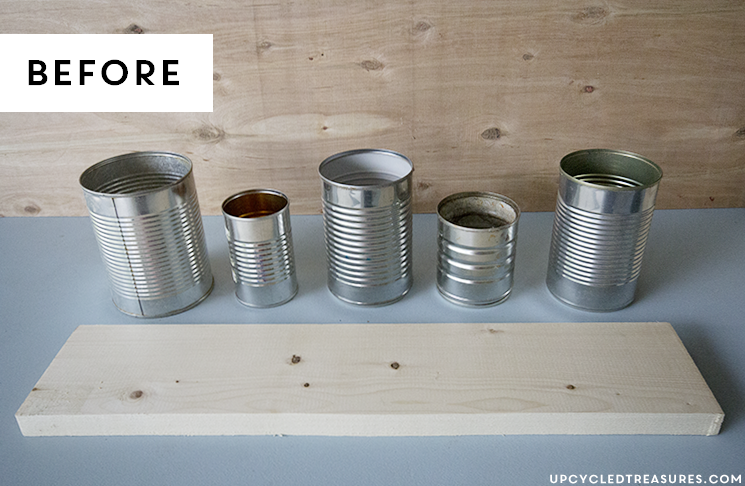
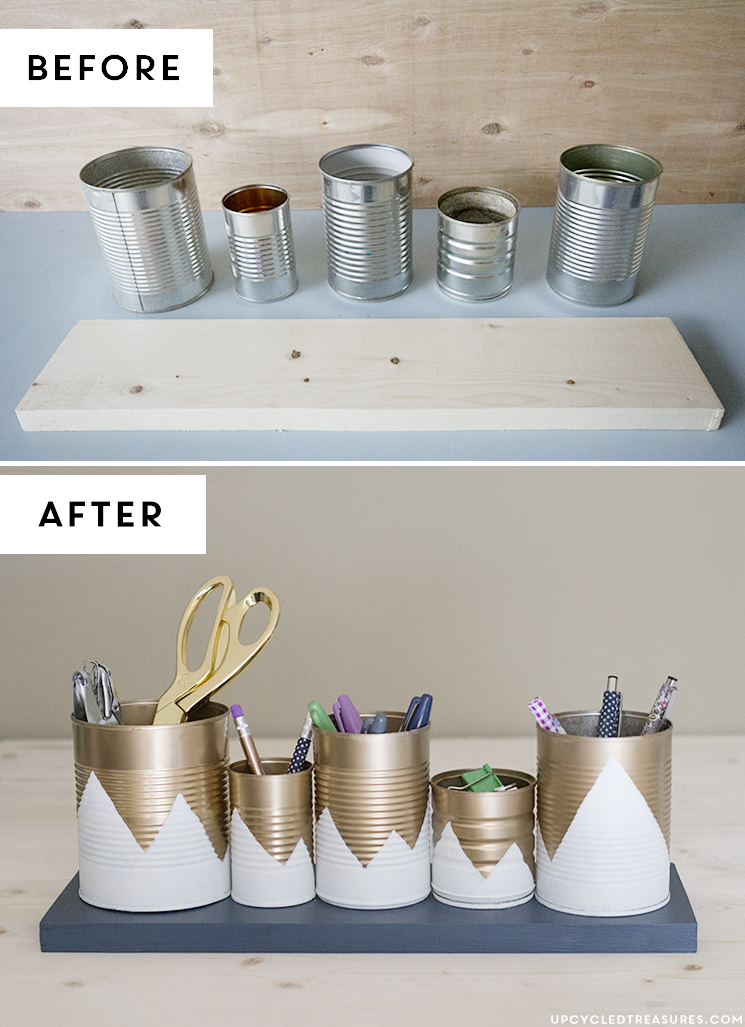
The first thing you will want to do is gather up some tin cans and a piece of scrap wood. We have TONS of scrap wood lying around our garage, but you can also buy scrap wood at Home Depot.
Step 2:
Clean the tin cans. We clean the cans before I put them in a bin to be hoarded saved for later, but I gave them another good scrub before I went on to paint them.
Step 3.
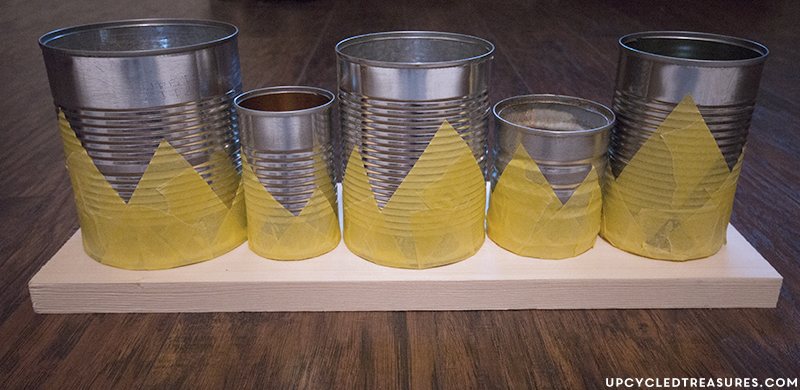
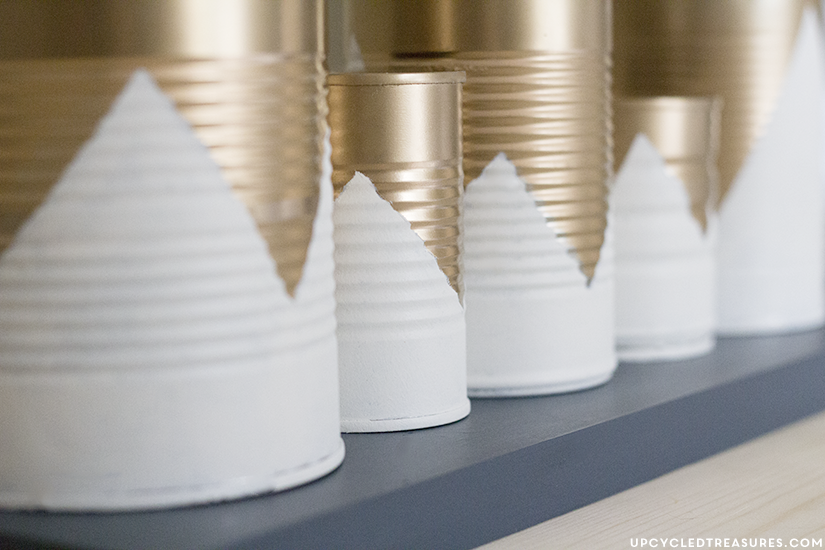
Tape off a design you want on the cans. I wanted triangles/abstract mountains so I made some triangle shapes with some Frog Tape I had on hand.
Step 4:
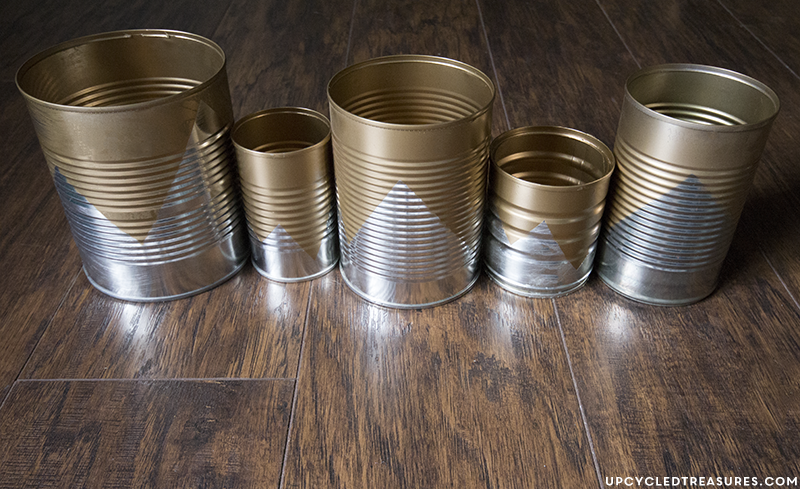
Spray paint or hand paint the cans. I used gold spray paint. I wasn’t sure if I would want to paint the taped off parts white or keep them silver, so I waited to see how the gold looked against the silver before making a decision.
Step 5:
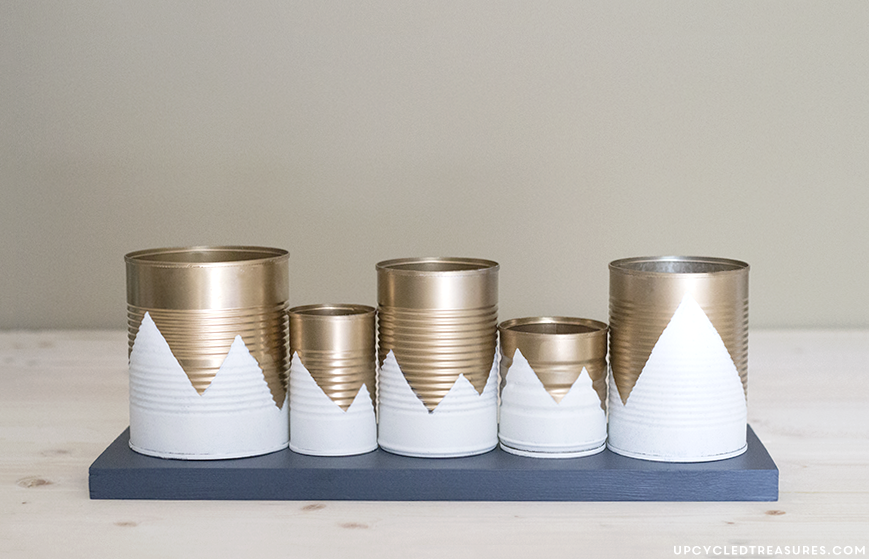
Once the paint is dry remove your tape. You can now decide if you want to keep the previously taped off sections as is, or paint them a different color. My gold paint turned out a bit more bronze on the silver and although I liked it, I felt like the can lacked contrast so I painted the bottom of the cans with some white paint using a foam brush.
Step 6:
Paint or stain your piece of scrap wood. I used navy paint I previously mixed up.
Step 7:
Once the paint is dry you can spray a clear sealer on the cans and piece of scrap wood to prevent the paint from chipping.
Step 8:
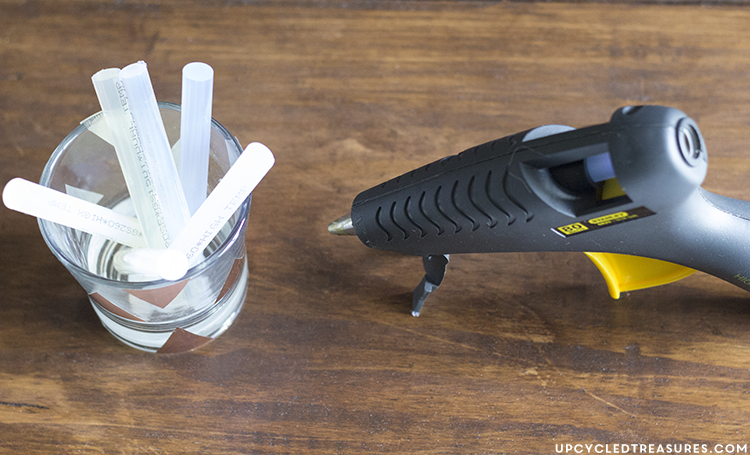
Use your glue gun to attach the cans to the wood. I used the glue gun because it’s quick and easy, and there was no waiting for the glue to dry. I’m impatient so the glue gun is my BFF.
Step 9:
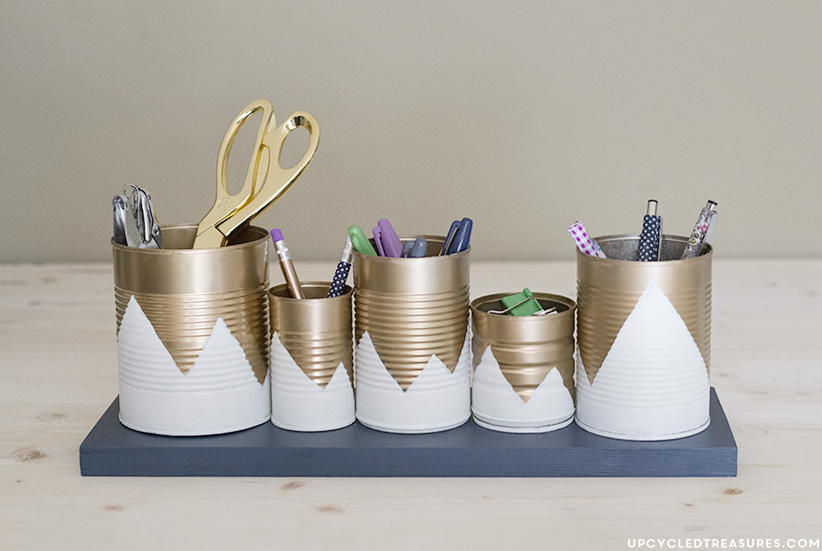
Organize your items into the cans and admire your new upcycled storage!
I have to admit that I actually painted the scrap wood a couple of different colors before settling on blue. I didn’t get any photos in between but will say that I LOVE the color combination now.
Not too shabby for a project that cost $0 {woo-hoo!} and that will hopefully help me stay a bit more organized. I think upcycled tin can organizer looks awesome on our new desk too.
I have seriously shaky hands so my lines aren’t perfect, but that just makes it look more organic, right?
Have you upcycled tin cans for home decor or storage projects?


Love those $0 projects. And I love how this also has a hint of your blog logo… so clever you are!
I just featured this beauty at our link party this morning. Be sure to stop by and grab a feature button.
http://www.delineateyourdwelling.com/2014/09/link-it-or-lump-it-party-56.html
I am very impressed by this great upcycle! I am a container hoarder. I started when I was about twelve years old. So glad to see I’m not the only one.
I love your triangle mountains! And please, don’t tempt me to hoard tin cans amongst all the glass jars hiding in my cabinets 🙂
Lol Melissa. Yeah, I have jars and tin cans a plenty. I’m actually to the point where I am recycling cans again because I have soooo many already for projects. I don’t think a girl can ever have too many glass jars though either 🙂
Oh no! I already hoard a bunch of stuff & now I’m going to add cans to my list…lol. Love the project and I can totally see myself making one of these.
Luckily they don’t take up too much space, haha. Can’t wait to see what you make!
I’ve just started working on carving out a little office space for myself and this gives me some wonderful inspiration for projects for that area! Thanks for sharing!
I love the color combination you settled on in the end! Love the shapes of the mountains, too… just love the whole dang thing! Very cool.
I am loving this!! I think I’ll go open some peas so I can get started on collecting tin cans and make one for myself. I especially love the gold paint and white contrast. Great job and idea!
Super cute! Also, just wanted to say that you do an awesome job with your Pinterest-pretty collages! Seriously, I need to take notes!
not too shabby at all! I love that it’s stuff found in the kitchen.
Dang it, I had a similar vision for tin cans!! Haha great minds- love how yours turned out!
Do you need to be aware that some can openers take the beading off the top of the tin?
In Australia we have an opener called MagiCan which leaves a sharp edge on the can, and the beaded edge on the lid.