UPDATE: All new featured RV tours will be posted on my other website, Wanderful RV Interiors. Existing tours will slowly be moved to the new website, and anything already moved will automatically redirect.
Disclaimer: This post may contain affiliate links, meaning, if you click through and make a purchase we (or those featured in this post) may earn a commission at no additional cost to you. View our full-disclosure here.
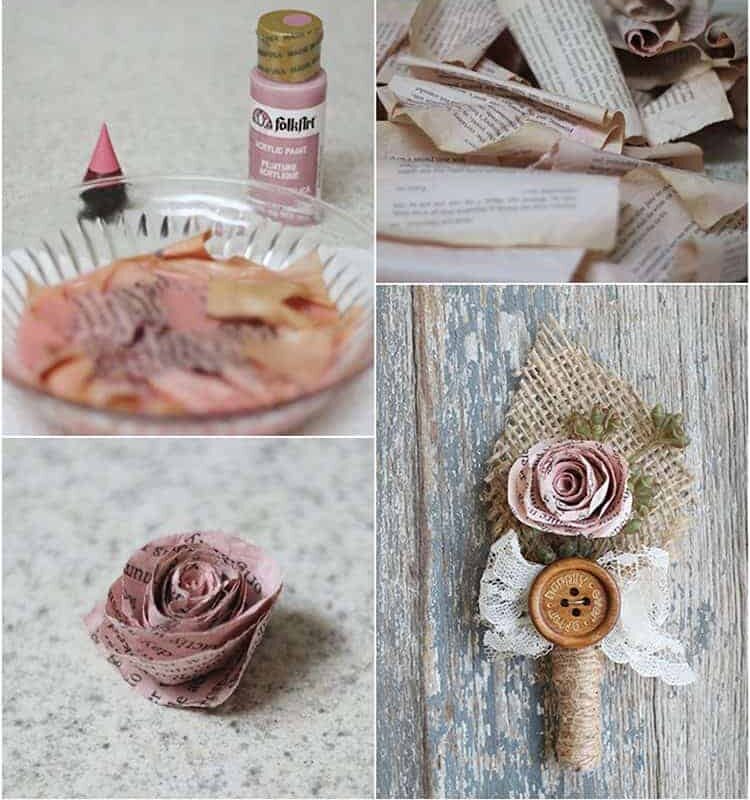
Do you plan on making your own boutonnieres and if so do you know if you will be using real flowers? If not, paper flowers are a great alternative, which is why I am sharing how to make book page flowers for Boutonnieres. These paper flowers are perfect for a rustic, vintage or romantic inspired wedding.
I practiced making flowers out of various fabrics and paper and using different techniques, but these dyed book page flowers were not only super easy, but my absolute favorite!
How to Make Book Page Flowers for Boutonnieres
Materials Needed for Dyed Book Page Flowers:
- Book pages – I used an old book that was rescued from it’s dumpster destination
- Food Dye/paint – I used a mixture of watered down pink food dye and rose colored acrylic paint, but you could use several different options such as watercolor paint, fabric dye, or even kool-aid.
- Bowl/container – I just used an old bowl from the dollar store
- Paper Towels
- Glue Gun/Glue Sticks
- Dryer {optional}
- Pencil
- Scissors
Step 1:
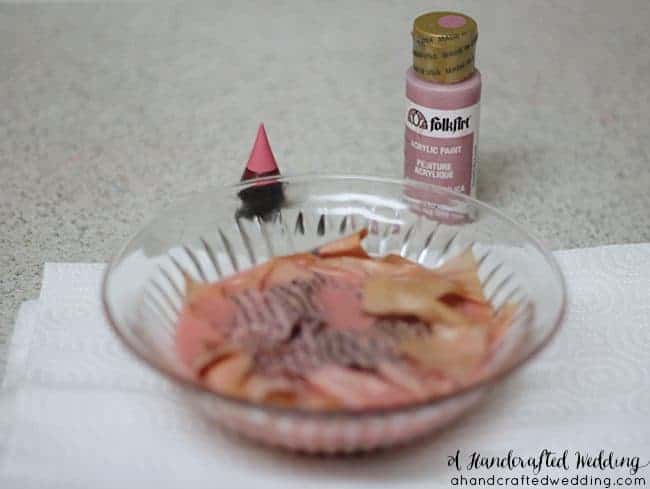
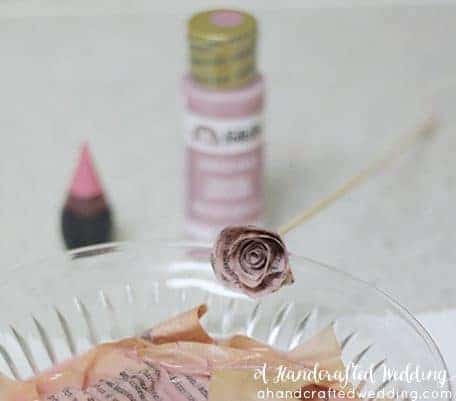
The first thing I did was mix together a few drops of food dye with some water and a little bit of rose colored acrylic paint. You will want to play around your paint/dye until you achieve the color you want. I placed the bowl on a couple paper towels.
Step 2:
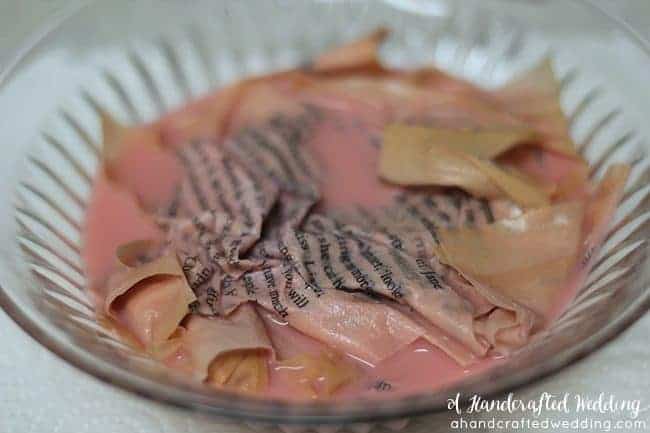
Tear out some book pages and place them inside the bowl. I tested out a page at a time at first and left some in for longer than others. I eventually wound up placing about 5 pages at a time into my bowl and let it sit for about 5-10 minutes. Of course this will vary depending on the color you want. I was looking to achieve a dusty-rose color.
Step 3:
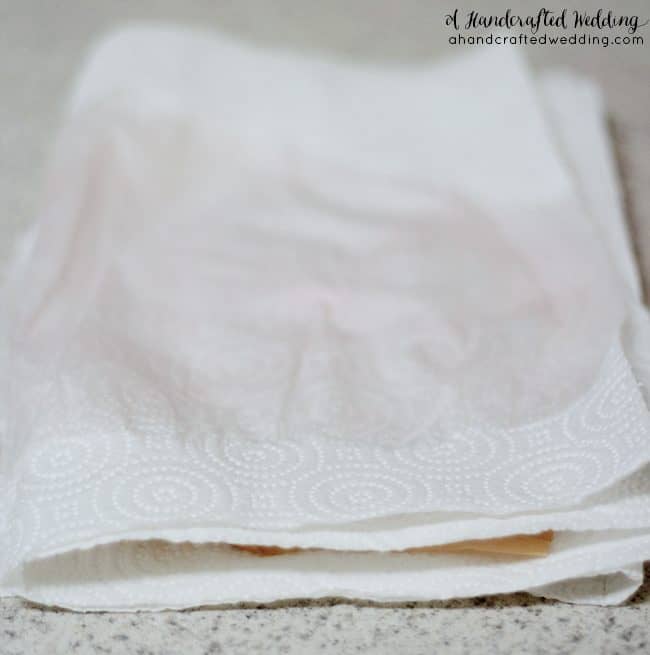
Remove the book pages from the bowl and place them on a stack of paper towels. Place more paper towels on top so that the book pages are sandwiched in between the paper towels and press down to remove excess water.
Step 4:
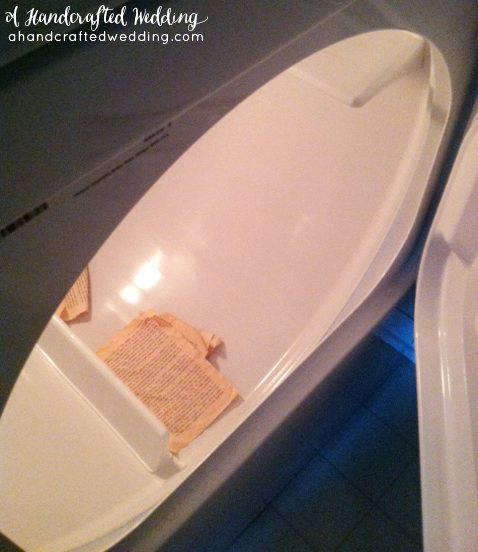
If it’s sunny outside you could place your pages on a paper towel outside to dry. It was night time when I did this and let’s face it, I’m impatient. I put my sheets into the dryer on the lowest setting for 10 minutes. This is the same way I dried our dyed coffee filter garland {which I will post on the blog soon}. It didn’t stain my dryer or anything but I guess you should do this at your own risk and just make sure to keep an eye on the pages.
Step 5:
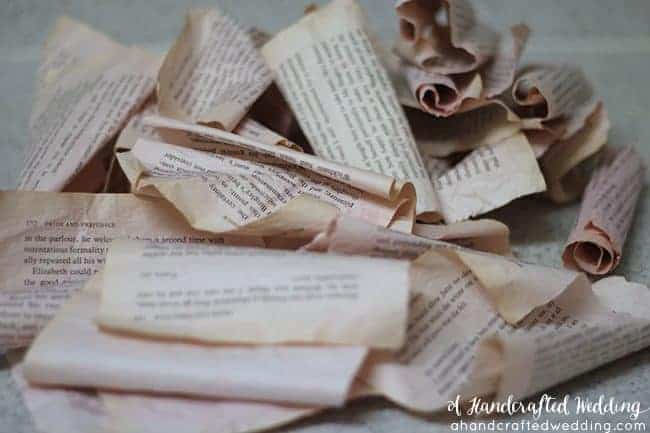
Once your book pages are dry remove them from the dryer {or from outside}.
Step 6:
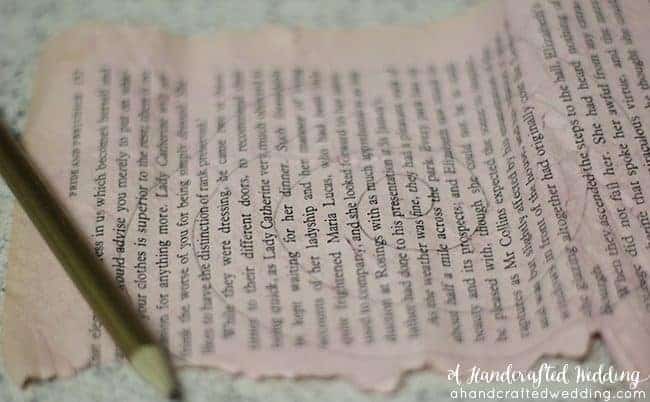
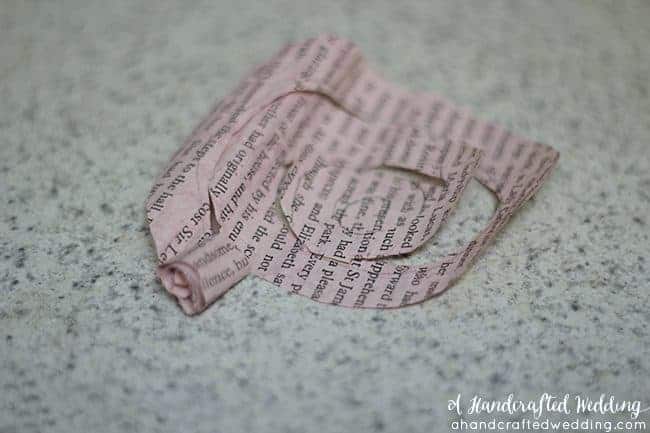
Take your pencil and draw a spiral shape onto the book page, and keep in mind that it doesn’t need to be perfect. If you feel confident cutting this shape out without drawing it first you can skip this step.
Step 7:
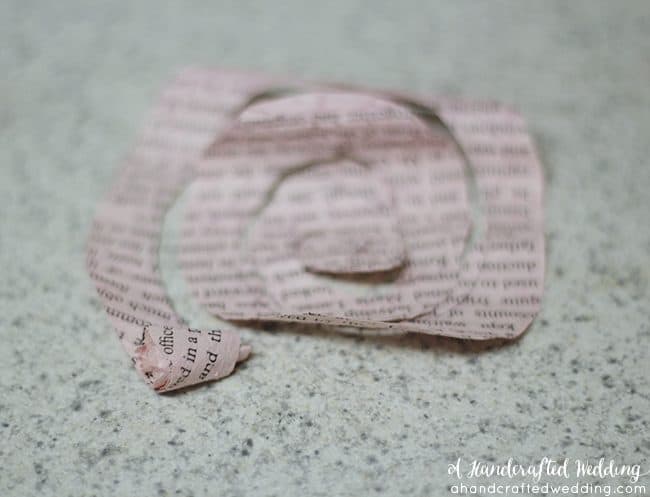
Cut your spiral shape out.
Step 8:
Starting at the edge, begin rolling the page inwards – you will not be gluing anything yet and you will want the first couple rolls to be tight {the center of the rose} but after that you will want to be loose with it.
Step 9:
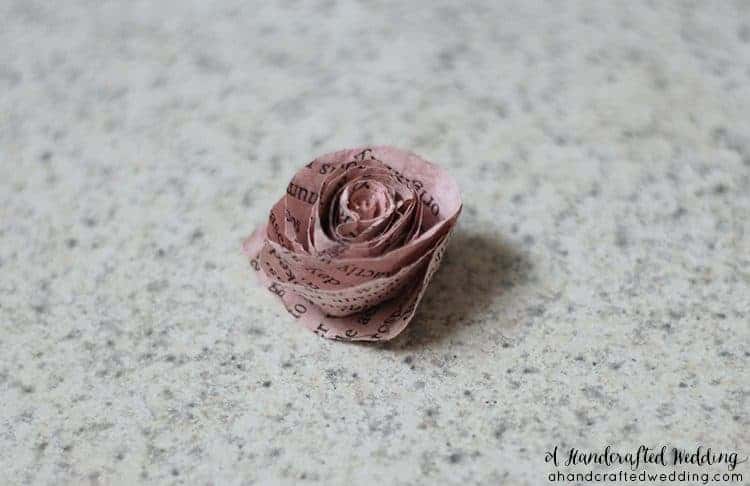
When you are finished rolling the flower you can let it unravel so that it gets into it’s natural shape. Here is mine – still no glue yet.
Step 10:
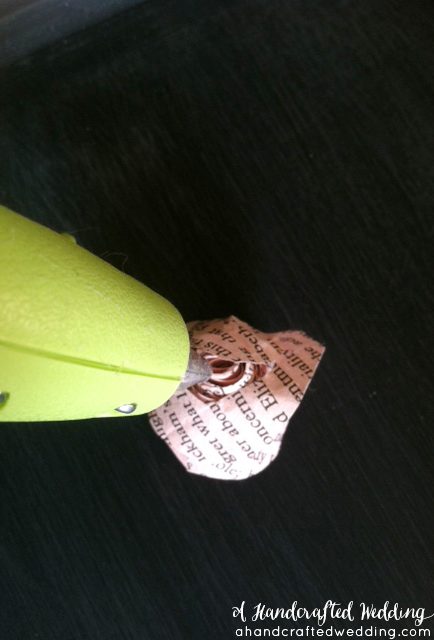
Flip your flower upside down and add some glue to the bottom or rounded edge and then press the spirals into it. You can then go around and add glue wherever else you would like.
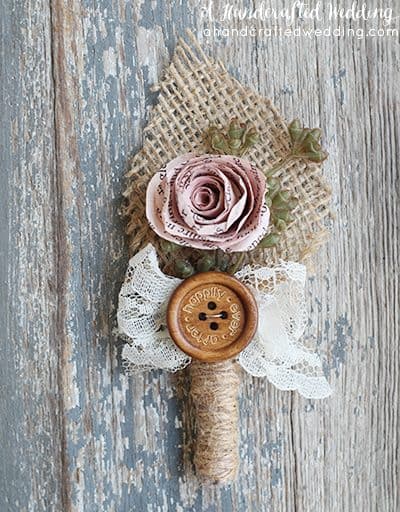
That’s it! This is what my dyed book page rosette looks like on our DIY boutonnieres.
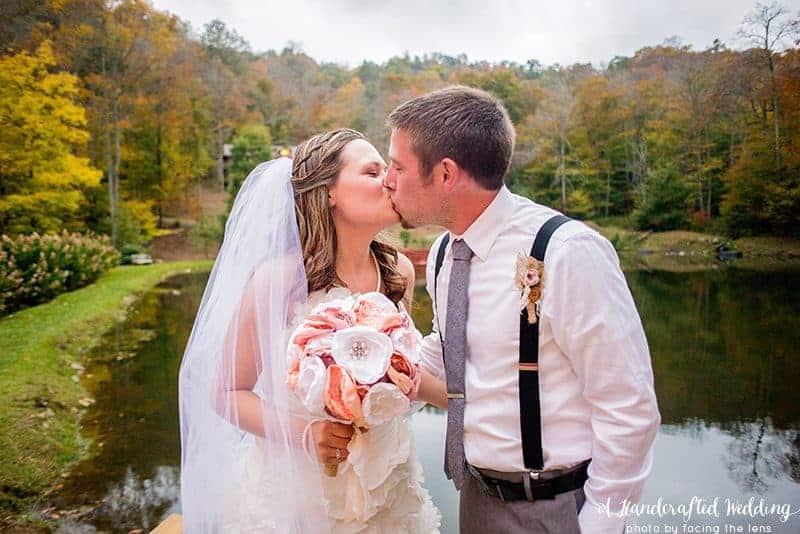
Here’s a photo of my husband wearing it on our wedding day.
Will you be making your own boutonnieres and if so do you plan to use real flowers or some sort of alternative?


My future daughter-in-law LOVES this & I’ll be recreating it for her wedding! Can you tell me where I’d purchase the Happily-ever-after button?!
Hi Darcey, I purchased the buttons from Pick Your Plum when they had a super awesome deal on personalized buttons. I had “happily ever after” engraved on them since that was an option they had available at the time.
Unfortunately, it’s not an ongoing deal so you you can keep an eye out, but you can also search Etsy or Google for “engraved buttons” or something similar. Hope that helps!
~Katie
Thanks Katie! I did search Etsy & we’re on our way to Happily Ever After!
Thanks for sharing… you are an inspiration!!! Darcey
Such an amazingly cute and affordable idea!! I love it and will definitely be doing it for my wedding!
so creative, i like this rose, thank”s to share tutorial i’ll make it :