
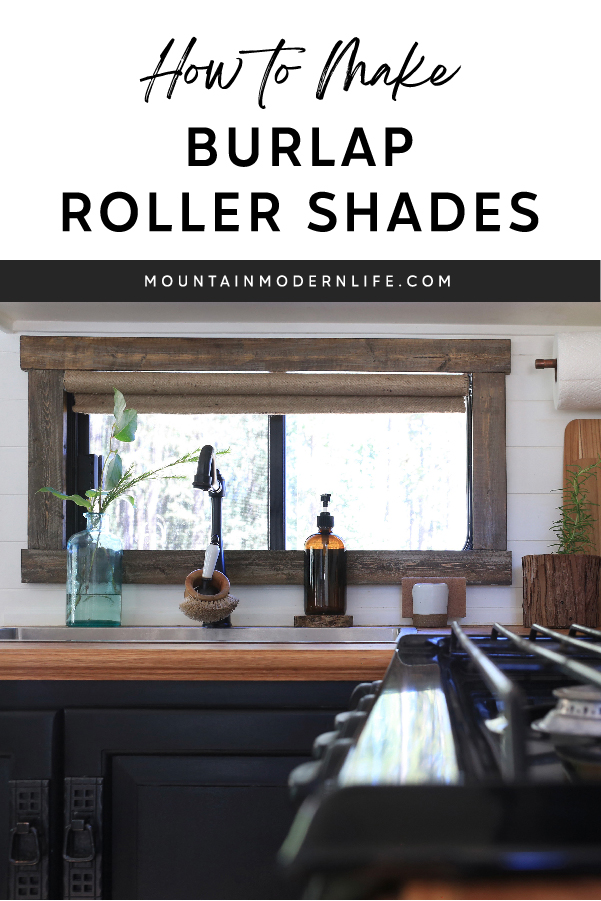
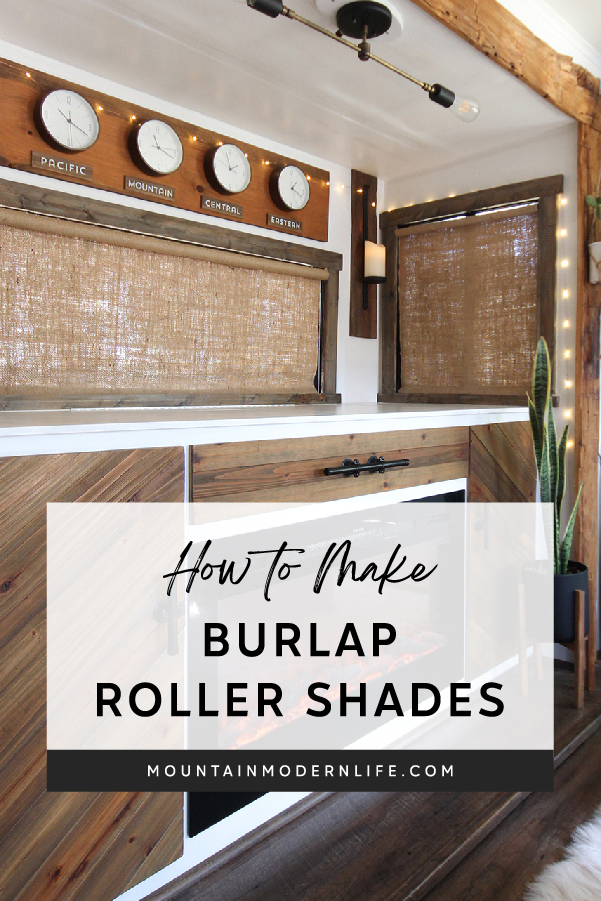
How to Make Burlap Roller Shades
Disclaimer: This post may contain affiliate links, meaning, if you click through and make a purchase we (or those featured in this post) may earn a commission at no additional cost to you. View our full-disclosure here.
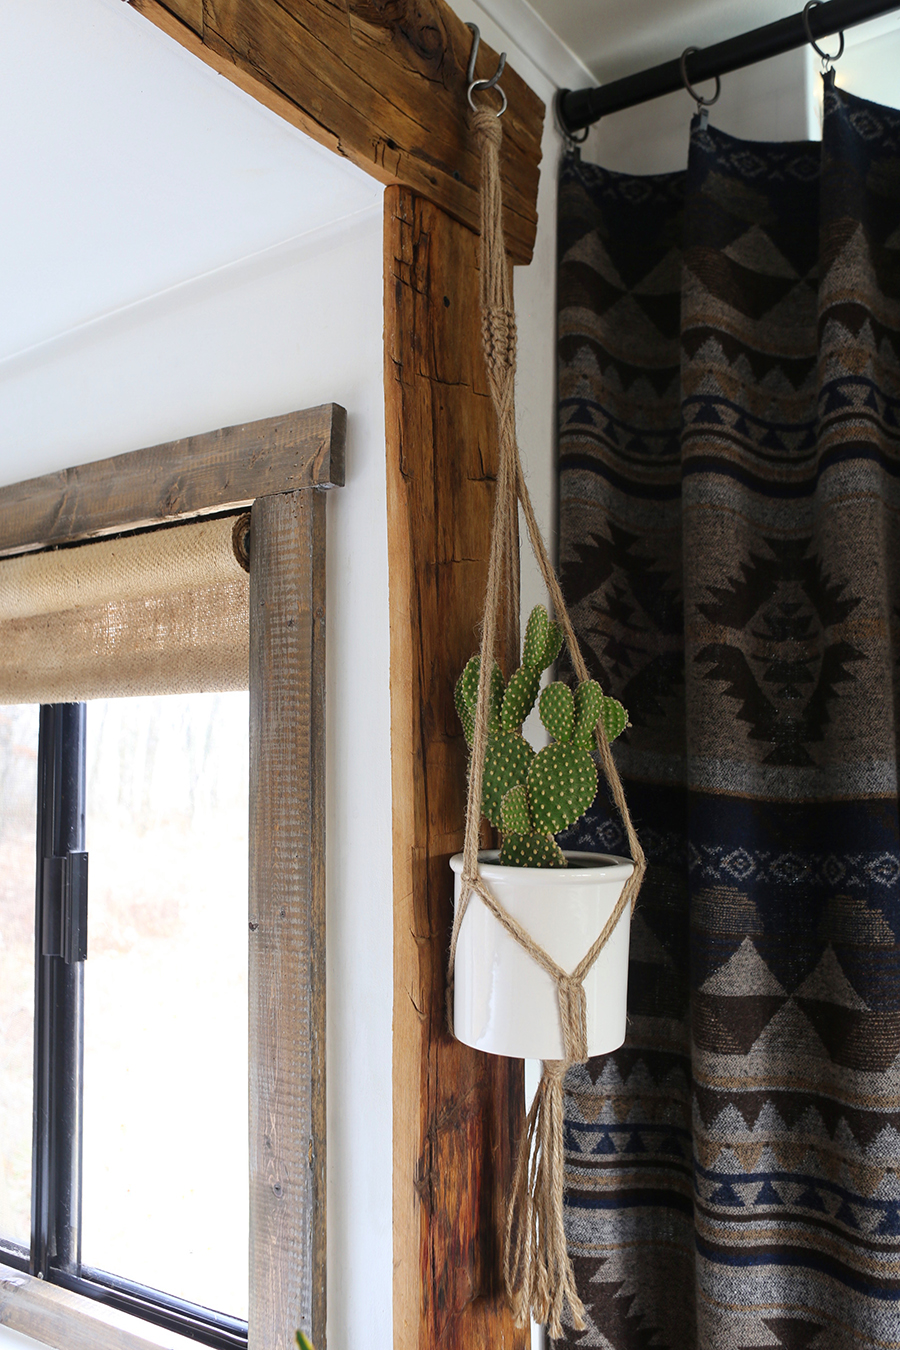
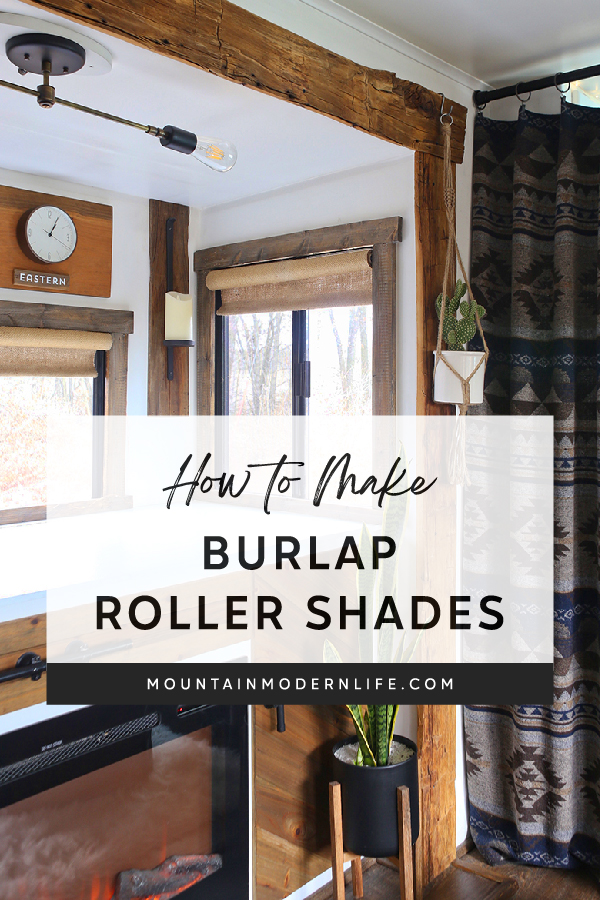
Nothing beats natural light, inspiring views, and our pet’s very own version of television. I’m talking about windows, and if you have a camper, or are thinking about purchasing one, chances are you’ve daydreamed of the changing views you’ll experience from inside your tiny home.
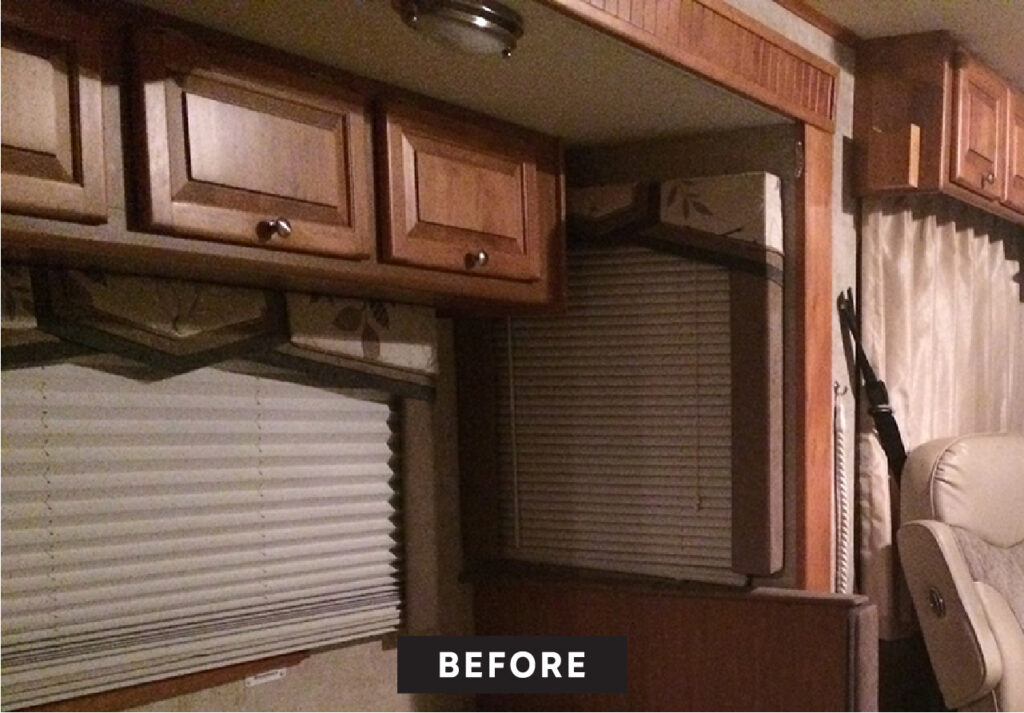
With that said, I’m sure you love your privacy, which means you’ll need a way to cover those windows. The original window shades and curtains that came with our RV left much to be desired…
After some trial and error, I’ve figured out a super simple way to make burlap roller shades. This can be especially cost-effective if you have multiple windows to cover.
The key is using quality roller shade mechanisms meant for heavier material.
Backstory
Just to give you a little bit of a backstory, when Eric and I first started renovating our RV I was really excited to frame out our RV windows, but unfortunately it was just one of those projects we didn’t get to until after we hit the road. Luckily, we found some vinyl roller shades you can cut down to size in the store, so that’s what we did literally on our way out of town.
I think the shades cost around $7-$20 each which was really great because we needed to cover seven or eight windows. It was really budget friendly but then again you get what you pay for.
The vinyl shades did their job and when they were rolled up you really couldn’t see them. They pretty much just disappeared into the ceiling or the wall, but it was when they were rolled down that they looked really cheap. They even smelled like beach balls for a couple of weeks which was really funny. If you’re looking for a quick, easy, and cheap way to cover your windows they may be just what you need, and you can read more about our experience with them over on this post.
Over time they started to show some major wear and tear, especially in the hallway where Kobe, one of our cats, had fun batting them around. As you may know, we eventually framed out our windows and once that was done I knew it was time to give our shades an update. Luckily all that entailed was taking the old fabric off of the spring roller mechanism and adding my own fabric to it.
How to Make Burlap Roller Shades
Whether you have boring roller shades you want to repurpose or are looking for a budget-friendly solution, I hope this post will help guide you in the right direction.
This is a really simple project especially once you get into your rhythm anyone can do it. It doesn’t require any sewing (unless you want to) and it’s also really easy to customize with whatever fabric you want!
video: how to make burlap roller shades:
Supplies/Tools
Here are the supplies you’ll need to make your own burlap roller shades:
- Roller Shade mechanism
- Burlap (or whatever material you want) – I used this Burlap
- Measuring Tape/Chalk
- Yardstick
- Scissors
- Mod Podge/Brush or Fray Check
- Fabric Fusion Double-Sided Adhesive Tape
ordering Fabric Swatches
I highly recommend ordering fabric samples first because it will save you time, money, and headaches down the road. I’m definitely speaking from experience here because I let my impatience get the best of me. For this project I originally ordered some burlap on Amazon, but it didn’t provide as much privacy as we wanted. I wasn’t able to find the fabric I wanted locally so I ordered swatches from a couple different online fabric retailers before narrowing down my final choice.
Not all Burlap is Created Equal
Most burlap you find at garden supply or craft stores have a loose weave, and don’t provide much privacy. You still may want to go this route, but it wasn’t what we were looking for.
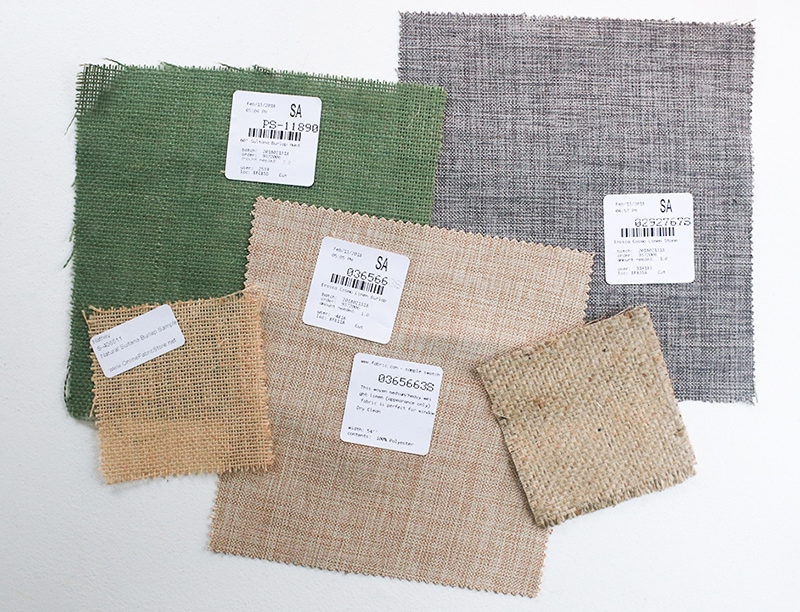
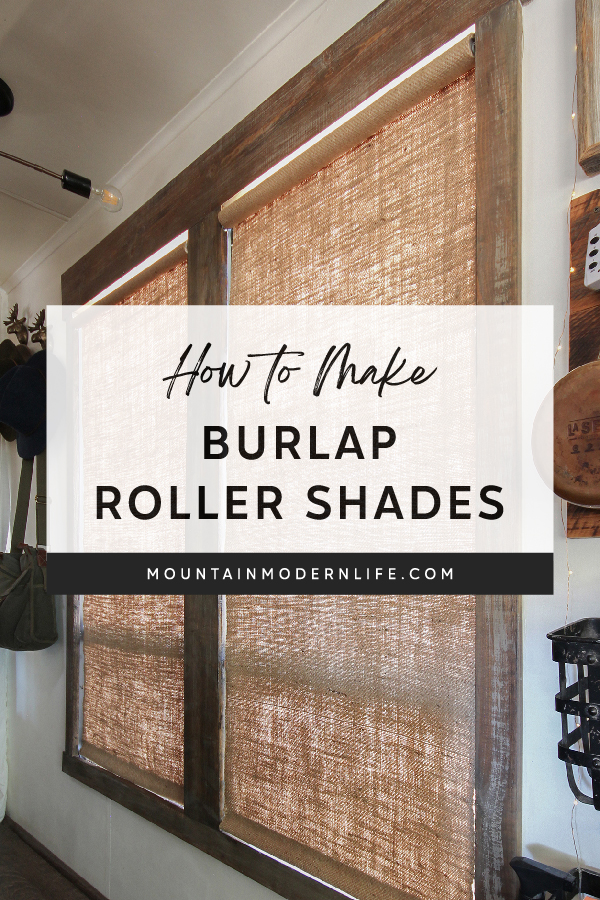
As you can see in the photo below, these are two different types of burlaps I ultimately considered using. The one on the left is called a Sultana Burlap which is a tighter weave than you can find at most craft stores, but it’s still light filtering.
The one on the right is considered a Sagless Burlap and as you can see it’s a much tighter weave, and is what we ended up going with. I also preferred the color and texture of the Sagless burlap.
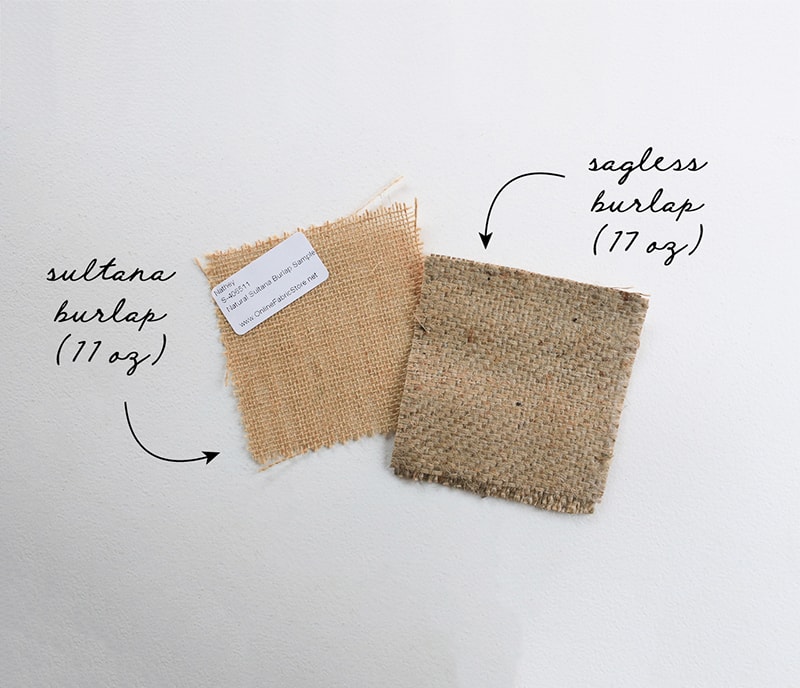
If you’re putting up curtains and a roller shade, or don’t need complete privacy then you may prefer the Sultana Burlap. Otherwise, I’d recommend going with either a more burlap-linen material or the Sagless burlap.
For those that are curious, I ordered 15 yards, which was more than enough for all of our RV windows and then some.
Step 1:
The first thing you’re going to want to do is to take your roller shade and remove the existing fabric from it.
Keep in mind that the quality of your new burlap shades will also depend on the quality of the roller shade you use. Burlap is a heavier fabric so I recommend using roller shades meant for thicker vinyl.
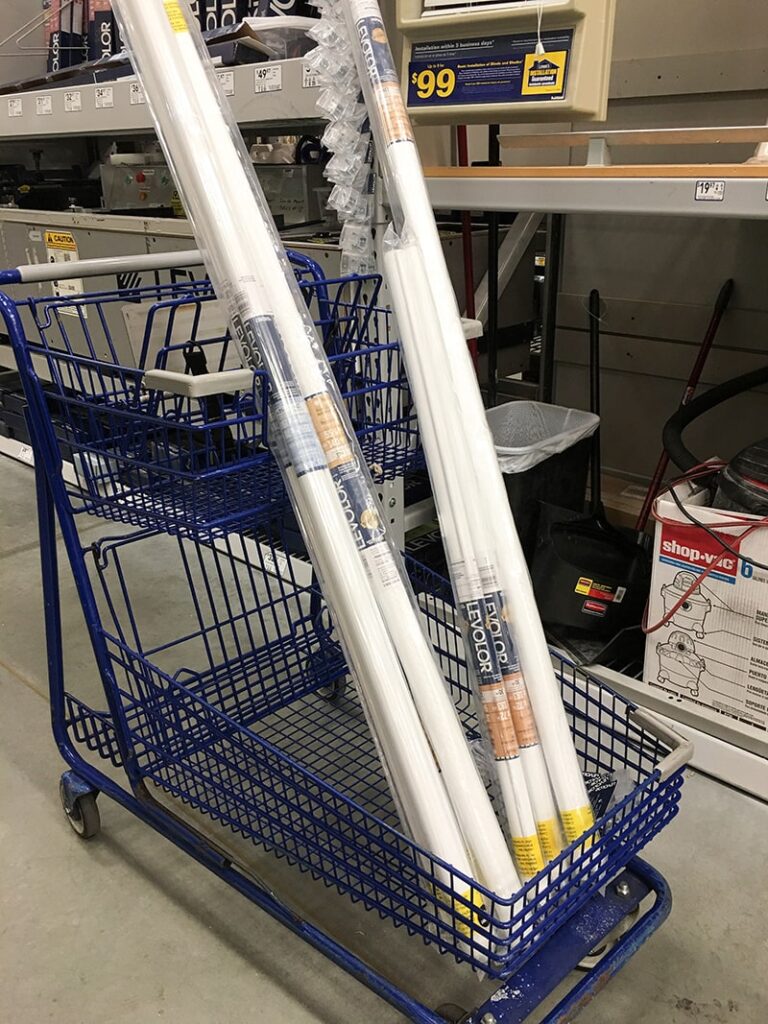
For this project, we repurposed our existing vinyl roller shades we had purchased from Lowe’s roughly two years ago, but if you don’t have roller shades on hand you can generally find them at your local hardware store, Ikea, or Amazon.
Don’t forget to remove the plastic or wooden bar from the bottom hem, and set it aside along with the spring mechanism.
Step 2:
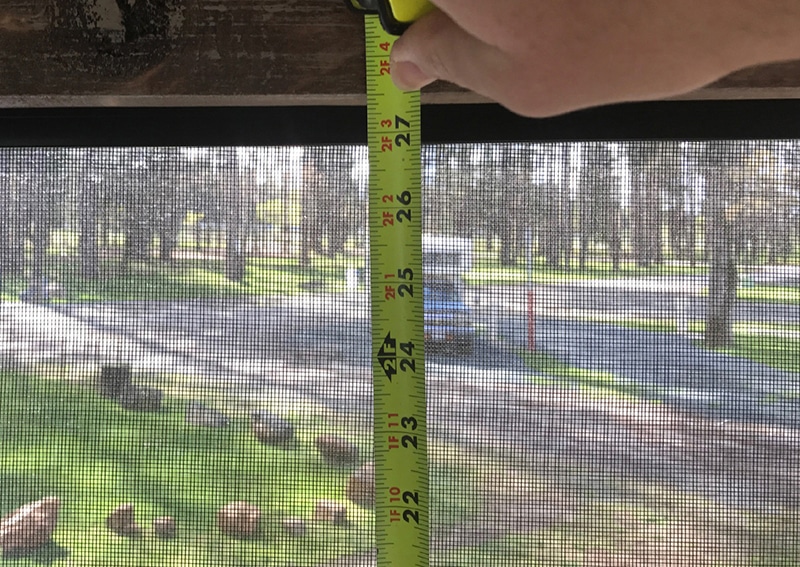
Next you’re going to measure your windows for the roller shades, depending on whether you plan to install them as an inside or outside mounted shade. If you’re unsure how to measure, you may wanna check out this reference guide from Levolor.
Step 3:
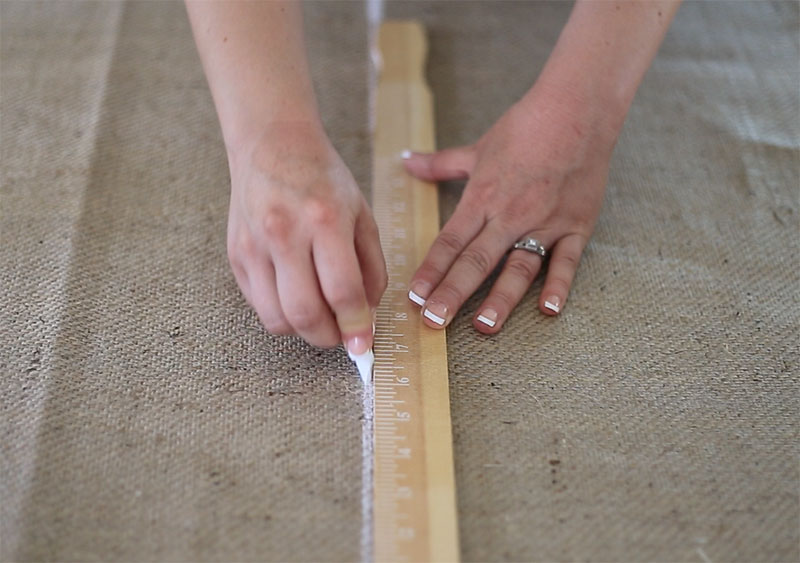
Mark the measurements on your burlap and cut it down to size.
Since our shades are inside-mounted I added 9 inches to the length of our shades to account for the bottom hem and space at the top to roll. I later only added 7 inches and that worked fine for ours, but it will depend on the dimensions you need.
You can generally follow the weave on burlap, but I was struggling with following the tighter weave and found it easier to mark my line with sharpened chalk.
I did measure an extra inch on both sides of the width so I would have a little bit more flexibility when cutting it down since we’re using inside mounted shades. If you’re doing an outside mount you’ll definitely have more flexibility with the width and the height of your actual fabric.
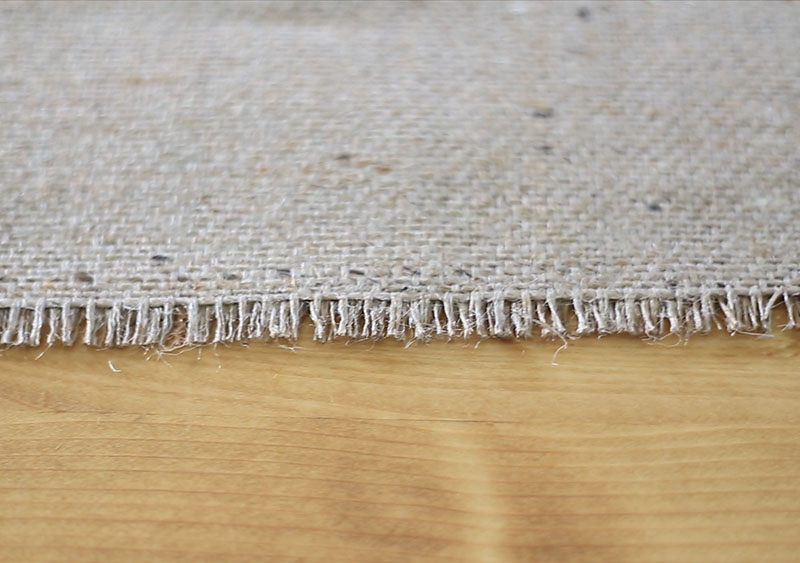
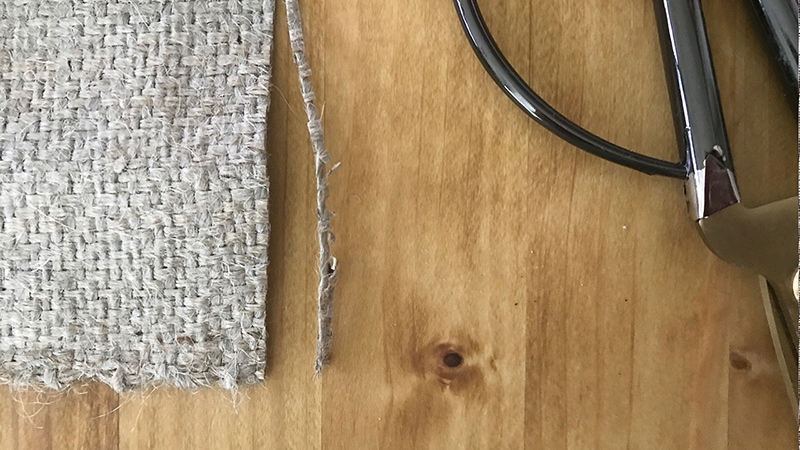
Keep in mind that burlap can fray pretty easily but the good news is that you can remove all of the loose thread and once you get one continual piece you’ll know that your edge is pretty straight.
Step 4:
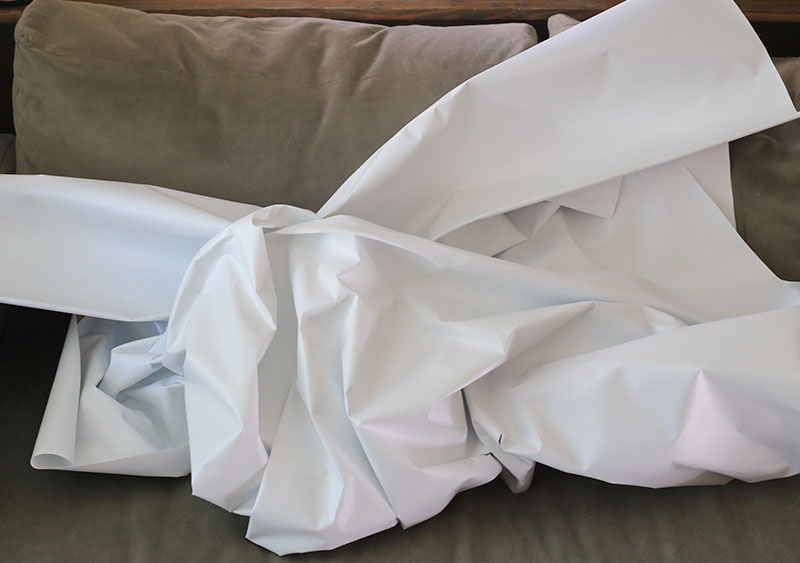
This is a good time to go ahead and steam or iron out your burlap fabric.
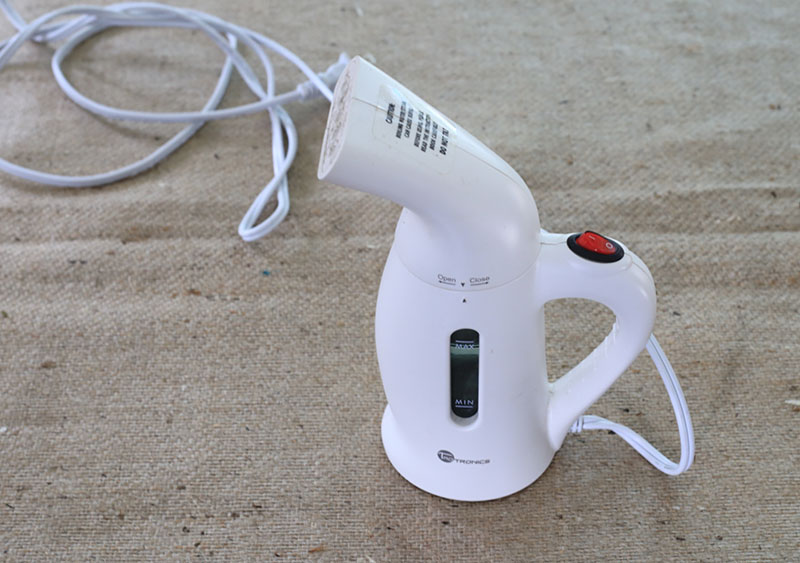
To be honest I did this a little bit later on with some of our shades but I think it’s a great idea to do it early just so you can avoid accidentally removing any of the adhesive from the fabric fusion tape or from the Mod Podge you’ll be adding later on.
If your fabric is extra wrinkly you may want to do this step before cutting to make sure your measurements are good.
Step 5:
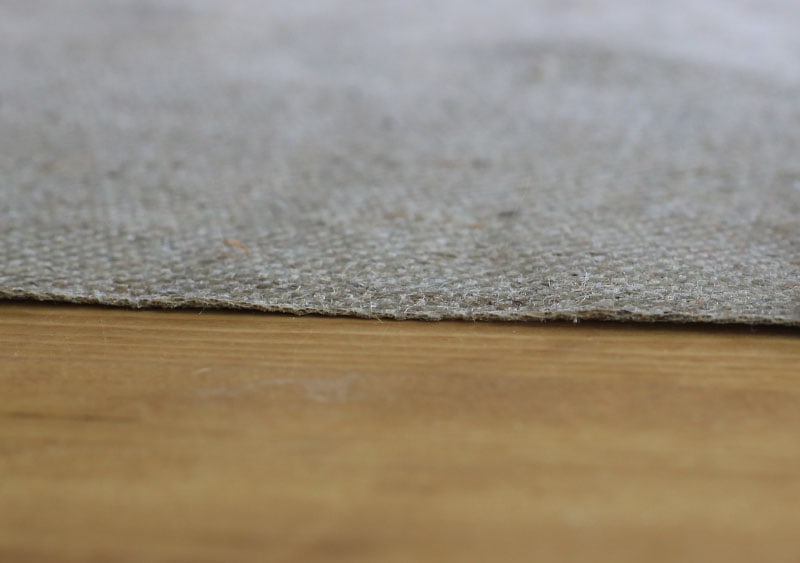
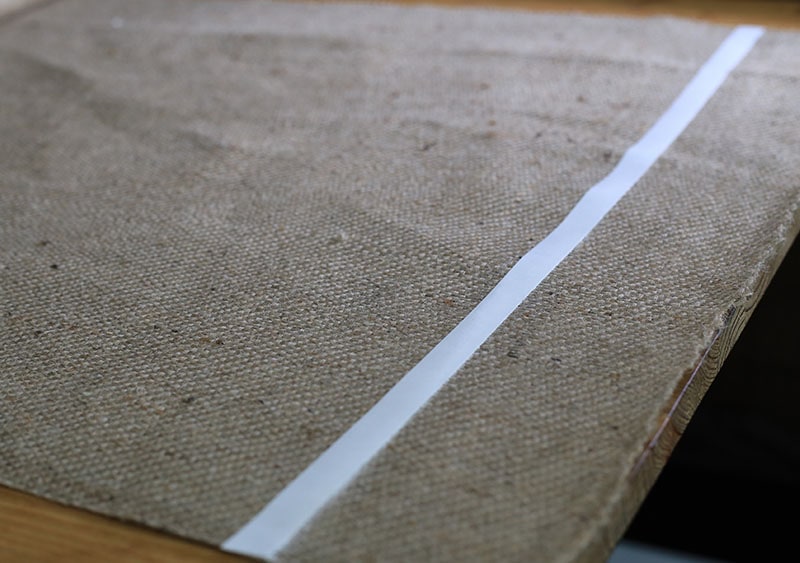
Seal the edges of the burlap to prevent fraying
The last thing you want is your burlap edges to unravel over time, especially if you have inside-mounted shades. You can use Fray Check along the edges of your fabric to prevent this from happening, but I found that painting Mod Podge was just as easy and much more cost-effective.
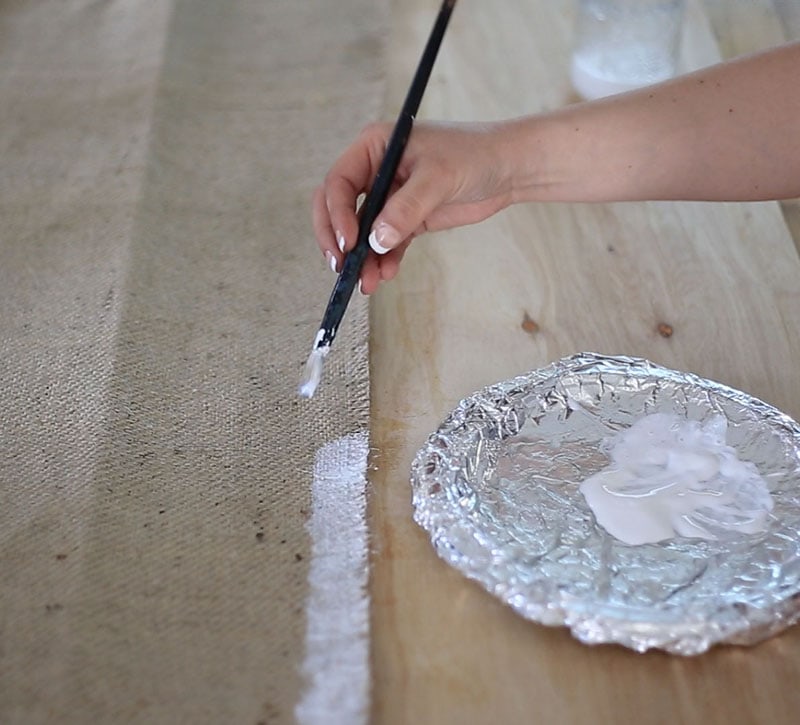
I painted about an inch along the edges of the fabric to give myself a bit more flexibility. This way I could cut the edges down more if necessary without having to repeat the Mod Podge process.
I generally only had to Mod Podge the sides of the fabric since I tried to make sure and use the manufactured hem on the bottom of our shades.
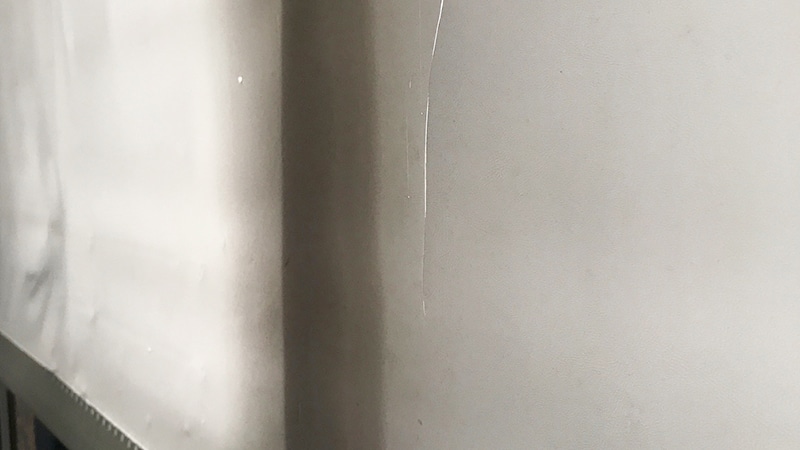
And don’t freak out because it will dry clear in about 15-25 minutes, as you can see in the photo below:
Step 6:
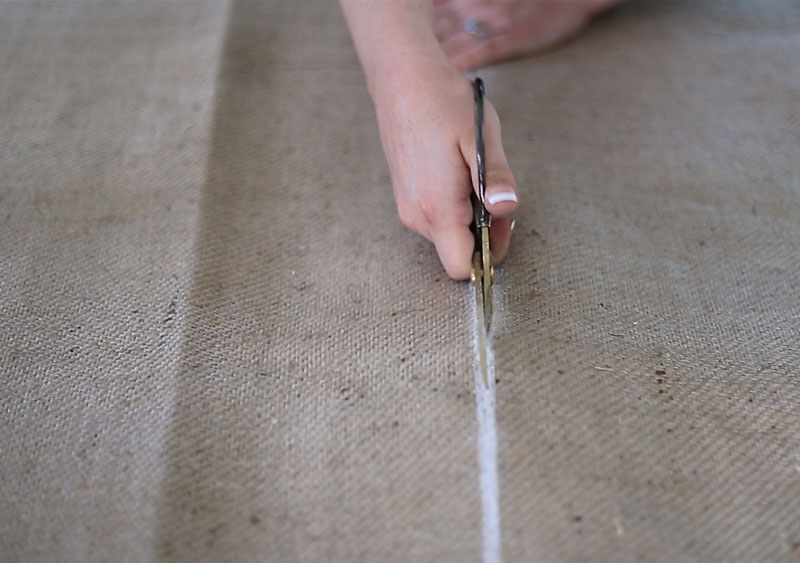
Cut the frayed edge of the burlap
Once the Mod Podge or the fray check has dried it will be a little stiff. This makes cutting the frayed edge and clean up super easy. You may want to keep that fringed edge and if you’re doing an outside mount I think it could work well.
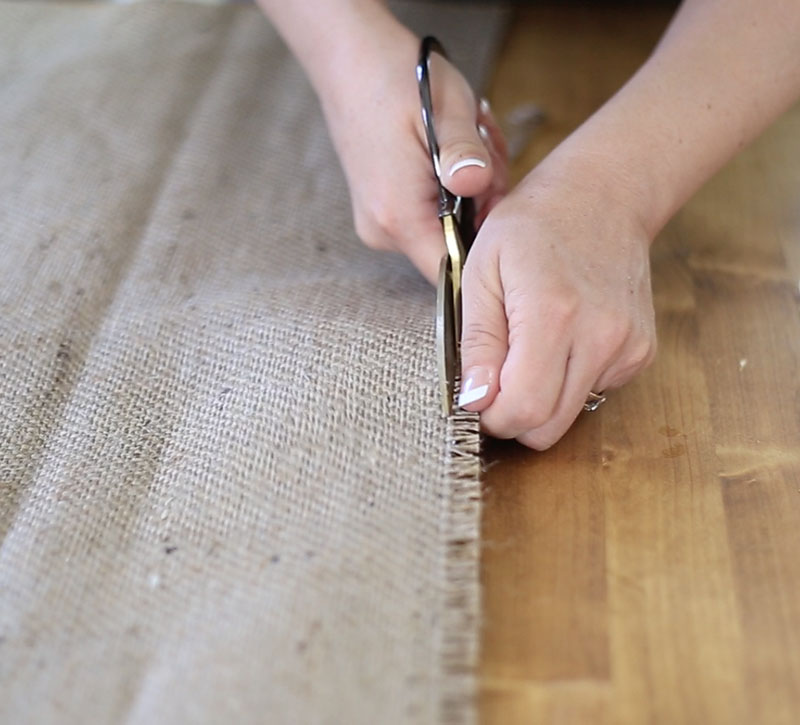
If you’re doing an inside-mounted shade it may become a little bit more of a struggle. I preferred the straight edge look but you may prefer the fringed edge, so that’s just something to keep in mind.
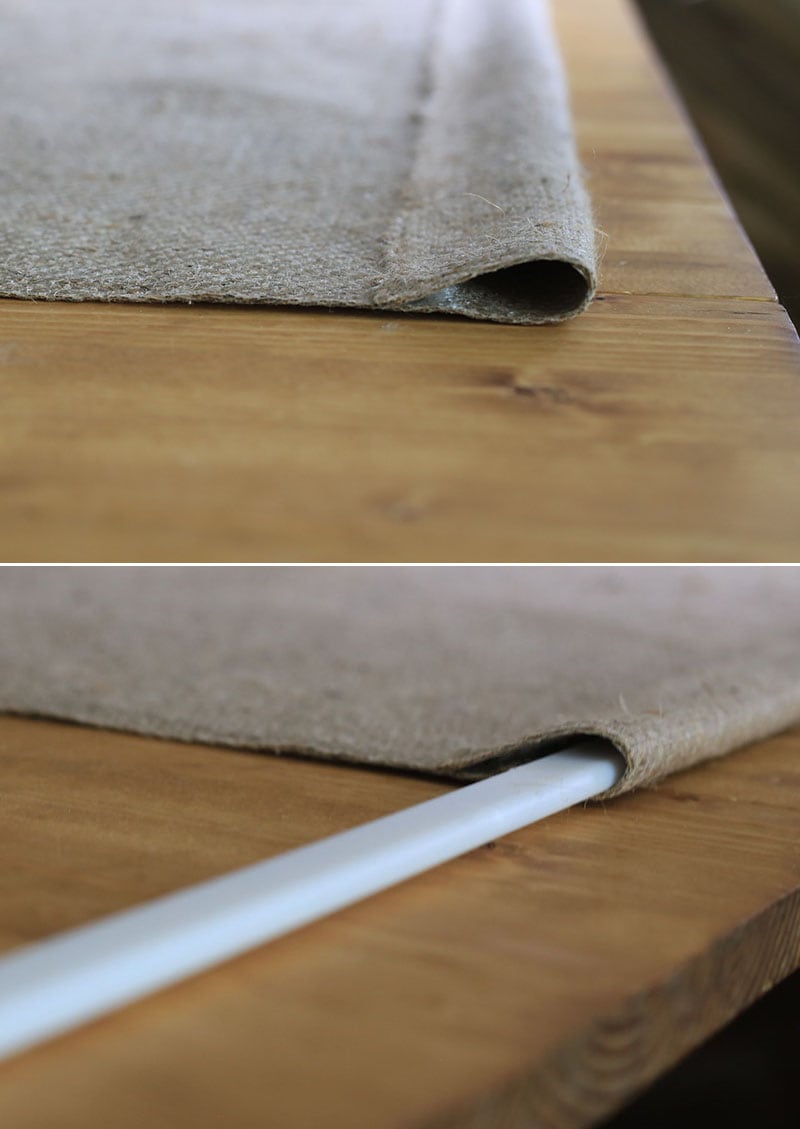
Step 7:
Attach the burlap to the spring mechanism using Fabric Fusion Adhesive Tape
You’ll just want to pay attention to the direction that the shades roll up as well as the ends if you already have your brackets installed.
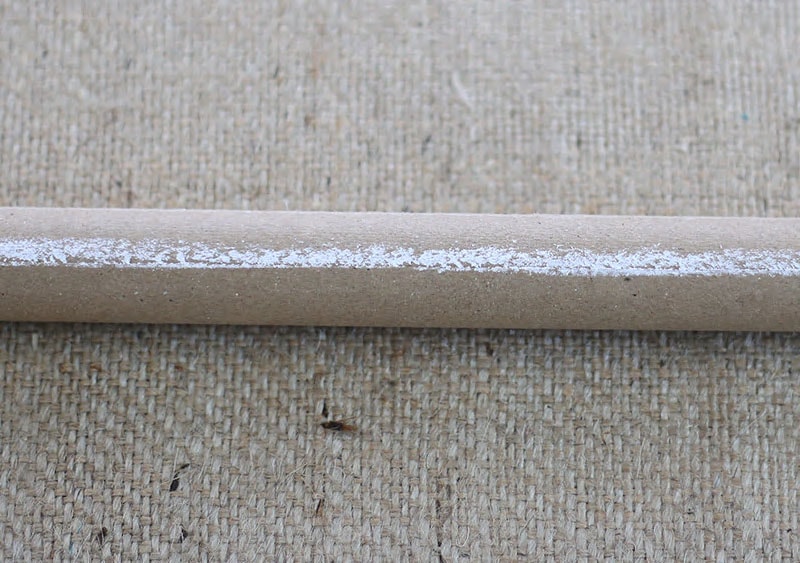
To make it easier, I took a piece of chalk and drew along the seam line of the spring mechanism just to make it easier to line up my tape and then my fabric. I used two strips of the Fabric Fusion tape just to make sure it held the fabric in place.
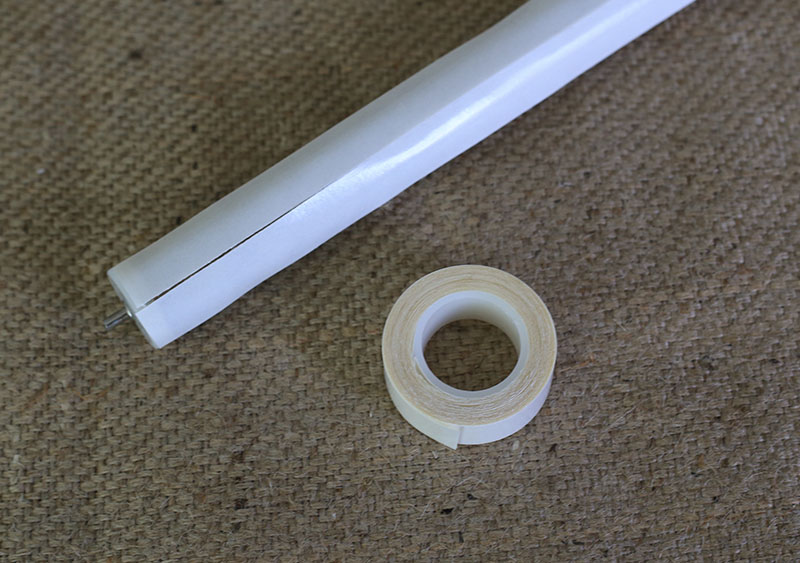
At one point I had run out of my Fabric Fusion tape and was feeling impatient so I just used masking tape to attach the burlap. It worked surprisingly well and you can’t see it, so that’s definitely an option if you run out of the fabric fusion tape or you’re just looking for something a little bit more cost-effective.
Whatever you use, you just want to make sure it’s going to be strong enough to hold the burlap in place.
With that said if you plan to do this project by yourself it may actually be easier to use the fabric fusion tape and I say that because when we did use the masking tape I really needed Eric’s help to hold the spring roller while I attached the fabric. It also looks much more professional even if you’re the only one that knows the masking tape is there. So that’s just something you may want to keep in mind.
Step 8:
Roll up shade and to test that everything looks good
Once your fabric is attached to the spring roller you can go ahead and start slowly rolling it up just to make sure everything is nice and even. If your brackets are already installed in the window you can even pop it up just to see how it looks and make sure that the width is good and if necessary you can cut a little bit extra off.
There were one or two instances where I had to do this and it was really simple, especially since I added the Mod Podge a little bit further into the fabric. I just recommend cutting one string at a time just so that you don’t over cut.
Step 9:
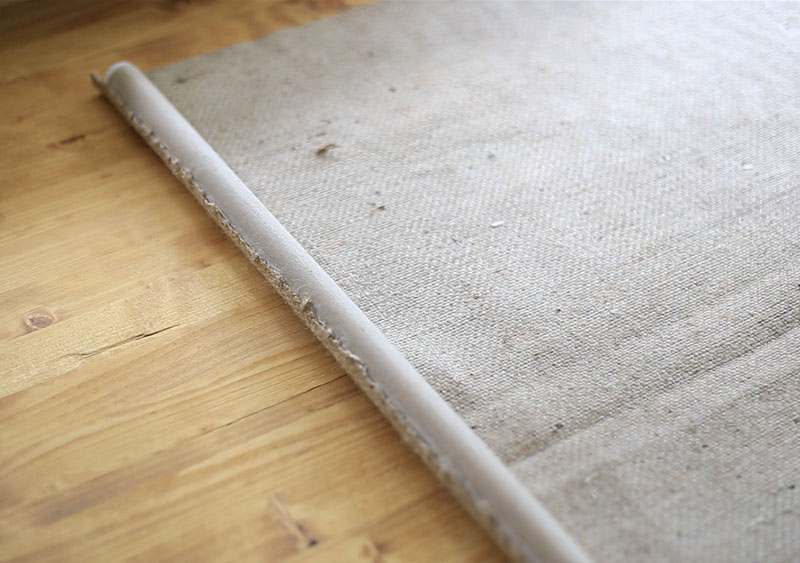
Create the bottom hem for the plastic or wooden bar. This will add a little bit of weight and make it easier to pull the shade up and down.
To do this I first flipped the roller shade over and that’s because I wanted my hemmed edge to face outside versus inside the RV, but you don’t have to do it this way.
I then measured 3 inches from the bottom and created a straight line with my chalk so I would have a guide to place the fabric fusion tape on top of.
Three inches may or may not work for you so you may want to play around with the measurements a bit. You can then use the chalk line as a guide to fold the material over and attach it directly onto the fabric fusion tape.
Make sure to apply a bit of pressure to make sure that everything is permanently bonded. Then slide the plastic or wooden bar into the pocket you just created and your shade is done, woo-hoo!
Step 10:
Roll up shade and install onto brackets to test that everything looks good
Since we installed these inside our RV we replaced the small nails that came with the mounting brackets with little screws. This makes sure the roller shades stay in place and are secure, especially when we’re driving down the road.
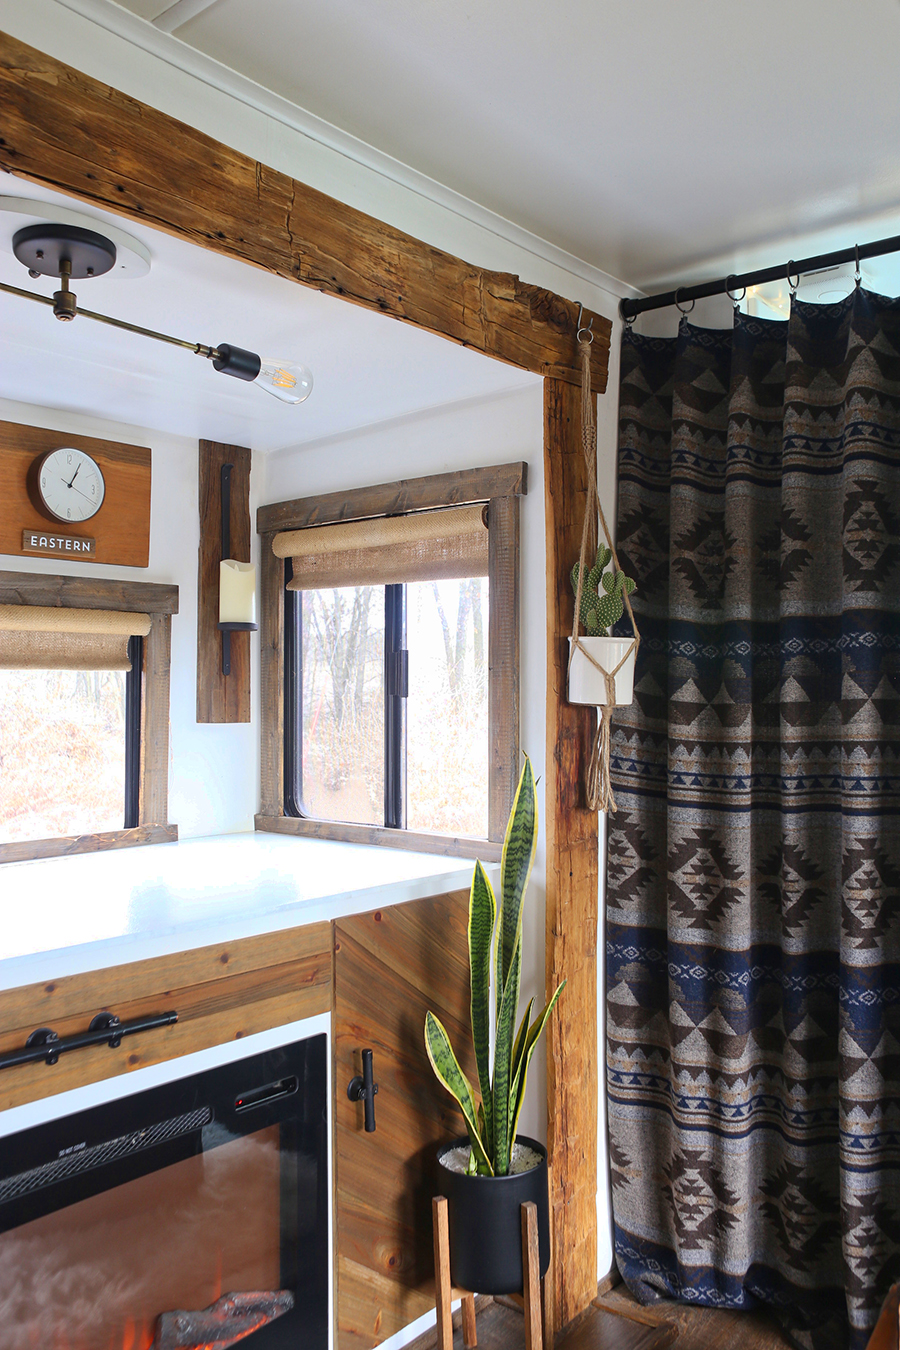
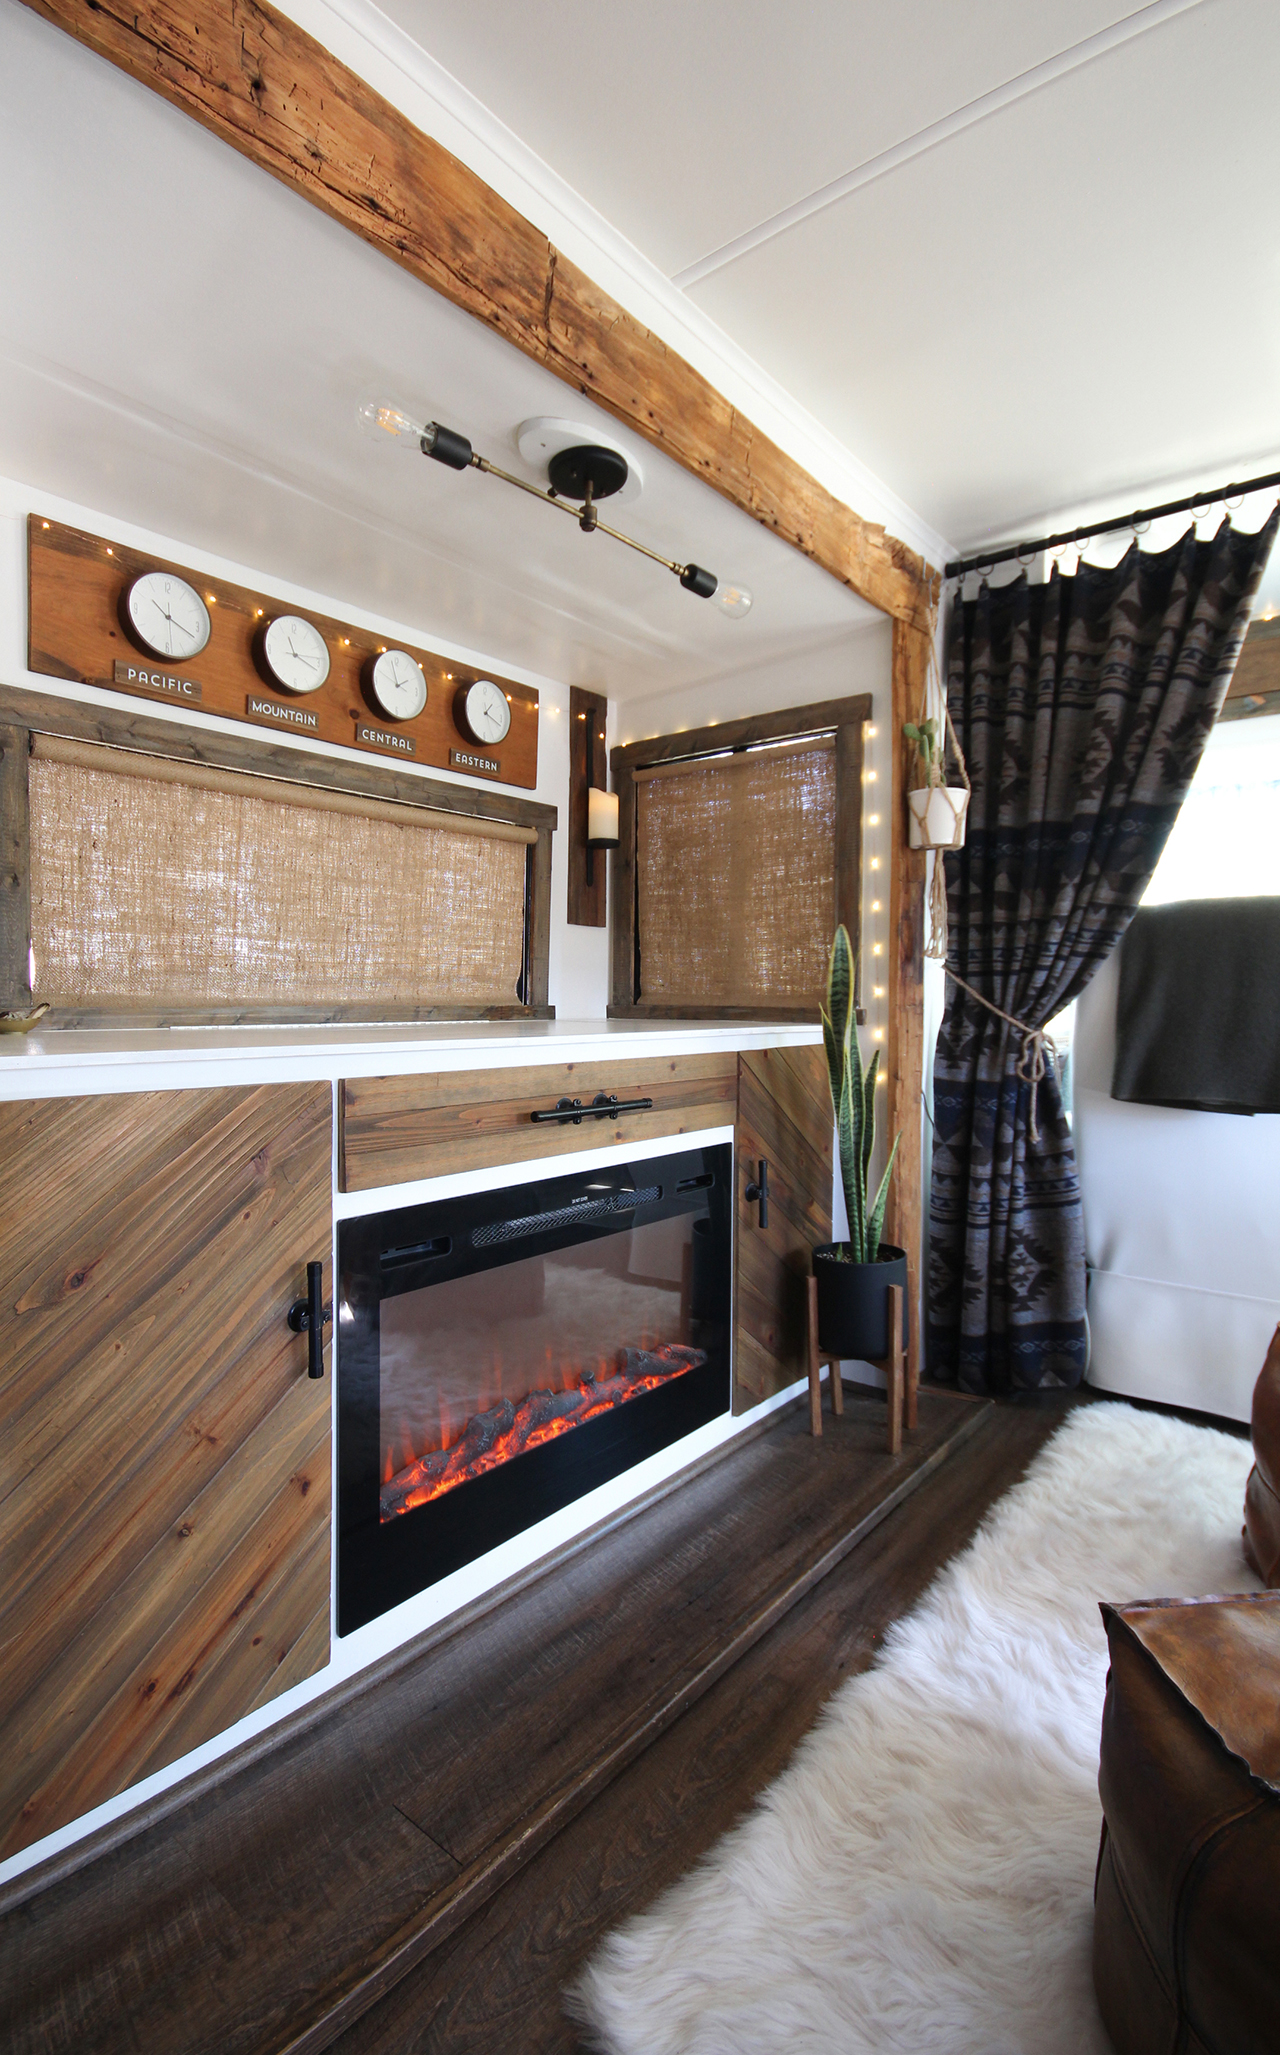
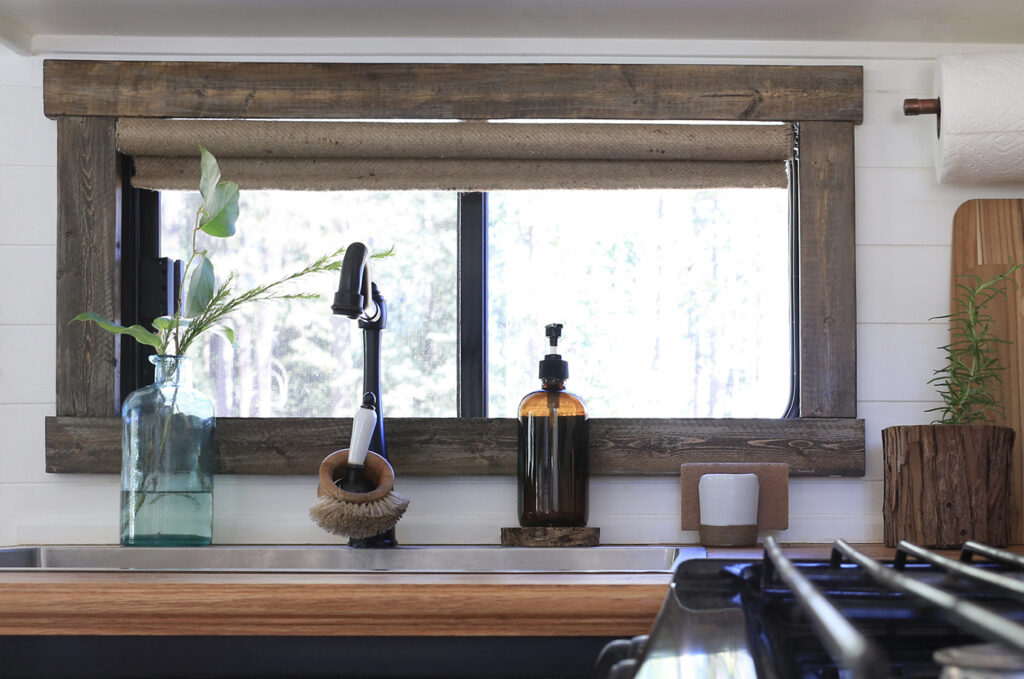
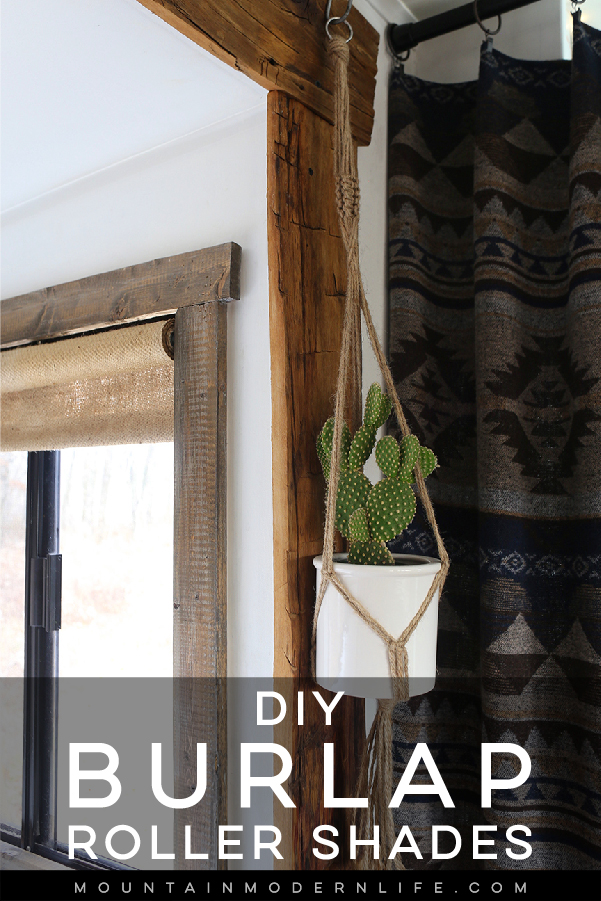
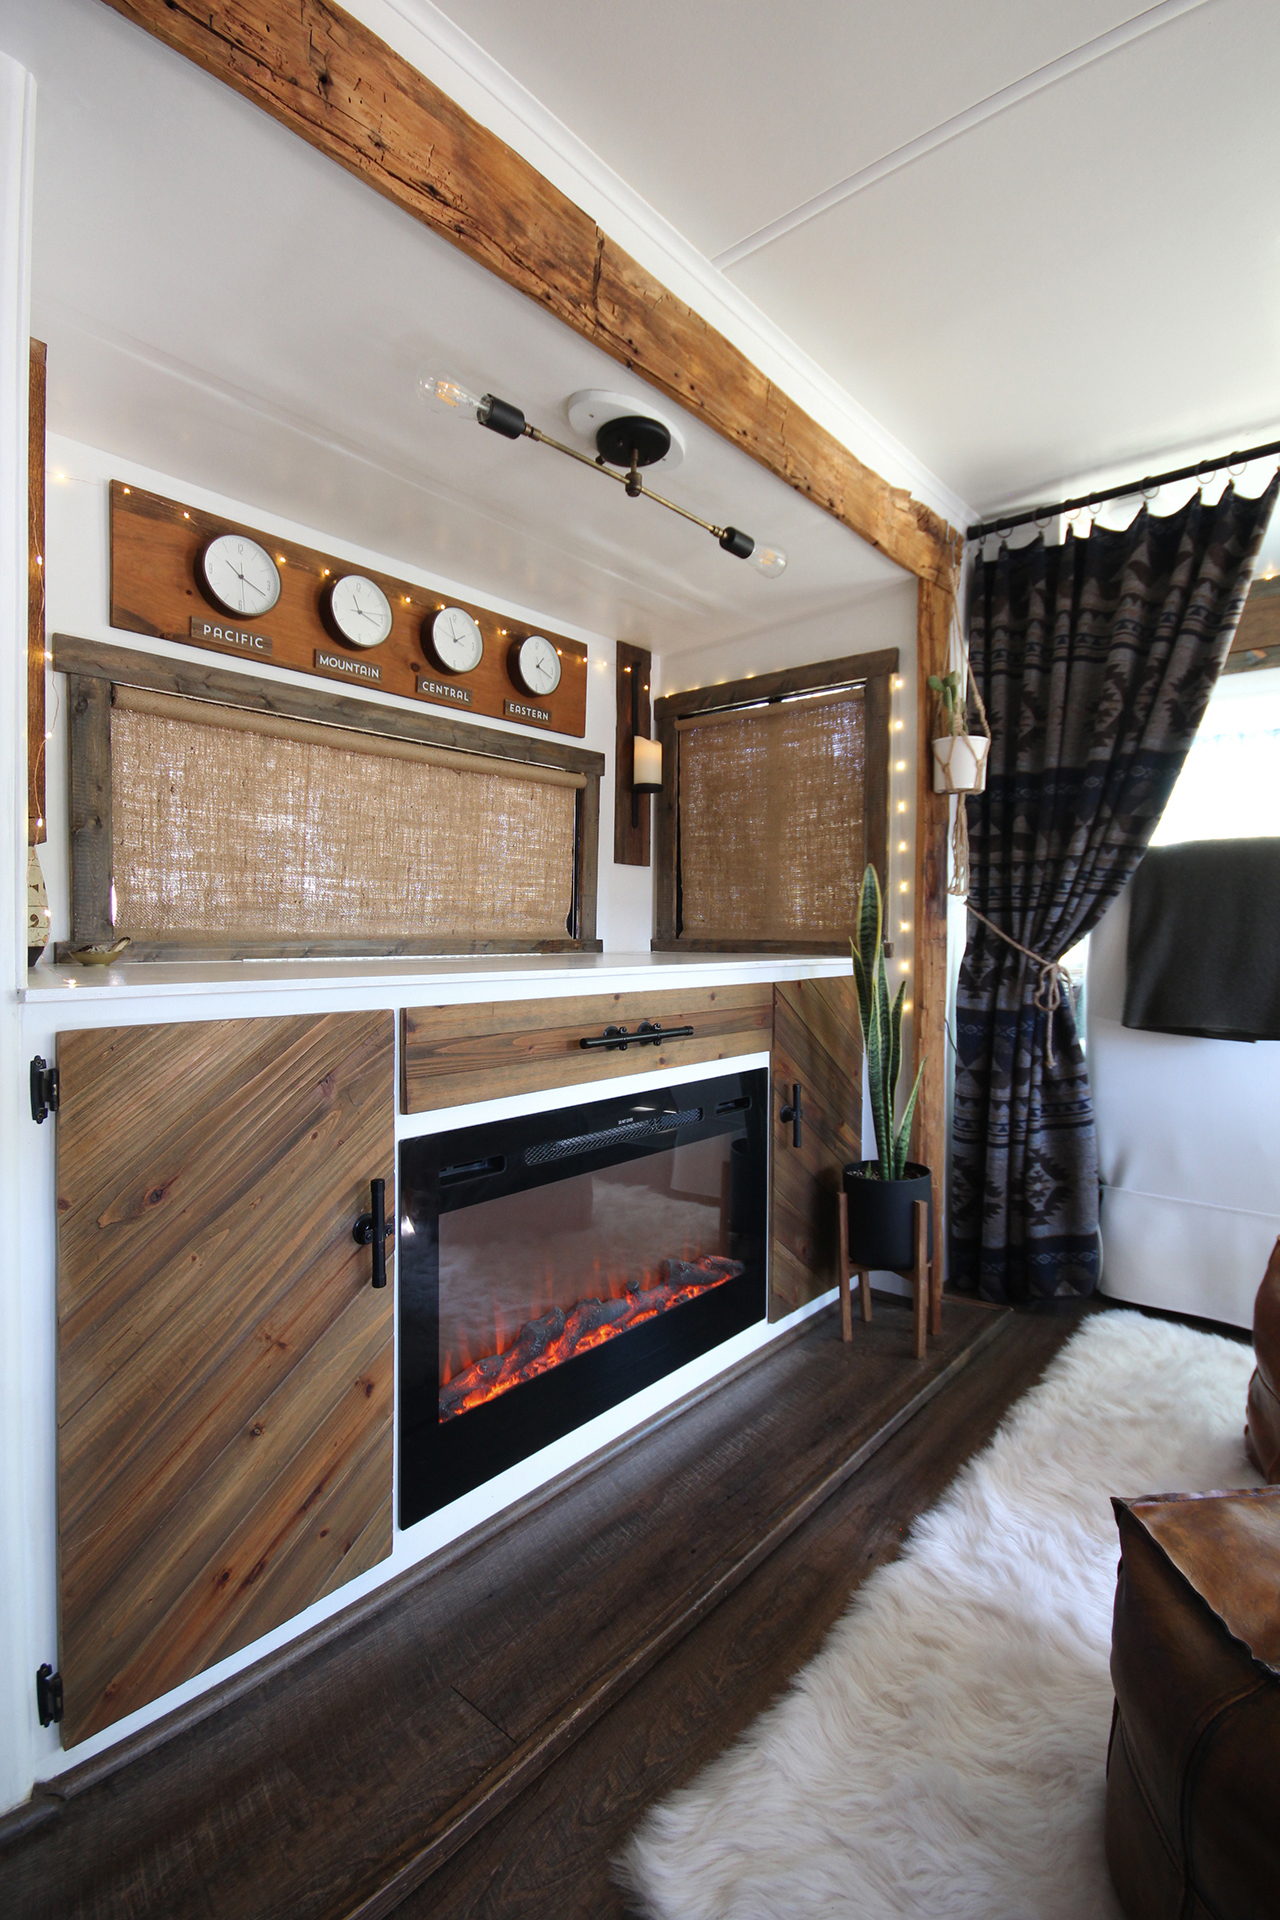
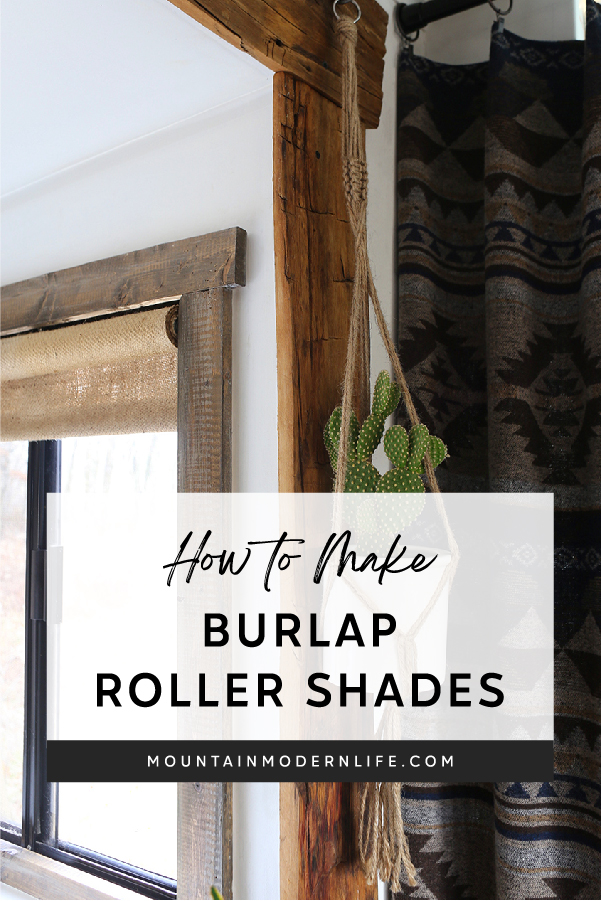
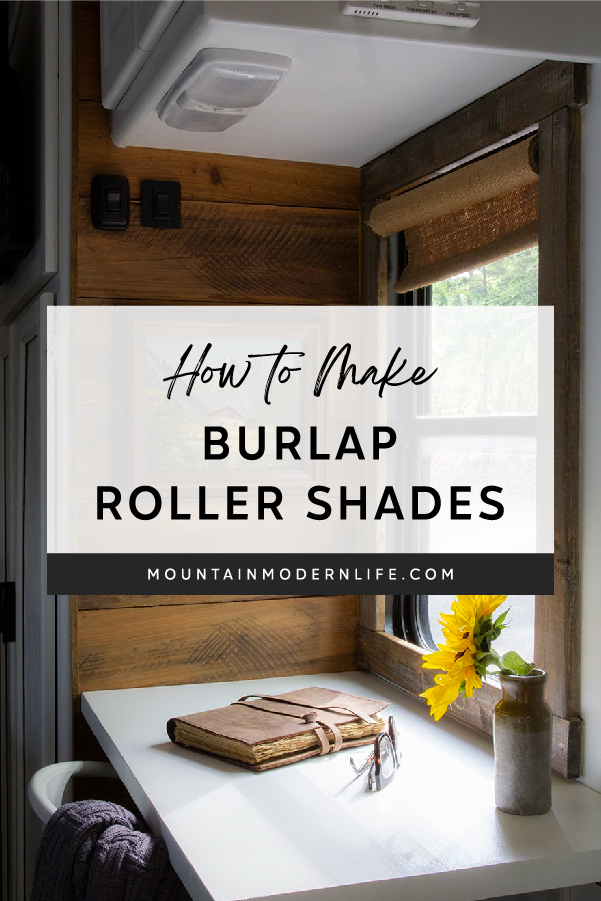
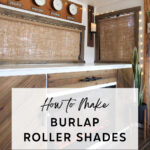
That about wraps up how to make your own burlap roller shades! Ours may not be perfect but I’m really happy with the way that they turned out. Plus they add a nice rustic cozy vibe to the RV especially when they’re rolled down.
Additional Tips
If you purchase new roller shades, this project works best for roller shades meant for thicker vinyl/fabric. Since burlap is thicker and heavier, the roller shades we used that originally had thicker vinyl have continued to roll up better. You do get what you pay for and I’ve noticed with the cheaper shade mechanisms it can sometimes take a few tries to get them to roll up completely.
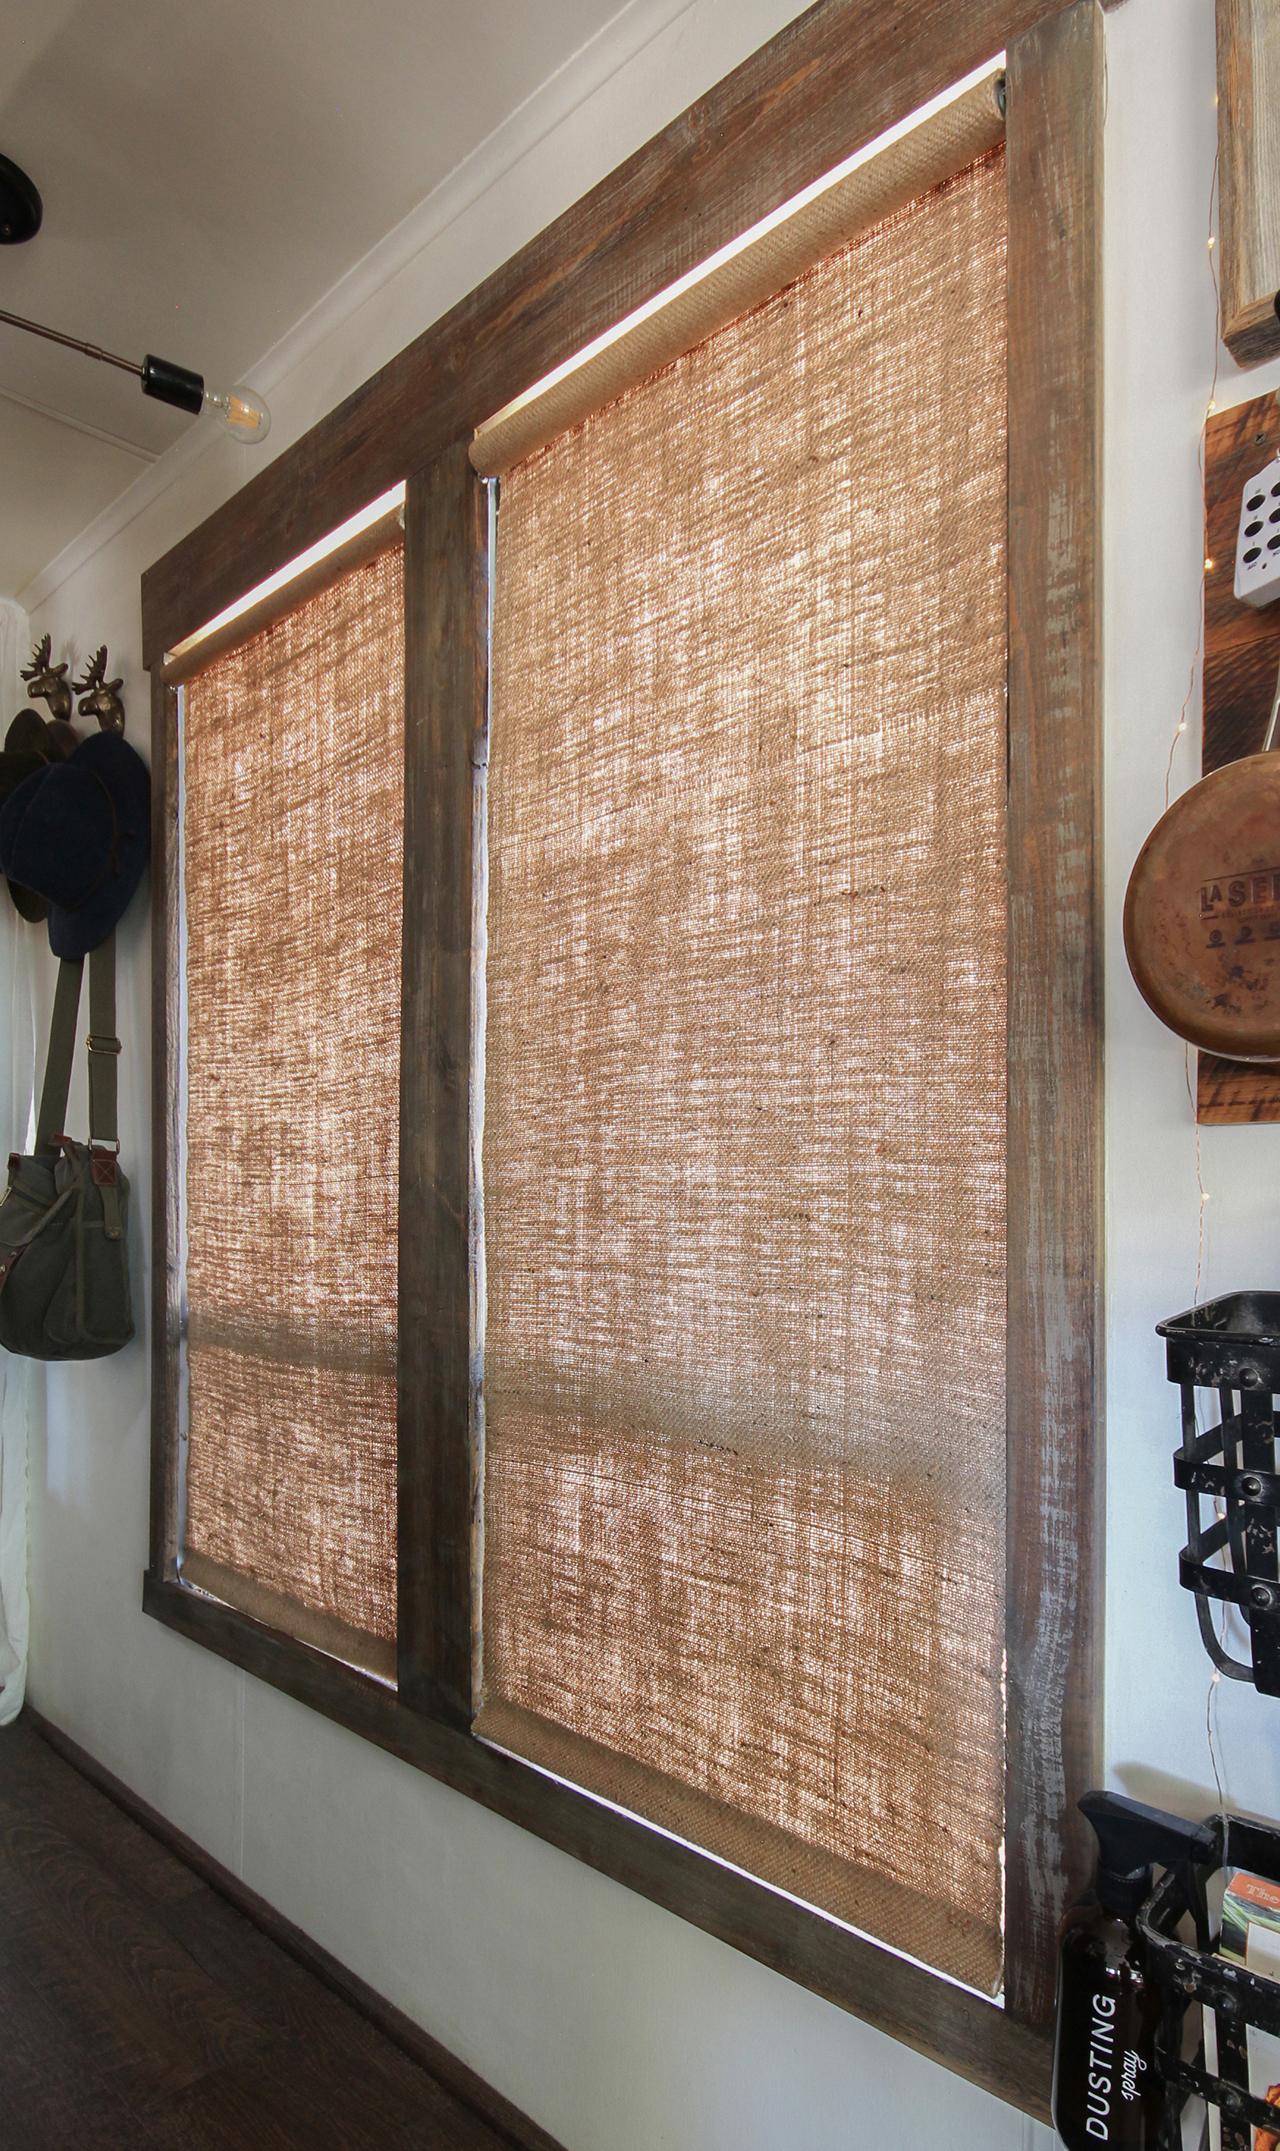
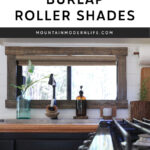
There is a little bit of a gap at the top of the window when the shades are rolled down. This is because we had to move the brackets down just slightly in order for there to be enough space for the burlap to completely roll-up. This is something you’ll want to keep in mind if you’re installing your roller shades as an inside-mount and using a thicker fabric, such as burlap.
Also, after a couple of months, I noticed the fabric fusion was coming loose on the bottom hem of a few of our shades. This was because we didn’t move the brackets down far enough so when rolled up the hemmed edge was hitting the wooden frame and sometimes getting caught. For this reason, I ended up sewing along the taped hemline just to prevent it from happening.
So again, just make sure to give the shades enough space to roll up if you’re installing this as an inside mount where they may hit a frame. I’ve never used the iron-on Fabric Fusion but that may have better adhesion over the kind that doesn’t require ironing.
If you’re doing an outside-mount installation I can say your life’s gonna be soooooooo much easier because there’s a lot more flexibility with the width and height versus an inside mount where you want to be a little bit more exact.
You can use a spray adhesive to attach fabric directly to your existing roller fabric, but I wanted the burlap to show both inside and outside of our windows and found it easier to simply replace the fabric than worry about attaching it to the cheap vinyl.
Lessons Learned after 2 years
We still absolutely love our burlap shades! With that said, they are not without their issues. The roller mechanisms can be frustrating at times since they weren’t the best quality to begin with – most have continued to work well but some take a few tries to roll up or the metal end mechanism needs to be spun every so often.
Also, the burlap still sheds a little at times when rolled up. We have pets so we’re used to vacuuming 24/7 but it can be annoying, although I don’t notice it too much except in the kitchen. If you really love the look, have burlap on hand you want to use, or are looking for a cost-effective way to update your shades this may still be worth it for you. Otherwise, you may want to consider purchasing more natural-style shades from a home improvement store, Amazon, Ikea, Etsy, Restoration Hardware, etc. or shops that specialize in window treatments. Also, burlap linen fabric has a tighter weave and is higher quality so it’s less likely to shed. Overall, I still love these natural burlap shades and the rustic touch they add to our home on wheels.
I hope you found this helpful in creating your own burlap roller shades, but feel free to leave any questions below. And if you’ve made your own burlap shades, updated your existing roller shades, or have any other RV window treatment tips, we’d love to hear about them in the comments below.
Hey, Katie! Thanks for sharing! The shade looks great.
Thanks! I really love how they turned out!
Do you leave the roller shades down while driving? I’m just curious if the roller shades will swing around a lot? I’d love a cordless option like this but wonder if the cords of the typical day/night shades are necessary to keep them in place.
We normally drive with them down, and haven’t had any issues with them swaying. We have kept a few up in the bedroom in the past and never had an issue with them falling down either.
What a great idea. We wanted to change our our shades too, so this is so inspiring. Thanks guys !!!
Where are the brackets attached for the roller shades? On the frame of the window or on the wood frameing around the window?
Hi, great DIY. I have been looking for something to do with my windows. Question, do your shades bounce or knock around when you are driving?
Hi Chris,
We generally drive with the shades down and haven’t had any issues so far. I will say to get quality rollers because the mechanisms are probably the most annoying aspect of cheap roller shades.
Hope that helps!
Katie
HI! What did you do for your bigger windows that are wider than the burlap material? Did you sew them together to make one big piece? Love this tutorial! Just got my sagless burlap material in and this is my next DIY project!!
Hi Lorraine! I actually purchased 15 yards (and still have some left over) but because of that, I was able to create wider shades when necessary. I did notice that the burlap was sewn together in a few spots to make it that long – so some of the shades do have a slight seam from the manufacturing process, but I barely notice it.
Hey there Katie and Eric! I love love this idea. We are renovating our 2011 Alpine to become full time RVers by the end of the month. We can’t wait. The main thing we have left is our window treatments & I am for sure going to try this! Can I ask if you know how much material you ended up getting for all of your roller shades?
Awesome! I think the key is to use roller shade mechanisms that have thicker vinyl on them to begin with, and decent roller mechanisms. I bought 15 yards which was more than enough, and still have some leftover.