UPDATE: All new featured RV tours will be posted on my other website, Wanderful RV Interiors. Existing tours will slowly be moved to the new website, and anything already moved will automatically redirect.
Disclaimer: This post may contain affiliate links, meaning, if you click through and make a purchase we (or those featured in this post) may earn a commission at no additional cost to you. View our full-disclosure here.
I love creating custom wall art for our home because it makes it feel more personal. In fact, I created nearly all the wall art previously displayed on our massive gallery wall.
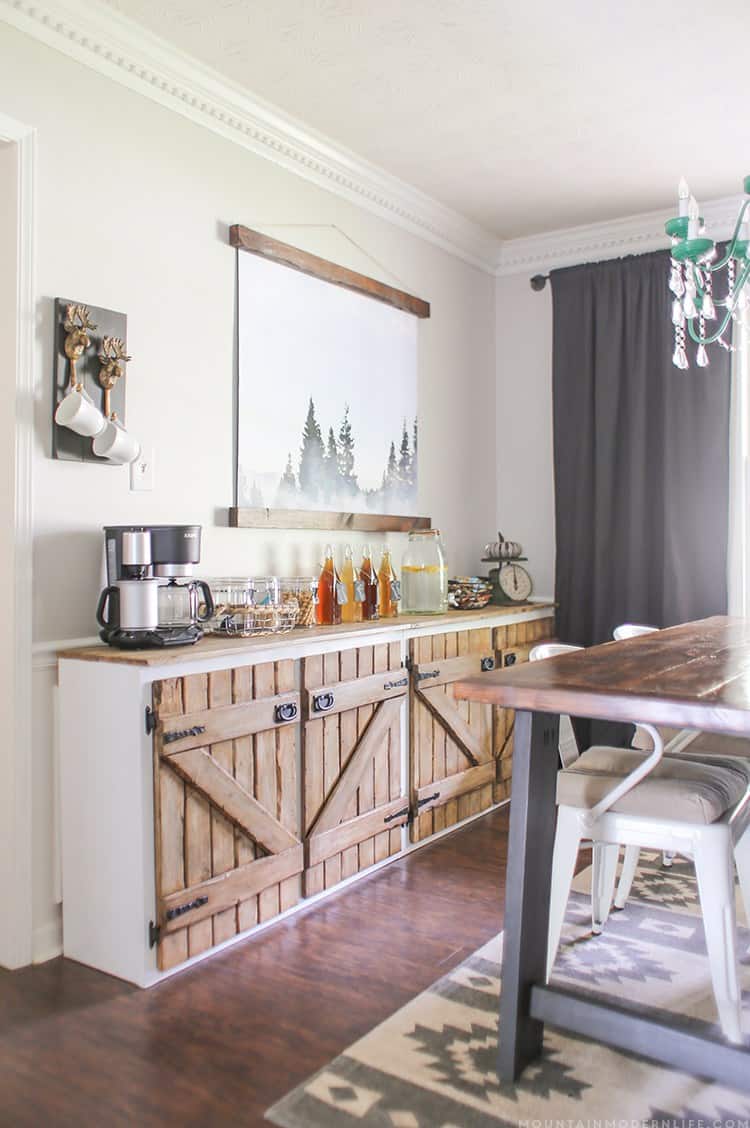
One of my favorite wall art projects in our previous house was this large wall hanging I made from this printable.
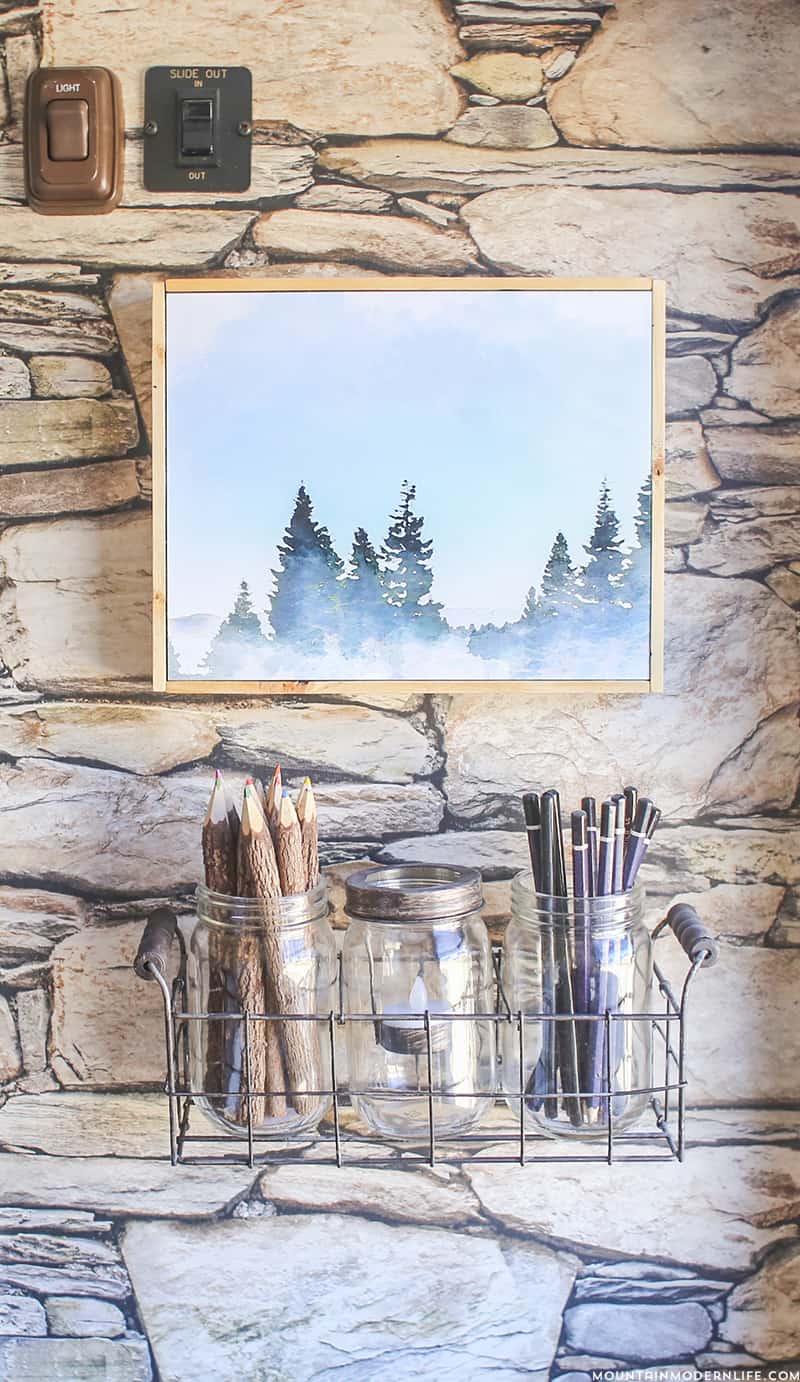
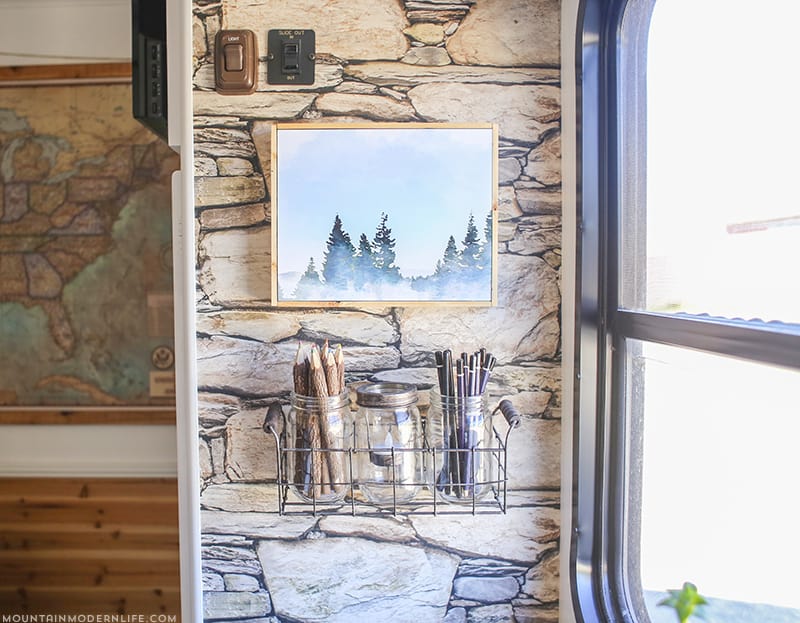
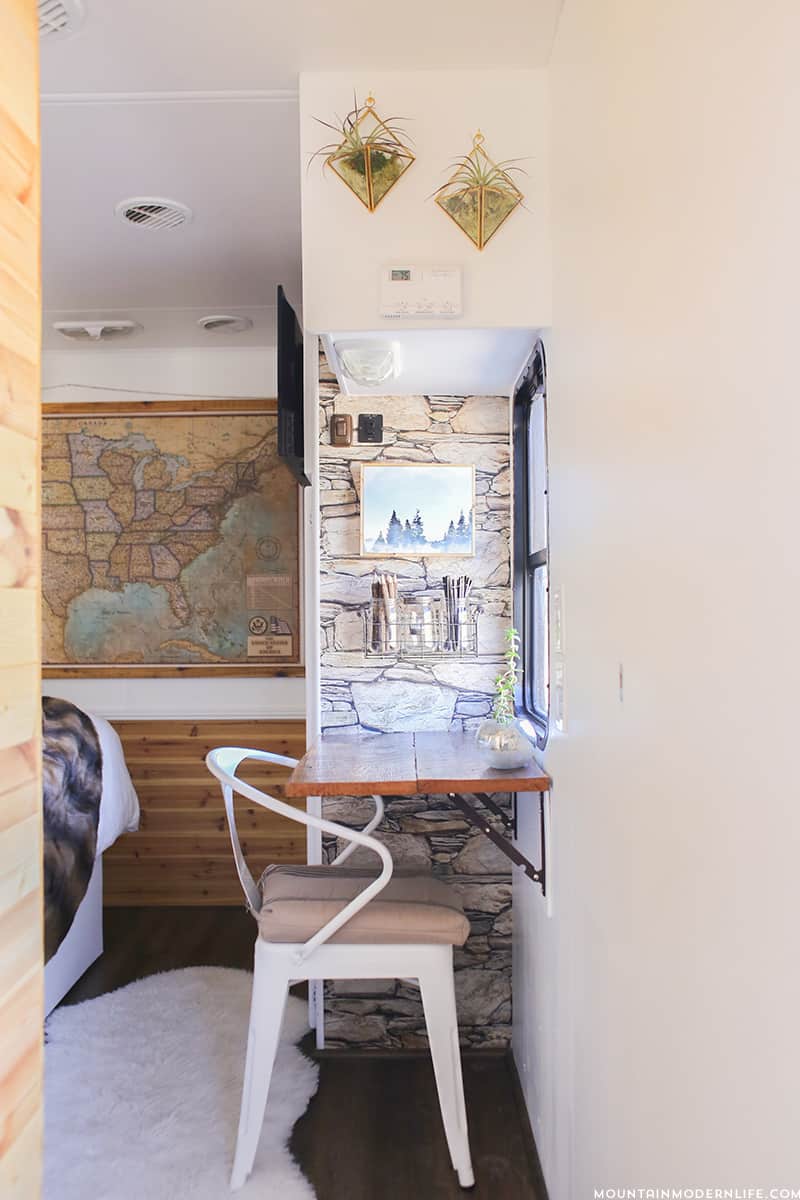
I thought about bringing it with us on our RV journey, but the only space it would have fit was in our bedroom and I really wanted a vintage map in there. So instead I decided to make a smaller version, and while not perfect, I think it looks awesome above our reclaimed fold-down desk.
I love that this wall art is super easy to make and easy to customize. Plus it’s small and lightweight, perfect for the inside of an RV or tiny home.
How to Create Custom Wall Art
Alrighty here’s what you’ll need:
Image Printed onto Wood Panel from Walgreens (this is what makes this project SUPER easy) OR Printed Image Transferred onto Canvas (See the tutorial here)
Measuring Tape
Lath Wood – This will be the wood frame. You could also use paint sticks, yardsticks, or any other wood you have on hand.
Saw – We used our circular saw because we don’t have our compound miter saw with us, but a miter saw would work too
Sandpaper
Stain/Paint – for the wood frame
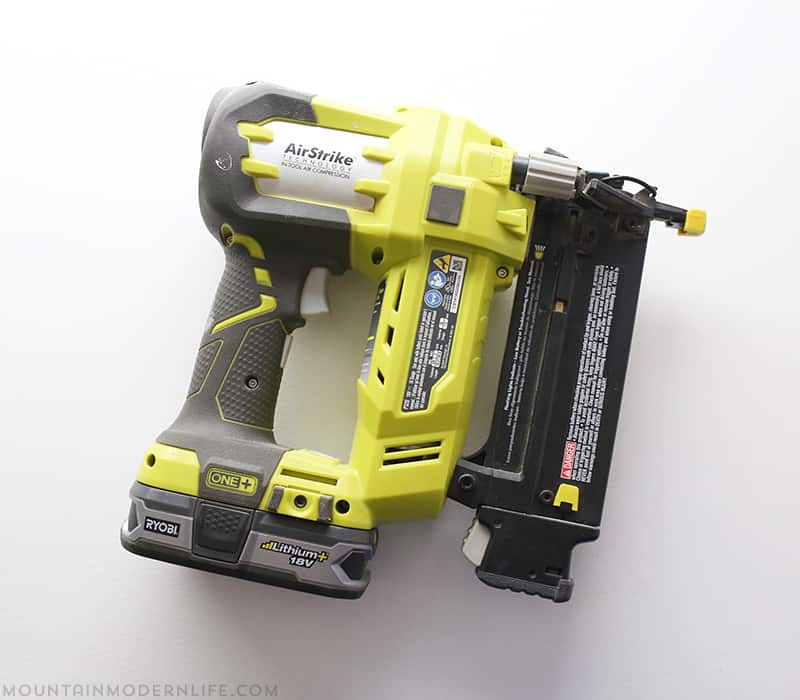
Brad Nailer – this is probably one of my favorite and most used tools!
Step 1:
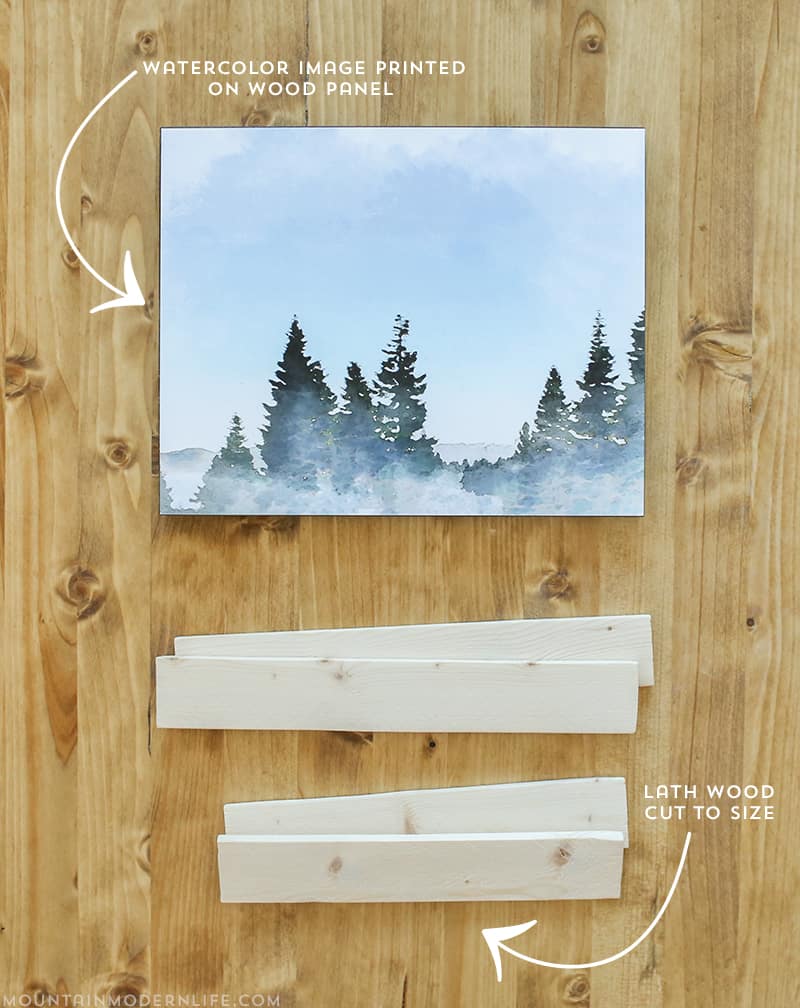
Get your image printed on a wood panel – I got mine printed from Walgreens. I ordered it online for the same day pickup but actually called ahead to see if they could have it done earlier, and since they weren’t busy they were able to. By the way, they seem to run promotions all the time so I got my 8 x 10 wood panel photo for 40% off at the time. It cost me about $12, not too shabby.
Side note: if you have issues uploading your JPG to Walgreens you’ll see a note that says “Low Resolution: Learn More” and from there you’ll see a list of the minimum size requirements. After trying to upload photos of all sizes and resolutions (which were not low res) I realized my images had to be set to RGB and NOT CMYK. I didn’t see that noted on there and it was driving me bonkers so I wanted to throw that out there in case anyone else runs into similar issues.
This is the image I used, and I have it available in my shop too in case you want to use the same one:
Another option would be to print your image to size and then attach it to canvas like I did over in this post.
Step 2:
Cut your wood to size based on the image you’re using. Our wood panel is 8 x 10 and we used lath wood that we had leftover from previous projects. I love that it’s thin and lightweight, it’s similar to paint sticks.
Step 3:
Lightly sand your wood to smooth it out and then stain/paint/seal it. I used a leftover stain from our desk project, which was a stain/poly in one.
Step 4:
Once your stain or paint is dry you can attach the lath wood to the edge of the wood panel print using a nail gun.
If you don’t have a nail gun, you could use braces or fasteners like this post by Homemade by Carmona.
I made my frame flush with the image but you could have the frame come out past the photo instead if you want.
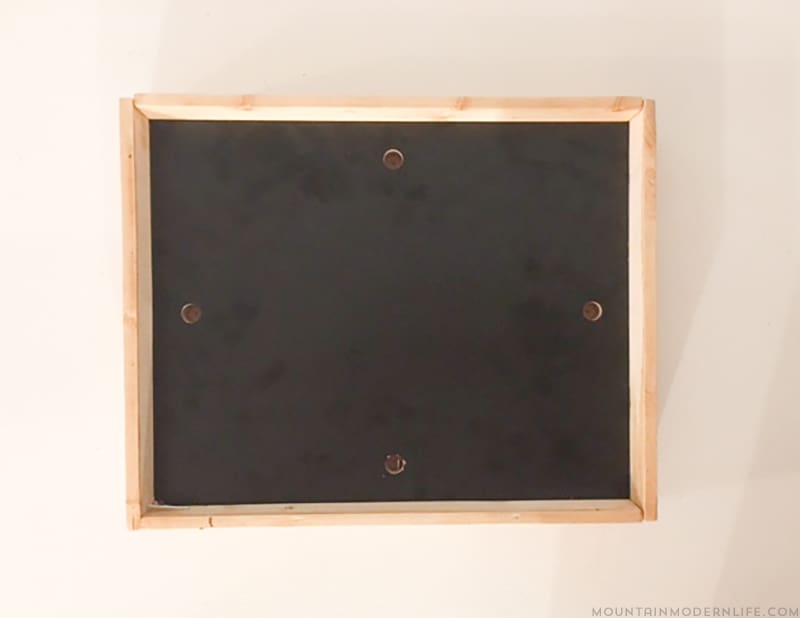
This is what it looks like from the back. Okay, okay so I should have changed out the size of the nails first, and probably should have let Eric hold the photo panel while I nailed the lath wood to the edge. You can see one of the nails that went through, but luckily it’s in the back so no one else will see it.
That’s it! You can now hang it from the edge of the frame you created with the lath wood. Easy peasy.
Okay so our side cuts are slightly off, woops and of course, this was the last of our lath wood. I thought about sanding the top down so it would be level, but it surprisingly doesn’t both me that much. I feel like these types of things stand out even more in photos than they do in person, but that doesn’t mean I won’t sand it down later. Maybe..
Now we have new wall art in our RV that was easy to make and since it was so affordable I won’t feel guilty if I want o change it out later on.
Do you have any favorite resources for lightweight wall art?


I love this print and it looks great hanging there! We are in the process of updating our master bedroom and I think this print would look great in there! I love reading your blog – especially your adventure with your RV! I’m excited to see where you head off to next and what life is like living in an RV! I’m also interested to know what you did with your house and all of your stuff. Storage until you find a new home?
Thanks Lindsey! Well, we actually gave quite a bit of stuff away and then other items my mom is actually using or keeping in storage for us. We still brought more than we needed in the RV, so figuring out what we really do and don’t use has been an interesting task 🙂