UPDATE: All new featured RV tours will be posted on my other website, Wanderful RV Interiors. Existing tours will slowly be moved to the new website, and anything already moved will automatically redirect.
Disclaimer: This post may contain affiliate links, meaning, if you click through and make a purchase we (or those featured in this post) may earn a commission at no additional cost to you. View our full-disclosure here.
If you are looking for easy and affordable wall art ideas then you will want to make contact paper and paint chips your new BFF. Today I’m sharing how I created this super easy heart wall art using materials I already had on hand.
 DIY Heart Wall Art
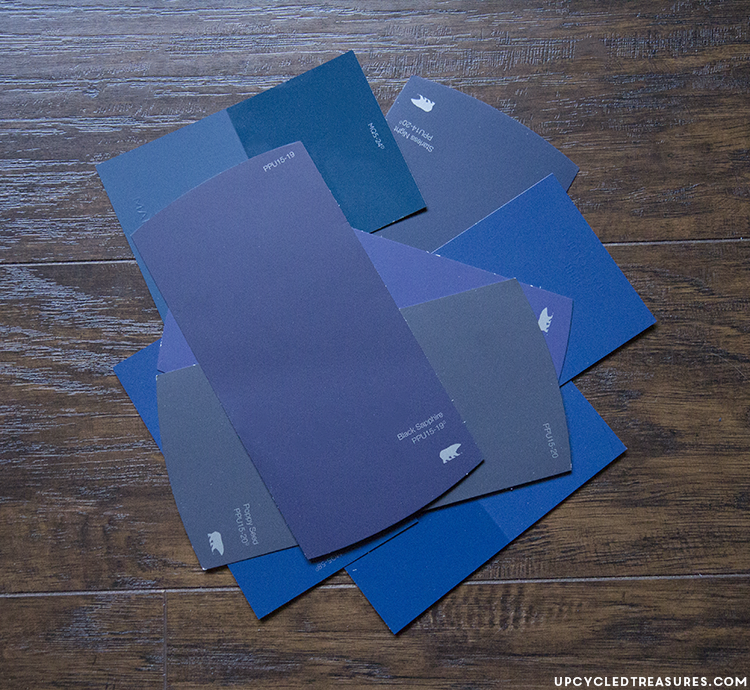
I don’t know about you, but I’m a sucker for grabbing paint chips every time I go to the hardware store. The variety of vibrant colors sucks me in every time and I’m like a kid in a candy store. I just can’t help myself.
If you follow me on Instagram you may notice I’m at the hardware store A LOT. So needless to say I have quite a collection of paint chips, and I figured it was time I put some of those to use. Ya know, before I end up on an episode of Hoarders: paint chip edition.
If you saw my dresser makeover with DIY drawer pulls then you know that we are using navy and copper in our master bedroom. I wanted to create some modern yet rustic art to go in our bedroom that matches those colors, so here is a quick tutorial on how to create DIY Wall Art using Contact Paper and paint chips.
You could use just contact paper, or just paint chips, but I decided to mix it up. This project is super easy and you may even have all of the supplies on hand.
Paint Chips
Canvas – a piece of wood could work too and may even be easier
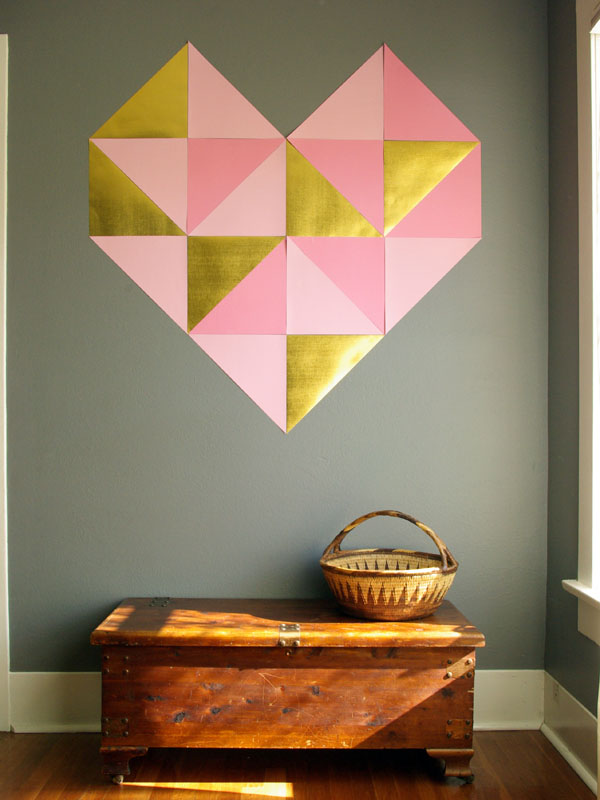
The inspiration:
I love all of the modern geometric hearts I’ve been seeing around, especially this one from Oleander and Palm {pictured above} and thought it would be perfect for our bedroom.
Are you sick of my triangle projects yet? In my defense this is a heart that just so happens to be made out of triangles…right? 🙂
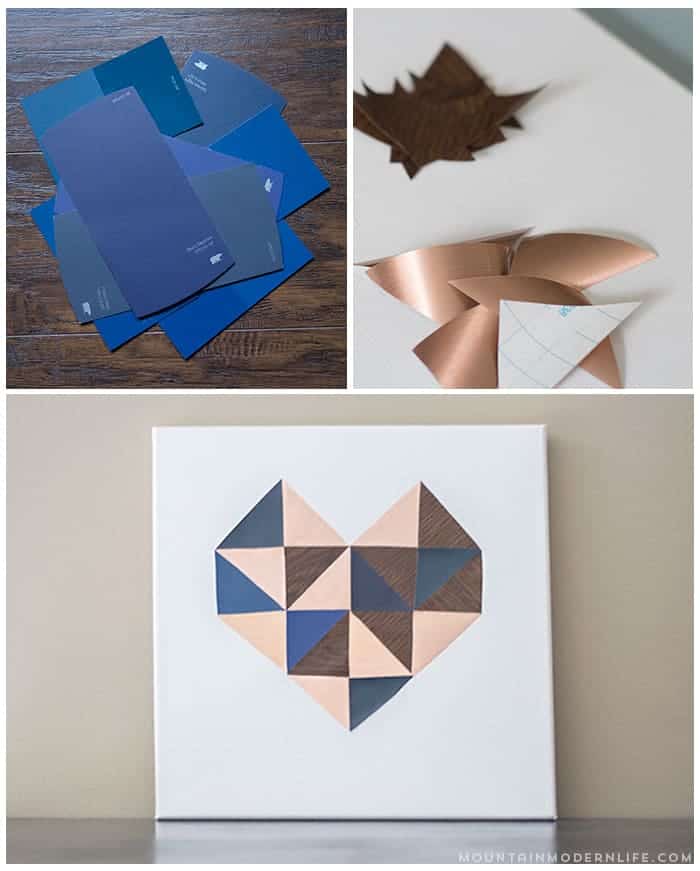
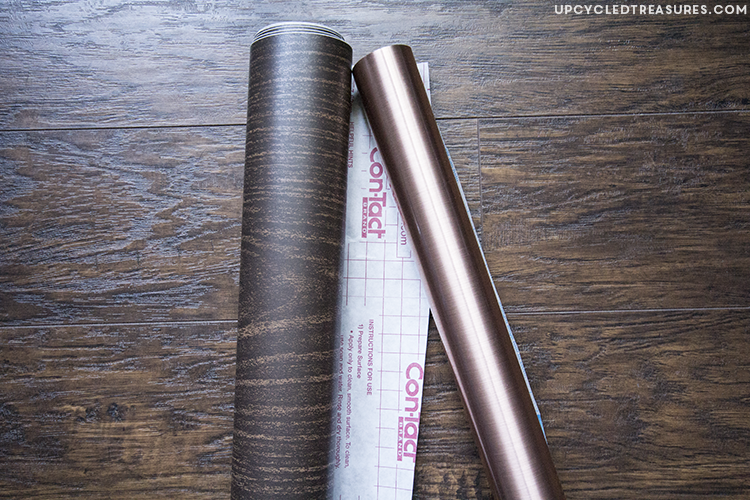
I already had copper and wood grain contact paper so I used that, along with variations of navy blue paint chips. You will also notice that I changed my mind a bit about the colors during the process, which isn’t that unusual for me.
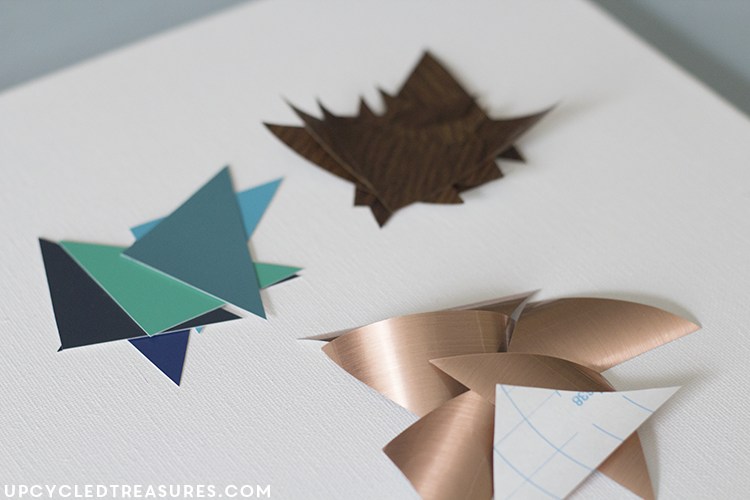
The first thing I did was cut out all of my triangle shapes. I don’t know why but I seriously suck at cutting. Not kidding. I have a difficult time cutting a straight line. It’s annoying. So I may have had to re-cut some of my triangles because I can tell you right now that if all of your triangles are exactly the same it will make your life sooooooo much easier. It can still work and look good if they are not perfect {like mine} but had I been more patient and cut my shapes the exact same, it would have made this a lot easier. I probably sound ridiculous because how difficult is it to cut triangles? Lol.
Also, it’s easier to cut out a square first and then cut that in half to create 2 triangles {duh – not sure why it took me so long to realize this}. I love how the self-adhesive contact paper has a grid on the back, making it so much easier to measure out too.
Side note: There are triangle craft punches out there, but I have come to notice that the craft punches work well with some contact paper {like the cheap wood-style contact paper I had purchased from the dollar store} but not so much with the metallic contact paper. That just jammed up my other craft punches when testing it out on other projects. Oops.
Anyway, you can use as many or as few colors as you want for this project but here is a breakdown of what I used:
20 total triangles:
8 Copper contact paper triangles
6 wood contact paper triangles
6 navy blue paint chips
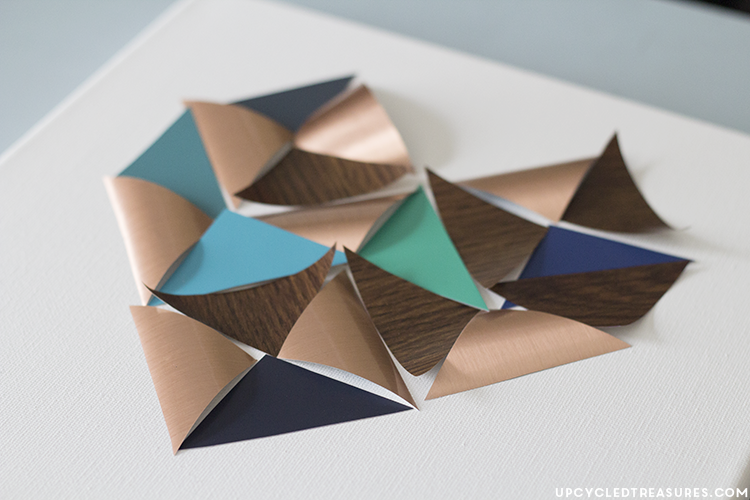
After I had all of my triangles cut out I placed them down onto my canvas to get a sense of what it would look like. I then measured out where I wanted it to go on my canvas. Again, I wound up changing the colors around a bit afterward but you get the idea.
To attach the triangles to the canvas, just peel the contact paper backing off and stick it to the canvas. You can use double-sided tape {or glue} to stick the paint chips down.
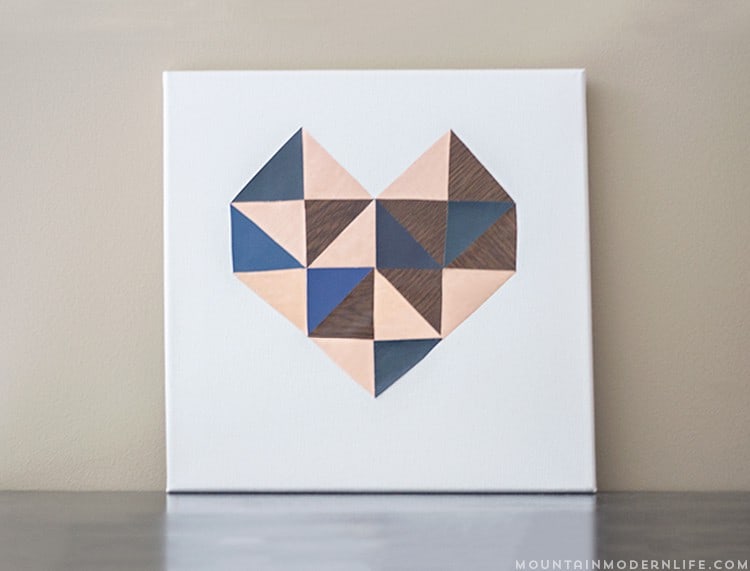
Here is what the DIY wall art using contact paper looks like all finished:
The colors look perfect in our bedroom, and I especially love that I had everything on hand making this a $0 project, woo-hoo! Our bedroom is finally getting a makeover and I can’t wait to place our DIY heart wall art on some shelves we started building over the weekend!
Have you created art out of contact paper or wood chips? If so I’d love to hear about it in the comments or leave a link to your project so I can check it out!
By the way, my sister-in-law sent me the Copper Metal-FX Con-Tact Paper a while ago, but it’s available on Amazon, as is the Gold and wood contact paper.


This is adorable! Pinning!
Thanks Ashley!
So cute I am obsessed with Geometric pattern myself latetly. Love the cute wall art.
Thanks Anam! I am a fan of geometric patterns too, especially when they are easy to make like this one!
I will never get sick of triangle projects, or anything with hearts <3 Very cute, Katie! Love the moody color palette you chose.
Thank you so much Amy! I don’t think I will either, lol.
Beautiful!!!! I love metallic next to wood grain in anything.
Thanks Carmody, me too!
Love all your triangle projects! And this heart one is just great. Thanks for sharing at our link party!!
Thanks Amy!
Gorgeous Katie!! Love it- we’re featuring you tomorrow morning at Work it Wednesday – thanks for sharing it!!
~Krista from the happy housie
I love this so much! I have a matching stack of navy paint chips begging to be used in a project. Just added another navy chip to the collection today in fact 🙂
Oooh can’t wait to see what you make with them! Yeah, I’m obsessed with paint chips. OBSESSED. Borderline paint chip hoarder. Now I just need to make time to actually do something with them. Haha.