UPDATE: All new featured RV tours will be posted on my other website, Wanderful RV Interiors. Existing tours will slowly be moved to the new website, and anything already moved will automatically redirect.
Disclaimer: This post may contain affiliate links, meaning, if you click through and make a purchase we (or those featured in this post) may earn a commission at no additional cost to you. View our full-disclosure here.
Today I am sharing a tutorial on how to make a super easy DIY Moss Frame that you can use to display in your home, give as a gift, or use as wedding reception decor.
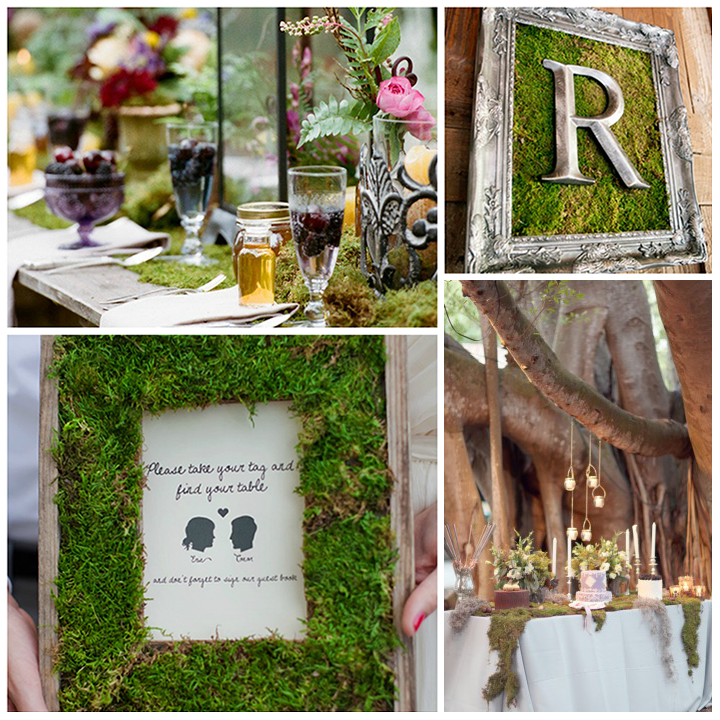
I have fallen in love with moss lately and plan to use moss table runners at our wedding reception. There is something so rustic, natural and romantic about moss and I just can’t seem to get enough! Here are some moss decor ideas

DIY Moss Frame
As you can tell, I was instantly inspired by the bottom left moss frame and as soon as I saw it, and I knew I had everything on hand to make my own. Interestingly enough, I found it on Pinterest and it was one of those pins that led no where, don’t you just love those (insert sarcasm)?
Update: I did more digging and finally found the source was Ruffled Blog.
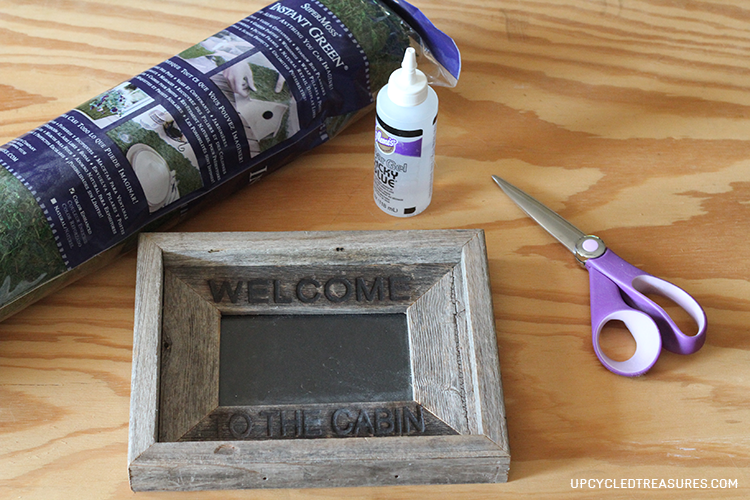
- Wooden Frame – I used one I bought at Goodwill a while back, you can use whatever you have on hand but I like the that my frame had a deep indent to place the moss into.
- Moss – You can use the loose moss or the kind that comes in sheets. I already had a moss runner on hand so I cut a small portion of that into strips
- Glue – I used tacky glue but you could also use a glue gun
- Scissors
Step 1:
Remove the glass and backing from your frame.
Step 2:
Cut your moss into strips that will fit along the inside of your frame. I didn’t measure mine out – just guess-timated and then cut off extra when necessary. If you are using loose moss you can skip this step.

Step 3:
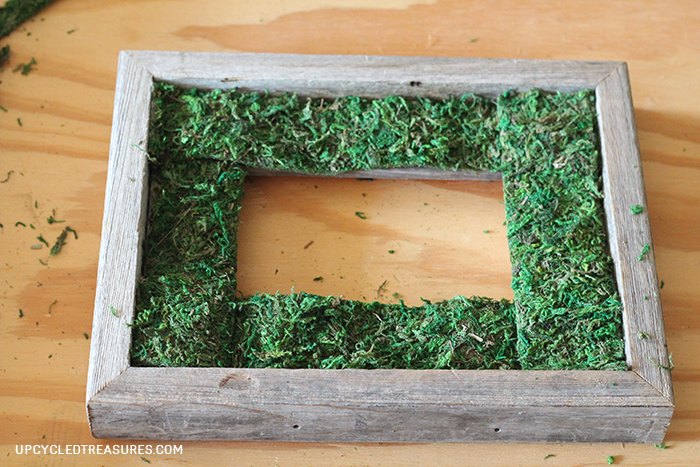
Once I figured out the placement of my moss strips I drizzled tacky glue all over the inside of the frame and put the moss strips into place. I also added glue to the places where the moss overlapped.
Step 4:
Since I used strips there were some uneven areas that needed to be filled in. I just drizzled a little glue on top of the moss and sprinkled little moss pieces on top to fill in the gaps.
Step 5:
I then cut super thin moss strips and glued them along the inner edge of the frame.
Step 6:
Insert your favorite photo or quote into the frame and enjoy!
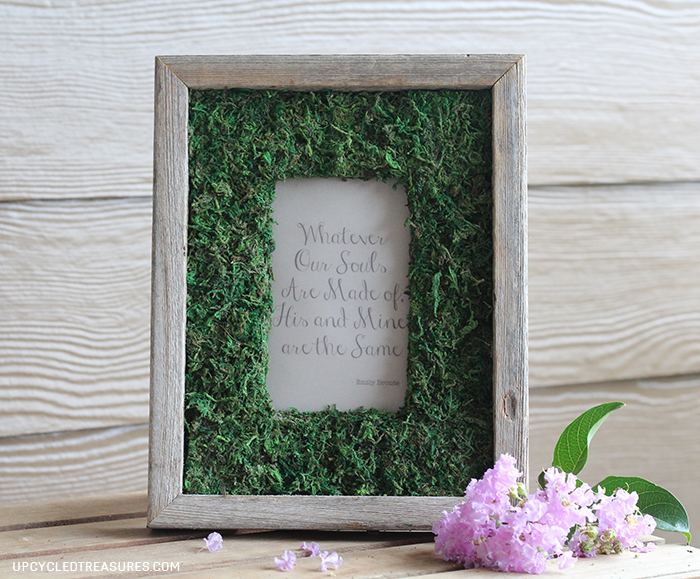
I originally wanted to print a quote onto kraft paper and then write over it in a white pen. However, I haven’t been able to find my white pen anywhere and my white out markers are too fat, boooo. So I improvised and ended up printing the quote on vellum paper instead, put some kraft paper behind it, and placed it into my new moss frame! I will probably change it when I use it for our wedding reception, plus I printed in a medium gray and black ink would have made it easier to read. Here it is all finished:


I am so inspired by this! My wheels are turning and I’ve got a million ideas running through my head right now on how I can implement this in my home! I have a hard time keeping house plants alive, but I love greenery – so for me this is a great solution! I can incorporate the look and feel of greenery, but not have to worry about killing anything 🙂
Hi Dawn! I’m so excited that you were inspired by the moss frame, gotta love that creative trickle down effect 🙂 I’m not the best at keeping plants alive either and it doesn’t help that our cats like to eat them. You’re right though, this is a great way to bring in some greenery without having to water it, lol!
Love the style. Very creative.
Love this idea! Moss is so pretty done like this…great job. Come link up at my party going on now at the Style Sisters Centerpiece Wednesday and share this post. http://thestylesisters.blogspot.com/2013/08/centerpiece-wednesday-87-and-something.html
Karin