UPDATE: All new featured RV tours will be posted on my other website, Wanderful RV Interiors. Existing tours will slowly be moved to the new website, and anything already moved will automatically redirect.
Disclaimer: This post may contain affiliate links, meaning, if you click through and make a purchase we (or those featured in this post) may earn a commission at no additional cost to you. View our full-disclosure here.
Today I am sharing a tutorial on my DIY nautical rope lampshade. Apparently I was only half kidding about covering all my furniture in rope after completing my nautical rope mirror. Due to coming down with the flu ( I can’t believe I managed to get sick 2x in the last 30 days! Definitely time to start working out again) and not being back to 100%, I decided to work on a project that would be fun but not require too much time.
DIY Nautical Rope Lamp Shade
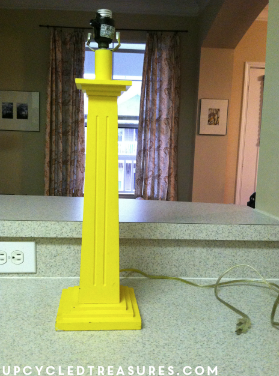
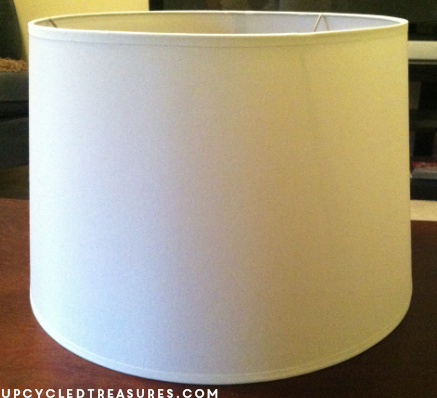
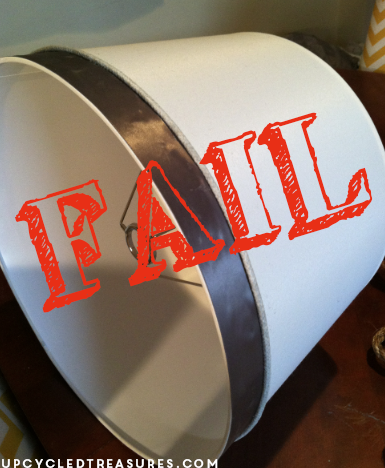
I got this awesome yellow lamp at a thrift store recently and then bought the lampshade at Target which I already attempted to makeover. A few weeks ago I decided to add some ribbon and thin rope to the lampshade and after seeing a few posts on Pinterest I gave it a try – only to fail miserably. The ribbon didn’t lay flat against the shade and you could see the glue right through it. I knew I would have to re-attempt to make it pretty, but put it on hold since the epic fail and ruined lamp shade pissed me off.
So now that I had some extra rope lying around I figured I would try to salvage what was left of my DIY disaster. Turns out that the rope was the perfect ingredient to hide the glue/ribbon mess I had previously created.
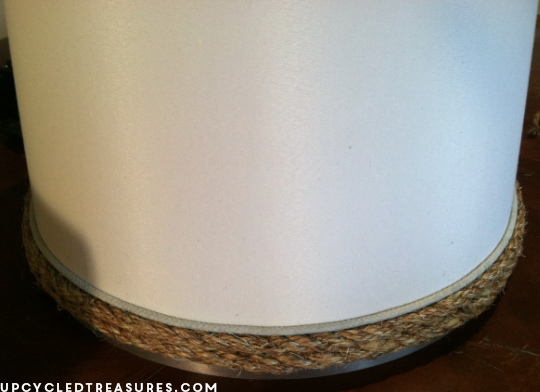
Here is the lamp base and the lamp shade prior to my botched job:
And below is my DIY ribbon lamp shade FAIL!

Here are the supplies you will need for this project:
- Thick Rope – I used 3/8 Manila Rope which was less than $9/bag from Home Depot that I had leftover from my nautical rope project.
- Thin Rope (this should be similar) – I bought 3 yards of this rope in the ribbon section of Joann’s Fabrics for less than $3
- Lamp shade
- Glue Gun
- Glue Sticks
- Scissors
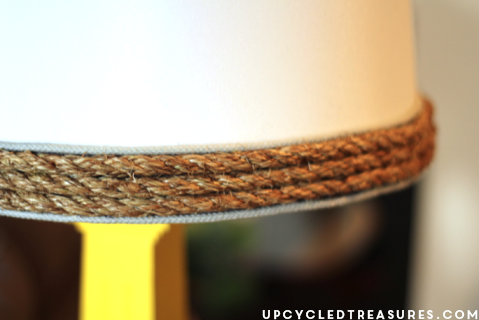
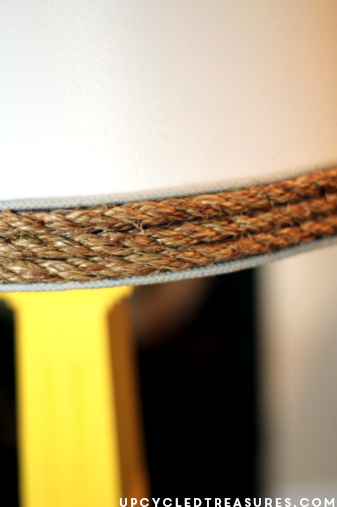
I decided to keep the thin, light blue rope as a guideline and then ended up adding another line of that rope to the very bottom. This is a fairly simple project as all you have to do is glue the rope directly onto the lamp shade. I turned the lamp shade onto the side and glued a couple inches as a time. I then cut the rope every time I went around full circle so there are actually 3 sections of the thick rope and 2 separate sections of the thin blue rope. I was covering up my previous attempt, but would recommend starting from the bottom of the shade and working your way up.
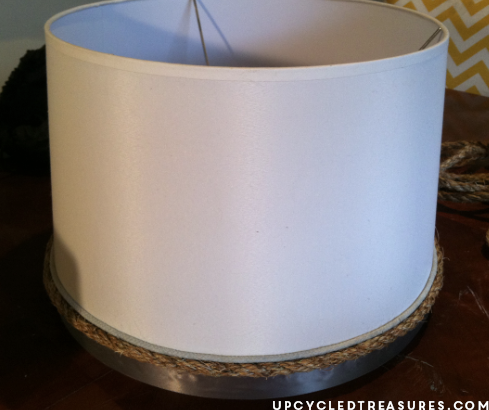
And here is my completed nautical, rope lamp shade! May not be perfect, but it’s soooooooo much better than it was before! All I have to say is if you decide to add ribbon to a lamp shade, make sure it’s thick and I wouldn’t recommend using a glue gun unless the fabric you use is VERY thick, or if you use rope it should be all good.
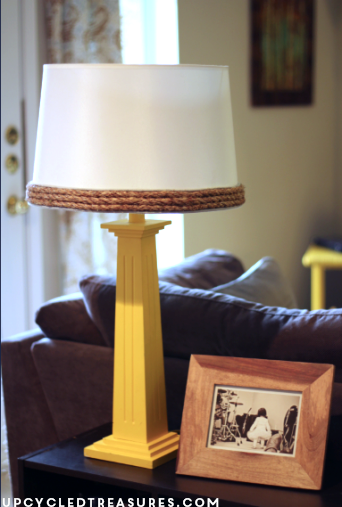
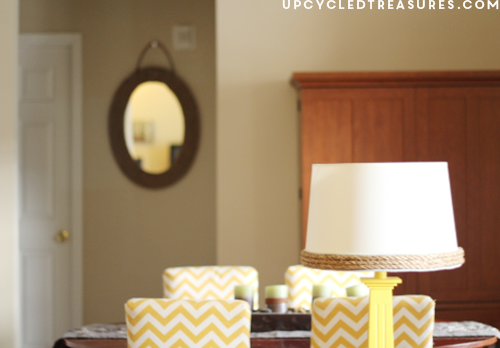
Whew, it’s definitely looking much better than it did, don’t you think?
Pretty cool. I like the pics you took through the process too. I want a mirror like that. OXOX