UPDATE: All new featured RV tours will be posted on my other website, Wanderful RV Interiors. Existing tours will slowly be moved to the new website, and anything already moved will automatically redirect.
Disclaimer: This post may contain affiliate links, meaning, if you click through and make a purchase we (or those featured in this post) may earn a commission at no additional cost to you. View our full-disclosure here.
As you may already know I have been working on my new office space and am loving how it’s coming together! I still have A LOT of projects to complete, but am enjoying creating a space just for me. It’s nice to be able to do what I want in a space without wondering if Eric will like it or not, ha.
Today I am sharing how I created a super easy DIY triangle accent wall for less than $3!
DIY Triangle Accent Wall for Less than $3
We are renting the house we are in and I have painted enough rental walls to know I don’t want to paint anymore. Instead, I wanted an easy, less permanent solution for the dark beige walls in the office. It’s funny considering how often I paint things, but I think it’s the painting it back before we move that I find daunting.
I have known that I wanted to incorporate some more graphic elements and patterns into the space and am enjoying all the triangle inspiration floating around. When I came across this PIN of the photo below (which doesn’t lead anywhere, book), about using contact paper for temporary wall decor I instantly knew it was the perfect solution for me!
I love the idea of gold or black triangles against a white wall, but our walls are a dark beige so I went with white to create more contrast. Not to mention we had a tiny bit of white contact paper leftover from recently lining the shelves, yay!
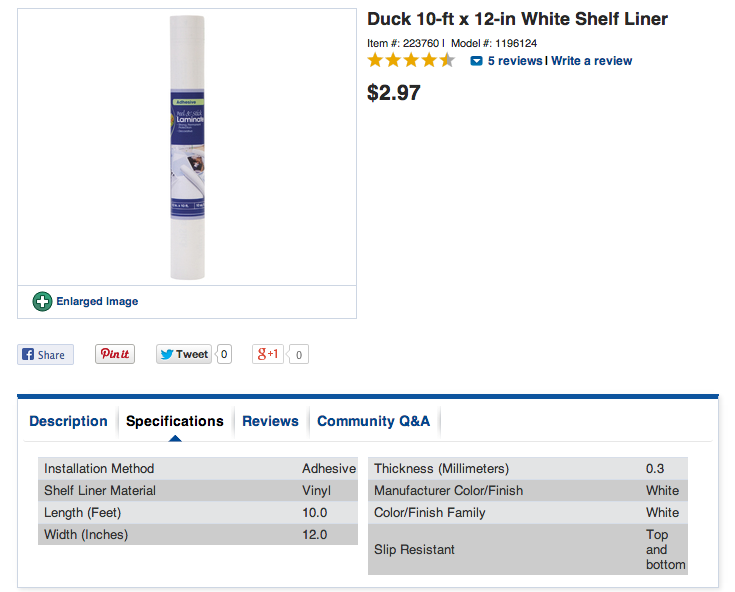
First I created a couple of sample triangles and then tested out a small area on the wall to see how it would look. The contrast was perfect and I instantly fell in love! We didn’t have enough contact paper for me to cover the whole wall though so I picked up 2 rolls @ $2.97 each, even though this DIY triangle accent wall only wound up needing 1 roll.
Here is the same contact paper from Lowe’s website.
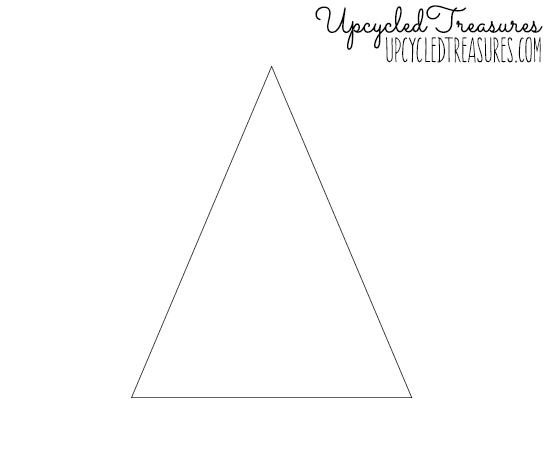
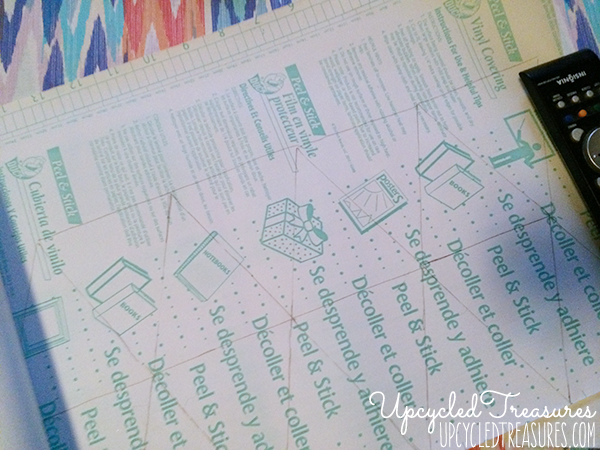
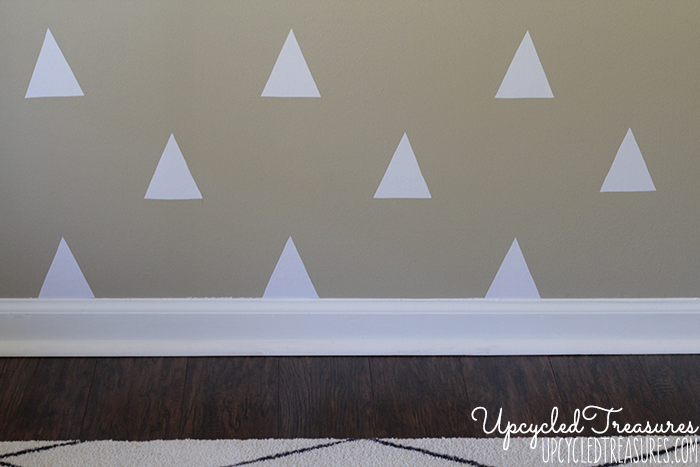
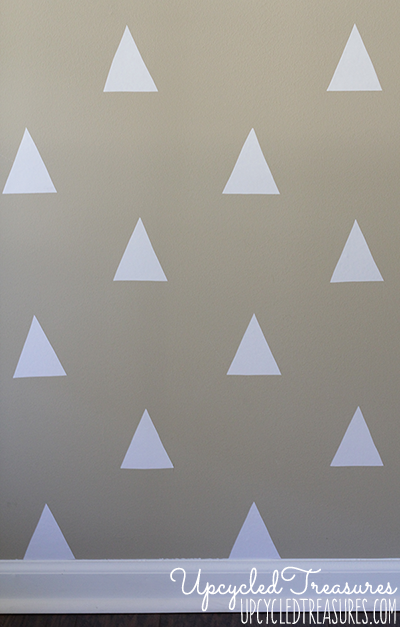
I scaled down the triangle template I used on my DIY Sharpie Rug and then printed it out to use as a template. My triangles were 3.5 inches wide and 4 inches tall. I then traced the template onto the back of the contact paper using a pencil and a remote to keep the paper from rolling up on me, which was a bit of a pain.
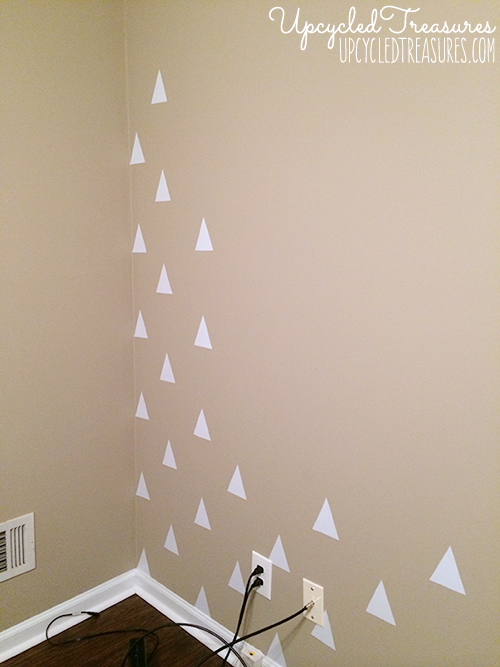
After I had a decent amount traced out I started cutting the triangles out and then Eric helped me get started on figuring out the placement.
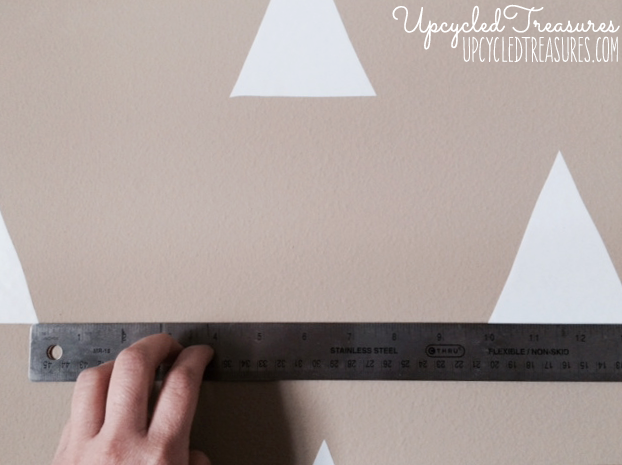
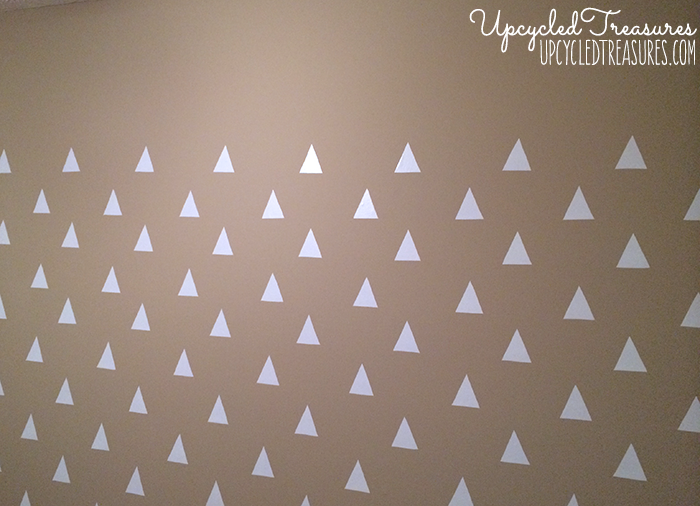
We decided to space the triangles 10 inches apart horizontally and 5 inches vertically.
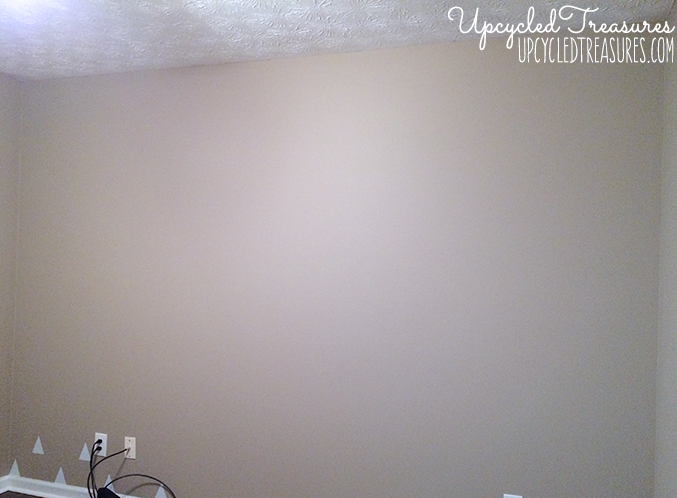
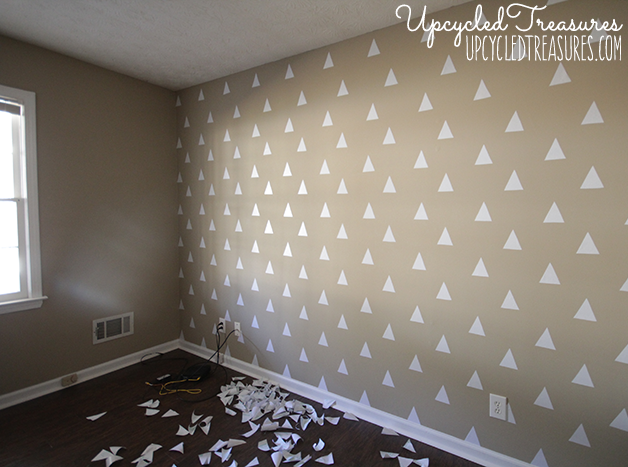
Um we probably should have measured the wall and then divided that by the number of triangles we wanted to get the right measurements but it was midnight and we sorta just starting slapping them on the wall. In fact, I forgot to take a good before photo until after a couple were already on the wall, oops. Gotta love our cable modem on the floor in the background too, ha.
It went really fast once all the triangles were cut out and the most difficult part was probably removing the backing from the shapes. Seriously though it was SUPER easy and even though Eric left me for the land of nod, I finished the wall up within a couple hours. It wouldn’t have taken as long except I had to cut more triangles in between. Sorry for some of the grainy photos but I took them with my phone because I was too lazy to grab my camera.
I did have to wing the spacing on the right side and top to get the look I wanted so there is a half an inch difference here and there, but again measuring your wall and shapes first would prevent this if you knew exactly how many triangles you would want. I am impatient but I promise I’m working on it.
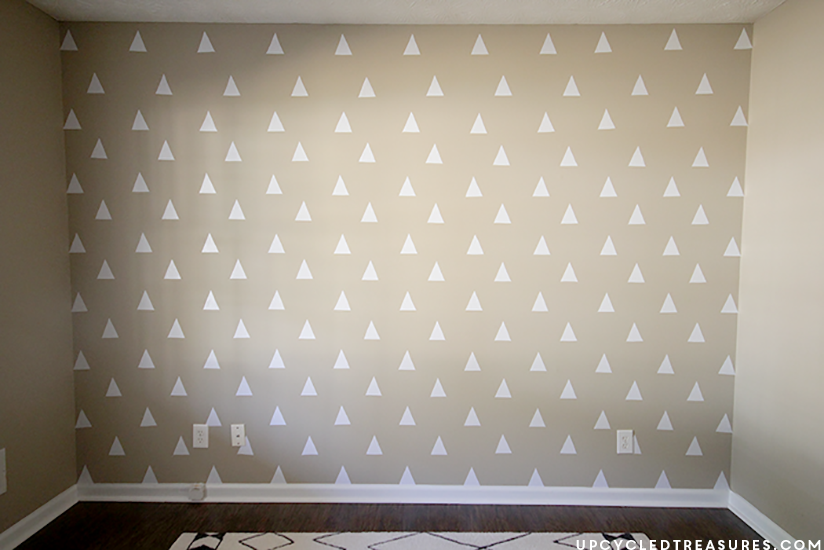
Despite my triangles and spacing not being perfect, I still love how my DIY triangle accent wall turned out. Not to mention my new desk looks awesome in the space too, which I will be sharing with you soon.
This is a great temporary wall solution for renters and also anyone that likes to change their space up frequently. Did I mention how easy this triangle accent wall was to put up and how easy it is to remove? I’m seriously blown away with how easy it was and can’t believe I never tried it before.
So if you can’t afford vinyl decals or don’t have a silhouette machine, why not pick up some contact paper and dress up those walls? Can’t go wrong with $3 and you can always remove it if you don’t like how it turns out, or change your mind.
By the way, I recently got a new lens which allows me to take photos of an entire room, which is so exciting even though I still love my old lens for close up shots.
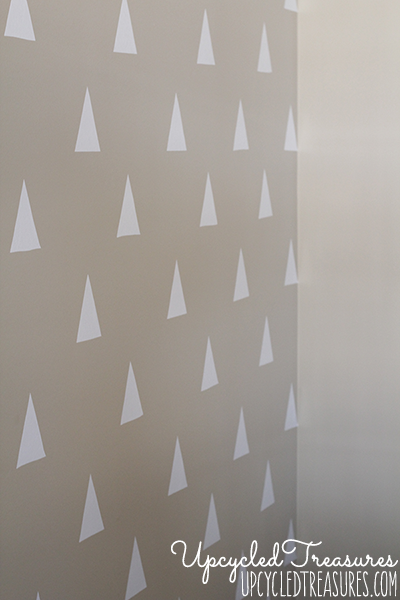
As an example of the difference here is a photo with my old lens:
And here is a photo of me standing in the exact same spot with my new lens. What a difference a lens makes! Of course, I still need to work on my photography…
So what do you think of the DIY triangle accent wall? What kind of temporary wall solutions have you used?

LOVE this! I just bought a house but even still am a little hesitant to do to permanent of things. I’m planning on doing something like this in my little girl’s room. Can’t wait to see the finished office!
This project would be perfect, and there are so many different patterns and colors you could do too! I’d love to see what you end up doing 🙂
SO GOOD. Always a fan of triangle patterns and love that it’s temporary!
Me too and now I just have to peel them off rather than repaint the wall once we move out. I have enough projects to paint and didn’t feel like adding another, haha. Plus it makes me smile every time I walk into the room 🙂
Katie – great project! I’m not going to look at contact paper the same way again – very cool idea!
You and me both! I am definitely a fan 🙂 Thanks for stopping by!
Very cool idea!
and I’m really lovin the shape you chose!
Thanks!
Do you think that this would work on a brick wall that was painted with a gloss finish? is the contact paper strong enough to stick and if so would it easily pull off the paint of the wall?
Love this! I’ve been toying with stamping my laundry room, now you’ve got me thinking about going this route. Thanks for the inspiration!
I would definitely recommend the contact paper route, and can’t wait to see what you come up with either way!
What a fun idea!! The wall looks so great Katie! 🙂
Pinning!!!
Nancy
Thank you so much for sharing Nancy!
Hi Katie, thank so much for leaving me a sweet comment on my blog Little Brags yesterday (the Copycat Demijohn post with the twinkle lights) I tried to reply to your comment directly but you came up as a non reply blogger (Google glitch) xoxoxo Christine http://littlebrags.blogspot.com
Hi Christine, it looks like the comment may have been from Katie at Addicted 2 DIY but I just checked out the post and that’s a great knockoff! I also just pinned your front porch which looks super cozy and those moss hearts are adorable! Thanks for stopping by!
Katie, you are a rockstar! Seriously, this turned out so cool. And inspires me to do something similar in our guest room…might send your post to our landlord so I can convince him to let me paint! 😉
Haha. It’s funny because I don’t mind painting and yet I reallllly tried to get out of painting the office just to avoid having to paint it back. We will see how it looks once I start filling it up with more decor, otherwise the paint may just need to come out 🙂
Thanks for stopping by!
I love love love how this turned out! I’ve been dying to do this to our entry wall forever but our walls are really textured and I just don’t know if it will have the same look if the paper is all bumpy. After seeing how cute yours is… maybe I should just try before I decide a definite no. I’m totally pining this beauty.
Our walls are actually a little bumpy but I guess because the of the way the contact paper is, it still looks painted on? Don’t know how that works but what I do know is I like it, haha.
I can’t wait to see what you end up doing to your entry wall!
This is a genius idea! It looks so beautiful and the fact that it only costs $3 is awesome! Love this and pinning it!
Thank you Carrie! I wish I would have come across that pin years ago, it could have saved me lots of painting time, lol.
Thanks for sharing!
You’re a genius! This looks fantastic! You can’t beat that $3 price tag!
Thank you so much Chelsea! I know, right? I even bought 2 packs just in case but a little went a long way 🙂
Great idea! I’m a renter too and have used removable vinyl decals in my home. I love the contrast. It’s almost enough to make beige walls (which are in every room of my rental house) look cool! Thanks for sharing.
Haha, yeah our house is filled with beige too and I don’t mind it as much in the rest of the house but wanted to jazz up my office space. I think brighter colors could look really good on light beige walls but ours are really dark so white seemed like the best option. Thank you so much for stopping by!
What a great idea! We use vinyl and stuff like that all the time for walls but I never thought to use it as an accent! I found you via Remodelaholics!
Cheers!
Amanda
Thanks Amanda! I’m so happy you stopped by to check it out. Have a great week!
I love the way your wall turned out! It’s freaking awesome! I have only used paint which I guess is considered permanent, well i guess I have some vinyl trees on the wall…I always forget about them.
Thanks Heather! I am so happy that there are so many other options floating around the web so renters like me have other “temporary” options. I loathe painting the walls back before moving, so I guess my laziness paid off, haha. Thanks for stopping by!
I love your triangle wall! So cute and fun! Thanks so much for linking up at Thursday STYLE!
Thanks Angela! I hope you enjoyed your weekend and am so happy you stopped by!
Have a great week!
-Katie
I love this! Great solution to jazz up a space in a rental.
Thanks Corey! I was going to attempt to sharpie the wall but didn’t find the best reviews on white sharpies and was too impatient to track one down to test out, ha.
This is amazing!! Great job
Thank you so much!
This is incredible! I have seen so many unique accent walls this week that I am totally itching to pick a wall and try something. Thanks for linking up at Thursday STYLE!
I know, it seems like there are so many more options out there than there used to be “back in the day” haha.
The wall looks awesome!!! Great idea!!!
Thanks Christina!
This is awesome and I can’t believe the paper is only 3$. It really turned out great, nice job!
Thanks Sonnet, I am pretty impressed with the results too, even though my triangles aren’t all cut perfectly straight, ha.
Oh my gosh STOP IT! I just died like 14 times. Thank you so much for the tute and inspiration- your rug and wall are PERFECTION!
This is perfect! Perfection! Bravo!
Cheers to you!
Hi Sweetie
Such a simple yet super cute idea. I’m loving the Mod Triangle trend. It looks really pretty with the sharpie rug 🙂
This looks so awesome, Katie! What a statement and for only $3, you can’t beat the price!
This looks awesome, love it!!
So excited to see your office all finish. I’ve LOVED every single thing so far.
Okay, everything you do is amazing, Katie!! Wow- this is seriously fabulous. Wish I had a spot to try it in our house… now you have me thinking:)
I wanted to let you know I will be featuring this beauty on Sunday at our link it or lump it party. I’ll also be pinning to our pinterest board. Be sure to stop by and grab a feature button!
http://www.delineateyourdwelling.com/2014/03/link-it-or-lump-it-party-no-29.html
I love love love this so much, you’re being featured on The DIY’ers today! http://homecomingmn.blogspot.com/2014/03/the-diyers-53.html
This seriously turned out fantastic! I wish I had a wall to add triangles too. Thanks for sharing on the weekend re-Treat link party!
Britni @ Play. Party. Pin.
You are so clever! I love this idea so much!!
Do you know if the contact paper comes in any colours other than white?
Hi Allison, YES! It comes in different patterns and you can buy it from different retailers like Home Depot or the Dollar Store, but can find even more options online like Amazon, and Interior Place. I recently used some copper and gold contact paper on other projects.
This is fantastic! I am a big lover of wall decals and this just turned out excellent. Plus, it’s a great thing for people like me who constantly have to move & can’t paint the walls. Thanks for sharing!